
#SCGCON
is over, and with it, most of the Magic year. There’s scant few
opportunities left to play non-local Magic before 2019, and shortly after
that we’ll be deep in the woods with Ravnica Allegiance and Guilds of Ravnica Standard will be behind us. Change is fun and
new cards are great, but I must admit that I’m more than a little sad I
won’t have any more chances to battle with Golgari Midrange.
The great thing about Magic though is that the friends we meet and the
decks we love never truly leave us. I don’t write for Hallmark, so I’ll
skip the friends part. Decks though, that’s exactly my jam.
Every deck you invest time into shapes who you become as a Magic player.
We’re all learning and growing all the time and the Magic you play
determines what you end up learning. I’m a little sentimental about things
like this and can generally trace every skill I’m proud of in Magic to the
deck that taught it to me. Here’s what I’m carrying forward from my time
spent playing Golgari Midrange.
Actually, hold up, that’s too much for one article. I’ve learned a lot from
Golgari Midrange, so we’re going to have to narrow things down. A single
matchup’s worth of lessons sounds more reasonable, and it’s very easy to
pick the matchup: the mirror.
The Golgari Midrange mirror was the most fun I had playing Magic in 2018.
It took me a while to get to that point; I had to persevere through all
sorts of Carnage Tyrant inspired frustration, but it was worth it in the
end. The mirror is a fascinating blend of competing short-term and
long-term considerations that are very challenging to navigate correctly,
and I learned a lot trying to figure it out.
Understanding What Really Matters
The biggest edge I had in playing Golgari Midrange mirrors was in
understanding how the games ended, and thus, what mattered. One of the
defining characteristics of the Golgari Midrange mirror is that very little
matters, but the things that matter do so big time. So that we’re all on
the same page, here’s the Cliff Notes on what matters in the Golgari
mirrors:
-
Two types of advantages can end the game: Carnage Tyrant and
planeswalker ultimates. -
Planeswalker advantage that doesn’t culminate in an ultimate rarely
wins the game. - The small-ball creatures are all interchangeable and barely matter.
-
Early aggression rarely wins the game but can often give you
positioning in planeswalker fights.
Essentially, the mirror is this weird game where both players litter the
battlefield with a functionally endless supply of 3/2 and 4/3 bodies.
Because all of the bodies aren’t durable, either nothing sticks or everything sticks. The battlefield mimics commutes to busy cities:
depending on when you leave, you can either get to your destination in
twenty minutes or an hour and a half, with no in-between. Traffic / the
battlefield is either nothing or super congested.
Because making headway on the battlefield is impossible, the game comes
down to recurrent sources of advantage. Planeswalkers and Carnage Tyrant
are essentially the only source of this. Planeswalkers get you cards and
work towards ending the game, Tyrant gives you a recurrent source of
profitable attacks. In a lot of ways, these are the only cards that matter.
I played multiple games of the mirror last weekend where the early game
went horrendously for me, but I persevered and won by playing to what was
important from turn 1. I didn’t worry that my life total was under pressure
and panic play as many creatures as I could; I trusted in the knowledge
that attacking doesn’t decide these games and sequenced my spells in a way
that gave me the best chance of competing in the subgames that mattered.
This isn’t new. I’m sure that you’ve heard this before. I’m not saying
anything revolutionary. Having a plan in Magic matters. Players
with plans beat players who just play cards nearly every time. What’s
special about plans in the Golgari Midrange mirror is that the plan is
nearly always the same. There’s very little sculpting your plan to fit your
hand and a lot of sculpting your hand to fit your plan.
The best strategies in the Golgari Midrange mirror beat the worse ones
every time. You can’t go aggressive because you have an aggressive hand. It
just won’t work. You must implement the same planeswalkers and Carnage
Tyrant plan every game, even when your hand doesn’t want to. Understanding
how to make your aggressive draws play that game in the mirror is
challenging but necessary.
Sometimes the things you must do make no sense from a Magic perspective and
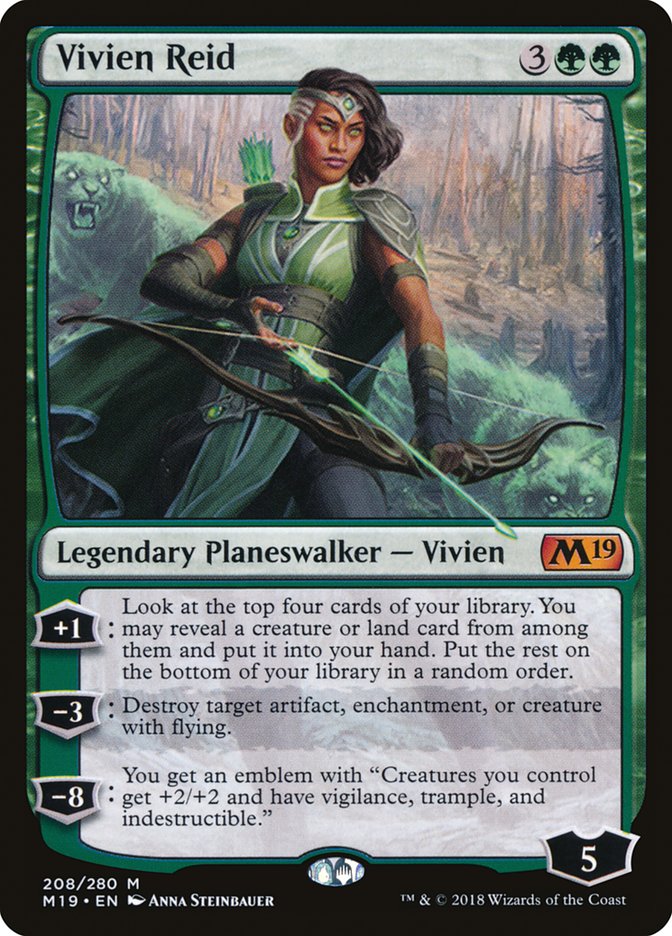
only work in the weird world that is the Golgari mirror. For instance, last
weekend I got into a Vivien Reid battle with my opponent. They played the
first Vivien and on the same turn explored a second to the top of their
deck, so the Vraska’s Contempt in my hand didn’t look great. I had my own
Vivien Reid to play next turn, and neither of us was going to get anywhere
near a Vivien in combat, the battlefield was too cluttered.
My obvious play was to Contempt their Vivien, but I didn’t. I only had the
one way to deal with Vivien in my hand, and my Vivien was good enough to
stalemate theirs and keep the battlefield even. The actual role of my
Contempt was to make sure my Vivien reached her ultimate first, which means
the best time for me to Contempt was right before their Vivien would
ultimate, denying them loyalty on their forever Vivien and helping me stay
ahead if they were able to trample a point or two at my Vivien.
This play makes very little sense in ABC Magic world, but a ton of sense if
you understand that winning the race to the ultimate is what matters on
this battlefield. I don’t think holding the Contempt is a play you could
possibly arrive at without playing a ton of the matchup, but it’s correct
nonetheless.
This was a particularly nice lesson for me, because it’s one I learned
originally back with Mono-Black Devotion in a long ago Standard. That deck
had a similar mirror match, but one where the best strategies were a
branching path. You had to do one thing if X happened and another if Y
happened. The details don’t matter, but Golgari Midrange having the same
focus on specific plans but without any of the variation was a really cool
thing to see and appreciate.
The aspect of this that I intend to make use of going forward is to test
the durability of plans in matchups. Sure, X is the best thing to do before
the cards are drawn, but how often does that hold up in-game. Understanding
that some ‘best’ plans are more durable than others is an important
conceptualization, one I never put words to before playing Golgari
Midrange.
Trading 101: Micro and Macro
Question.
-Hamlet, Probably
Trading is one of the most basic Magic skills, and one of the hardest. The
Golgari Midrange mirror really tested players’ abilities to discern when a
trade is good. It helped me give a shape to my thoughts on the two
different classes of trading incentives. We’ll get to that in a second;
first we need to take a quick look at why trading was so interesting in the
Golgari mirror
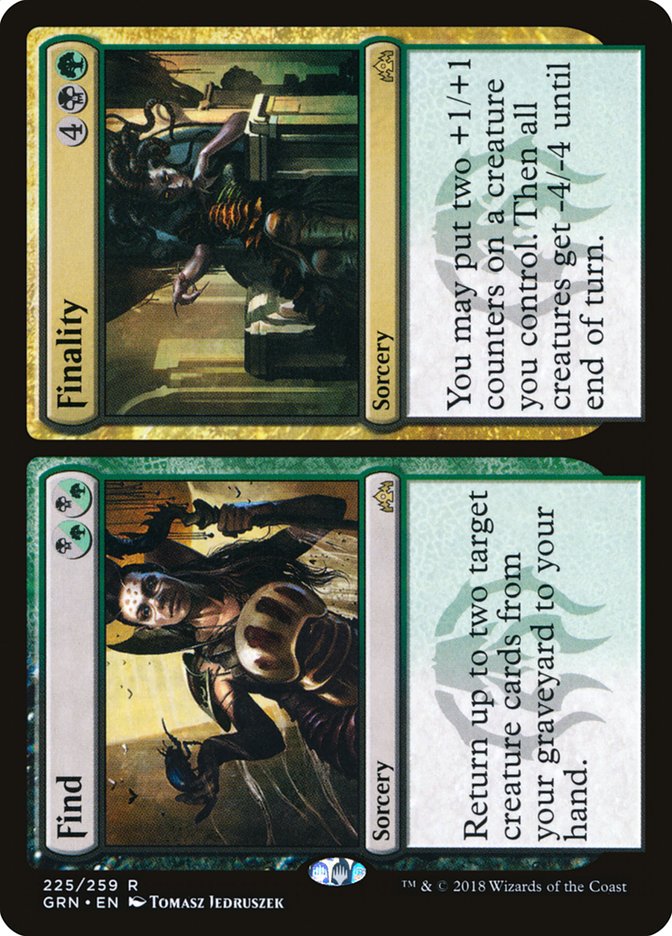
Both players have access to Find, and nearly every creature in the deck has
an enters-the-battlefield trigger. See where this is going? It’s very often
better to have a creature in your graveyard than on the battlefield and if
that’s true for you, then it’s also good for your opponent. This
complicates trading.
Planeswalkers are one of the few things that matter, and having creatures
to pressure them is important. Preserving your ability to pressure
planeswalkers on future turns while also minimizing your opponent’s ability
to pressure yours on the turn you’ll deploy one are both very important
wrinkles in the trading decisions.
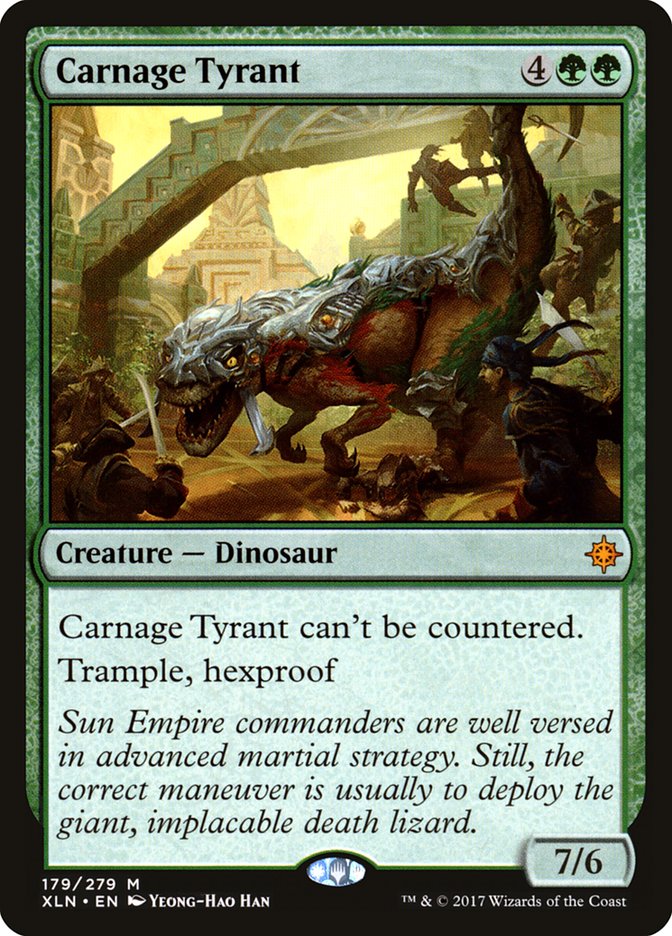
Carnage Tyrant is the biggest, baddest threat around, and the only way to
deal with this Dinosaur is to trade. This means that keeping six or more
power on the battlefield can be very important in keeping you from dying to
a Carnage Tyrant. At the same time, trading off the battlefield can clear
the way for your Carnage Tyrant to get an easy win.

There’s all these convoluted and important reasons to trade and not trade,
and then there’s also the simple fact that everything trades.
There’s Carnage Tyrant, and then there’s things that trade. This simplifies
the trading equation dramatically. There’s not really much consideration to
be given to trading more valuable creatures for less valuable creatures: On
the battlefield, it’s all interchangeable pieces of cardboard. All your
decisions boil down to whether you’d rather have your and your opponent’s
cardboard on the battlefield or in the graveyard. That is, they all boil
down to the simple question, to trade or not to trade.
Every time your opponent attacks their 3/2 into your 3/2, there’s a lot to think about. Ditto for every time you have the opportunity
to send your 3/2 into their 3/2. In fact, there’s so much going on that
it’s basically impossible to think through it all at the table. You need to
already have you answers for various situations determined, otherwise
you’ll be thinking forever. Here’s the classifications I used internally to
help myself in these spots.
Micro-trades are trades that are about the here-and-now. They make things
better for you in the very short term. Example: It’s turn 4. You have a
Vivien Reid in hand that you intend to cast next turn, and you want to keep
it as safe as possible. You want to trade your 3/2 for their 3/2 so that
Ravenous Chupacabra can’t deny your 3/2 the ability to block on the turn
you cast Vivien. This is a motivation that affects very specific turns and
makes your sequence in the immediate future of the game look better. Making
this trade for this reason makes it a micro-trade.

Macro-trades are trades that motivated by your knowledge of the matchup and
the things that must happen to win the game. They might make things look
worse or force you commit to an awkward turn in the short term but improve
your position in the long term. Example: You attack your 4/3 Jadelight
Ranger into a 3/2. Your creature is better, but you want to use your
in-hand Find to recast Jadelight Ranger and dig two cards deeper towards a
Carnage Tyrant or a Vivien Reid.
In the end, this is a very specific branching of the tactics versus
strategy distinction. Micro-trades are tactically motivated; macro-trades
are strategically motivated. What’s interesting about how this shakes out
in specifically the Golgari Midrange matchup is how heavily skewed in favor
of macro decisions the Golgari mirror is.
Micro-trades in the Golgari mirror almost never make sense unless the
advantage you’re gaining also helps you win on either the planeswalker or
Carnage Tyrant front. That is, unless it’s also a macro-trade. Because so
many of the cards in the matchup fail to have a noticeable effect on the
overall game, you need to be making all your decisions through the lens of
winning on the axes that actually matter. Finding ways to sneak a few more
points of damage or get ahead a single card ultimately don’t matter at all,
while ensuring that your planeswalker can’t be profitably attacked matters
a great deal. Alternatively, you decline to trade 3/2s when they attack
because that would take you below the power threshold needed to get a
Carnage Tyrant off the battlefield in a multi-block, despite your opponent
not having a Tyrant yet.
If you have any Golgari Midrange mirrors left to play, work on your
trading. I think trading is the hardest element of the mirror and the thing
most players mess up the most. We make a lot of these decisions
automatically, and we shouldn’t. Think about the trades you accept and
decline and offer more, and you’ll improve your record in the Golgari
mirror and develop skills that will help you in your Magic future at the
same time.
For myself, what I’m taking away from trading in the Golgari Midrange
mirror is the idea that the relative importance of tactics and strategy is
a quantity of a matchup as concrete as who the beatdown is. It’s something
that I actively should be trying to figure out in playtesting and reference
often while playing the games. Matchups won’t always have as extreme a line
as the Golgari mirror, but wherever the line is, understanding whether you
should be leaning towards tactics or strategy and what the exceptions are
in a matchup is incredibly valuable.
The Difference Between 30% and 0%
Time for a fun one.
WIldgrowth Walker was easily the most controversial card in the mirror.
Storm expert and Standard Golgari convert Paul Muller told me at dinner
Friday night that he had played the mirror three times and easily won all
three because his opponents still had Wildgrowth Walkers in their deck
after sideboard. I then informed him that I actually kept Wildgrowth Walker
in for the mirror, and we agreed to disagree on the subject.
So, here’s the thing about WIldgrowth Walker: the card is supposed
to be bad. As in, the way most games play out, Wildgrowth Walker just
doesn’t do anything. The games aren’t decided by aggression, so the life
total padding doesn’t matter. Walker getting four or five counters can make
it the best creature on the battlefield pretty easily, but Ravenous
Chupacabra ensures that no non-Carnage Tyrant creature ever gets too big
for its britches. If the game is at all normal, Wildgrowth Walker is not an
asset to your cause.
But Magic games aren’t always normal. Sometimes Wildgrowth Walker is the
card that lets you recover from an awkward start. Maybe you took a bunch of
damage early because you mulliganed and your mana didn’t quite work in the
early turns. Early aggression rarely amounts to much, but if you stumble
and your opponent comes out of the gates fast, you will die in short order,
and there’s not much you can do about it without access to Wildgrowth
Walker.
Or maybe your double Wildgrowth Walker is met by only a single Chupacabra
and the Walker you’re left with dominates the battlefield, towering over
even Carnage Tyrant. Alternatively, maybe your aggressive Wildgrowth Walker
draw can overrun your opponent early and having an attacking creature that
doesn’t trade with a blocker translates to effective planeswalker pressure
in the midgame. These things aren’t common, but they do happen.
Point is, Wildgrowth Walker doesn’t do stone nothing. Some games it’s
really good, and some games it’s literally the only card that could get you
back into a game that looks lost. Do you see the problem with these
arguments?

I get asked a lot about what I think about potential Jund cards on a
regular basis. Most cards aren’t good, so most of the time when asked I
will end up saying that I don’t think the card belongs in Jund. Invariably,
whoever is questioning me will then tell me all about how it’s really good
in some games. The things I’m told are generally true but miss the point
that the card isn’t good because these scenarios don’t happen enough, not
because the card is literally never beneficial to draw. And yet here I am,
making exactly the same kinds of argument for Wildgrowth Walker. What
gives?
The difference is one of the lessons driven home to me by the Golgari
Mirror: Relative Value. Risk Factor isn’t good in Jund in
an absolute sense, because it isn’t good in the majority of Jund games.
It’s also bad in a relative sense, because every card it could replace is
more valuable than it in most games. Wildgrowth Walker is bad in an
absolute sense, as most of the time it does nothing, but it’s not
relatively bad because all the cards it would replace are also bad.
Overall, I estimate that Wildgrowth Walker plays an important role in about
30% of games of the mirror. It’s not good most of the time, but it being
good isn’t incredibly rare. Seekers’ Squire, Merfolk Branchwalker, and Cast
Down, the cards Walker is competing with for slots, are also very
unimportant in the mirror. You need bodies to protect planeswalkers, but
what the bodies are barely matters. None of Wildgrowth Walker’s competitors
have the potential upside that Walker does. They are ineffectual in every
game, whereas Walker is only ineffectual in 70% of games. When Walker is
bad, it’s a little worse than a Seekers’ Squire, but not enough worse to
really notice.
So that’s my argument for Wildgrowth Walker. It’s not good, but neither is
anything it’s fighting with. All the small-ball cards in the Golgari Mirror
barely affect the outcome of the game as long as they’re present.
Wildgrowth Walker raises its hand for roll-call as well as a Merfolk
Branchwalker and sometimes does a whole lot more than that.
Going forward, this is a reminder to me that a card’s ability to perform
doesn’t matter one whit. All that matters is that it’s more influential
than its closest competitor. Magic is a game of context, but it’s really
easy to forget about context when focusing on a single card. It’s
impossible to answer the Wildgrowth Walker question while considering only
Wildgrowth Walker.