
Have you ever looked over a decklist and casually remarked to yourself “I’m
nowhere near good enough to play this”? For me, this used to be a common
experience. I spent the early years of my competitive Magic “career”
avoiding control decks at higher-level events, telling myself I wasn’t good
enough to win mirrors, even though I both enjoyed and succeeded with
control decks on Magic Online. For a long time, I wouldn’t play Force of
Will decks in Legacy, having convinced myself I just didn’t have enough
reps to beat the superstars of the format that populated the strong
Northeast Legacy scene.
I don’t think my problem was particularly unique in the Magic community. If
you’re a long-time listener of The GAM Podcast, you may recall a story
Gerry Thompson told about a Hall of Fame-inducted teammate who passed on
playing their team’s innovative Dimir Control deck at Worlds 2017, with the
justification that he didn’t want to play control mirrors against the best
in the world – seemingly forgetting he himself belonged in that “best in
the world” category! I’ve heard Gerry himself repeatedly say he’s “too
stupid” for certain archetypes. Even the best Magic players create comfort
zones for themselves, and they all will look for any excuse to stay within
them.
In my case, time passed, and after enough encouragement and smaller
successes, I finally moved past my own fears. I got to the point where I
had true, unshakable belief in my skill and preparation. I felt confident
bringing any deck on the planet into battle against any player. If people
asked me to define my range, I’d often say “I’ll play whatever the best
deck is.” And then a pair of linear Modern decks made me realize that while
my comfort zone may have expanded, I was not the fearless paragon of deck
diversity I was pretending to be.
Ironworks and Amulet Titan had me repeating all the same excuses I had made
years ago. I was telling myself that I was too far behind to catch up in
skill level to masters like Matt Nass and Edgar Magalhaes. I started
convincing myself that these decks were either not that great or, in the
case of Ironworks, too good and soon to be banned anyway. I even went to
that old standby – I didn’t own some of the cards.
In truth, these were just excuses. In my heart, I knew these decks to be
key pieces of the Modern format, and ones that I absolutely had to learn if
I wanted to give myself the greatest chance at success. I was just scared
of looking like a fool while I punted away game after game. But I also knew
that I could be better than that, both as a person and Magic player. I’ve
talked at length about how important making and learning from mistakes is
to the developmental process. I’ve spent years working to avoid seeking
validation from others, blocking out the internal monologues which sought
so desperately to convince me that somewhere someone I barely knew was
judging my performance and thinking less of me. Avoiding Ironworks and
Amulet Titan was a refutation of years’ worth of personal growth. This did
not sit well with me.
So, I got to making changes. Over the last six weeks, my Modern focus has
been almost entirely on Ironworks and Amulet Titan. I’m happy to report
that I feel comfortable playing both archetypes, and when it comes to
Amulet Titan, I’m confident that technology I’ve been advocating (along
with several other Amulet Titan aficionados) is going to ultimately move
Amulet Titan from a fringe deck to a Tier 1 archetype.
I want to talk about how I reached this point of comfort and share a system
that you can use to learn these two decks, as well as others. This system
is designed to quickly bring you to a point of competency, not mastery.
This is a very important distinction, and something that I feel a lot of
other content glosses over. True mastery can only be gained from lots of
experience and seeing the vast variety of situations that a game of Magic
can potentially present. While a master might have experienced a situation
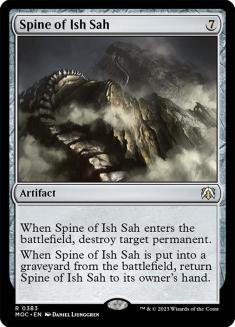
where it was useful to understand exactly how to make an infinite number of
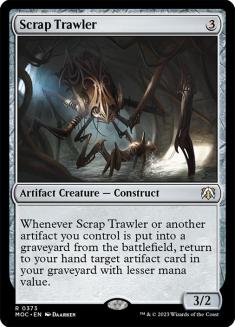
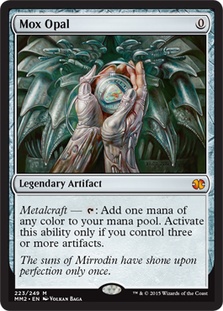
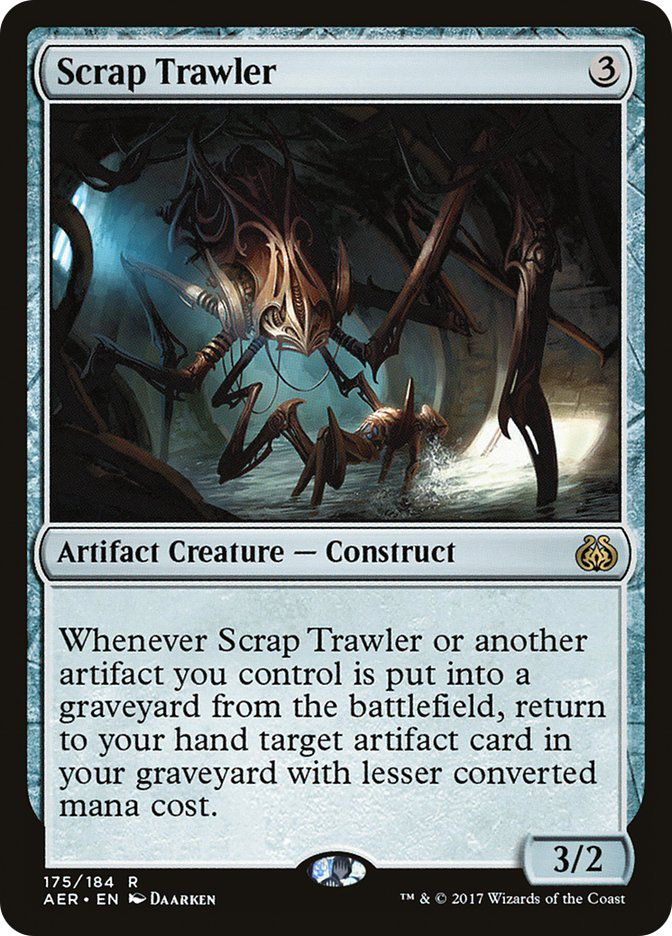
Spine of Ish Sah triggers with only the Spine, two Scrap Trawlers, a
Krark-Clan Ironworks, a Mox Opal, and an Engineered Explosives, this isn’t
going to be useful information for you when you’re first picking up the
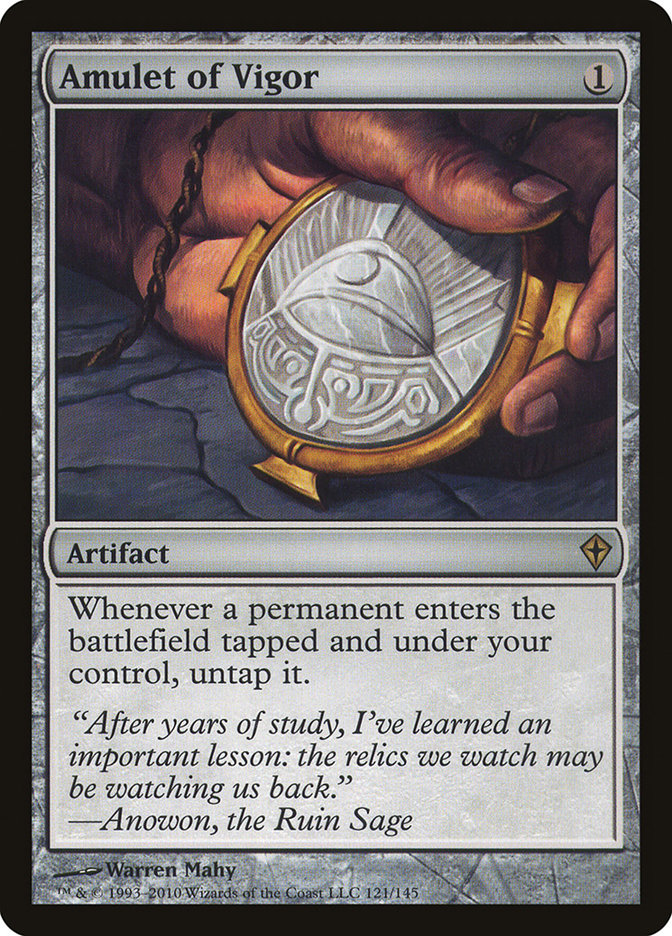
deck. Focusing on esoteric loops or brain-bending Amulet of Vigor puzzles
will only stunt your development. Lay the foundation first and let the
puzzles come later.
My exploration of both decks hinged on three distinct chapters. I will
define these chapters and then go into some detail about specific
applications for both Ironworks and Amulet Titan.
Mechanics
While we have no interest in exhaustive explorations of every possible
combo our deck can produce, we do need to understand what we’re capable of
at our best. Establish your best case scenario and know it inside and out.
Do this yourself! If you’re letting a guide walk you through your steps,
you may not be internalizing them to the degree necessary for true
understanding. There’s a difference between doing and parroting.
Hierarchy of Goals
What’s the primary thing you’re attempting to achieve once your game has
started? How about your secondary goal? Tertiary? The more simply and
clearly you can state these, the better your goalposts will be in your
first few games and the less painful the mistakes you will have to make.
Identify your Strategic Principles
Strategic Principles are a concept I talked about in
a past article
. I would define a deck’s Strategic Principle as the method by which it
imposes its will on an opponent and ultimately ends the game. At first
blush, this may seem similar to the Hierarchy of Goals, and it can be;
however, your Hierarchy of Goals should be a roadmap to the steps you will
take to reach your end game. Your Strategic Principle should be broader and
shape exactly what that end game should be. If the distinction doesn’t
resonate right now, that’s okay. I will explain further when we begin
discussing the specific decks.
Ironworks
My recommended list:
Creatures (5)
Lands (18)
Spells (37)
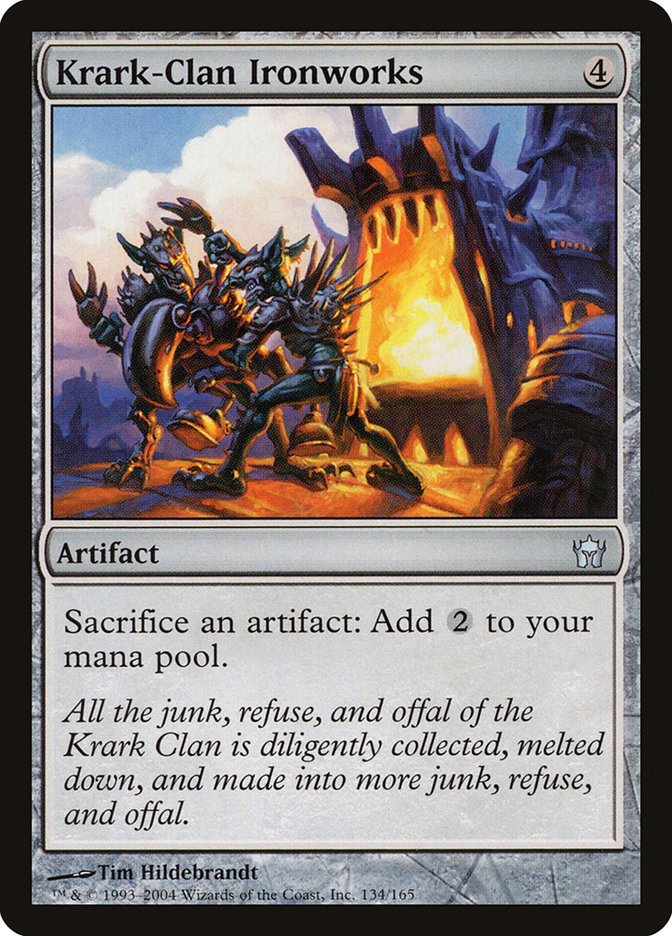
- 4 Krark-Clan Ironworks
- 1 Pyrite Spellbomb
- 3 Chromatic Sphere
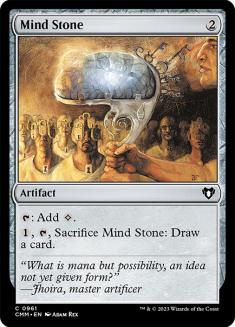
- 4 Mind Stone
- 3 Engineered Explosives
- 4 Terrarion
- 1 Mishra's Bauble
- 4 Chromatic Star
- 4 Ancient Stirrings
- 4 Mox Opal
- 1 Spine of Ish Sah
- 4 Ichor Wellspring
Sideboard

Mechanics
My first efforts to understand Ironworks were comprised of a review of the
numerous articles that have been written on the archetype. I had
explanations of loops and sideboard guides and strategy, and absolutely
none of it was making me feel like I had a grasp of anything that was going
to make me a competent Ironworks player. I just had a long list of things
that felt impossible to remember. This all changed when I just put these
six cards in front of me.
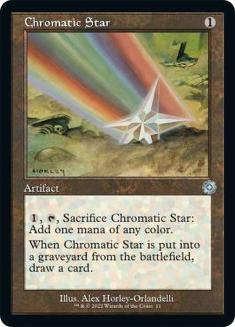

Do the same and then figure out how to draw a card, make a mana, and get
back to the same gamestate. Don’t look elsewhere, just work through it.
Got it?
Good, you’re mechanically proficient enough to begin playing Ironworks.
Once you have your deck in your hand, you can leave out Chromatic Star from
the loop and make infinite mana. With infinite mana, you can replace
Chromatic Star with Pyrite Spellbomb, and congrats, you’ve won!
You’ve no doubt heard of all kinds of overpayment-based tricks abusing
timing rules and weird Spine of Ish Sah loops. These matter so rarely that
you can put them off until you’ve reached a point of comfort with the deck.
Let’s look at the cards that comprise some of the other loops:
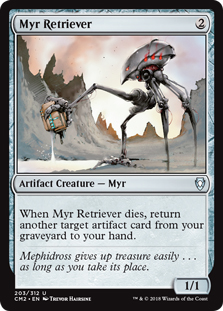
-
Krark-Clan Ironworks + Scrap Trawler + Myr Retriver + Krark-Clan
Ironworks + Mox Opal -
Krark-Clan Ironworks + Scrap Trawler + Myr Retriver + Scrap Trawler
+ one-drop (or zero-drop + two-drop) -
Krark-Clan Ironworks + Scrap Trawler + Myr Retriver + Chromatic
Star + Mox Opal -
Krark-Clan Ironworks + Scrap Trawler + Myr Retriver + one-drop on
the battlefield + one-drop in hand + zero-drop -
Krark-Clan Ironworks + Scrap Trawler + Myr Retriver + Chromatic
Star or Terrarion on the battlefield: + one-drop in hand
These loops are so similar in composition to your most basic loop that it’s
exceedingly rare that you’ll have access to one of these without access to
the most basic version. Simplify. If you find yourself playing a game and
fizzling from one of these positions, then I give you permission to start
working out more complex loops. I feel similarly about Spine of Ish Sah
loops. If you have successfully set up Krark-Clan Ironworks + Scrap Trawler
and cast your seven-drop, how often do you think you’re in a vulnerable
position?
The answer is very rarely.
The majority of Spine of Ish Sah loops come from double Scrap Trawler
battlefield, and the first time you have two Scrap Trawlers and a KCI,
you’ll understand why I’m not super concerned about how you’re winning from
there. If you feel like you just need to have one Spine of Ish Sah loop in
your pocket, figure out how to put together this one which doesn’t rely on
double Scrap Trawler. It should be fairly intuitive.
Finally, I do think it behooves you to consider how you’re going to arrange
your battlefield. For me, I keep my lowest converted mana cost cards on the
left side of the battlefield and increase in CMC as I move right. If
something else works for you, do it, but I found a lot of value in keeping
things consistent and patently obvious. As far as graveyard organization,
I’ve found that things generally sort themselves out naturally, and the
cards you’re returning repeatedly end up at the top of your graveyard. If
you need to do something else, establish it now, and make it a habit. You
don’t want to be wasting mental energy on this aspect of the game in the
future.
Hierarchy of Goals
Here’s where you start to give yourself some guidelines for how you will be
playing your deck. This is the step where I finally realized just how
foolish my fear of the Ironworks archetype was. Look at those listed loops.
Notice anything similar about them? Every broken thing your deck does
relies on having Krark-Clan Ironworks, Scrap Trawler, and some stuff to
sacrifice. Our primary goal should be clear: Get these things on the
battlefield and keep them there.
While this may be reductive, if you make every decision with this goal in
mind, in general, you’ll be on the right path to successful play. This goal
creates so many of the tendencies of top Ironworks players: judicious use
of Chromatic pieces, prioritizing access to Buried Ruin and Inventors’
Fair, willingness to crack Turn 1 Chromatics to find acceleration… all
these hallmarks of proper play are just derived from a focus on one primary
goal.
Secondary goals for the deck involve prolonging the game in order to give
you a better chance at fulfilling your primary goal. Recognizing when this
focus has to shift and Engineered Explosives has to be deployed will be
another skill that you will have the opportunity to develop along the way.
For the time being, lean towards your primary goal and figure out when that
proves to be a mistake.
Modern is interesting, in that many linear decks will dramatically shift
primary goals in sideboard games. This is certainly true of Ironworks.
Based on your opponent’s interaction, you may have to switch to a Sai,
Master Thopterist-based weirdo control deck. This won’t be a difficult
determination for you to make, as when your opponent has deployed Stony
Silence and Rest in Peace and you’re without answers, you won’t have much
of an option anyway. If you have Nature’s Claims, you’ll get back to a
position where you’re attempting to achieve your original primary goal.
Strategic Principle
In game 1 configurations, Ironworks seeks to impose its will in two ways:
-
It will punish an opponent attempting to race and end the game
while they commit resources to improving their clock. -
It will use its incredible redundancy and resiliency to continually
present battlefields containing its key combo pieces. At some
point, those pieces will stick and quickly draw into a full-fledged
kill.
There aren’t many decks in Modern that can achieve both modes of play, and
this speaks to why Ironworks is such an incredibly special deck.
Identifying which of these games you’re playing as soon as possible will
serve to inform your decisions, particularly regarding how aggressively you
should be using resources to look for other combo pieces.
In sideboard games, you have access to a third Strategic Principle.
-
Use Engineered Explosives and sideboarded removal to control an
opponent’s battlefield, while either assembling Krark-Clan
Ironworks and Scrap Trawler, or relying on Sai, Master Thopterist
to generate an unbeatable army.
Ironworks benefits from just how well these two paths to victory interact
with one another, as resources generated by both plans also pay dividends
to the other. I.e., Krark-Clan Ironworks will happily sacrifice Thopters,
and Sai loves seeing Scrap Trawler returning even more cards from the
graveyard.
Is it really this easy to pick up a deck which even some of the best
players on the planet have avoided due to competency fears? In short, yes.
Ironworks rewards all the fundamental Magic you’ve been developing
throughout your time with the game. Timing, gameplanning, baiting,
understanding roles-you’ve done this all before. Ironworks is just doing
these things behind an intimidating facade. Tear the facade down and you’ll
see that your first games are no different than the first few you played
with Golgari or Humans.
Amulet Titan
I played the following to an uninspiring 7-4 record at Grand Prix Portland,
but it was one of those tournaments where it felt like if things just broke
a little differently, I would have been putting together a Top 8 run.
Creatures (18)
- 4 Azusa, Lost but Seeking
- 2 Trinket Mage
- 2 Skyshroud Ranger
- 4 Sakura-Tribe Scout
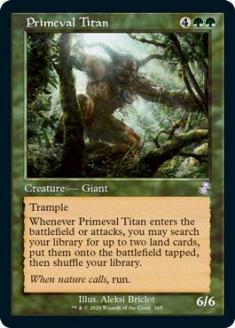
- 4 Primeval Titan
- 1 Reclamation Sage
- 1 Walking Ballista
Lands (28)
Spells (14)
Zero Explore is the future of Amulet Titan, and builds like this mark a
distinct improvement over stock versions of the deck from a month or so
ago. I’m happy that the Amulet Titan community seems to be coming to the
same conclusions: Trinket Mage and Skyshroud Ranger are the way to go. On
to actually playing the deck.
Mechanics
I do think that Amulet Titan has a higher skill cap than Ironworks, but it
makes up for this by having much easier default modes. First, you need to
understand how bouncelands interact with your permanents which allow you to
make extra land drops. With an Amulet of Vigor on the battlefield, each
bounceland you play becomes a +2 mana boost. It’s important not to be too
reliant on this interaction, since you do benefit from having access to
large amounts of mana. Bounce your bouncelands as much as you need to for
your present goals, but don’t be afraid to leave them on the battlefield at
the end of a chain.
Next on the agenda is understanding what a Primeval Titan is capable of
with an Amulet of Vigor or two on the battlefield. I recommend working
through the following battlefields. Assume Primeval Titan has just entered
the battlefield and its trigger is on the stack. Listed lands are untapped.
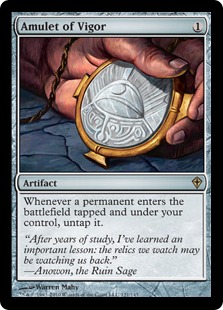
How you approach each of these setups will change dramatically based on
what your opponent is currently doing, but understanding the optimal output
is a fine step one. If you feel like you have a handle on these, start
adding copies of Vesuva; Slayers’ Stronghold; Sunhome, Fortress of the
Legion; and Boros Garrison to your hand. Add and subtract an untapped
Sakura-Tribe Scout to your battlefield. After some time working with these
battlefields, you should get a sense of what you’re capable of at varying
levels of strength.
Hierarchy of Goals
One of the points of ease when it comes to Amulet Titan is that your
primary goal is almost always crystal clear: cast Primeval Titan. This is
how your deck best plays offense and defense. In very rare instances, your
primary goal will shift to casting Ruric Thar, the Unbowed. With your
primary goal locked at six mana, you must be selective with hands you keep.
You can’t rely on a Turn 6 Primeval Titan to turn things around. Due to
your usage of bouncelands, your deck can mulligan surprisingly well. Amulet
Titan is not a critical mass deck. It’s a one-card combo deck. Keep this in
mind and mulligan aggressively.
Secondary goals will occasionally involve finding Engineered Explosives or
Walking Ballista when these cards can be at their absolute most effective,
but in most instances, you would rather use Primeval Titan to either end
the game or eventually set up even more effective X-spells.
While the primary goal may be simple, the real rub is what to do once we
get there. For this, we turn to Strategic Principles.
Strategic Principle
Amulet Titan’s end game may be based on Primeval Titan, but the way in
which it will assert its dominance will change based on a host of factors.
The first check you must make anytime you cast a Primeval Titan should be
“can I kill my opponent?” The answer to the question is usually obvious if
you have only one Amulet of Vigor, but any time you have two Amulets on the
battlefield, you should be willing to go deep into the tank to see if you
can produce a kill. Sometimes this is going to involve bouncing and
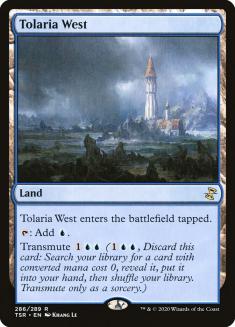
transmuting Tolaria Wests to make additional Primeval Titans, other times
it’s just going to be a single Primeval Titan loaded up with Slayers’
Stronghold and Sunhome, Fortress of the Legion triggers. If this is the
part of Amulet Titan that scares you, I’ve got some pretty good news for
you. If you’re in a position where you have a potential kill and you botch
things up, there’s a good chance you have left yourself with a completely
unassailable gamestate anyway. Getting the kill feels good, and is surely
optimal, but it’s rare that your mistake is going to go as far as to cost
you a game.
The next way a resolved Primeval Titan can transition in to an effective
end game is by producing a surplus of answers or value. The form of this
approach depends on how your opponent is seeking to pressure you. There are
essentially three forms of pressure you can face:
- Control
An opponent attempting to run us out of resources is generally not going to
be pleased with their result. Every resolved Titan has the capability to
protect, produce, and pave the way for additional Titans. Tolaria West plus
bounceland lets us grab either of our Pacts, or if we already have more
Titans, we just put a Cavern of Souls onto the battlefield to assure they
resolve. If we were fortunate enough to resolve a Titan on a turn where a
hasty attack was an option, Slayers’ Stronghold can start making Khalni
Garden’s Plants into meaningful attackers, and a string of bouncelands
assures that answering Plants one-for-one will be a losing proposition.
- Life total
Life total pressure can be answered with Radiant Fountain/Vesuva/bounceland
or a transmuted Tolaria West can become a Walking Ballista or Engineered
Explosives. In sideboard games, Titan will occasionally set up Academy
Ruins plus these two artifacts, locking an opponent out of the game in many
situations. With a little extra time, you may look to set up Tolaria West
into Summoner’s Pact for Hornet Queen.
- Synergistic
Synergistic pressure can be harder to Titan up effective answers to. Ghost
Quarters can stunt fellow big mana decks, and when Ramunap Excavator gets
into the mix, you’ll often look for setups to lock your opponents out of
mana for the rest of the game. Graveyard-based decks are effectively
targeted by Bojuka Bog, and in combination with enough Sakura-Tribe Scouts,
sideboarded Tormod’s Crypt, Relic of Progenitus, and Academy Ruins, you may
be able to completely lock out this path to victory as well.
Again, once you transition past challenging logic puzzle kills, Amulet
Titan becomes a deck about understanding your role in each matchup and
formulating and executing a gameplan. Approaching these challenging decks
with this three-chapter framework allows us to get to the essence of the
game of Magic being played. Absent all the sizzle and distraction (which
often is inconsequential), these decks are just tools designed to
accomplish some very clearly defined goals. When you work harder on
understanding those goals and stop worrying about rote memorization and
logic puzzles, you give yourself the opportunity to gain mastery over time
and escape the fear that plagues us all now and again.