Last weekend at Players Tour Online 1 and Player Tour Online 2, Simic-based decks demonstrated unprecedented dominance. In one of the events, Breeding Pool and Growth Spiral both clocked in at the full 32 copies. If you’re playing Ikoria Standard this weekend, I recommend that you also play a deck featuring both of those cards.
But that implies that you will spend a significant portion of any given event playing against similar decks. The fact is that if you want to win in Ikoria Standard right now, you have to be ready for Simic-based mirrors. These mirrors have a number of dynamics specific to the format right now as well as highlighting general lessons from historical blue mirrors. Note that there are three different Simic-based decks in Ikoria Standard:
- Temur Reclamation
- Bant Control
- Sultai Control
They play out similarly enough that I will speak indiscriminately about all of them in this article. However, there are small differences between them and there is no substitute for playtesting to master these nuances.
Game 1s
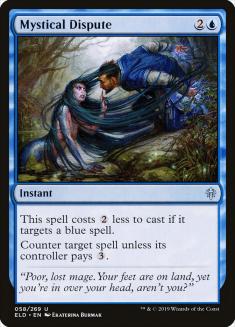
Let me begin by discussing the first game of each match. In this game, both players will have access to a fairly small number of counterspells, usually around two to four depending on the specific list. This means that there will be relatively few counter wars and that you should be highly judicious with your own counterspells. For instance, in Game 1 I would be far less likely to counter Growth Spiral, preferring to hit a more impactful target. By the same token, I am far more likely to cast Teferi, Time Raveler on Turn 4 with Mystical Dispute backup in Game 1. After all, the odds that my opponent has found multiple counterspells in their first few draws simply aren’t that high. By the same token, if my hand is threat-dense, I’m probably going to just tap out completely for threats.
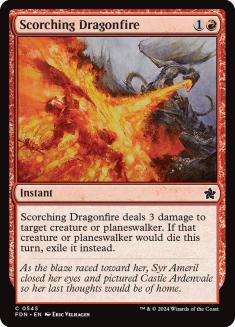
In order to preserve your counterspells, let your opponent resolve any card you can answer other ways. For example, try to hit Uro, Titan of Nature’s Wrath with Scorching Dragonfires so that you do not have to counter it when it escapes later. Keep in mind that large Shark tokens from cycled Shark Typhoons can be used to answer planeswalkers (you can sometimes let them resolve if you’re planning a toothy surprise). The only counterspell I spend frivolously in Game 1 is Aether Gust since it has relatively few targets.
Along the same lines, be aware that in Game 1 players often end up with situational or blank cards in their hand (think Shatter the Sky or Casualties of War). Because of this, you should not assume that an opponent with many cards in hand actually has more action than you do. In general, Game 1s play out more like normal Magic than an old-school control mirror.
Games 2 and 3
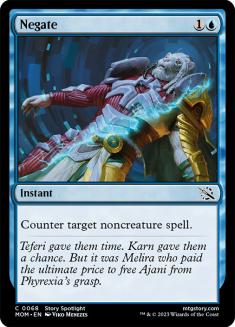
Once players gain access to their sideboards, the games change radically. Both players will have many copies of Mystical Dispute and Negate, and no dead or situational cards. This means that casting spells on your main phase is inadvisable, since your opponent will generally win the resulting counter war due to having more mana for it, and then resolve whatever they want on their main phase.
This means that your goal in these games is always to force your opponent to act first and then exploit their vulnerability. If neither player can force the other to act, the game will tend to drag on for an extremely long time. The easiest way to force your opponent to act is to make a Shark token on your opponent’s end step. Cycling cannot be countered and few other threats can be made at instant speed. Once you have a Shark, your opponent’s best way to answer it is to make their own equal or larger Shark, since doing anything else involves committing mana main-phase.
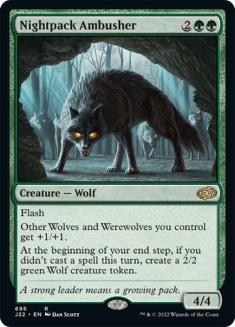
Sometimes an end-step Nightpack Ambusher or similar can force the action. But make sure that, if your opponent counters the Ambusher, you can follow it up with a proactive play and win the ensuing counter war. Otherwise, you have just exchanged your instant-speed threat for their counterspell, which is rarely a good trade. Additionally, be aware that Nightpack Ambusher is not the end-all be-all. Your opponent will sometimes be able to let it resolve and overpower it with large Sharks and Uro.
Winning the Shark War

In order to maximize your chances of winning the Shark war you need to do three things:
- Present as many Sharks as possible.
- Have instant-speed answers for your opponent’s Sharks.
- Make your Sharks at least as large as your opponent’s.
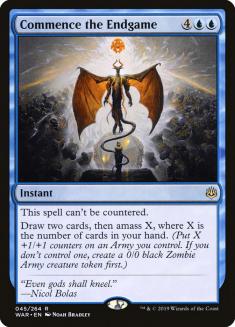
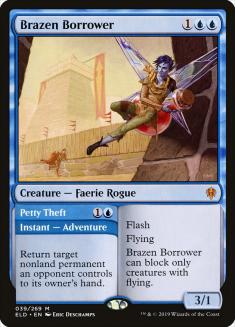
Reasons one and two are why Commence the Endgame and Brazen Borrower are two of the strongest sideboard cards for Simic-based mirrors in Ikoria Standard right now. Be aware, though, that Commence the Endgame tokens can be more easily invalidated by Nightpack Ambusher.
In order to make your Sharks larger than your opponent’s, you need to make more land drops than them. This has several implications. The simplest is that you should err on the side of keeping land-heavy hands and mulliganing land-light hands. But it also means you should look to counter your opponent’s Growth Spirals and Uros while resolving as many of your own as possible.
Of course, if you have no counterspells left after doing this, your victory in the Shark war could be rendered meaningless as Reclamations and Teferis resolve with impunity. Thus, as a rule of thumb, you should generally Mystical Dispute opposing Growth Spirals but not Negate them, since Dispute eventually becomes bad as both players accumulate lands. By playing things this way, you maximize the chances of stranding Disputes in your opponent’s hand while spending yours while they are still impactful. You may have to let Spirals go sometimes, or you might have so many hard counters that Negating one is correct. However, I think this rule is correct substantially more often than not.
A common scenario in the Shark war is where you control a Shark of some size, but your opponent has enough lands untapped to make an even larger Shark. In these situations, you should definitely attack if making that Shark would leave your opponent exposed to you casting an overpowering threat in your second main phase or if you have a Brazen Borrower in hand.
I also think you should attack if you’re behind. If they have it, you were losing anyway since their Shark will prevent your Shark from doing much. But if they do not, you have a chance to gain an advantage right now and cannot afford to throw it away. You generally should not attack in spots like these if you’re ahead or need your Shark to block for a planeswalker. A Shark chump blocking for Teferi so he has enough loyalty to bounce an opposing Shark is a particularly common play pattern.
Uro, Titan of Nature’s Wrath
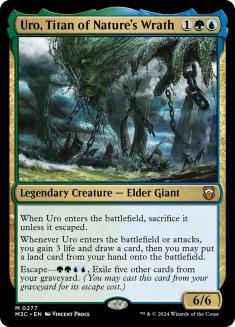
Uro, Titan of Nature’s Wrath is one the most controversial cards in Simic mirrors. I have seen some plans suggest leaving all Uros in, and others suggest sideboarding all of them out. Personally, I think going down to two copies can make sense but I would never want less than that. An early Uro can help you get ahead on mana and win the Shark war if you can find a turn where you can safely tap so low.
In general, I think people do not tap out for their Uros enough early in the game. If you have Mystical Dispute on the play, I think it is frequently correct to just cast Uro on Turn 3 against Temur Reclamation, for example. If they Growth Spiral into an untapped blue source, Mystical Dispute, and then untap and slam Wilderness Reclamation, you will lose on the spot. But that is a fairly specific combination of cards, and if Uro resolves the mana advantage will prove invaluable. The weaker my hand, the more I would be inclined to take a somewhat risky line like this.
These Simic-based mirrors will often reach a point where both players expend many resources in a counter war. Regardless of who wins that war, both of you will then generally be low on resources with a ton of lands on the battlefield. This is the moment when you would really like to have a Uro and sometimes you can just cast both halves of the card in a single turn in these circumstances. But sometimes, you will be unable to justify investing seven mana at sorcery speed, even when both players have used several counterspells.
Thus, Uro works a lot better if you can find a random mid-game turn to resolve the card without being too exposed. My heuristic is to cast Uro on a turn where I’m not planning to make a Shark and where doing so still lets me cast every counterspell in my hand. This typically leaves me more vulnerable to Mystical Dispute for a turn, but that risk is frequently worth taking. Be aware that, in general, Uro is stronger against Temur Reclamation and Sultai builds than against Bant due to Elspeth Conquers Death. As a result, you will often want to make sure that you can win a counter fight after escaping it against Bant, but can be much more aggressive against the other two decks.
Blast Zone
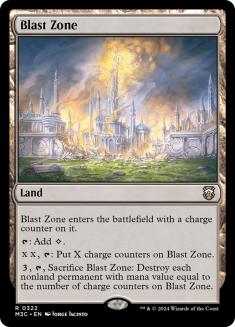
Of the three Simic-based decks, only Temur Reclamation plays Blast Zone. However, it plays an important enough role there that I think it’s worth discussing.
When your opponent has Blast Zone on the battlefield, it means that they can answer a resolved threat without tapping any mana on their main phase or resolving any spells. This means that they can lose a counter war, yet still refuse to act first. However, doing this usually means leaving the threat on the battlefield for a turn or two while they charge and use the Blast Zone.
Thus, you should make sure to get the most you can out of your threats while you still have them. That means minusing Teferi with no targets and going for Reclamation-fueled Explosions sooner rather than later. This will sometimes expose you to other combinations of cards, but it is better to play around the card you know your opponent has than ones they might have.
If you have Blast Zone, it primarily means that you should tap out for Uro more and be more willing to cast Wilderness Reclamation into open mana. This is because you can use the land to clean up anything that they resolve while you’re tapped out. Be aware that you can use Blast Zone to stop an Uro from blocking and that you generally want to keep it on three charge counters against Teferi decks and four in the mirror. Additionally, note that sometimes letting Wilderness Reclamation live for even a single turn is too dangerous and you cannot safely tap out. You should also be willing to keep hands with little or no countermagic if they have Blast Zone.
Good Luck!
Lately, I’ve found myself writing about how to pilot mirror matches frequently, as I feel it is some of the most valuable information to have in static formats. I have no plans to stop writing them, but let me know on Twitter if there are specific things you would like to see in articles like these.
Until next time, may you win all your counter wars and always have the biggest Shark.