Once all the cards in Ikoria Limited had been previewed I sat down with some spreadsheets and started analyzing the set. I made sheets that looked like this:
I wasn’t trying to rank anything. I just wanted to be able to see what was going on in the set — to look at the cards individually and try to figure out which aspects mattered, to highlight patterns, and to look at how well-supported each relevant mechanic seemed to be in each color and what the curves were like.
This was the basis for my initial evaluation of the set that I used to figure out what the actual archetypes were and what each color pair wanted to do. This made it easy to identify early on that cycling was strong and well-supported, and that most allied-color decks weren’t going to be particularly synergistic.
This gave me a pretty big advantage in the first week when people were still figuring the format out. For the first few days I was forcing cycling before it was really respected, and then after I verified that I was right that cycling was strong I moved on to experimenting with green decks, which had looked weak to me, to try to figure them out, and early on I was able to win with those too.
After a while, people caught up, and I started winning a lot less. I hadn’t really challenged any of my initial impressions because they’d been working out for me, but once I started losing more it was clear that there was room for growth, so I started reaching out and experimenting with more things.
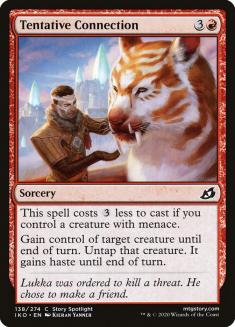
My first major discovery was that Rakdos was well-supported with a wide range of synergies and actually supported multiple sub-archetypes —deathtouch-matters with first strike and Porcuparrot; sacrifice-value with Durable Coilbug, tokens, and Tentative Connection; and menace-based aggro, for example. I’d dismissed allied-color decks collectively because, on a metagame analysis, giving up so many gold uncommons seemed like too high a cost for allied-color decks, but there were so many cards that played much better in this exact combination than anywhere else that there was plenty of support. I just hadn’t put it together.
Lesson One: Don’t assume patterns are consistent.
I looked only at the big picture and what the set seemed to be trying to do on paper, and it looked like it was designed to support enemy-color and three-color decks. I tried to find synergies in Azorius and it was clear that they were loose at best, so I just kind of gave up on the other allied-color pairs before really trying. The big picture made it look like allied colors weren’t suppose to work, so I didn’t do proper due diligence to make sure that none of them worked anyway.
Lesson Two: Pay attention to the removal.
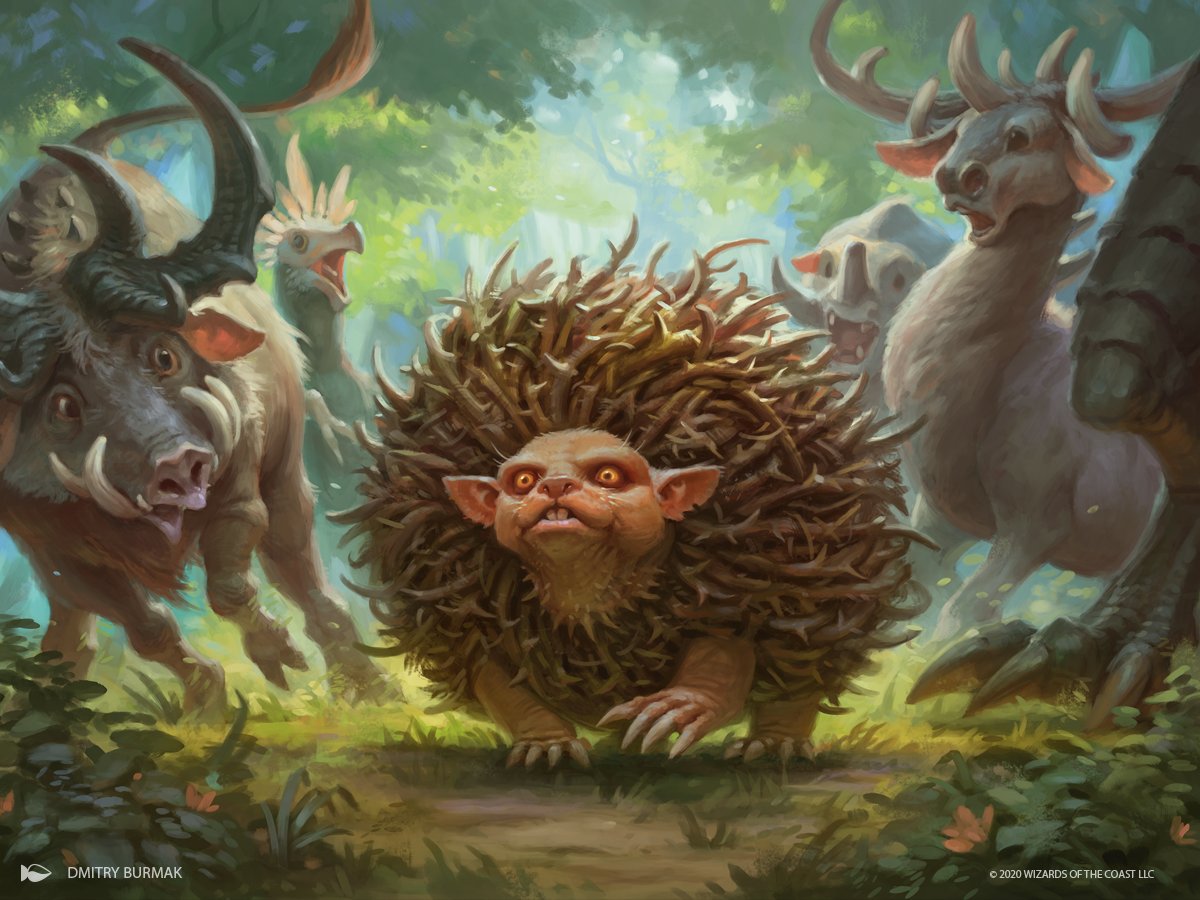
I believed green was bad from the beginning. The big issues were that it seemed clear that Prickly Marmoset and Snare Tactician could dominate combat against more expensive creatures, and that the removal in this set was particularly strong, which also punished large creatures.
I still believe all of that, but it took a long time to really get how everything fits together.
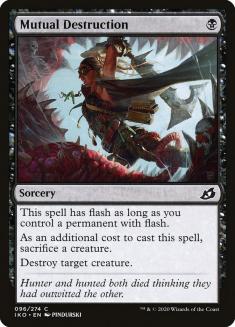
Removal in this set is as good as it gets. Every color has good interaction for one or two mana at common (Pacifism, Essence Scatter, Mutual Destruction, Fire Prophecy, and Ram Through) and every color other than green has additional removal that is also very good. Every color except green also has cheap premium removal at uncommon, sometimes more than one card. A defining aspect of this set is how strong the removal is.
There are also a lot of cheap creatures that can interact positively with more expensive creatures — Almighty Brushwagg, Boot Nipper, Checkpoint Officer, Snare Tactician, Prickly Marmoset, and Spelleater Wolverine, for example, are all relevant against five- or six-mana creatures.
All of this should point to the idea that expensive creatures aren’t very good in this format, and all of this should have been apparent from looking at the card file, but we can conclude even more than that.
Lesson Three: There’s a lot more to land count than mana curves.
On average, this is probably the lowest-land format I’ve ever played. Part of that is the cycling deck specifically; part of it is just the fact that there are spells that cycle for a colorless mana in other decks and a few of those make it easy to trim a land. Yet even when I have no cycling cards, I often end up playing fifteen or sixteen lands, sometimes with curves where I generally wouldn’t do that in other formats. Why does this happen?
It’s a product of the strength of cheap removal and cheap creatures. You can get stuck on two or three lands and still cast cards that trade with your opponent’s four- or five-mana plays, which can buy time to draw the lands you need, and then it’s pretty easy to leverage your extra spells to win.
The strength of the removal in general and cheap removal in particular leads to games that last a long time, which means curving out is less important. Particularly when a two- or three-mana creature can trade with a four-mana creature, there’s little advantage to playing a four-mana creature, particularly on curve.
Players have a lot of misguided shortcuts. In general, people think they want fewer lands in aggro decks than in control decks because aggro decks have lower curves. There’s some truth to this, but it’s a lot more complicated. The shorter the game is, the more punishing it is to miss a land drop, provided the long game means that you’ll ultimately be constrained by material rather than mana. Some aggro decks in Limited lean very heavily on hitting their fourth land to cast a four-drop on Turn 4 so that they can end the game quickly by attacking with that four-drop. Some control decks don’t care if they hit their third land because they have lots of two-mana removal spells than can trade with their opponent’s plays to prolong the game, allowing them to cast their most expensive spells before the game is over.
The more important it is to hit your land drops on curve, the more lands you want to play, and this point supersedes curve or number of expensive spells, though it is largely informed by those.
Because this format has cheap creatures and spells that trade with more expensive creatures, it’s on the low end in terms of priority of hitting your land drops, which means it’s a lot more common for normal-looking decks to want to play abnormally low amounts of land.
Even if your deck doesn’t have a lot of cheap removal, the fact that your opponent likely will means the game is likely to go longer and flooding will be more punishing.
Lesson Four: Strong removal doesn’t necessarily reward control decks.
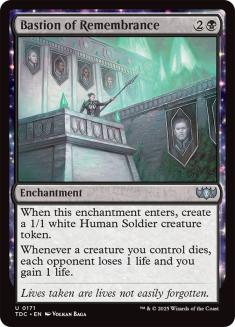
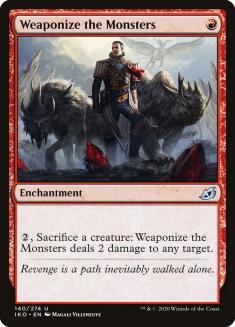
Removal is strong, so expensive creatures are weak. Further, cards that interact favorably with removal are strong. Durable Coilbug, Whisper Squad, Forbidden Friendship, and Nightsquad Commando are very strong against removal, but cheap creatures in general are good. So are cards that are explicitly good against removal like Bushmeat Poacher, Fight as One, and Keep Safe. Bastion of Remembrance and Weaponize the Monsters also fall in this category.
This format has a lot of cards that are good against removal, and there’s a clear incentive to try to play them. This means that decks full of removal struggle against decks build to exploit removal, which means it’s actually hard to play a true control deck.
The result is that the format is mostly about going under people rather than going over people. This is counterintuitive given that the games go long.
Lesson Five: You have to follow the rules of engagement.
This isn’t exactly true — sometimes you can have cards or decks that are strong enough that they’re good even though they’re worse than they might be in another context. What I’m really talking about is my ongoing quest to figure out green.
Before I really thought through all the implications about how punishing the format was for expensive creatures, I noticed that I was winning more with decks that had cheap creatures, and I concluded that it was very important to play to the battlefield early. As a result, I inferred that acceleration would be strong because it would let me play to the battlefield more quickly, so I overrated Humble Naturalist. In reality, Humble Naturalist is exactly wrong for the format for the same reason playing more lands is wrong. You don’t want to play big creatures more quickly because they just get killed and you’re left with an extremely low-impact creature, and then you flood out.

Green needs to follow the same rules as everyone else. The green commons that have impressed me most are Essence Symbiote and Almighty Brushwagg. For way too long, I thought Almighty Brushwagg was pretty bad, but it’s actually great. Threat of activation means it pushes damage in the mid-game, and then in the late-game, if your opponent hasn’t used a removal spell on it, they often need to trade two creatures with it to deal with the 7/7 trampler that’s attacking them. It’s also basically perfect to mutate onto, since the resulting creature always dominates combat.
Between the Mentor cycle and mutate creatures, even ignoring all the other pressures against expensive creatures, there’s a lot of pressure to play a non-Human creature on Turn 1 or 2, and the only green options are Almighty Brushwagg and Essence Symbiote. This makes these two creatures tremendously important.
These days, on the rare occasion that I draft green, I focus on drafting cheap creatures and combat tricks like Sudden Spinnerets and Fully Grown and just try to be as aggressive as possible, and that seems to work much better than anything else I’ve done with green.
Lesson Six: Narrow cards are better in long games.
Big creatures get killed and small creatures don’t end games quickly, so the game lasts for a long time. This means you have a lot more chances to find a window to take advantage of a card like Keep Safe, or to line up your Blade Banish with one your opponent’s two creatures it can kill. This also means combat tricks are a little better, though it’s worth noting that they tend to be bad a little weaker in formats with strong removal. It also means combos are better, since you have more time to find both parts, which is part of why I’ve had a lot of success combining Mutual Destruction and Tentative Connection. You still never want to fill your deck with narrow cards because you do need to be able to play a game of Magic, but cards that might normally just be sideboard cards are a little more likely to have a chance to shine in this format.
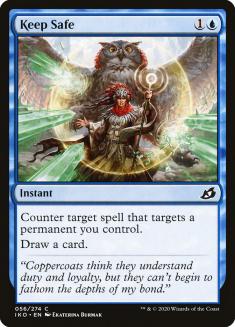
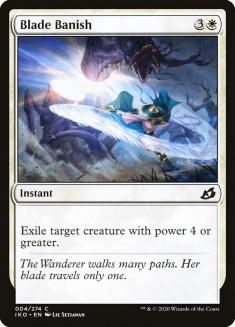
This is a lesson I’m just learning. I’ve started playing Keep Safe more in the last day or two, and it’s been performing very well, and I’ve generally avoided Blade Banish, but I tried it recently in a deck that was light on removal and I was satisfied. I’m still not very excited about four-mana removal, especially since, as I’ve been discussing, it doesn’t line up well against the cards I think people should focus on, but most decks do have some expensive creatures, and since games go long you do need to be able to deal with them.
After years of only playing a Limited format for a few weeks to prepare for a Pro Tour before moving on to focus on Constructed for most Grands Prix, it’s been pretty amazing to get to go this deep on Limited again for the first time in years. I’m becoming more and more convinced that the more time I put into any given Magic format, the more I enjoy it because I can appreciate so many more of the decisions as I develop a better understanding of the context.