
Last week on our new
What We’d Play
feature, four of our seven contributors recommended playing some form of
Golgari for last weekend’s Standard tournaments. Four out of seven is a
strong recommendation, so strong that I started to worry that we were
slipping into some form of groupthink. Surely Golgari wasn’t actually that
far ahead of the rest of the field, right?
Well, turns out that as far as the
Magic Online PTQ
was concerned, Golgari Midrange was in fact that far ahead.
Farther actually, as our four recommendations pale in comparison to the six copies of Golgari Midrange that placed into the Top 8 of that
event. If you were playing Standard last weekend, Golgari Midrange was the
place to be.
Will that be the case going forward? Maybe, maybe not. Despite Golgari
Midrange’s dominant performance last weekend, I do not personally believe
that it will be Standard’s ‘best’ deck for very long. We’ve only scratched
the surface of what is possible in Guilds of Ravnica Standard and
my best guess is that the format will settle into a shape wholly
unrecognizable to us right now, two weeks after the set’s release.
Still, Golgari Midrange not being a lock to be Standard’s best deck doesn’t
mean it isn’t going to be a perennial player in the metagame. To the
contrary, I think Golgari Midrange has proven itself to be a real deck and
I expect it to stick around in some form or another throughout this
Standard format. As such, it behooves us to learn how to play it.
Lucky for you, that’s what I’m here for. I’ve spent untold hours playing
and tuning the Golgari Midrange deck over the last couple weeks and today
I’m going to share everything I’ve learned about how to play the deck
against the most popular strategies in Standard. Here’s the list we’re
working with:
Creatures (24)
- 1 Wildgrowth Walker
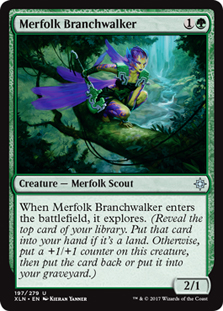
- 4 Merfolk Branchwalker
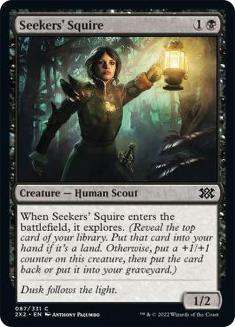
- 4 Seekers' Squire
- 4 Jadelight Ranger
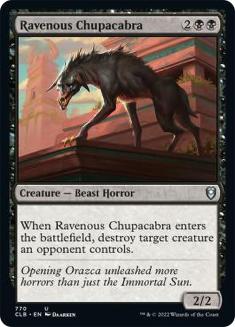
- 4 Ravenous Chupacabra
- 2 District Guide
- 2 Golgari Findbroker
- 3 Plaguecrafter
Planeswalkers (7)
Lands (24)
Spells (5)

This list is the product of all my work on the Golgari Midrange deck.
Autumn Burchett
piloted it to a Top 8 finish in the Magic Online PTQ last weekend, and I’m
confident the deck was well-constructed for the Standard metagame as of
last week. There’s lots of ways to play Golgari Midrange though, and as
good as I think my list is, I wouldn’t dream of telling you it’s the only
way to go. I’ll keep the matchup strategy applicable no matter what the
details of your list look like.
Mono-Red Aggro
Let’s start with the deck that dominated the Standard portion of #SCGCOL, Mono-Red
Aggro. Here’s a look:
Creatures (22)
- 2 Rekindling Phoenix
- 4 Fanatical Firebrand
- 4 Ghitu Lavarunner
- 4 Goblin Chainwhirler
- 4 Viashino Pyromancer
- 4 Runaway Steam-Kin
Lands (22)
- 22 Mountain
Spells (16)
In the abstract, I believe Golgari Midrange is slightly ahead in this
matchup. Indeed, that’s one of the big draws to Golgari Midrange in this
Standard format: you get to be naturally good against Mono-Red Aggro
without devoting a lot of attention to it because your cards just match up
well against theirs. You can still lose the matchup, of course, and there’s
two types of games you lose against Mono-Red Aggro: games where you get
overwhelmed early and take a lot of creature damage, and games where
Experimental Frenzy gets out of control.
Let’s start with the creature games. Getting in with its creatures early is
a critical part of the red deck’s game plan. All its other spells get much better when it’s able to connect for some chip damage early.
Lightning Strike and Wizard’s Lightning look much better when their three
points of damage represent half of your life total rather than a seventh.
Risk Factor becomes Ancestral Recall with Flashback when your life total
gets low. All in all, the red deck is much scarier if its early creatures
deal damage.

And so it stands to reason that your primary goal should be to stop them
from getting in early chip damage. The sooner you manage to stabilize the
battlefield, the better. The best way to stabilize the battlefield is to
play creatures of your own. The easiest way to lose to Mono-Red Aggro is to
not have a creature to play on both turn two and turn three. Prioritize
having these early creatures with your mulligan decisions once you know the
matchup and use the card selection of the explore mechanic in your favor.
Experimental Frenzy games are another matter. If you let the game go to the
super late game, Experimental Frenzy with nine Mountains will beat whatever
battlefield you’ve assembled. Casting four spells a turn is the
expectation, not an outlier, and you can’t beat that kind of engine.
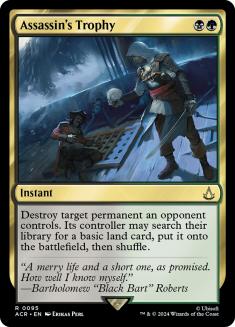
Luckily, we have tons of answers to Experimental Frenzy in Assassin’s
Trophy and our five- and six-mana planeswalkers, so we’re not just cold to
the card.
But even with a reasonable density of answers, sometimes you just don’t
have one and once Experimental Frenzy gets going you don’t get a lot of
time to find one. This is why it’s important to turn the corner as soon as
possible and start turning your creatures sideways. I know I preach getting
aggressive pretty often, so I won’t go into too much detail, but remember
that the second you stabilize the battlefield is also the second you should
start thinking about going on the offensive. Sorry, you don’t get to take a
breather.
Out:

In:
Our goal while sideboarding is to maximize our ability to stabilize the
battlefield while preserving our ability to answer Experimental Frenzy. If
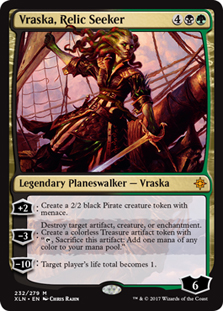
Experimental Frenzy were not a concern, I would snap cut all the Vivien
Reids and most of the Vraska, Relic Seekers and lower our curve as much as
possible. Indeed, against lists that lean heavier on The Flame of Keld than
Experimental Frenzy, that is exactly what I do.
The main difference in sideboard games is that now that you know what
you’re up against, you can and should mulligan to hands that have plenty of
early action. You need to affect the battlefield every turn starting on
turn two. Past that, the Mono-Red Aggro decks have a variety of plans
against us after sideboard. Some will minimize their aggressive potential
in favor of lategame card advantage engines and Rekindling Phoenix. Make
sure to adjust your play and sideboarding dynamically for what their plan
is; attack more aggressively if they’re playing to a long game, stay the
defensive course if not.

If you want to improve this matchup from the Golgari Midrange side of
things, the easiest thing to do is play Dead Weight and more two drops. Our
biggest pressure point in the matchup is not having a single card that
costs one mana, leaving us very far behind when on the draw. If you expect
a lot of Mono-Red Aggro, lower the curve of your deck.
Tips and tricks:
-
Rekindling Phoenix can be a huge headache if they’re playing it,
and you might need to get creative to beat it. Look for
opportunities to combo-kill it with Ravenous Chupacabra and
Deathgorge Scavenger. -
Seekers’ Squire is the best explore creature in the matchup because
it never dies to Goblin Chainwhirler. Be mindful of Chainwhirler
when sequencing Merfolk Branchwalker and Jadelight Ranger. -
Don’t just jam your Wildgrowth Walker on Turn 2. It’s okay to miss
out on a trigger or two in order to protect your Walker from a
Lightning Strike. -
Using Assassin’s Trophy, Vivien Reid, or Vraska, Relic Seeker to
destroy The Flame of Keld before chapter two triggers is a huge swing in your favor. -
Remember that Deathgorge Scavenger can exile Risk Factor and
prevent it from being jump-started. -
Runaway Steam-Kin is the most important creature they play.
Prioritize dealing with it, even if it means making an unfavorable
trade or taking more damage than you otherwise would.
Jeskai Control
Moving right along, let’s talk about Jeskai Control. Here’s the list that
took 6th in the PTQ:
Creatures (4)
Planeswalkers (4)
Lands (26)
Spells (26)
Like everything else in this Standard format, the Jeskai Control lists are
far from set in stone. That’s important, because the details of the Jeskai
Control build dictate who is favored in the matchup. As a rule of thumb,
the more creatures played in the Jeskai Control deck, the more favored
Golgari Midrange is. More Expansions means the matchup is better for Jeskai
Control, while overloading on spot removal swings it back towards Golgari
Midrange.
Basically, the Golgari deck has a very easy time handling creatures played
by the Jeskai deck. Niv-Mizzet, Parun and Crackling Drake are both
liabilities in the matchup. Rekindling Phoenix is the only exception, but
that card is far from a mainstay in Jeskai Control lists at this point.
Teferi, Hero of Dominaria is a great win condition for the Jeskai lists,
but Plaguecrafter means he can be answered by Golgari. Something else is
needed, and if that something else is creatures, Jeskai suffers in the
matchup. If it’s Explosion, Golgari falls far behind.
The Golgari Midrange plan in the matchup is relatively straightforward:
curve out with mopey creatures and put Jeskai on the back foot. Force them
to react to your battlefield, then use the window you’ve created to jam a
planeswalker onto the battlefield. The Jeskai deck has few ways to answer
resolved planeswalkers, so getting one onto the battlefield is your best
path to victory game one, and second only to Carnage Tyrant in sideboard
games.
This is a pretty common plan for midrange decks against control decks, but
the Golgari Midrange decks enact a cool variant of it: the Golgari deck
gets to overextend into sweeper effects. Because it plays cards like
Golgari Findbroker and Find, the Golgari deck can recover from sweepers
very easily, which means it can afford to overextend into them. The result
is that the Golgari deck is better at forcing the Jeskai Control deck onto
the back foot and thus better at creating windows for its premier threats
to resolve than other similar decks have been against control strategies in
the past.
Out:
In:
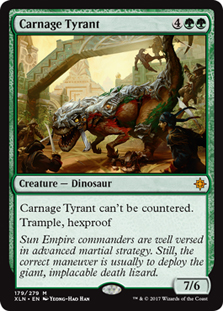
Carnage Tyrant is the most effective weapon I’ve found against the Jeskai
Control deck. It’s a card I’ve always hated against control strategies in
previous formats because I thought it was too expensive for a threat that
could be answered with a simple sweeper but Find and Golgari Findbroker
really heighten its ability to end the game. Even if your opponent finds a
Cleansing Nova you can still count on being able to use that same Carnage
Tyrant to close out the game. It’s very easy for you to end up casting more
Carnage Tyrants than they have answers in their deck. If Settle the
Wreckage starts becoming commonly played, this will change, but for now I’m
very excited to jam Carnage Tyrant for this matchup.
One of the major things to watch out for while sideboarding is to not
overdo it on answers to Teferi, Hero of Dominaria. This sideboard plan
leaves two copies of Vraska’s Contempt and a copy of Assassin’s Trophy on
the bench, and I think that’s fine. You want to answer Teferi, but you’ll
lose games due to drawing too much interaction and not enough pressure just
as easily as you’ll lose to them having a Teferi you can’t answer.
Plaguecrafter goes a long way, and since it can be rebought, is the best
Teferi answer in your 75.
Other than that, the sideboarding is pretty simple. Cut expensive cards
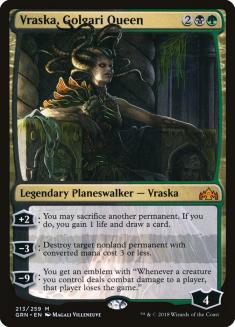
that don’t do anything valuable in the matchup like Ravenous Chupacabra and
Vraska, Golgari Queen, bring in cards that matter. There’s more cards to
bring in than we necessarily want to cut, so we trim on our creatures that
provide the least pressure in Seekers’ Squire and take out the synergy
dependent Wildgrowth Walker against the deck that can easily disrupt our
synergies. If your opponent is heavy on creatures, you should leave in a
couple copies of Ravenous Chupacabra.
If you want to be better against Jeskai Control, the first place I’d look
is at the fourth Carnage Tyrant. If Settle takes off or you don’t like
Carnage Tyrant for some other reason, Arguel’s Blood Fast is the next
option. I don’t like Blood Fast in Golgari Midrange anywhere else, but it
is good against the control strategies.
Tips and tricks:
-
Have a plan for your Duress. If you’re trying to protect a
planeswalker, cast it the turn before you’d cast the planeswalker.
If you’re trying to hit a Teferi, Hero of Dominaria cast it on turn
four. In general, taking Teferi or an Explosion is better than
taking a piece of countermagic to protect a play of yours, but
context changes everything. -
Vivien Reid and Vraska, Relic Seeker can destroy Search for
Azcanta. Assassin’s Trophy can as well, and can also destroy
Azcanta, the Sunken Ruin. -
Fire off Find in spots when it will resolve, even if the targets
aren’t optimal. Getting back any two creatures gives you
significant pressure and is generally better than waiting to rebuy
double Golgari Findbroker or whatever pipe dream you’re
envisioning. -
It’s very rare that you want to use the Burglar Rats mode on your
Plaguecrafter. Save it for one of their threats, it’s not like the
Jeskai deck plays any that aren’t good. When you do use
Plaguecrafter, always sacrifice it to itself. You want it in the
graveyard to rebuy later should the need arise, and that
possibility is always worth more than having a slightly bigger
creature on the battlefield. -
Every commonly played non-creature permanent in the Jeskai deck is
scary. We’re familiar with the power of Search for Azcanta from
last Standard, but a transformed Azor’s Gateway turbo charges
Explosion and steals games. Prioritize getting these threats off
the battlefield.
Golgari Midrange
Last but certainly not least, it’s time to talk about the mirror. In terms
of sheer numbers, this is probably the most important matchup in the format
right now, simply because Golgari Midrange appears to be the most played
deck.
The first thing to understand about the mirror is that the creatures don’t
matter. It’s virtually impossible to be far ahead enough on the battlefield
to actually put your opponent on the back foot. Attempting to press a
temporary battlefield advantage is a fool’s errand and will result in you
losing the game. Planeswalkers are the path to victory through the
inevitable battlefield stalls, and that fact is the main reason I think the
planeswalker-centric build of Golgari Midrange is the best.
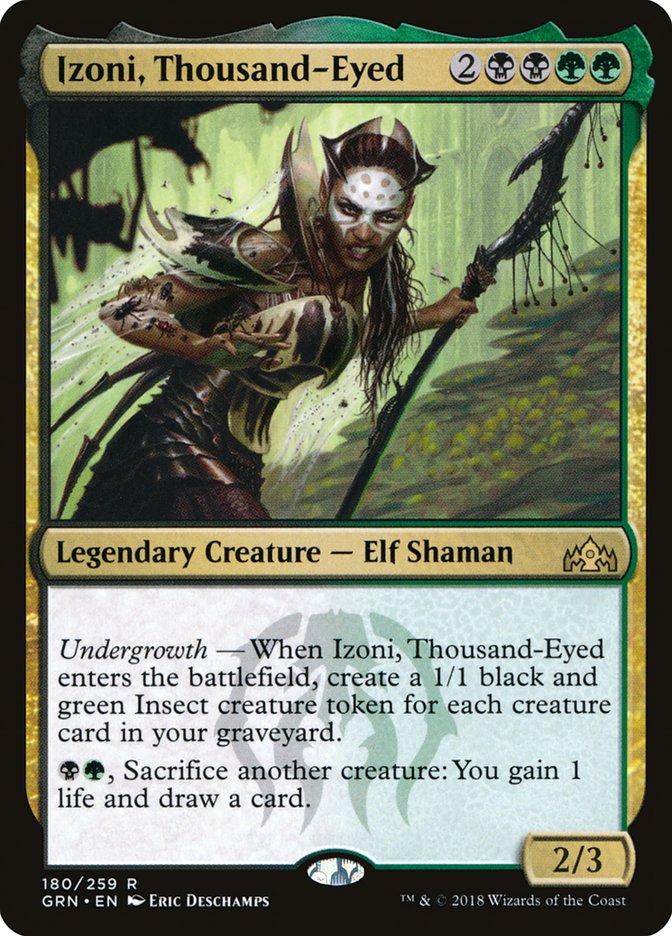
There are, of course, other schools of thought. Izoni, Thousand-Eyed is
another commonly played top-end of the deck that serves in a mirror-breaker
role. If you’re used to playing against lists without Izoni, it’s very easy
to be surprised and lose the game to it, but if you’re prepared I don’t
find Izoni to be very scary. Once Izoni itself is dealt with, it’s very
hard for the undergrowth count to be high enough for the Insect tokens to
create profitable attacks. Looping Izoni is the biggest concern and what
you need to watch out for but can be answered with Finality.

The Eldest Reborn is another popular strategy, one that in theory should be
good against my planeswalker heavy plan. In practice, I don’t find that to
be the case. Careful play ensures you always have plenty of creatures on
the battlefield no matter what your opponent does, which means you’ll never
have to sacrifice a planeswalker to chapter one. The biggest danger is them
rebuying your planeswalkers with chapter three, but it’s relatively easy to
either keep your graveyard empty of them with Golgari Findbroker or to use
one of your planeswalkers to destroy The Eldest Reborn before chapter three
ever goes off.
The early game in the mirror can be rather boring. Attacking is rather bad,
so both players just build out their battlefields and stare at each other.
Use your explore triggers aggressively and skip past all the replaceable
creatures to guarantee you find the cards that matter as soon as possible.
Never waste an Assassin’s Trophy on a creature, the game isn’t about your
3/2s attacking past their 3/2s. Overpower your opponent first, then press
the attack.
Out:
In:
After sideboarding, we have three main goals: preserve our ability to
defend our planeswalkers, maximize our ability to answer planeswalkers
outside of the combat step, and maximize our Carnage Tyrant count.
Plaguecrafter is miserable in the matchup, always trading one-for-one with
their worst creature and letting them load their graveyard with whatever
they want. Wildgrowth Walker is the weakest creature in our deck to
Ravenous Chupacabra. From there we trim on irrelevant creatures, and
Seeker’s Squire gets the nod over Merfolk Branchwalker on the virtue of 2/3
being a better body in the matchup than 3/2.
As a rule of thumb, I don’t like Deathgorge Scavenger for the simple reason
that it dies to Ravenous Chupacabra without leaving any value behind,
unlike every other creature you play. However, if your opponent brought
different tools to the table and is looking to rebuy The Eldest Reborn,
Phyrexian Scriptures, or Izoni, Thousand-Eyed with Golgari Findbroker,
Deathgorge Scavenger gains a lot of value and should be played.
Pre-sideboard games in this matchup feel wildly different than
pre-sideboard games, and the reason is mostly because of Carnage Tyrant.
Tyrant is impossible to answer and is very threatening. It’s also one of
the few things that is very good at dealing with your opponent’s
planeswalkers in the combat step, and that matters a lot.
When playing to a Carnage Tyrant in sideboard games, you’re much more
incentivized to trade with your opponent than you were in game one. The
smaller the battlefield, the harder it is for your opponent to successfully
multi-block Carnage Tyrant.
If you’re interested in having an edge in the mirror match, consider
Llanowar Elves. Elves comes with a whole host of deckbuilding problems but
turn one Elf in the mirror generates a tempo advantage that can be hard to
overcome. I’ve lost more games of the mirror to turn one Elf into turn
three Vraska, Golgari Queen than anything else, and I don’t think that’s an
accident. It’s not pure upside though, as Ritual of Soot becomes excellent
against you if you’re playing Llanowar Elves.
Tips and tricks:
-
When considering potential attacks and blocks, always be mindful of
both your need and your opponent’s need to fill the graveyard. Your
graveyard is a resource, so you want to keep your opponent’s most
valuable creatures like Ravenous Chupacabra and Golgari Findbroker
on the battlefield while getting yours into the graveyard. Easier
said than done, but it’s something to think about. -
Find is much better than Finality in the matchup. Because Finality
gives your opponent the first chance to rebuild their battlefield
with all their mana and the one big creature you’re left with is
easily dealt with, it takes very specific and rare battlefields for
Finality to actually get you ahead. 90% of the time you want to be
casting Find instead. -
The best answer to Carnage Tyrant is another Carnage Tyrant.
Finality is a way to make your Carnage Tyrant beat theirs in
combat, and that can be very important. -
Be very mindful of Plaguecrafter when defending planeswalkers.
Never trade off your last creature when they alpha your
planeswalker; if you do, you’re just opening yourself up to a main
phase two Plaguecrafter to force you to sacrifice it. It’s okay to
let your planeswalker take a little damage, turtling up next turn
is easy. If you can’t defend your planeswalker while keeping a
creature alive, don’t deploy your planeswalker yet. -
Addendum to the last tip: when they get to seven mana, always make
sure to play around Ravenous Chupacabra plus Plaguecrafter by
keeping two creatures on the battlefield. -
Using Assassin’s Trophy to destroy Memorial to Folly in the late
game can shut down your opponent’s Golgari Findbroker loops and
leave you with a sizeable advantage.
And All the Rest
Alright, that’s all the time I have to discuss matchups in detail, but I’ve
barely scratched the surface of the format. I’d feel bad leaving without
sharing more, so here’s a few more matchups in brief, just sideboarding
guides and a few short sentences. Hopefully enough to get you on the right
path.
VS Mono-Blue Aggro
Out:

In:
This matchup is surprisingly bad for Golgari Midrange. If you have a
sweeper in your sideboard, this is one of the places you want it, along
with a third copy of Duress to help punch it through. Keeping Curious
Obsession creatures off the battlefield is your first priority, killing
Tempest Djinn is your second. Plaguecrafter and Ravenous Chupacabra are
your best cards. They are very good at disrupting your attempts to manage
their battlefield, so you’ll often find yourself on plan B: racing. Your
creatures are bigger, so this is easier and more viable than it might
appear. Deathgorge Scavenger and Wildgrowth Walker do a lot to help you win
these races.
VS Selesnya Tokens
Out:
In:
We are behind in this matchup. Plaguecrafter is very bad against the tokens
deck and is our first cut. Assassin’s Trophy isn’t something we’re excited
about but is a necessary evil against the likes of Tocatli Honor Guard and
The Immortal Sun. Duress is surprisingly good against Selesnya Tokens for a
deck so dependent on the combat step. This is another matchup where not
having access to a sweeper really hurts us, and March of the Multitude will
often end the game on the spot if we don’t have exactly Finality right
away. Keep their battlefield as small as possible to minimize the power of
their synergies. Our gameplan is to protect our planeswalkers and match
their tokens with real creatures, which is weirdly possible thanks to how
powerful Vivien Reid and Vraska, Relic Seeker are.
VS Boros Angels
Out:
In:
This is a very good matchup. The Boros Angels deck has a very hard time
beating Ravenous Chupacabra, and we play four and then some. Add in the
fact that our planeswalkers double as Angel-killing machines and the
percentage points really start to add up in our favor. The main way we lose
involves very aggressive starts with Knight of Grace, which is why I trim
back on Seekers’ Squire and thus black permanents, replacing them with
Wildgrowth Walkers.
VS Mono-White Aggro
Out:
In:
This matchup is fine for us. Tocatli Honor Guard is a huge concern, and the
only reason we play every piece of spot removal we have access to in the
75. We just want to stay alive and we’ll eventually win the game, so we can
trim on our top-end planeswalkers. Accept trades aggressively, play to the
battlefield, and trust that Find and the planeswalkers left in your deck
will win the lategame.