
Adjusting to changes in the Modern metagame is more of an art than a science. Some believe the best approach is to constantly switch decks, looking for the deck every week that is positioned best against both the up-and-comers and the old guard of the format. Others prefer to master a single deck and play it until the format proves to them that they can no longer do so and expect to win. Of course, sticking to the same deck doesn’t preclude them from making changes to their 75 to account for shifts in the metagame.
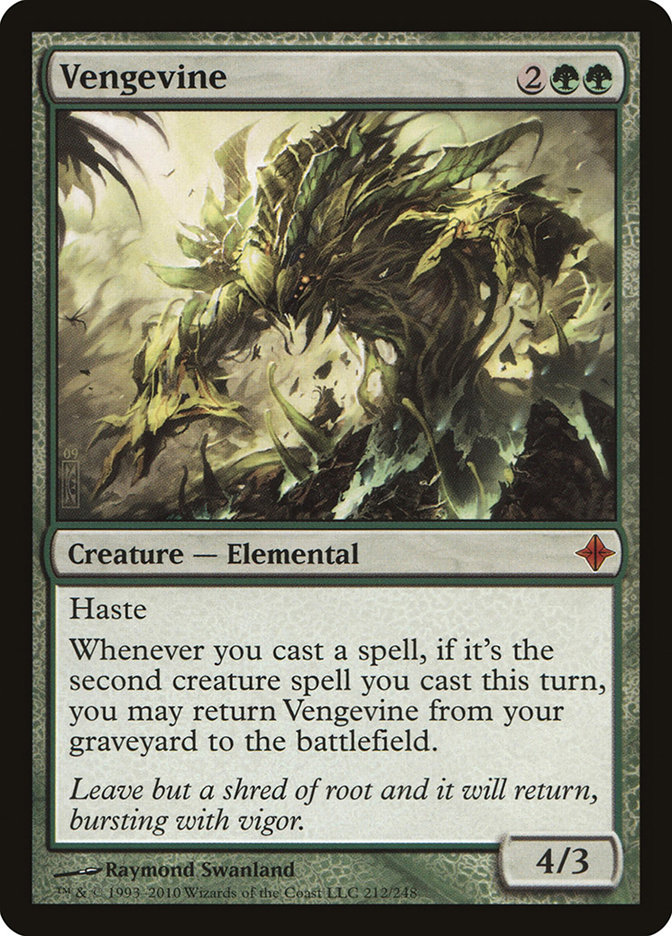
Myself, I tend to believe that overreacting is one of the biggest mistakes you can make in Modern. The new hotness consistently fails to gain enough of a metagame share to be worth pivoting your tournament around. We saw it with Grixis Death’s Shadow, we saw it with Humans, and we’re seeing it again with B/R Vengevine and U/W Control. Modern simply has too many decks to expect to play against any single deck more than once or twice a tournament, and overreacting to decks like that will cost you your tournament more often than it will earn you important wins.
That’s not to say that you’re supposed to ignore shifts in the metagame or that switching decks is a fool’s play. Far from it: you must always be ready for the current world of Modern. You just can’t afford to overreact. Instead you need to make the smallest possible changes that will allow you to compete against the new and shiny things while still preserving your ability to compete with the decks that were. Yet doing so is a tall order.
It’s easy to look at a Humans list and think to yourself that the way to approach this deck is to have a lot of removal to keep the Humans down. It’s easy to look at an R/B Vengevine deck and realize that the best angle of attack is to throw a bunch of graveyard hate into your sideboard. It’s hard to figure out what the smallest amount of removal you need to beat Humans is, and it’s hard to know how much graveyard hate will raise your win rate against R/B Vengevine to an acceptable level. Overreacting is easy; crafting nuanced, appropriate responses is difficult.
The tool I use to help come up with appropriate responses is something I call disaster states. These are the battlefields and overall game states that the decks I’m worried about want to create on the way to victory. Preventing these game states from occurring or having ways to favorably break out of them once they occur is key to winning the matchups. The utility of thinking about matchups in this way is that finding ways to avoid these game states is a narrower task than beating a strategy as a whole, one that we can reasonably expect to find minimally impactful solutions to.
As such, here are the key disaster states of three of Modern’s newest and scariest decks right now. Finding the minimal way to prevent these battlefields from existing in your matches will be your key to victory this weekend at #SCGBALT.
Humans
Disaster State #1: Mantis Rider.
You’re in the mid-game against a Humans opponent and things aren’t looking great. The battlefield is well and truly stalemated, with your forces staring across the way at the army of Humans, neither able to make profitable attacks. This would be good news…if it weren’t for the Mantis Rider attacking you every turn in the clear blue skies. If fortune doesn’t favor you soon, that Mantis Rider will soon be the end of you.
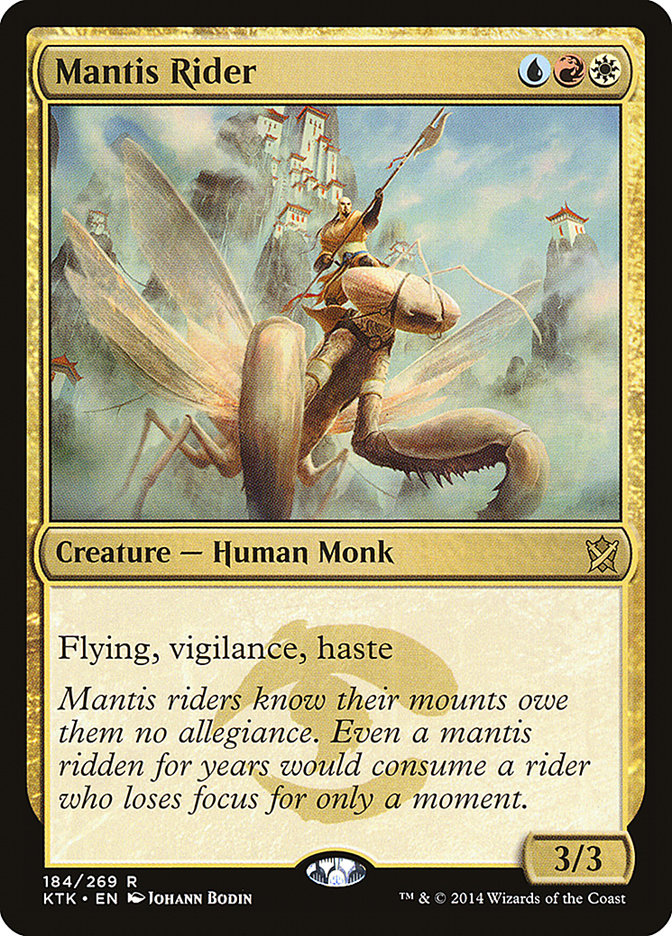
Mantis Rider is a key part of the Humans plan against other creature decks. While the rest of the team keeps the opposing forces at bay, Mantis Rider swoops in turn after turn, pecking away at the opponent’s life total until the game is decidedly in the Humans player’s favor. Breaking out of this disaster state is relatively easy to do and reverts the game to parity rather than leaving the Humans with a lasting advantage, making this what I term a “soft” disaster state.
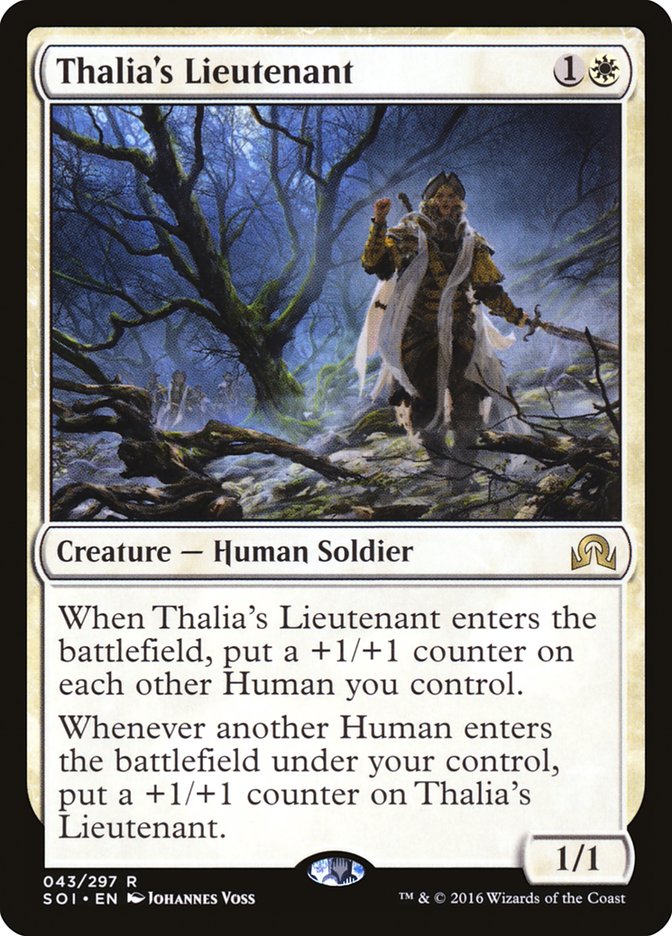
To get out of this disaster state once it occurs, you need to prioritize removing Mantis Rider. This means saving removal spells for potential future Mantis Riders and not spending them early on irrelevant ground creatures just because it’s mana-efficient to do so. Savvy Humans players know the premium that Mantis Rider is worth in these matchups, and you will see them make plays like keeping Aether Vial on two to preserve the option to deploy Thalia’s Lieutenant to save Mantis Rider from a Lightning Bolt or declining trades to prevent revolt for Fatal Push to do the job. Removal spells that reliably kill Mantis Rider are important.
To prevent this disaster state from occurring, you need to seize a ground advantage quickly and make the Humans player go on the defensive, or you need to nullify the Mantis Rider advantage. Lingering Souls is excellent at denying Humans their Mantis Rider plan, which is one of the reasons Mardu Pyromancer has a good Humans matchup. Decks like B/R Hollow One need to take the offensive early and not let the game fall into a stalemate that can be ruled by a Mantis Rider.
Disaster State #2: Disruption.
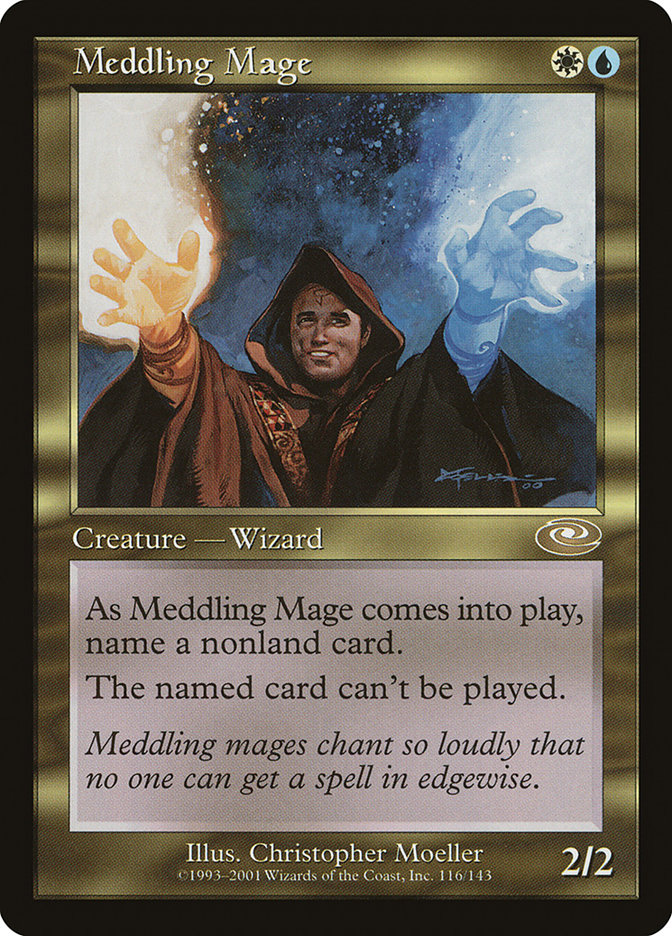
It’s true what they say: be careful what you wish for. You’ve drawn everything you could have asked for, all the interaction you were dreaming of as you shuffled up for Game 2. The only problem is that half of it is mocking you from your opponent’s battlefield, where it’s sitting underneath multiple copies of Kitesail Freebooter, and the other half is rotting uncastable in your hand thanks to that pesky Meddling Mage. You need to knock down your opponent’s house of cards quickly or your life points will soon run out.
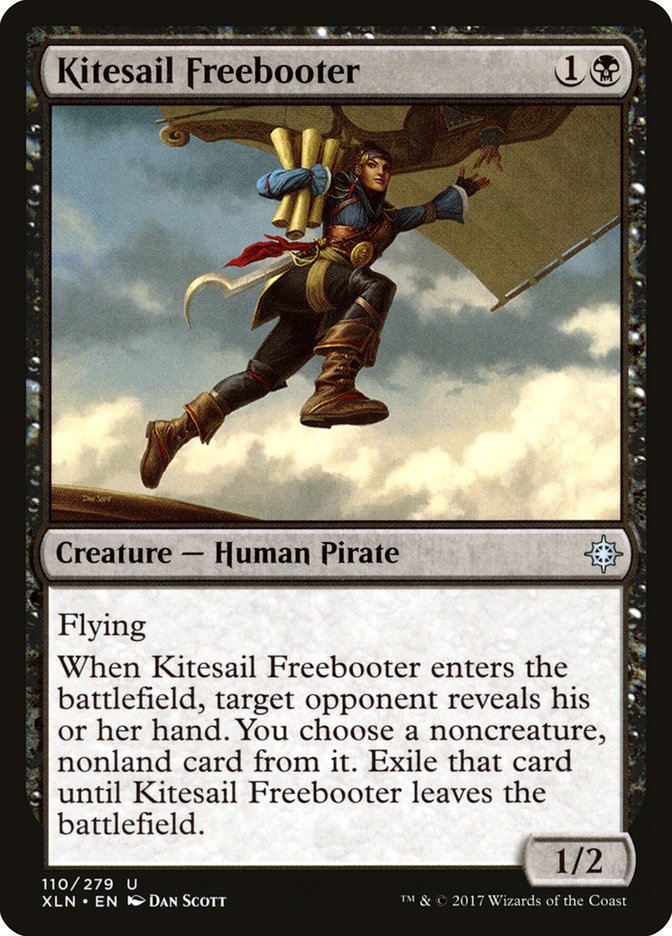
This is a soft disaster state that applies to both removal-heavy decks, like U/W Control and Mardu Pyromancer, and decks looking to beat Humans in an unfair way, like U/R Gifts Storm and Ironworks Combo. The existence of this disaster state is one of the things that makes Humans the pillar of the metagame that it is. Underestimate the disruption available to the Humans deck at your peril.
Breaking out of this disaster state is simple: you just have to start killing some creatures. Unfortunately, this is much easier said than done. When their disruption works, it works. You need to draw something that will do the job, and you need to hope it’s not a duplicate copy of something being named by Meddling Mage.
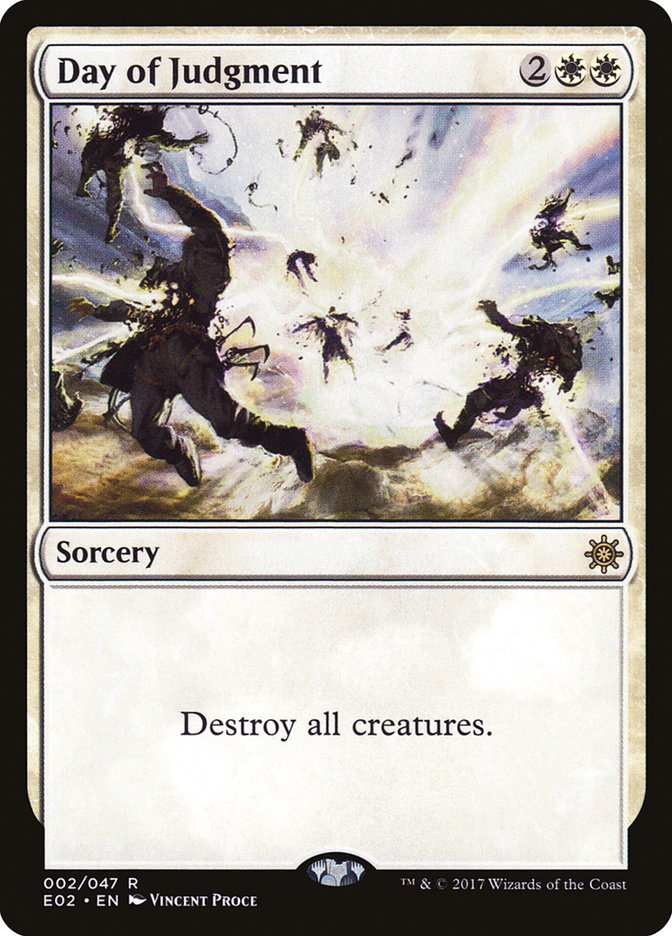
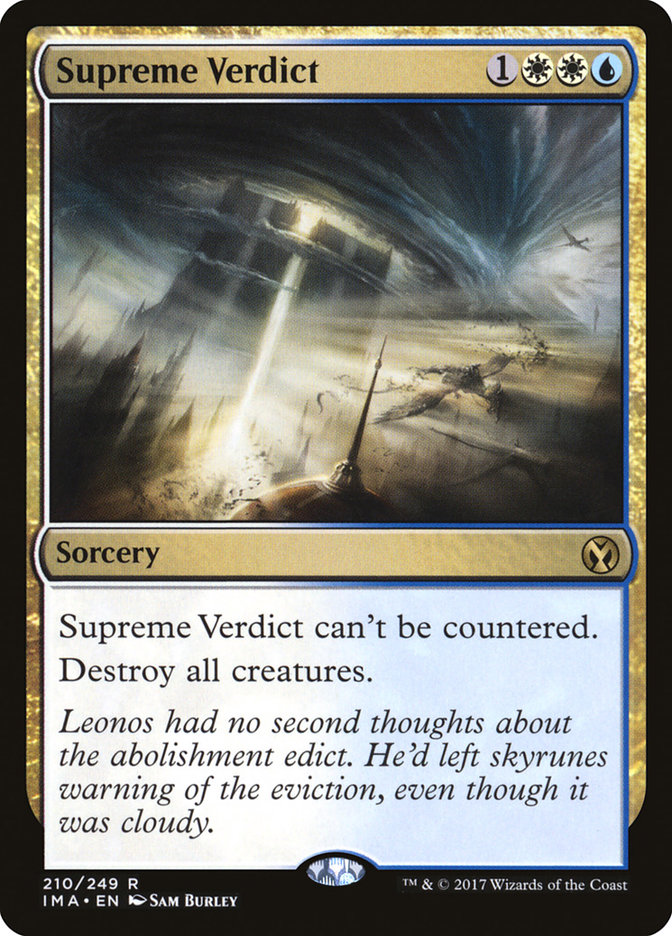
To facilitate this, players have started diversifying their removal spells. One Day of Judgment, one Supreme Verdict. Three Lightning Bolt, two Fatal Push. Keep in mind that you can fight this fight on the battlefield as well as on the deck registration sheet. Use the removal you play more of first when given the option to prevent Meddling Mage blanking four-ofs in your deck.
It can be tempting to allow them to build up this house of cards, because when it crumbles, it does so in spectacular fashion, generally winning you the game on the spot. This is an illusion. You’re still better off limiting the size of the house as much as you can, reducing the power they have on the battlefield and giving you additional draw steps to find an out.
If they Kitesail Freebooter you while you’re tapped out and take a Lightning Bolt over your Fatal Push, next turn, when they cast Meddling Mage, you should Push the Freebooter and let the Mage name Lightning Bolt rather than let the Mage resolve and accept that both of your spells are locked out until you find something while they have three power on the battlefield. Kitesail’s single point of power may not seem imposing, but when you consider potential Thalia’s Lieutenants being thrown in, it gets scary quickly.
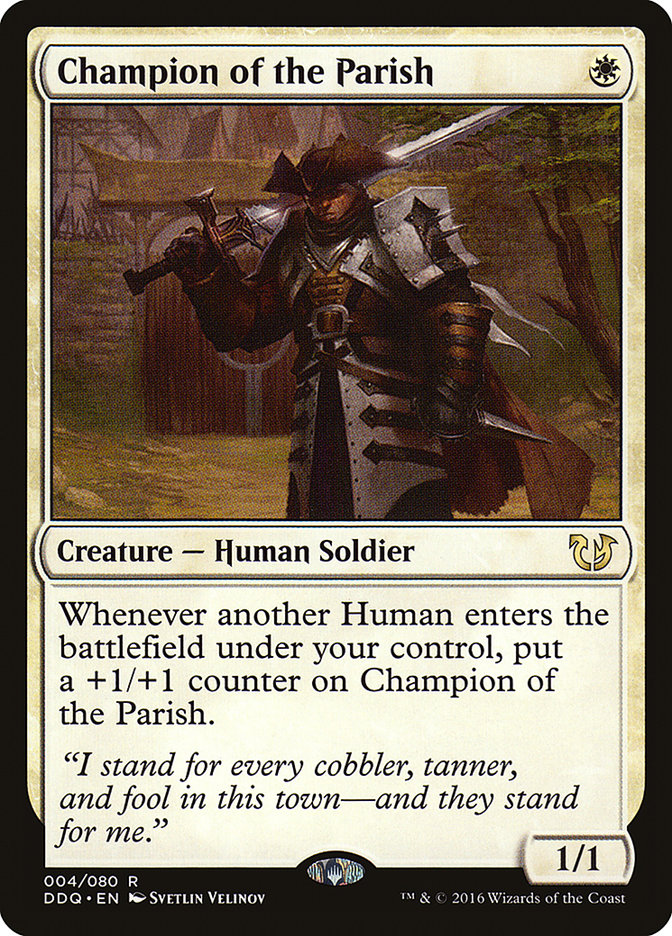
Disaster State #3: The Turn 1 Champion of the Parish.
It’s hard to believe that the proud card staring you down right now is the same 1/1 you remember meeting way back on Turn 1. Wistfully, you recall all the big moments of its life: its first +1/+1 counter, the first time it attacked your life points, the time its friend Thalia’s Lieutenant showed up right in the nick of time to swing a battle in its favor and it won its first battle. Pride in how far the little Champion of the Parish you once knew has come flits across your face, quickly replaced by abject fear as that same Champion declares a lethal attack.
If left unchecked, either of the previous two soft disaster states will eventually transition to this one. When the Humans creatures are all supersized, bigger then anything else on the battlefield or the opponent’s deck for that matter, the game is essentially over. This is a “full” disaster state. If the game reaches this point, the Humans player will almost always win. A lethal attack is imminent.
Breaking out of this state is rare. A control deck can commit a sweeper, but if the Humans player has allowed their battlefield to run this rampant, they should either be able to easily rebuild or have locked the control player out of their sweepers. This is a combo player’s last chance to go off before facing lethal, but odds are decent that Meddling Mage is going to make that a difficult proposition. Still, the combo player has a much better shot than an opposing creature strategy, which basically has to hope to cheese out the last few points. Battlefield control is never reverting back.
The good news is that this disaster state doesn’t sneak up on you. It generally approaches through one of the two previous disaster states and you have time to try to deal with the Humans battlefield before it grows out of control. Cracking this battlefield is not the approach you want to take; instead, don’t allow it to happen in the first place. This means being able to handle the first two of these disaster states without expending too many of your resources and while still executing your primary gameplan.
Your deck’s proactive plays will stop this state from coming to pass, whether it’s by forcing Humans to chump block before its creatures are huge or by ending the game entirely. Once again, the key is to avoid overreacting and retain the proactive elements of your deck.
R/B Vengevine
Disaster State #1: The Game 1 overrun.
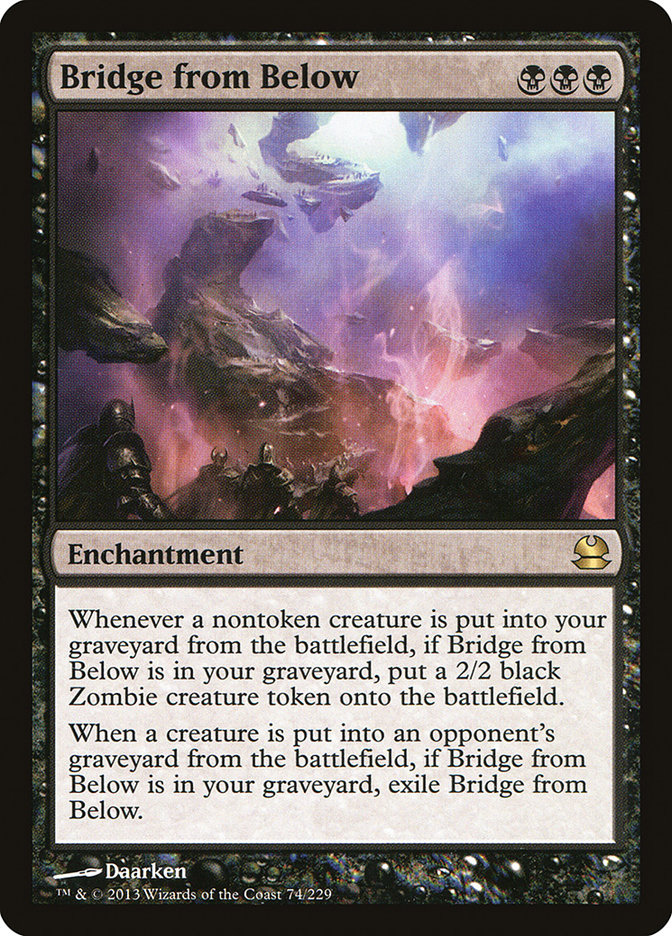
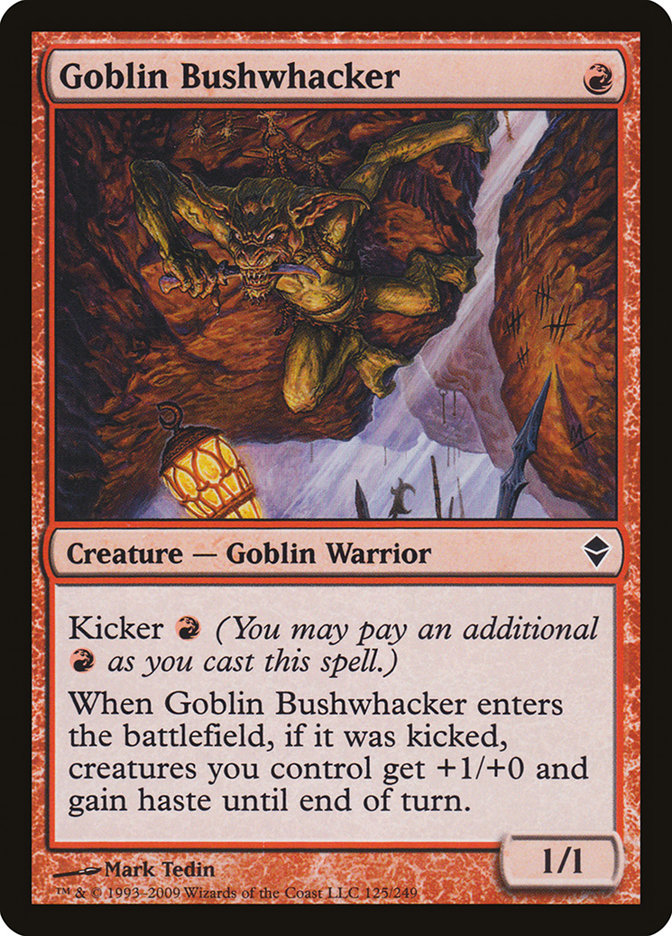
Your opponent rolls a seven and, after noting the averageness of their roll, passes you the dice. You manage a measly six, dropping your die roll record on the weekend to 0-1. It only gets worse for you from there, as your opponent leads on Insolent Neonate discarding Bridge from Below and follows it up with three Walking Ballistas for zero, passing the turn with four Zombie Tokens on the battlefield. A couple of tapped lands from you and Goblin Bushwhackers from them later, and you’re deep in your sideboard, looking for a way to stop that from happening again in Game 2.
This is a bit of a false disaster state, by which I mean it’s barely worth considering. Yes, this is going to happen to you sometimes, and yes, you’re going to lose to it. No, there’s not really anything you can do about it. The exceptional B/R Vengevine starts are among the big draws to the deck, and they aren’t called “free wins” because opponents have a reasonable shot at beating them.
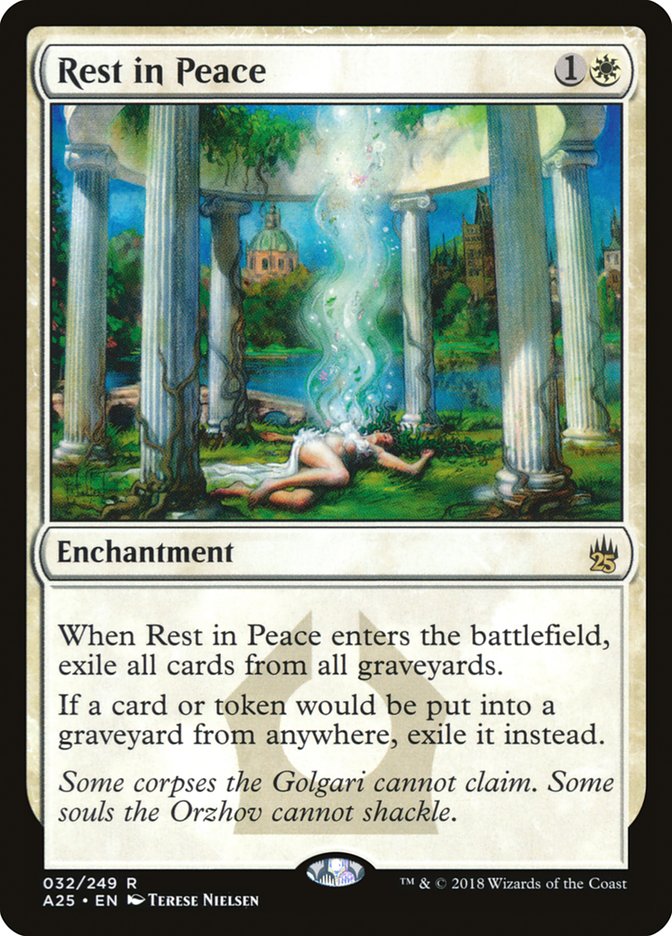
About the only thing you can do is look to powerful graveyard hate out of your sideboard. Leyline of the Void will help you play or draw, but anything else will likely be too slow on the draw against the best draws the B/R Vengevine deck is capable of. That’s a bit alarming and speaks to the idea that overreacting isn’t worth it. Devoting an excessive amount of precious sideboard real estate to cards that won’t even be good enough some of the time is not a tournament-winning proposition.
If Leyline of the Void is in your sideboard, you can afford to mulligan to it aggressively in post-sideboard games. It doesn’t win the game on the spot, but if you keep it and your deck functions at even half of what it’s capable of, the game will be yours. You can’t say the same about any other piece of sideboard hate, and those cards should not be valued nearly as highly as Leyline of the Void.
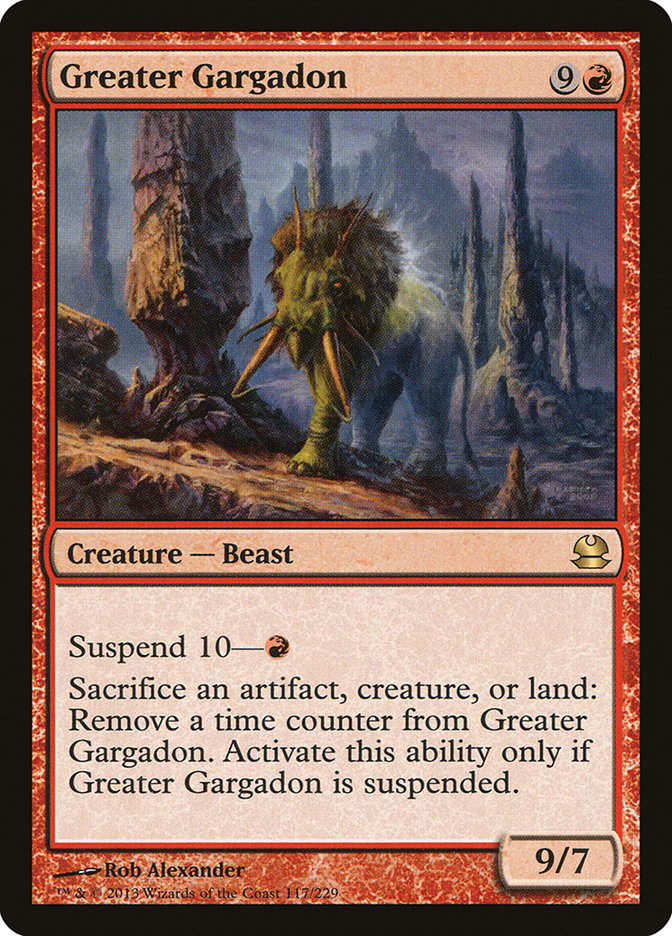
Disaster State #2: The Greater Gargadon.
Your opponent’s hand is slow. They haven’t seen a Vengevine yet and it took them until Turn 2 to get a Bridge from Below into the graveyard. By the time they had an army worth noting, you already had enough forces of your own to hold them at bay. Unable to attack without trading for one of your creatures and exiling their Bridge, they are merely playing a creature or two and sacrificing them to Greater Gargodon every turn, growing their Zombie army. This stalemate lasts two turns…until they cast Gravecrawler from their graveyard and sacrifice it twice, then kick a Goblin Bushwhacker and sacrifice it with its trigger on the stack to remove the last time counter from Greater Gargodon and lethal you from a full twenty points of life and blockers to boot. Where did it all go wrong?
This is more like it. This is a disaster state we can actually do something about. The idea here is that battlefield stalls with Bridge From Below in the graveyard favor the B/R Vengevine player, even if it doesn’t immediately look like it. Especially when they have a sacrifice outlet in play at the same time. Even if it looks like your opponent is only modestly adding a Zombie or two to their battlefield at a time, you can’t afford to be content with this state of affairs.
The best trick in your arsenal in these games is to remove your own creatures to exile a Bridge From Below. Do it early, do it often. Sure, it might seem like a waste to get rid of the creature that’s holding back the Zombie horde, but doing so is necessary to winning the game. It’s worth taking some damage in the short term to stop them from building their battlefield out to frightening levels.
If you don’t have the ability to remove your own creatures, you need to get aggressive. If they block in a way that kills one of your creatures, that’s a win for you. If they chump block with Zombies, that’s a win for you. If they chump block with non-Zombie creatures, well, they had the sacrifice outlet to let them make that exchange anyway. Every time you connect with their life total, you get one step closer to forcing their hand on making some other play and altering the status quo that is not currently in your favor.
U/W Control
Disaster State #1: They have all the answers.
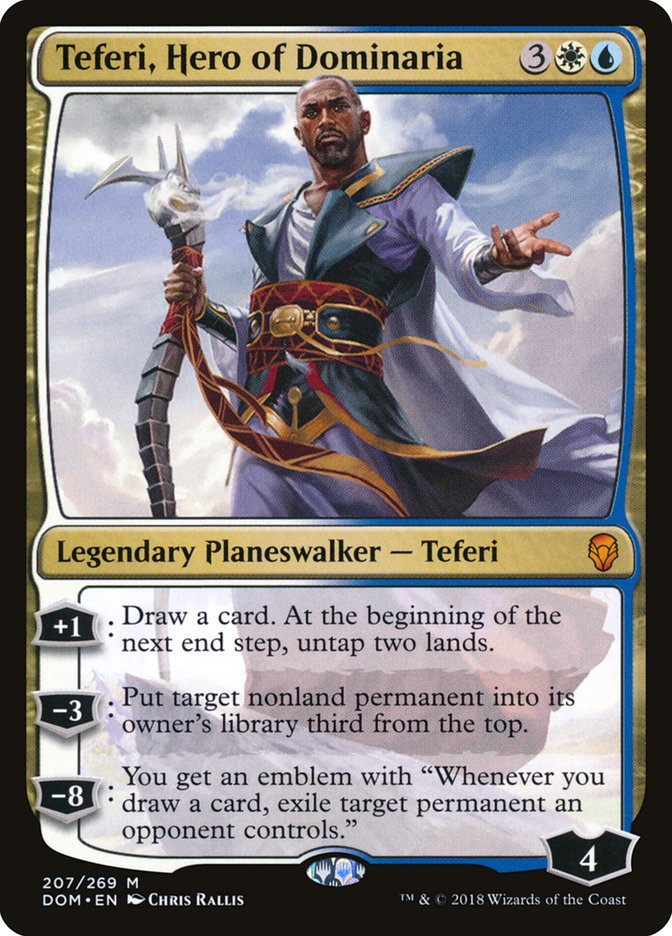
Thoughtseize, take your Cryptic Command. Next turn, Tarmogoyf meets Path to Exile. The next, Dark Confidant gets hit with a Logic Knot. Then Liliana of the Veil loses out to a Cryptic Command. Teferi, Hero of Dominaria enters the battlefield and your desperation Raging Ravine attack gets met with a second Path to Exile. Your opponent had all the answers the whole way, and now that they’ve untapped with Teferi, this game is all but over.
Disaster State #2: The sweeper.
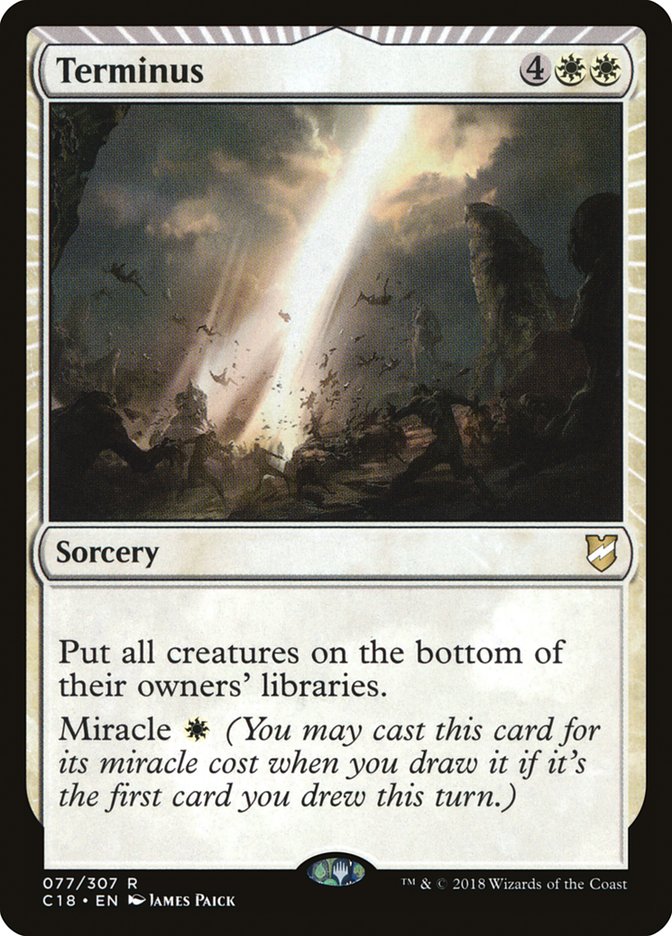
This is it: victory is within your grasp! Your U/W Control opponent is low on cards and your creatures have almost ended this game. With just a couple of reinforcements, they will be able to finish the job on your next turn. Cryptic Command to fog? That’s fine, you can wait another turn, and in the meantime, let’s make this attack lethal through Snapcaster Mage flashbacking Path to Exile by deploying another pair of creatures. And then, disaster: Terminus off the top, miraculously clearing your battlefield. You draw a land for turn and are out of gas, forced to just pass back. Your dreams of victory have slipped away.
I wrote extensively about how to play against Cryptic Command last week in the wake of U/W Control’s rise to prominence. I said it last week and I’ll say it again today: when U/W Control manages to untap with a planeswalker on the battlefield, the game has all but ended. Sure, in rare cases they will whiff on their close-to-infinity draw steps and you’ll manage to eke out a win, but the smart line is to avoid letting them get that untap step in the first place.
Similarly, when they wrath your battlefield away and you have no follow-up, the game is virtually over. I link these two disaster states because they both sprout from the same principle: when the U/W Control deck starts getting draw steps for free without being under effective pressure, the game has concluded.
Avoiding these disaster states is walking a very fine line. You need to have sufficient pressure to make deploying a planeswalker an unsafe play while still holding enough in reserve to be able to rebuild after a potential sweeper.
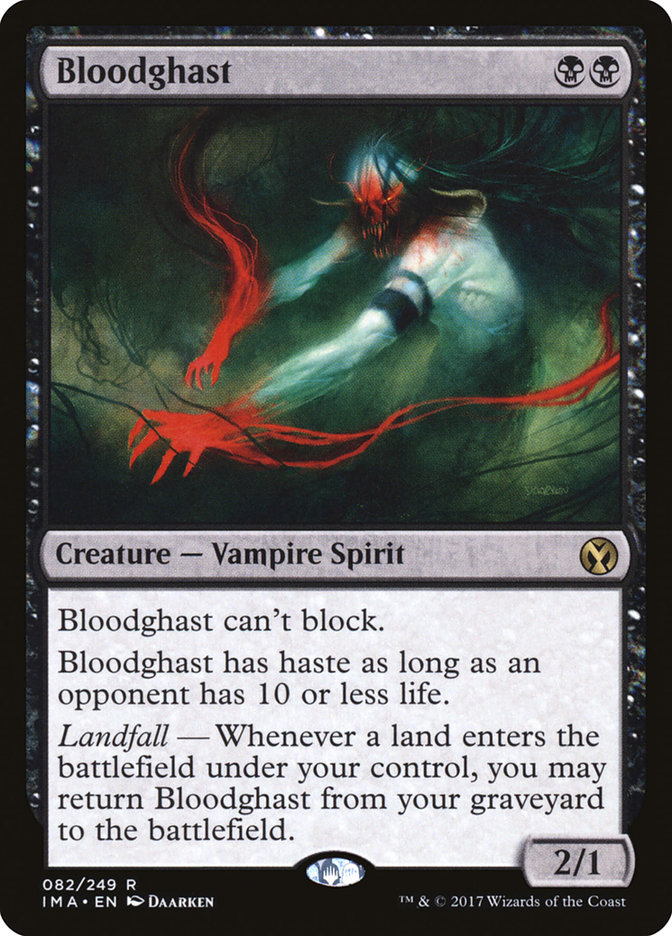
This is not easy, and I suspect that this need is one of the things contributing to the success of R/B Vengevine and R/B Hollow One. Bloodghast, Flamewake Phoenix, Gravecrawler, and Vengevine itself are all exceptional at being resilient sources of consistent pressure, but they aren’t things just any deck can incorporate.
For the rest of us, there’s careful, tight play and the need to exploit any holes in the U/W Control player’s draw. Check out that article from last week for ideas about how to play around their countermagic, but the moral of the story is that you need to make every turn difficult for them. Make your battlefield look tempting to sweep away but keep enough resources in hand that tapping out remains scary. Like I said, it’s a fine line to walk.
Note that I am not recommending the use of haymakers. Historically, control-resistant creatures like Thrun, the Last Troll and noncreature threats like Elspeth, Knight’s Errant have been high-impact control hosers out of the sideboard, under the idea that a single threat is good enough to win if the control player can’t deal with it. This plan does not work against U/W Control, which has plenty of ways to just bury you in card advantage and the ability to deal with any class of permanent built into Teferi, Hero of Dominaria.
If you decide you need some extra help out of the sideboard, my current fascination is with sources of card advantage. Painful Truths is my go-to, but different decks have their different preferences. Creatures with card advantage tacked on are especially great, but really anything that allows you to keep substantial pressure online without running out of cards to sweepers will be a great help.