
There’s been a lot of chatter about blue decks in Modern lately. Honestly,
it’s a pretty good time to be a Modern blue mage. If you enjoy putting
Sacred Foundry in your Cryptic Command deck, you’ve got
Jonathan Rosum
out there both winning on the SCG Tour and screaming from the rooftops that
Jeskai Control
isn’t awful
. If Jeskai doesn’t speak to you or you trust in the
words
of
Gerry Thompson
, you can instead listen to the
logic
of Ari Lax
or the
collective consensus
of the Pro community and just play U/W Control instead.
No matter who you listen to, it seems pretty clear that the basic gameplay
of Cryptic Command, sweepers, and Teferi, Hero of Dominaria is in a pretty
good place right now in Modern. Indeed, it’s far better right now than it
has been anytime in recent memory, putting to the test the old adage that
control is bad in Modern. No matter how the format slices it, one thing is
for sure: you can expect to play against a lot of Cryptic Commands in the
near future.
Playing against Cryptic Command can be a very frustrating experience. When
things go according to their plan, everything you try to do is shut down
before getting off the ground and you feel like you weren’t even allowed to
play Magic. Part of the frustration is the idea that nothing you do
matters, that they have the answer to everything. Frankly, this frustration
lends itself to poor play, to just throwing everything you have at them as
soon as you draw it and hoping something sticks. We can do better than
hope.
What we need to develop are different strategies we can employ in the face
of potential Cryptic Commands, plans we can trust in when the way forward
seems a bit murky. Playing against countermagic is difficult in the best of
times, and the incredible flexibility of Cryptic Command makes it even
trickier. Figuring out the best play patterns from scratch every turn is an
unrealistic goal, which makes this a great spot for some out-of-game
analysis.
Understanding Their Goals
But before we talk about what we’re supposed to do against Cryptic
Command, we need to talk a little about what our opponents are supposed to
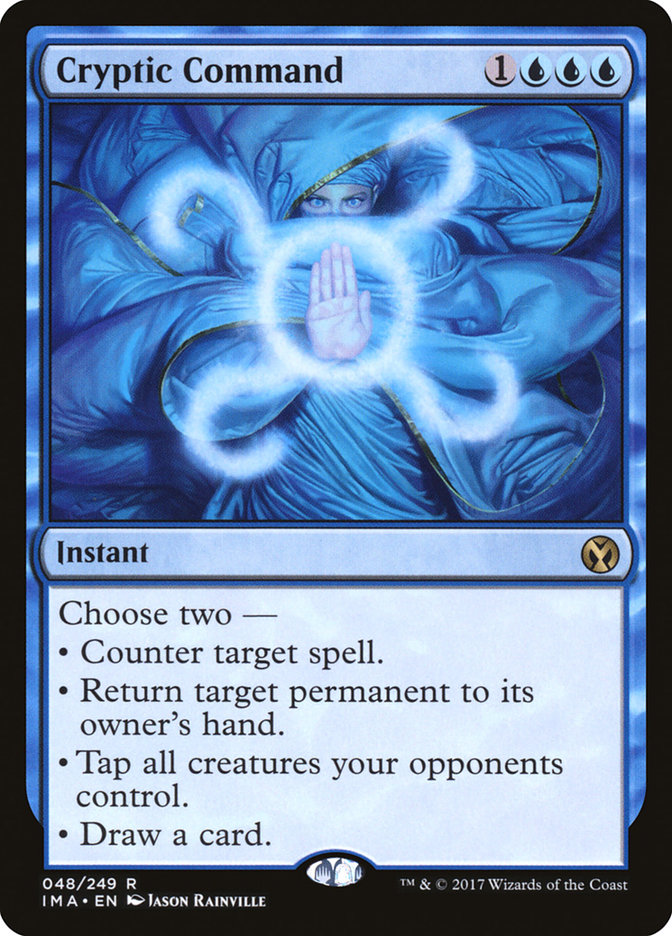
do with Cryptic Command. Let’s take a look at the card’s best
friends:
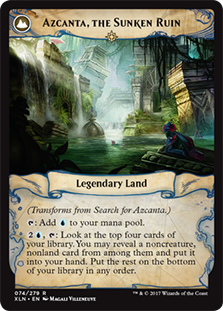
You might notice a theme here. The end goal of Modern’s current Cryptic
Command control decks is to untap with any of these cards on the
battlefield and Cryptic Command at the ready. Most of the time, doing this
will result in a game win regardless of what the opposition has going on.
When they’re casting Cryptic Command from a position of strength, the game
is over. It just hasn’t ended yet.
Other, generally less successful, decks in Modern have employed Cryptic
Command to buy time for a combo finish. Blue Scapeshift variants seek to
use Cryptic Command to keep the game going long enough to win the game in
one fell swoop with Scapeshift. Various Taking Turns strategies have come
and gone that have employed Cryptic Command as a virtual extra turn effect.
The card is absolutely excellent at guaranteeing you another draw step
against a wide range of strategies.
That’s kind of the point of Cryptic Command’s much vaunted flexibility: the
ability to keep the draw steps coming, no matter the situation. Opponent
tries to do something absurdly powerful that would end the game in a
heartbeat? Cryptic Command, counter and draw. Not today. Opponent way ahead
on the battlefield, about to make a lethal attack? Cryptic Command, tap
your team and draw. I don’t think so.
Cryptic Command dodges the biggest problem with countermagic: falling
behind on the battlefield. Sure, its ability to actually alter the state of
the battlefield is limited to bouncing a single permanent and is the
least-used mode on the card, but between that and its ability to tap the
opposing team for a turn, Cryptic Command is a much better card to have in
hand in a pinch than any other piece of countermagic.
And it’s difficult to overstate the value of the draw-a-card mode on the
card. Sure, it’s likely the most overused mode on the card, but there’s a
reason people like it so much. The fact that you can use Cryptic Command to
buy yourself another turn of life and not even spend a card doing
so is unbelievable. That extra card gives you the card flow you need to
make it very likely you find the answer you need to solve the problems
you’re facing and stay in the game.
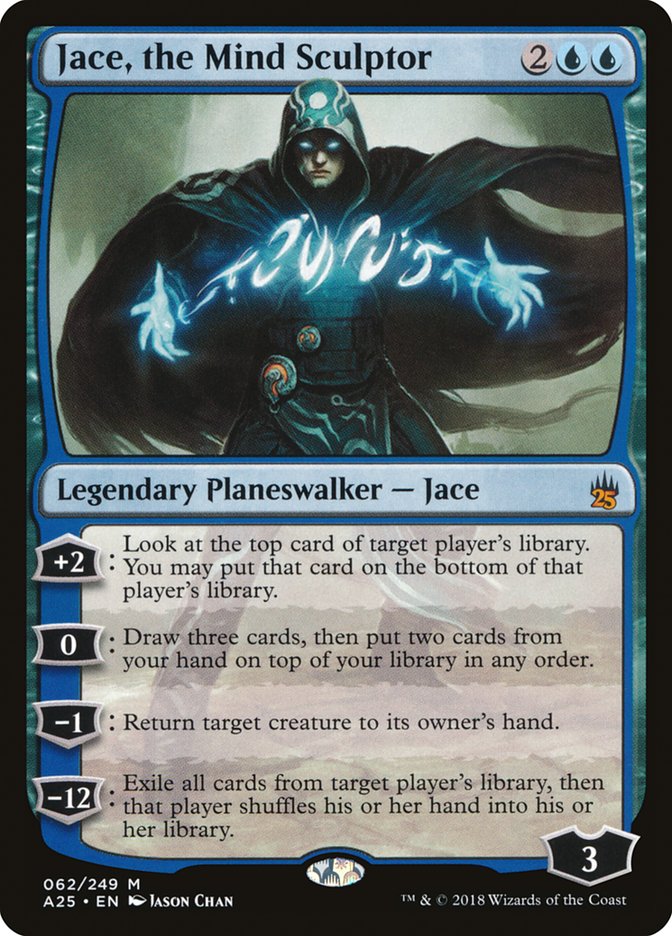
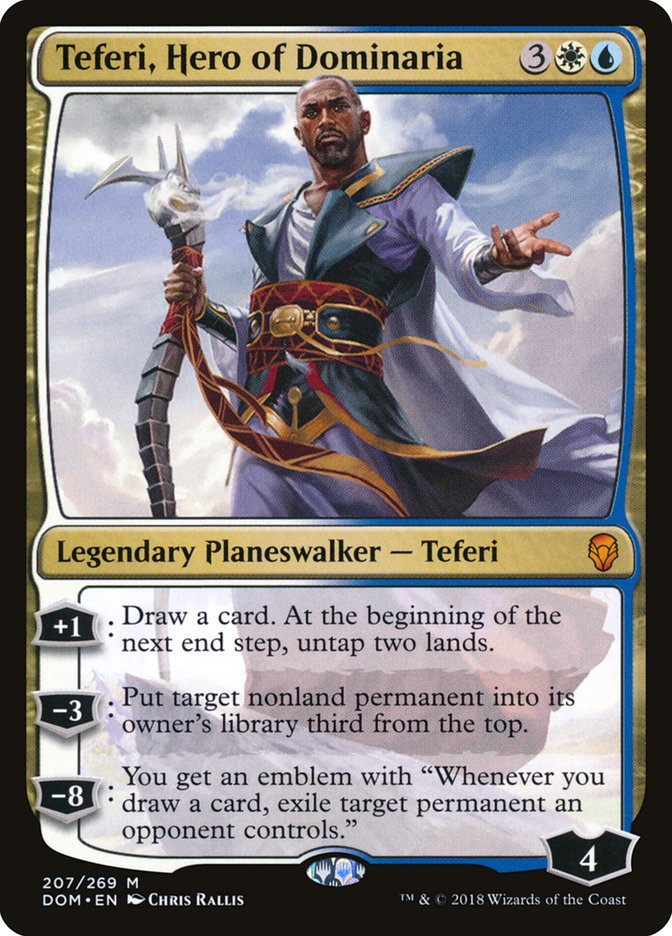
As good as the ability to buy yourself an extra turn and an extra card is
when you’re behind, it’s even better when you have a Teferi, Hero of
Dominaria or a Jace, the Mind Sculptor on the battlefield. Buying extra
turns with these powerful permanents on the battlefield is a win as surely
as buying time to cast a lethal Scapeshift is, but the way we as opponents
do battle with these two methods of casting Cryptic Command are very
different. Since the permanent-based plan is the one currently terrorizing
the metagame, that’s what I’ll be focusing on. Take a look at the enemy:
Creatures (4)
Planeswalkers (5)
Lands (25)
Spells (26)

Just like we’d play differently against decks looking to use Cryptic
Command to bridge to a combo finish and those looking to abuse it with
value-accruing permanents, we’re going to play differently against those
permanent-based Cryptic Command decks when they have their permanents on
the battlefield than when they do not.
That is to say, when they have a Teferi, Hero of Dominaria or a Jace, the
Mind Sculptor on the battlefield, we’re basically in full panic mode. The
turn they play it, we need to spend our time either killing it or setting
up to kill it on the next turn. Two untap steps with either of those cards
on the battlefield will spell defeat, so this isn’t the time where careful,
deliberate play is called for. Do whatever it takes to get these cards off
the table, or you will have lost the game. Before they come down, you
should always be thinking about how to develop your battlefield in such a
way that it can answer one of these threats if they were to be deployed on
your opponent’s next turn.
But most of the game against these decks is taking your turns while they
have open Cryptic Command mana and an empty battlefield. Your goal is to
pull far enough ahead despite their Cryptics and other interaction that you
can win the game before or shortly after their permanents come online.
Here’s the different strategies you should be employing.
The Hammer
We’ll start with the most brute force strategy you can employ against
countermagic: The Hammer. Every turn you tap out for an impressive threat,
that’s you swinging the hammer. They counter it, take a turn and pass back;
you swing the hammer again. Your goal is for them to run out of answers
before you run out of questions, and if you fail to meet your goal, you
will probably lose the game. On the bright side, if you achieve that goal
there’s every chance that you will win the game instead, so that’s nice.
Still, there’s no doubt that The Hammer is a very risky strategy.
Before we dive into the subtleties of The Hammer, I need to deliver an
admonition: don’t dive into a Hammer-style fight with your opponent unless
you are very sure it’s the right play. The thing about The Hammer is that
it looks a lot like what players who have given up end up doing, casting
threats as they draw them in the meager hope that something ends up
sticking. That gameplay pattern is wrong a whole lot more often than it’s
right, and if you’re going to execute The Hammer, you need to do so with
purpose rather than panic.
The Hammer as a strategy fights your opponent on the resource axis. You get
to turn off certain classes of their cards from mattering, but you turn the
game into a raw “who has more” fight between your questions and their
relevant answers. The weakness of The Hammer is that it doesn’t abuse the
greatest weakness of Cryptic Command: its relatively expensive mana cost.
The decks that are most likely to employ The Hammer are the big mana decks,
like Tron and TitanShift. Because the threats in these decks cost a lot of
mana, it’s difficult for these decks to set up scenarios where they ever
get to do anything besides cast one threat a turn. As such, they don’t have
a lot of options. They need something to stick, and the only way to get
that to happen is to keep trying.
Combo decks like Storm and Ironworks will execute a short duration Hammer
if they have a draw flush with expensive pay-off spells and limited mana
available to them. It isn’t their ideal gameplan, but it is often the best
way to convert extra copies of their pay-off spells into a meaningful
resource: less interaction in their opponent’s hand. They will almost never
continue Hammering with their last in-hand pay-off spell, instead electing
to switch to another strategy before exhausting that last precious
commodity.
Midrange decks like Jund and Mardu Pyromancer will use The Hammer in a
couple of different scenarios. The most common is that they are stuck on
land and need to get some use out of the expensive threats they will never
be able to double-spell with the way the game is shaping up, but they
aren’t happy about this use. Their primary effective Hammer involves using
hand disruption to take all the opponent’s cheap answers, then continually
Hammering in the second main phase with a relevant threat on the
battlefield to buy time for that threat to keep doing its good work while
the control player’s mana is tied up in blocking hammers.
Aggressive decks like Humans and Affinity will rarely ever employ The
Hammer, mostly because these decks are designed to avoid situations where
The Hammer would be effective. These decks are designed to get ahead on the
battlefield during the window where the control player is still developing
their mana, and The Hammer is far from the best way of extracting value
from your early lead.
Here are some tips, tricks, and conditions to keep in mind when using The
Hammer:
-
The more threats you have ready to jam over the next few turns, the
better. Three turn Hammers are the minimum you want, but
Hammer-centric decks generally must start Hammering no later than
turn 6, so you’ll often take what you can get. -
When possible, Hammering across turns 4 and 5 is better than across
turns 5 and 6 because it cuts off Snapcaster Mage into Cryptic
Command as a piece of interaction that counts. -
Sequence your spells from least valuable to most, keeping in mind
that your later threats need to not be completely answerable by the
-3 ability of Teferi, Hero of Dominaria. -
Never take a turn off from Hammering if you intend to continue
later. That just gives them time to deploy their card selection and
keep the answers coming. -
The more powerful your threats are, the more effective your Hammer
will be. Resolving any of your threats needs to swing the game
decidedly in your favor for the strategy to be effective. -
When Hammering with pressure on the battlefield, make sure to cast
your threats main phase two to deny your opponent the option to use
the counter and tap modes on their Cryptic Command. -
When Hammering as an ancillary plan because you’re short on mana,
prioritize attempting to deploy the most expensive threats you can,
regardless of their value. You need to keep your cheap threats
behind to transition to other strategies later when your mana
comes.
Cloak and Daggers
The idea behind the Cloak and Daggers strategy is to fight your control
opponent on the mana axis instead of the resource one. Sure, they have
enough resources to answer every card you have access to, but yours cost
less than theirs and if you compress the window of time they must answer
you down far enough, they won’t have enough mana to do all the things they
need to do to stop you from winning. Such is the idea.
In practice, what this looks like is a lot of nothing punctuated by a
sudden frenzy of activity. You spend a few turns cloaked up, amassing your
resources and readying the storm. When the time comes, you hurl your cloud
of daggers at your opponent, knowing that they can’t possibly defend from
all of them at once. Sounds good, right?
Well, there’s a problem. As great as that Cloak step of amassing your
resources sounds, it’s kind of playing right into your control opponent’s
hands. Extra turns are what they want, after all; liking draw steps is the
entire reason to play with Cryptic Command. You can’t afford to give them
turns for free, Cloak and Daggers or no Cloak and Daggers. There’s two ways
to solve this problem.
The first is the aggressive plan: be ahead on the battlefield. If you have
a sizable battlefield presence and are getting in for damage every turn,
you can afford to give your opponent “free” draw steps, as they won’t
actually be free. Reaching this point generally involves committing hard the first few turns of the game while your control opponent
is still setting up. Aggressive Daggers turns will often happen
post-sweeper while your opponent’s mana is down. Of course, thanks to
Terminus, their sweepers costing relevant amounts of mana is no longer a
given.
The second plan is the combo plan: seek to the end the game on your Daggers
turn. When you intend to end the game on the turn you start casting spells
in earnest; you don’t care very much about the extra draw steps you gave
your opponent. You are 100% fighting them on mana and will win the game
even if all seven cards in hand are relevant interaction if they don’t have
the mana to cast them all.
In some weird-looking games, big mana decks will utilize the combo-style of
Cloak and Daggers and cast two of their powerful spells in a single turn.
TitanShift, for instance, can sometimes manage to present a Primeval Titan
and a Scapeshift or even two Scapeshifts in a single turn, while a Tron
deck that has drawn too many Tron pieces can do basically whatever it
wants.
Similarly, midrange decks will sometimes use the aggro-style Cloaks and
Daggers plan. Often, they do this when committing anything else to the
battlefield would overexpose them to a sweeper effect. Their Daggers turn
will inevitably be much more modest than what any other deck is capable of,
but the general idea is the same.
Here’s your Cloaks and Daggers tips, tricks, and conditions:
-
You don’t need immense pressure to justify giving your control
opponent extra draw steps without casting a spell. The more the
better, but even a couple points a turn is enough to be comfortable
committing to the Cloak phase. -
Creature-lands are a great way to apply additional pressure while
accumulating resources; remember to save your activations for post
Cryptic Command if they are likely to use Cryptic to tap your team
before combat. -
When re-developing your battlefield post sweeper, prioritize
deploying the threats that will be harder to get down once
countermagic is back online. -
You don’t have to cast actual zero spells while cloaking. Feel free
to throw some into the void to keep your opponent’s mana off your
battlefield presence or to trade a spell you wouldn’t be able to
effectively use on your Daggers turn for a relevant piece of
interaction -
It can be okay to pull back from your Daggers turn to salvage and
rebuild if your opponent has demonstrated more strength than you
thought they had with your first couple salvos. This ends up
looking like a Cloaks and Daggers / The Hammer hybrid, and can be
very effective, especially for combo decks. -
Any deck playing Lightning Bolt or other reach will often
transition to a Cloak and Daggers style plan after getting their
control opponent into burn range. An opponent at three life will
often lose to three copies of Lightning Bolt no matter how many
Cryptic Commands are in their hand.
Sword and Shield
The last style of playing against Cryptic Command I’m looking to talk about
is something I call the Sword and Shield. I would consider it to be the
most difficult of these strategies to use and it’s also the one I’m the
most practiced with, as it’s the bread-and-butter weapon of Jund in its
struggles against Cryptic Commands.
The idea behind the Sword and Shield style is to defend your key spells.
You do this by intending to cast two spells most turns, though most often
you’ll end up casting exactly one. You lead on a weak Shield spell, hoping
to bait out their countermagic. If they take your bait you slam your strong
Sword spell and feel good about the turn, if they don’t you accept the
minor victory of resolving your Shield spell and pass the turn.
Sword and Shield is working perfectly when your opponent’s mana and
resources are either going towards the wrong spells or are not being used
at all. By never playing your Sword spell in the case where they let your
Shield spell resolve, you essentially waste that turn’s worth of mana from
your opponent. As previously noted, the converted mana cost of Cryptic
Command is its biggest weakness, and this strategy works to punish it.
Executing a Sword and Shield plan is difficult for a lot of decks. You need
to be able to double-spell early and often and your cards need to be of
distinct power levels. If your cards have a flatter power curve and are
relatively interchangeable, you’re likely better off executing a Cloak and
Daggers plan. Midrange decks are far and away the best at Sword and Shield.
That being said, most other strategies are adept at incorporating a turn or
two of Sword and Shield into their plan, especially in the set-up stages of
the game. Big mana will do so as they sequence their ramp and card
selection spells, aggressive decks will use the strategy to eke minor edges
out of their early plays. Combo decks are often the best non-midrange decks
at employing the idea, as the relative value of their cards can change so
drastically based on what they have in hand, and Sword and Shield is the
strategy that best makes use of that information discrepancy.
To close this one out, here’s some Sword and Shield tips, tricks, and
conditions:
-
Perhaps the most difficult part of employing the Sword and Shield
strategy is to keep careful tabs on the relative values of your
threats based on the current gamestate. Your Sword spell one game
could be your Shield spell the next if circumstances are slightly
different, and you need to pay attention to these minor changes. -
Your theoretical goal is to draw countermagic onto the Shield spell
and sneak the Sword spell onto the battlefield. Holding your land
drop until after you cast the Shield spell to conceal your ability
to keep playing spells can drastically increase the complexity of
your opponent’s decision and will result in more countermagic being
thrown at your Shield spells. -
Prioritizing taking their cheap interaction with targeted discard
is one of the things that makes the Sword and Shield strategy work
for midrange decks. If your Shield spell can be answered by Path to
Exile while they still have mana available for your Sword spell,
the whole thing falls apart. You need to restrict them to one spell
a turn. -
It’s more correct to view Sword and Shield as a method of using
threat-of-cast as a way to resolve Shield spells than it is to view
it as a way to pave the way for Sword spells. Your Shield spells
tend to resolve. -
As such, they need to do something important for you on the
battlefield. It’s rarely correct to select your worst spell as your
Shield and your best spell as your Sword, you need to work with a
higher quality Shield than that so it can make an impact. -
Given the importance of that one spell a turn restriction on your
opponent, lategames with Sword and Shield strategies transition
into other strategies as that restriction goes away. Both The
Hammer and Cloak and Daggers can be appropriate transitions,
although Cloak and Daggers is correct more often than The Hammer. -
In the mid- to lategame, Thoughtseize is the ultimate Shield spell.
It paves the way for your Sword spell in every case except them
letting it resolve and having two pieces of countermagic in their
hand. -
Pay attention to how often your Shield spell resolves uncontested
due to fear of your Sword spell, and then understand that you don’t
always have to actually have the scary Sword spell to sneak your
Shield spell through. A lot of the value of this strategy lies in
being given credit for cards you don’t have, so make sure to make
use of it.