
Mike Flores’s article Who’s the Beatdown, despite its brevity, is perhaps
the most influential piece of Magic theory ever written. The idea of
playing your aggressive deck as a control deck and vice-versa as a way to
get an edge in a matchup where your plan A is outclassed was novel twenty
years ago, but has since become commonplace, leading to today’s huge
emphasis on versatility in sideboarding.
Our understanding of Magic has also progressed to the point where we often
talk about shifting roles within a single game. In a typical control or
midrange versus aggro match the bigger deck takes on a controlling role
early, but often wants to turn the corner quickly and shift roles into the
aggressor once they run their opponent out of resources so the opponent
doesn’t have an opportunity to draw a threat that forces another answer.
Where things get interesting is in a control mirror. Both decks want to
play a long game and are filled with cheap removal to answer early threats
from more creature-heavy decks, but those cards aren’t good against another
answer-heavy, threat-light deck. This naturally leads to very long games
that are centered around a few critical cards.
After playing recently with Blue Moon in Modern, I’ve gained a solid grasp
of the dynamics at play in evaluating the game state in a control mirror
and positioning yourself into the proper role.
As noted earlier, control mirrors often go long as both players use most of
the game to position themselves to win the critical counter wars at the end
and resolve a game-ending threat. In Standard this dynamic may change when
sideboarding as both decks will typically have some early threats to apply
pressure, but in Modern you don’t have enough sideboard space for such
transitional plans, so this dynamic will remain in the sideboard games.
It’s this kind of game that I will be dissecting.
The overarching principle when it comes to role assessment in these
matchups is the following:
Be Aggressive When Behind
If the typical dynamic is to set up for a big turn in the late game, then
the key in assessing your role is in assessing who is better set up for
that eventuality. If you conclude that your opponent is better prepared for
that fight, then your best chance of winning the game is likely to take an
aggressive posture and hope your opponent’s hand is ill-prepared to stop
it. It’s likely not a plan that makes you a favorite to win the game, but
your chances will improve relative to staying the course and playing into a
position where your opponent is already favored.
This leads to the next question, which is how do you determine who is
favored in a game that still has ten or more turns left to play?
The easiest way is to see if one player has a source of card advantage on
the battlefield. That could be Arguel’s Blood Fast, Search for Azcanta, or
a planeswalker like Teferi, Hero of Dominaria or Jace, the Mind Sculptor.
Any such card will quickly run away with the game, but they can also be
difficult to resolve, especially if they cost four or more mana and cannot
be cast at instant speed. It could also be a player who has resolved a
couple card draw spells putting them ahead, say a copy of Glimmer of Genius
or a small Sphinx’s Revelation.
However, since straight card draw spells don’t literally end the game like
a Planeswalker does, they are merely a means to an end, the end of
resolving and protecting the game-ending threat. The primary reason that
resolving those cards gets you closer to that end leads us to the first
principle in assessing whether you are ahead or behind in the control
mirror:
Mana is Critical
Resolving a key threat is difficult because you must commit your mana first
and then defend it with the leftover mana against an opponent that is fully
untapped. But if you can get more mana than your opponent, then the playing
field can be level even when you commit a significant amount of mana first.
If you have plenty of land drops left to make, then the easiest way to get
ahead is to play land go and wait until your opponent misses a land drop or
two, at which point catching back up will be difficult for them.
You can even turn this mana advantage into strict card advantage if your
opponent ends up discarding to hand size while waiting for their deck to
serve up that next land. Unless they have a way to catch back up on mana
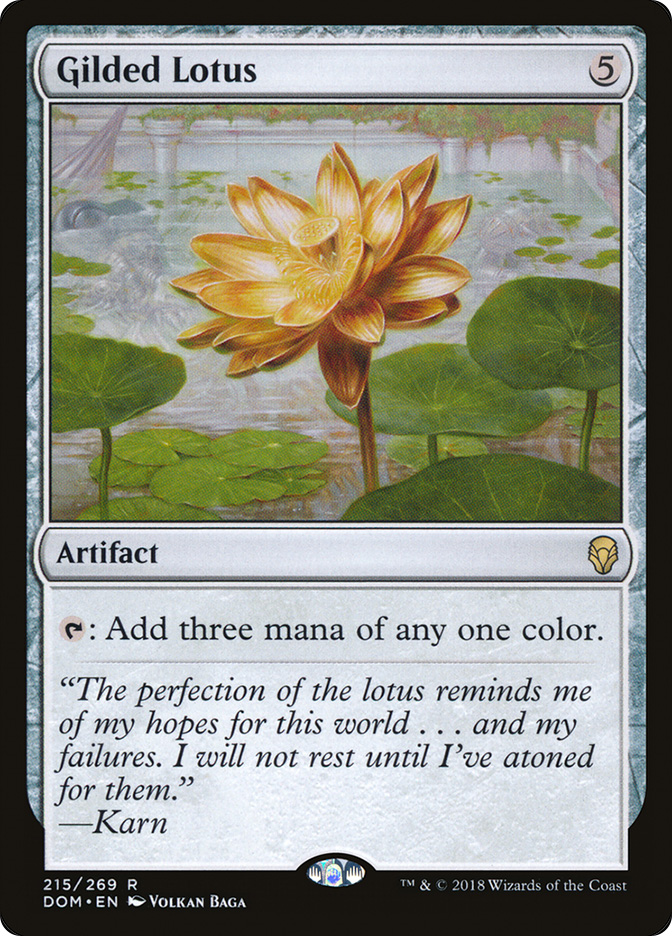
like a ramp spell or Gilded Lotus, then that advantage will remain for a
long time, and their prospects of winning a critical counter war diminish.
If you’re the unfortunate one to miss an early land drop, then it’s time to
get aggressive and hope your opponent is flooded or doesn’t have the right
answer to the threat in your hand. As the game goes long and your opponent
is better able to utilize their mana to draw cards and stop you from doing
the same, your disadvantage will only compound so the likelihood your
threat resolves later on is even smaller. Just go for it.
You should also be prioritizing high land count hands in mulliganing
because it’s likely you and your opponent will simply play land go for much
of the early game and you’ll have time to draw the spells you need later.
It’s possible to capitalize on the propensity to keep hands that are
vulnerable in the early game with Peek effects, which is much of the reason
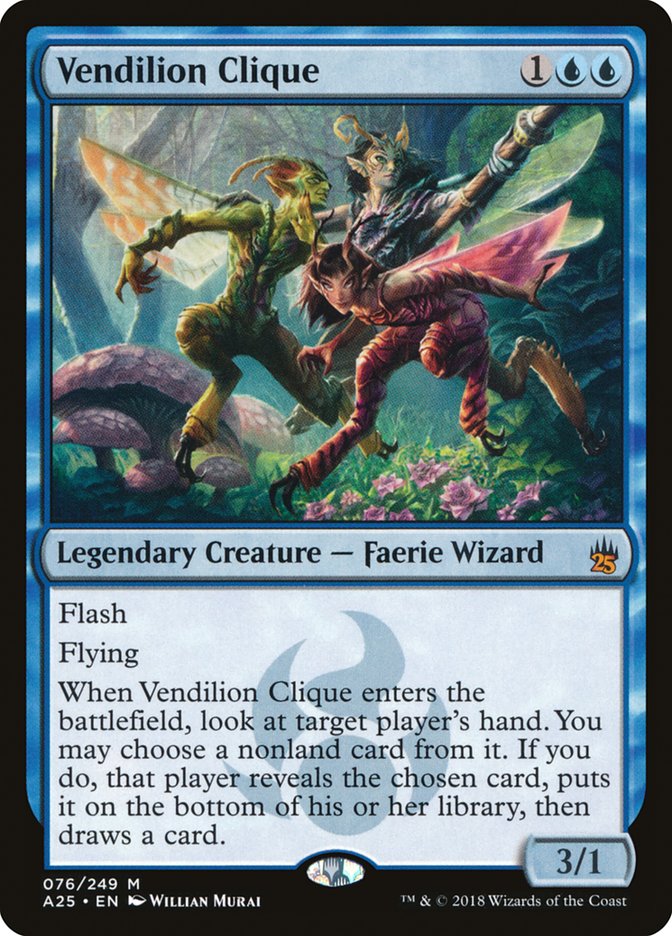
that Vendilion Clique is so powerful. If you see that the coast is clear
you can immediately shift roles and go aggressive to steal a game that
would’ve otherwise played out very differently.
Of course, with most players aware that they need to make plenty of land
drops in control mirrors, many games will play out at parity for many
turns. When this is the case, you need to keep two things in mind:
The First to Blink Usually Loses
Since going for a threat leaves you at a mana disadvantage, it’s unlikely
that you win the ensuing counter war, and that leaves you vulnerable to a
similar threat when your opponent untaps. That means you never want to be
the first person to commit significant mana on your own turn. Patience is a
virtue and that is nowhere truer than in control mirrors. As long as parity
is maintained, simply keep making land drops and sussing out what is in
your opponent’s hand as you build for the late game.
This patience is absolutely critical if you get ahead on mana. The typical
instinct against an opponent stumbling on mana is to go for the jugular,
but this is an aggro player’s mindset. Unless you’re certain to stick your
threat, it’s best to maintain your advantage and not commit anything
because you want to force your opponent to do so or discard to hand size if
they continue to miss land drops. Eventually, your mana advantage will grow
to the point where you can safely land your threat.
If you do get overly aggressive, then you allow your opponent to mitigate
their mana disadvantage by using cheap answers to handle your expensive
threats, and then use the turns when your hand is completely reactive to
find the land drops they need to operate. This leads to an end game where
you’re ahead on mana but so low on action that it doesn’t matter. If you
simply wait, you’ll likely be able to effectively overload their mana on
the critical turns and land your critical threat.
This is a situation when you need to assume the controlling role since
you’re ahead, and your opponent is the one forced to be aggressive.
The goal here isn’t to go for the win early, it’s to use your early
advantage to force your opponent to be the one who blinks first. It will
happen if your opponent stumbles and you don’t get overly aggressive, but
there are more subtle ways to accomplish this as well. Instant speed
threats are great at doing so because they don’t involve committing mana on
your own turn. However, the instant speed threats that are good in Modern,
namely Snapcaster Mage and Vendilion Clique, fall easily to a cheap removal
spell. So, in this format we have to look to cheap threats that can be cast
in the early game and countered without leaving the caster vulnerable to a
haymaker on the following turn.

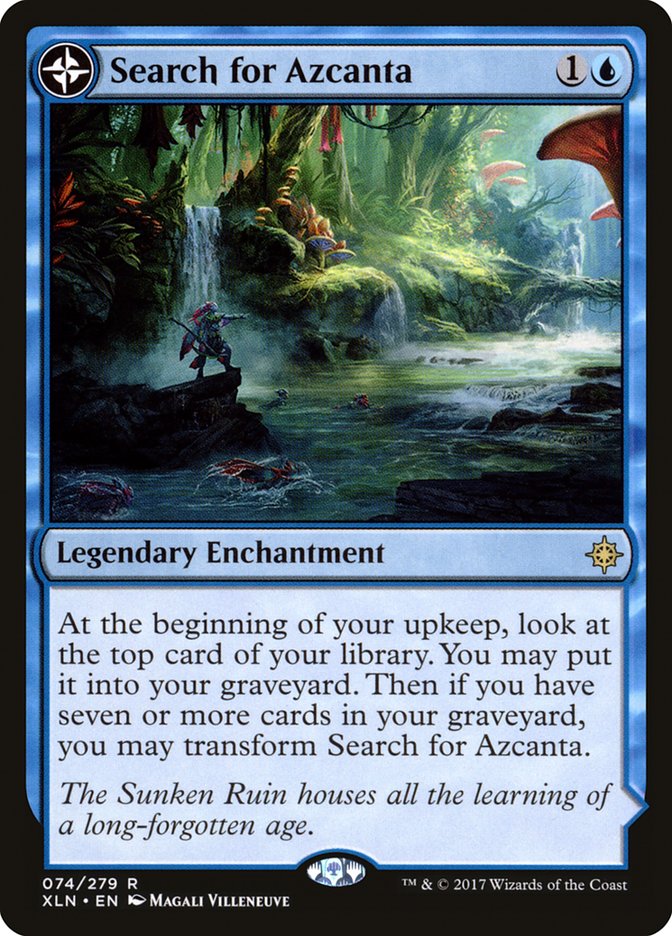
If I cast a Search for Azcanta on turn two and it gets countered, my
opponent won’t have enough mana to cast a Jace, the Mind Sculptor, but
Search for Azcanta will still take over the game if left unanswered for
long enough, so it’s a great cheap threat to have that you can go for early
when your opponent is unlikely to have an answer or cast in the mid-game
when the two mana doesn’t appreciably hinder your ability to fight a
counter war on that turn.
Now that I’ve explained these dynamics in theoretical terms, I want to show
you how they operate in practice. A great example is my match from round
four of last weekend’s Season 1 Invitational against Jonathan Sukenik:
I’d recommend following along with the match as you read through this
section.
First, a bit about the dynamic of the Blue Moon versus Jeskai Control
matchup. Blue Moon is significantly favored for a couple reasons. One, it
has less removal and more counterspells, and in a big counter war Remand
will eventually become relevant even if both players have plenty of lands
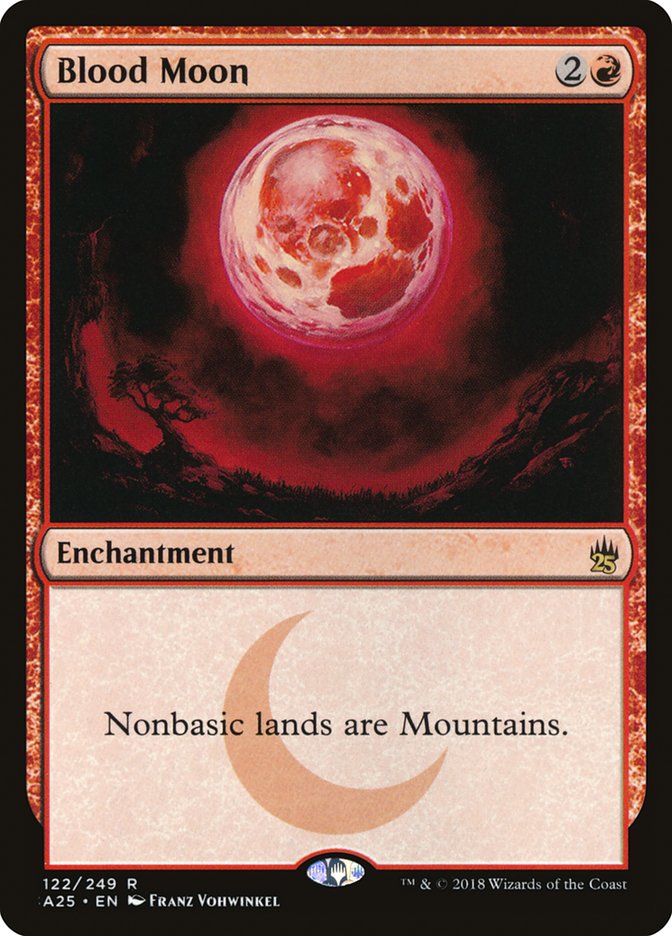
on the battlefield. The presence of Blood Moon is also a huge advantage for
the deck with more basic lands because it’s a cheap threat that hugely
advantages you if you can resolve it by limiting the Jeskai deck’s mana.
With a Blood Moon on the battlefield they may have more lands than you, but
if most of them only produce red mana, those lands aren’t useful. You need
blue mana in control mirrors and with only three Islands in the deck, you
can effectively lock them out of casting more than two relevant spells in
the same turn, making landing a threat or answering one very difficult.
Blood Moon also happens to shut down the primary cheap threat out of Jeskai
Control, Search for Azcanta.
As a result of these disadvantages, it’s hard for Jeskai to land a key
threat and take over the game in a traditional way, so they typically are
forced to be aggressive and get in chip shot damage over the course of the
game before setting up a flurry of burn spells and Snapcaster Mages when
the Blue Moon player taps out to resolve a Jace, the Mind Sculptor or
Keranos, God of Storms.
I was coming off three prior control mirrors in the Modern portion of day
one, winning each one with relative ease, not even dropping a game, so I
was happy to get a fourth since Modern can be a matchup lottery at times.
Still, Jonathan is an excellent player and his skills were on full display
in this match while I made a couple critical errors.
The first occurs on turn four of game one. Jonathan tapped out on my end
step to Electrolyze my Snapcaster Mage, leaving a window for me to resolve
a Blood Moon when he only has two basic lands on the battlefield, both
Islands. Locking him out of white mana for the rest of the game is
attractive enough that I go for the Blood Moon with no protection, hoping
to not see exactly Plains + Teferi, Hero of Dominaria.
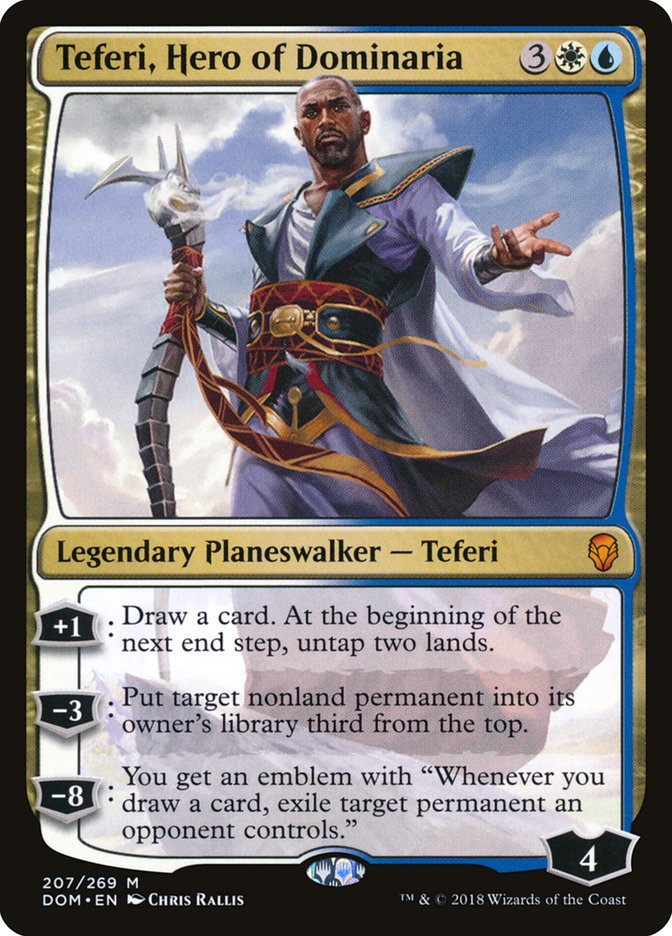
Of course, that’s exactly what happened. I’m now behind because Teferi will
take over the game and answer the Blood Moon if necessary, and with access
to all his colors, it’s unlikely I’ll be able to pressure the Teferi
through the Jeskai deck’s plethora of removal spells.
In many positions, taking that calculated risk would be justified, but my
hand contained a fifth land, a Remand, and a Vendilion Clique, so the
safer, more patient play is to simply pass the turn, force the action with
a Vendilion Clique on Jonathan’s next end step, and if the window is open,
land my Blood Moon with Remand protection for a potential Teferi.
It’s also important to note how aggressive Jonathan was in tapping out for
that Electrolyze. Snapcaster Mage will eventually need to be answered, but
it’s not particularly pressing with him at eighteen life and tapping out
leaves him vulnerable to both Blood Moon and Jace. I should’ve read this as
a trap and acted cautiously even with a relatively weak hand, but my
aggressive mindset got the best of me and I was soundly punished.
My next mistake was on the very next turn. Once Teferi enters the
battlefield, I am behind, so I need to shift into the aggressive role. I
had Keranos, God of Storms in my hand and could safely cast it because
Jonathan only had one blue mana untapped and most Jeskai lists have but one
Negate in the maindeck that is castable for that mana, a spell that does
nothing against Keranos.
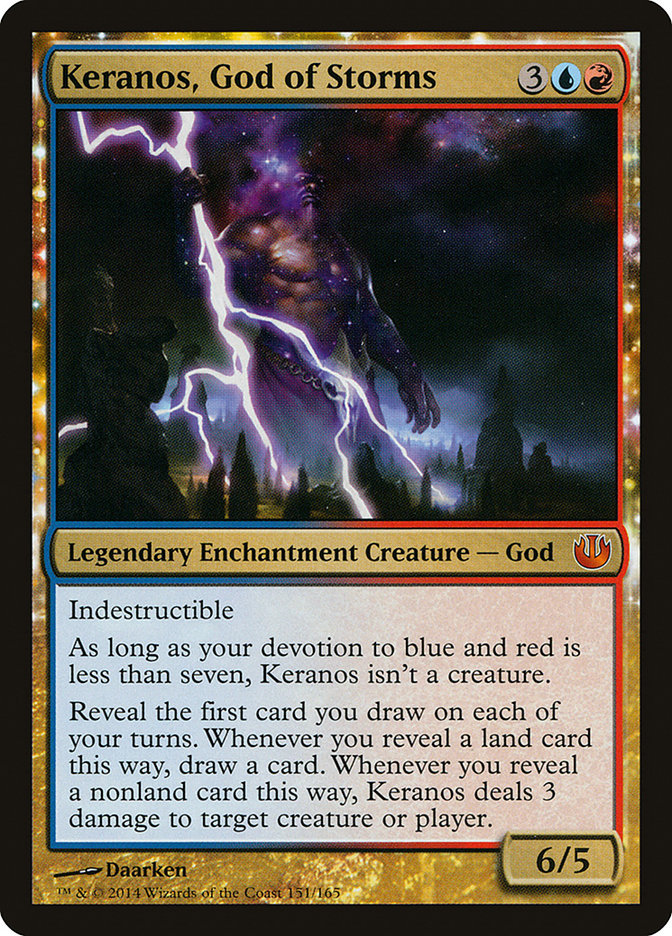
With Keranos on the battlefield, I have pressure for Teferi and my own card
advantage engine online. Revealing any spell on my next draw step can
combine with my Lightning Bolt to answer the Teferi and leave me very far
ahead; if Jonathan opts to -3 his Teferi on my Keranos, the Lightning Bolt
will be enough to answer it and the battlefield will be clear except for my
Blood Moon, an advantageous position.
Instead, after getting burned by my previous aggressive play, I devise a
slower plan that involved waiting until six mana, casting Cryptic Command
to bounce the Teferi with Remand back for a potential counterspell, then
clear the Teferi with my Vendilion Clique. Unfortunately, my Vendilion
Clique two turns later reveals a second copy of the planeswalker, and I’m
forced to play cautiously for the rest of the game to keep Teferi off the
battlefield.
The end result is that Jonathan ends up ahead on cards while I never find a
window to land Keranos until he is ready to send a lethal pile of burn
spells at my face. You can see how Jonathan plays towards this end game,
trying hard to not use his burn spells on my creatures unless necessary,
thus demonstrating his understanding of the dynamics of this specific
matchup.
The key decisions in game two happen early. Having mulliganed to six and
without a third land in hand, Jonathan gets aggressive by casting his
Search for Azcanta into two open mana. The scry to dig for more lands is
valuable enough here to risk losing it to a Spell Snare or a Negate and in
the end, I Remand it. Jonathan misses on a land on his next draw step, and
now behind, goes for Search again and it sticks.

From this point I’m ahead on mana and should force Jonathan to make land
drops or fall further behind. He’s able to find his next two lands while I
frantically search for a Blood Moon and we arrive at my turn six when
Jonathan has four lands on the battlefield. I’m ahead enough on mana that I
don’t need to get aggressive, but with a Dispel in hand as backup for my
Keranos and fearing the Search for Azcanta I go for it and get punished by
the combination of Celestial Purge and Negate. Once again, I made this play
with a Vendilion Clique in hand that could’ve forced the action and
provided me with critical information and would’ve been better served by
being patient, even in the face of the powerful Search for Azcanta.
Without any other source of pressure, Jonathan spent the rest of this game
playing carefully around Blood Moon, getting ahead on cards with Azcanta,
the Sunken Ruin, and waiting for my mana advantage to become a liability as
I ran low on action, leaving me with some ineffective Remands and Lightning
Bolts as he eventually drew more lands with a hand flush with spells.
There are plenty of other small decisions in that match that could be
discussed, but I’ve highlighted those decisions that were most illustrative
of the general principles I explained above. Jonathan is a seasoned control
player and it showed in that match as he walked away with a well-earned
victory.
With control decks showing up in force at the Invitational I’m still high
on Blood Moon’s position in the Modern metagame, but you can’t rely on your
deck to carry you through every good matchup. There’s still Magic to be
played and as Mike Flores so eloquently put it some twenty years ago:
misassignment of role = game loss.