
Many of you probably never heard of me before last weekend, so allow me to introduce myself.

My name is Wyatt Darby and I was fortunate enough to win Pro Tour Dominaria.
My Magic story isn’t anything special. I picked up the game during high school shortly after Zendikar was released but was pretty casual about it until I moved to Iowa City to start college. When attending my local Friday Night Magic, I met some incredible Magic players and people like Canadian Magic superstar Josh McClain and Louis Kaplan. By some miracle, they eventually allowed me to become the fifth person on their weekly PTQ trips. While it took quite a bit of mentoring to get my skills up to par with theirs, my spark was ignited and I wasn’t going to quit until I had the opportunity to play Magic on its grandest stage.
After years of grinding, that moment finally came at Pro Tour Amonkhet. My first Pro Tour experience began with drafting a card that most will associate me from now until forever
While it may have been the most powerful card in that Limited format, it was not enough to save me from a poor draft, and I was quickly 0-2-1. A few quick Constructed rounds later and my dreams of hoisting the Pro Tour Amonkhet trophy were dead. The disappointment was temporary, as I quickly cobbled together a new goal – I was going to do everything I could to return to the Pro Tour and prove that I had what it takes. One year and a good RPTQ Sealed pool later, I had booked my ticket to Pro Tour Dominaria and was awaiting the previews with bated breath.
The first card that truly caught my attention was Karn, Scion of Urza, and my testing process began by trying to maximize the impact of his -2 ability. After going off the deep end in a few Magic Online Leagues, pairing this flashy new Mythic with marginally playable cards like Servo Exhibition and Cogworkers Puzzleknot, I was unsure of what to do. I had put together a slightly updated Grixis Improvise list, but it was plagued with all the problems that synergy decks often face – it was difficult to consistently draw the right combination of enablers and powerful top end. Many games ended up with my small army of Servo tokens being routed by the soon-to-be most ubiquitous card in Standard.
Standard was up in the air and after SCG Atlanta and SCG Baltimore, a new bogeyman loomed large over the format: U/W Control featuring Teferi, Hero of Dominaria. This led me to experiment with a new shell for Karn in W/B Aggro. The combination of blazing aggressive starts centered around Toolcraft Exemplar and Scrapheap Scrounger backed up by the late-game power of Karn was consistently a nightmare for my control opponents. The problem with this plan was that this aggressive package was proving to be a massive liability against the rest of the format. Exemplar and Scrounger were frequently outsized by green decks or dominated by Chainwhirlers from my red opponents. As a result, I had to dedicate a huge portion of my sideboard to providing my deck with a coherent strategy after Game 1 in these difficult matchups.
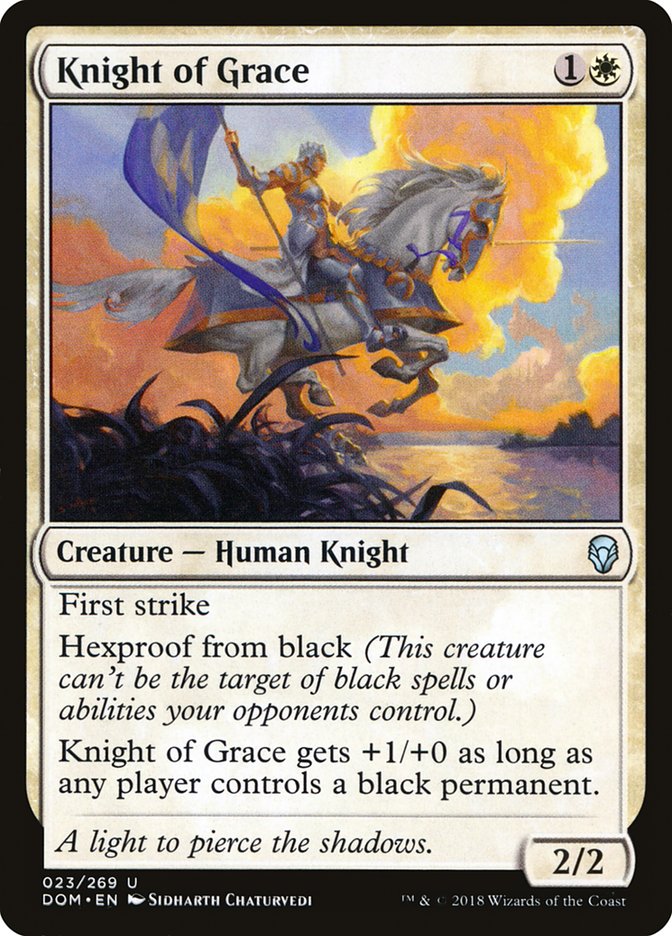
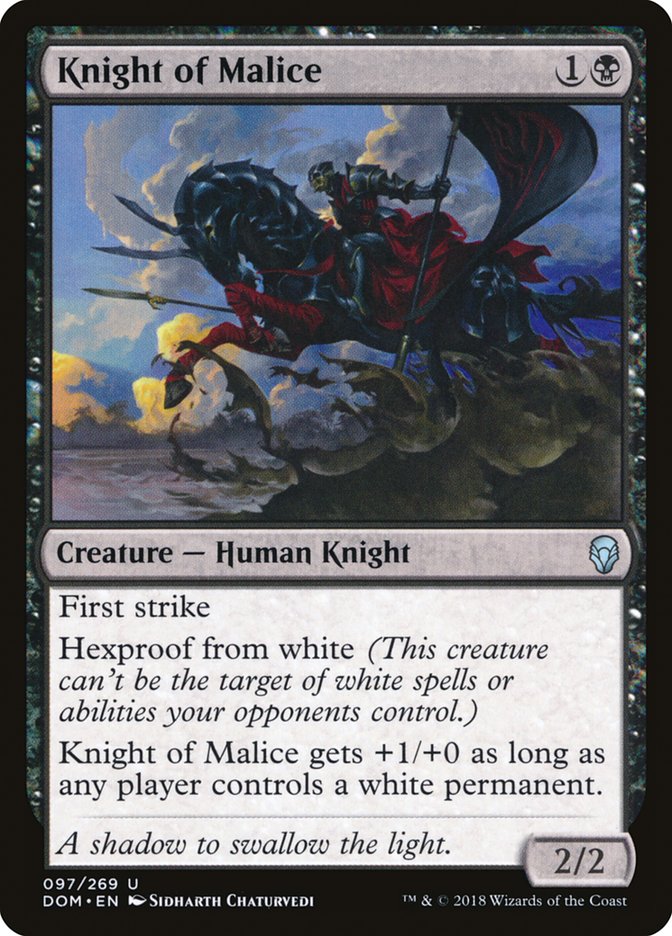
Around the time of Grand Prix Birmingham, a tournament known for the dominant performance of R/B Aggro, my good friend, Steve Locke, had a bit of an epiphany – what if we simply removed the Exemplar/Scrounger/Heart package from W/B Vehicles and instead played a full set of Knight of Grace and Knight of Malice? This change was in conjunction with additional removal that proved to be quite strong against the new red overlord.
In a truly disappointing (and in hindsight not particularly surprising) turn of events, this yielded mediocre results. We had turned a lean aggressive deck into a midrange pile that couldn’t keep up in card quality with the rest of the format.
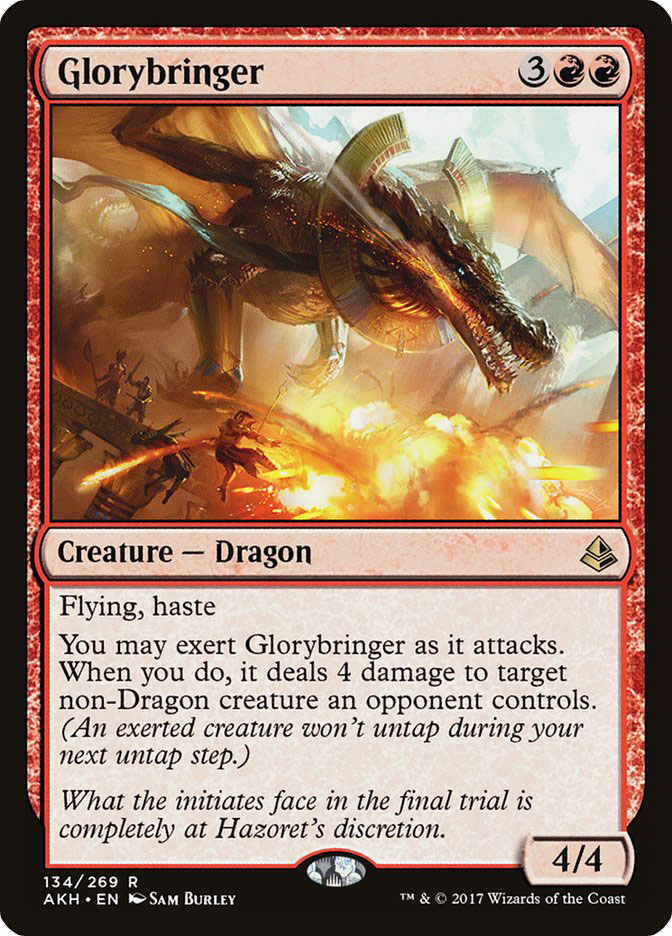
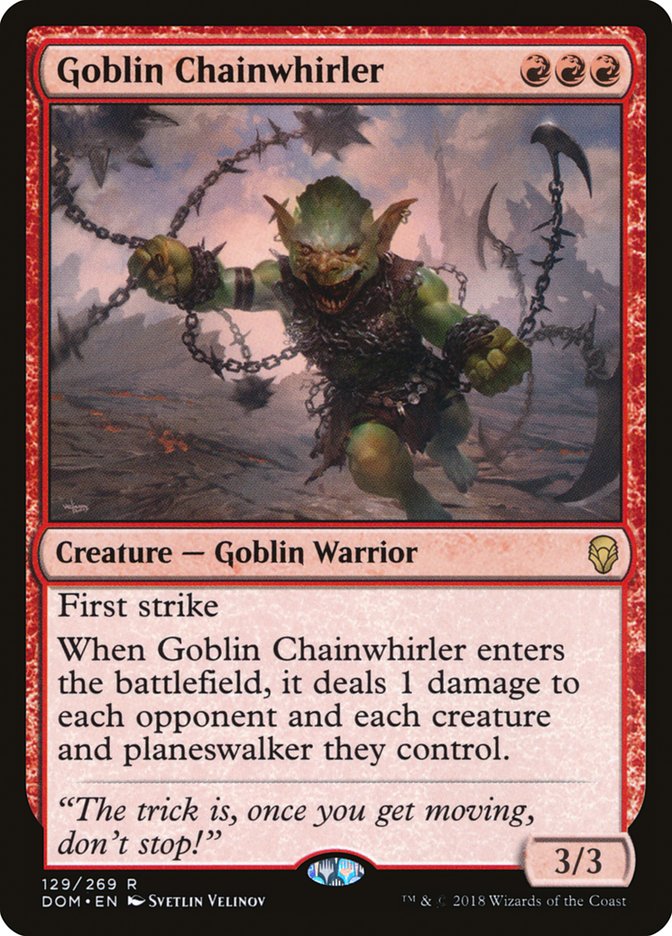
The most important realization that I had in the testing process is that red was providing what I had wanted from W/B Aggro all along. The aggressive core of the deck wasn’t as powerful as Toolcraft Exemplar and crew, but when transitioning to the slower package, I had access to an embarrassment of riches. Every Standard deck seems to have some problem with Chandra, Torch of Defiance; Hazoret the Fervent, Rekindling Phoenix, or Glorybringer. When registering all these cards, you gain an almost unfounded amount of flexibility for a one-color deck. Goblin Chainwhirler added another card that ranges in effectiveness from game-ending blowout to frequently unblockable threat. Its impact, regardless of you being aggressive or controlling, allows you the ability to pivot accordingly.
While red decks have historically been things you can beat if you choose to dedicate enough sideboard space, I didn’t think it would stop it from being omnipresent at the Pro Tour. With that in mind, I set myself to the task of building a red deck that could get the largest edge possible in the mirror:
Creatures (26)
- 3 Bomat Courier
- 2 Kari Zev, Skyship Raider
- 4 Hazoret the Fervent
- 2 Ahn-Crop Crasher
- 4 Soul-Scar Mage
- 4 Earthshaker Khenra
- 3 Rekindling Phoenix
- 4 Goblin Chainwhirler
Lands (24)
- 24 Mountain
Spells (10)

My Mono-Red Aggro deck’s foundation was wanting four copies of Hazoret. She’s simply the most impactful option in red mirrors and I made some deckbuilding concessions to maximize her effectiveness. She demands a certain number of early-game plays, and thus I felt forced into playing seven one-drop creatures. While I happily included four Soul-Scar Mage, the three Bomat Couriers were much more reluctant additions.
Jadine Klomparens outlined the reasons why this is in her excellent article earlier this week, but the gist of it is Bomat Courier will do very little for you regardless of whether you cast it before or after your opponent deploys Goblin Chainwhirler. Bomat Courier is still one of the most powerful options you have against the Teferi decks, so I simply resigned myself to the occasional blowouts that could come my way.
Another major decision point with Hazoret is what interactive spells you choose to play. It’s important for your spells to have the ability to be proactively thrown at your opponent. For this reason, I started with three copies of Shock and three copies of Lightning Strike. In a lot of ways, Shock is the only pure synergy card in this otherwise powerful list. Shock doesn’t kill a particularly large number of creatures and it is sideboarded out frequently, but the games when you can leverage it into a positive trade are some of the easiest wins the deck offers.
Rounding out the removal are four Abrades. While this number certainly isn’t typical, it was the result of asking myself, “How am I losing most of my games?”
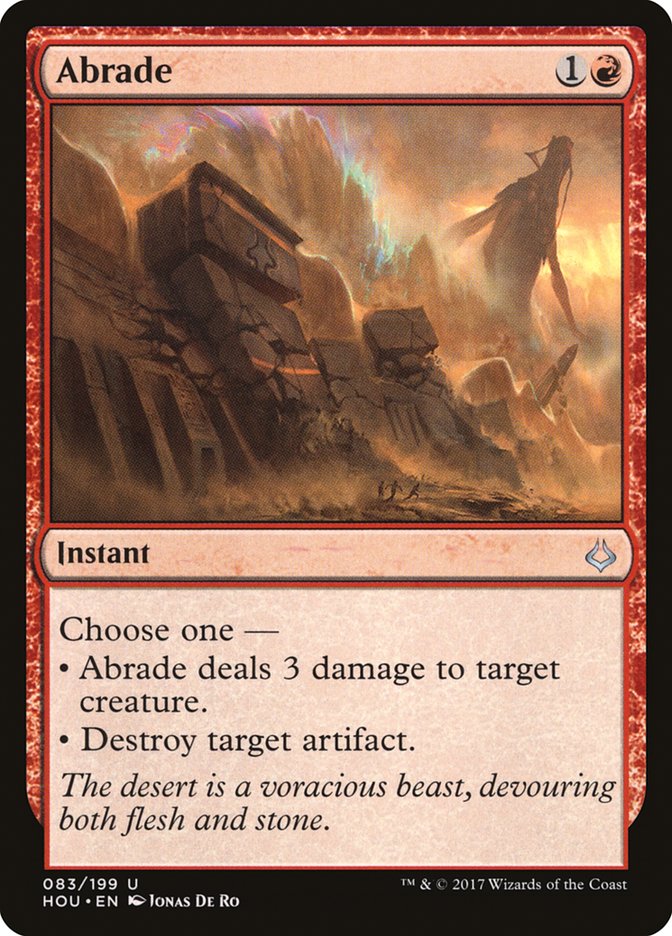
Aethersphere Harvester and Verdurous Gearhulk proved to be the most challenging cards during playtesting. This tag-team of high-impact artifacts either gained too much life to make racing possible or kept my ground creatures completely at bay. When they’re combined, victory becomes almost impossible. The fourth Abrade maindeck allowed me to maintain a higher density of answers to these problematic cards while creating another valuable sideboard slot, something I was able to leverage into an additional card for the mirror.
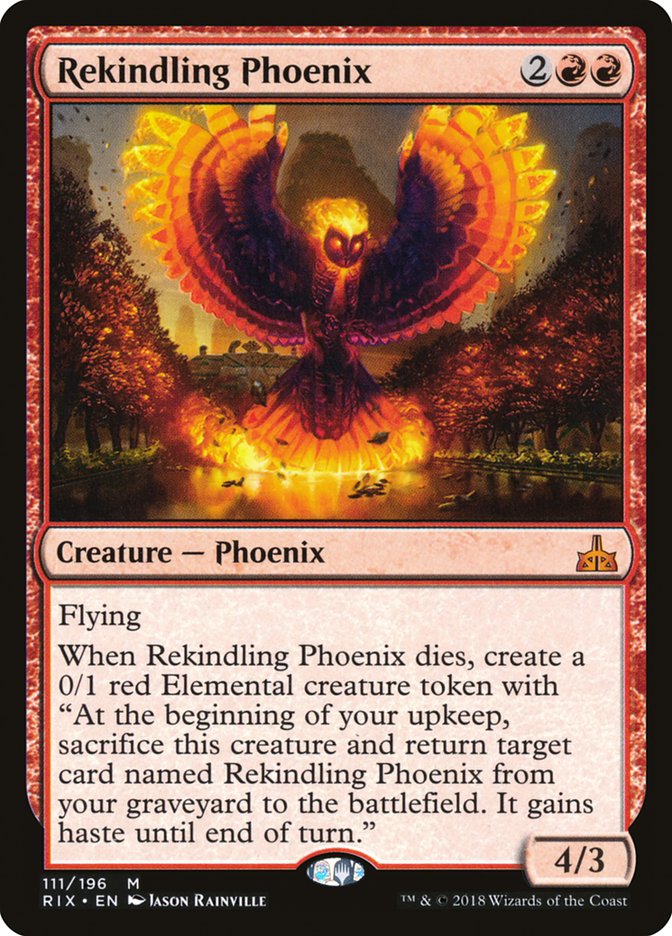
One card that is certainly not stock in most Mono-Red Aggro decks is Rekindling Phoenix. After a few Leagues on Magic Online, I found that for all of Red’s strengths, the early creatures often needed some powerful haymaker behind them to completely lock up the game. Adding the recursive flyer often led to games where my opponent, after being forced to use their interaction to stem the early bleeding, had simply run out of answers for the Phoenix. It’s an excellent complement to Hazoret at the top of the curve and the four-drop I would recommend moving forward if red-based aggro continues to dominate Standard.
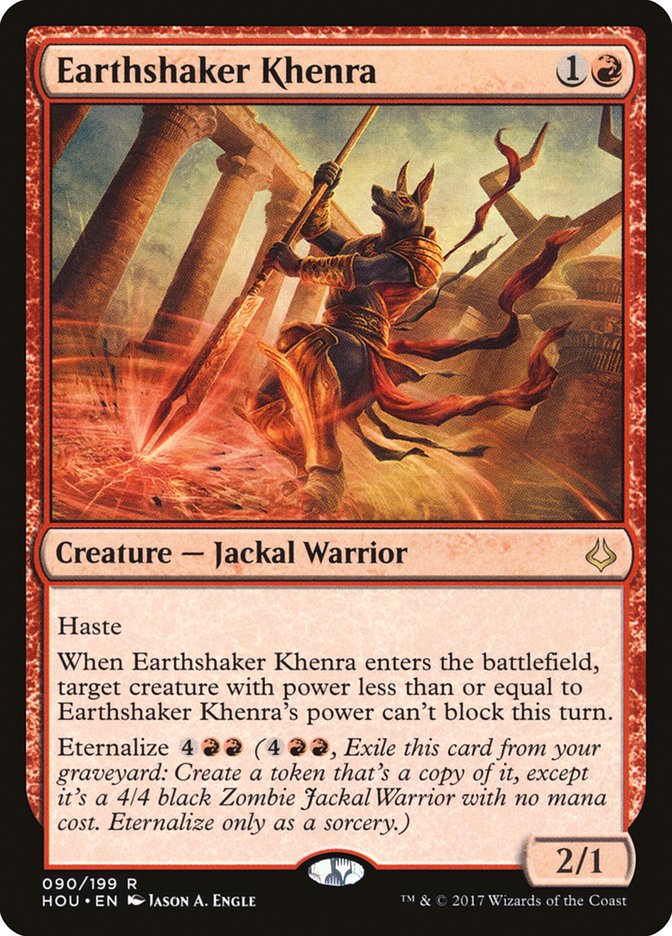
Choosing the recursive two-drop to round out the deck was the final challenge in the deck building process. I felt that the notion of Goblin Chainwhirler making Earthshaker Khenra unplayable was a bit overblown, as Khenra’s haste and enters-the-battlefield trigger grant you flexibility in when you can deploy it. Eternalize is another critical component to the card, as it turns your first six lands into valuable assets which threaten what are often lethal swings. Khenra also has the additional perk of being able to block. While this is less than ideal, many times over the tournament, my opponents were punished for having the less flexible Scrapheap Scrounger instead of Khenra when they were put on the back foot.
Ultimately, Mono-Red Aggro is an aggressive deck, and when you have such incredibly powerful cards that benefit from being played on curve, consistency is paramount. That was the final decision that led me to register 24 Mountains and zero Scroungers.
Matchup Guide
R/B Aggro and Mono-Red Aggro
Out:

In:
Tempo remains an important aspect of the matchup, as putting your opponent on the back foot and forcing them to react is crucial. With this, using the lifegain of Aethersphere Harvester to keep your opponent from racing is key, and saving your Abrades to deal with the problematic artifact needs to be on your mind.
G/B Constrictor
Out:
In:
This matchup is difficult, as G/B Constrictor is equipped with the cards you fear, most like Walking Ballista, Aethersphere Harvester, and Verdurous Gearhulk. After sideboarding, becoming the control deck gives you the best chance to win, so you remove cards that only provide value when you’re aggressive or expose you to Ballista. If you have the choice of deploying a threat or answering a Winding Constrictor, kill the Constrictor. Once your opponent’s creatures grow beyond four toughness, they become exceedingly difficult to answer.
Mono-Green Aggro
Out:
In:
Another difficult matchup, but one with some subtle differences compared to G/B Constrictor. The biggest problems for Mono-Red are Ghalta, Primal Hunger and Rhonas the Indomitable. These creatures force you to prioritize keeping the battlefield clear of all creatures instead of removing a key threat like Winding Constrictor.
U/W Control
Out:
In:
U/W Control can be difficult to gauge after sideboarding. They have a wealth of options for the additional threats they might use to swing the matchup, and cards that are good against Lyra Dawnbringer, like Fight with Fire, look much less powerful against History of Benalia or Torrential Gearhulk. Generally, though, your aggression can put them on the back foot early and you can force them to cast Settle the Wreckage to give yourself a window to resolve Chandra, Torch of Defiance. Fight with Fire can also punish the extra lands they give you, so make sure to continue hitting your land drops so you can pay the game-winning kicker.
W/B Aggro
Out:
In:
This matchup varies wildly based on the cards your W/B Aggro opponent finds. Things like History of Benalia can make a hand of removal spells look foolish, and Lyra Dawnbringer and Angel of Sanctions can both be lights out. It’s important to eke out every bit of value you can from your Chandra and Glorybringers, as the matchup regularly reaches the late-game.
The Final Attack
I’d like to end this article by briefly echoing what prominent judges in the community have already said – please don’t be harsh towards Goncalo Pinto and his question to the judge for additional clarification regarding the Ragavan token. I was caught in the elation of the moment for a split-second – which felt like an eternity in my head – and I honestly believe that I took about as long as I could before physically putting the token onto the battlefield.
If you’re ever confused about a game state, card interaction, or anything else in a game of Magic, it’s in everyone’s best interest to have a judge resolve the situation. The last thing that should come from that final turn is a player not asking a legitimate question in the future for fear of reproach from the community.