
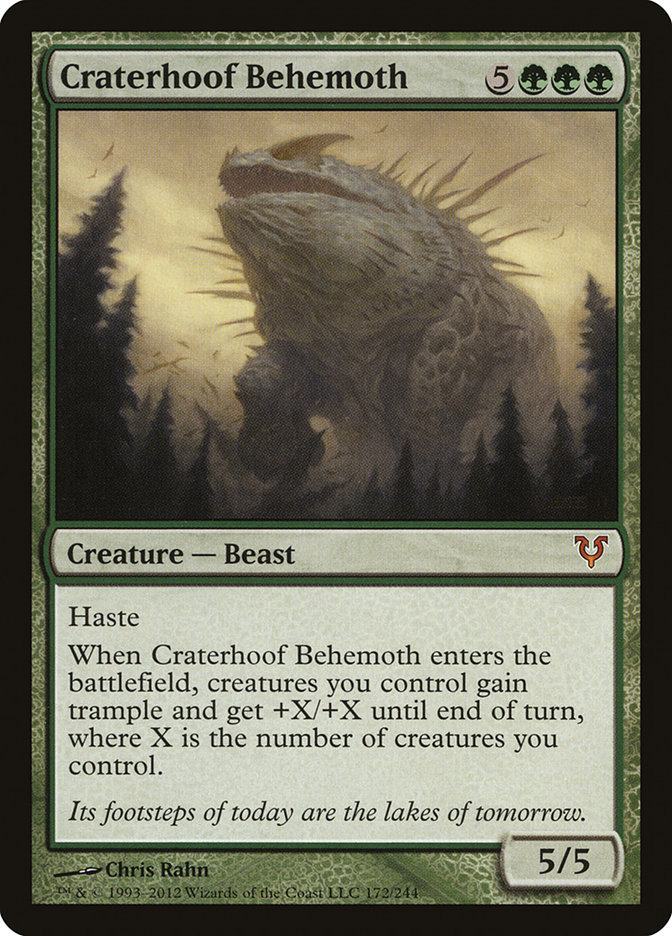
Anybody that played during Craterhoof Behemoth gets it.
Craterhoof Behemoth was a messed-up Magic card.
Decimator of the Provinces is the second coming of Craterhoof Behemoth, and frankly, I’m still trying to wrap my head around this card, because it just seems too easy. There has to be a catch. It can’t really be this absurd… can it?
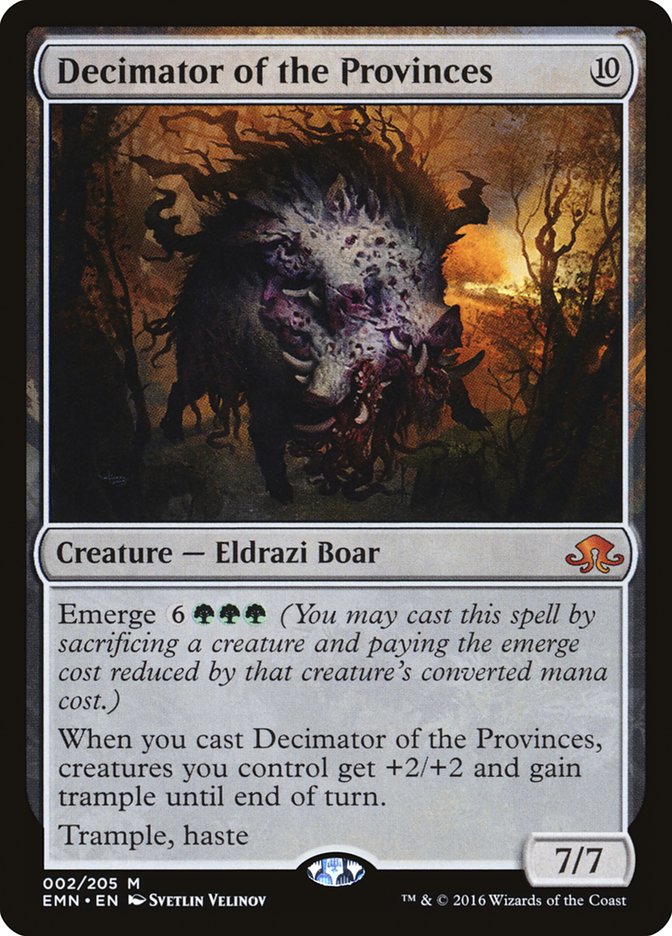
That’s a big pig.
Decimator of the Provinces is an extremely expensive haste fatty that Overruns your team. However, there are a number of key differences that lead to the Decimator playing a very different sort of game.
To start with, the Decimator’s trigger is when cast, rather than when it enters the battlefield. This means it can’t be cheated out particularly effectively with a reanimation spell (though that is still seven points of haste damage). It does, however, mean the ability is effectively uncounterable. Even if your opponent counters the Decimator, you get the +2/+2 and trample for your team.
It also means that the Decimator doesn’t power itself up. This is, of course, no big deal, since the Decimator starts the size it would have been, 7/7, but gets to keep the extra stats if your opponent somehow lives through the turn. It’s also worth noting that the Decimator has trample all the time, unlike Craterhoof Behemoth, which only has it the turn you cast it.
Wait a minute. Craterhoof Behemoth gave your creatures +X/+X, while the Decimator caps out at +2/+2. That’s an enormous nerf!
I will grant you, in terms of total damage, this is typically a substantially decreased amount. However, we’re talking something like 30 damage, rather than 100.
That’s still more than enough to kill most opponents. Besides, it’s not for nothing. In exchange, we get the ability to sacrifice a creature to help pay for the Decimator. While it has a base cost of 10, we can pay 6GGG minus the converted mana cost of whatever we sacrificed. If we sacrifice a four-cost creature and spend five mana, we just get Decimator of the Provinces attacking on turn 5. Depending on the size of your creatures, it usually takes just three or four bodies to represent lethal.
Getting to Decimator on turn 5 or 6 is night and day compared to Craterhoof Behemoth. While the Behemoth basically required either a way to cheat the cost (such as Unburial Rites) or an absolutely massive abundance of mana creatures, Decimator of the Provinces takes care of cheating it onto the battlefield itself.
This means we don’t have to contort our deck nearly as much as giant creatures like this have traditionally called for. Rather, it’s sort of like the Decimator is just an unbelievably powerful aura that enchants our creature, turning it into a 7/7 trampler with haste (and giving the rest of our team +2/+2 and trample).
Since Decimator of the Provinces is an Eldrazi, let’s start with a deck that takes advantage of this fact.
Creatures (35)
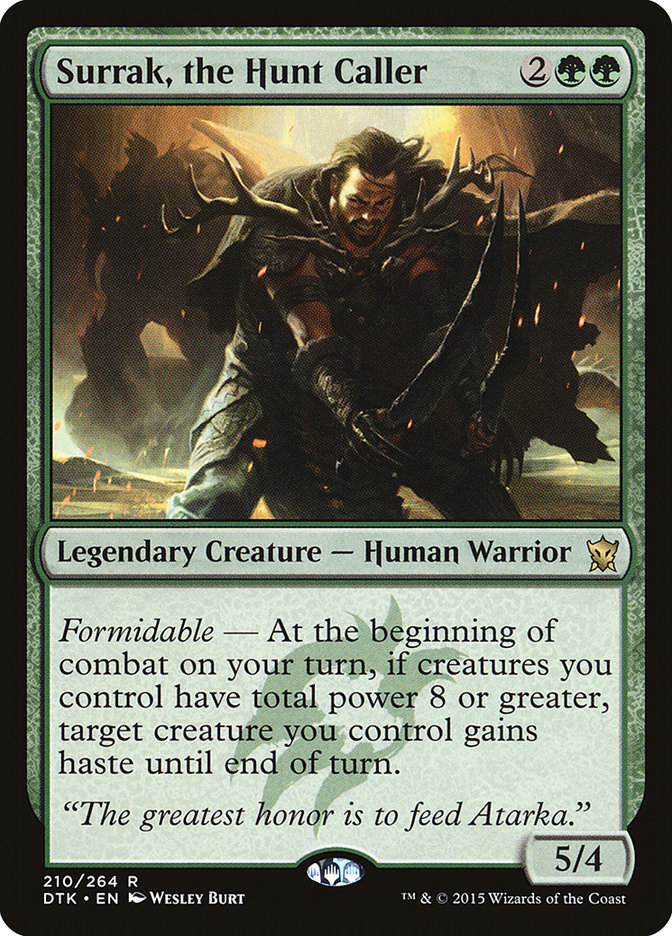
- 3 Surrak, the Hunt Caller
- 4 Catacomb Sifter
- 4 Eldrazi Mimic
- 4 Reality Smasher
- 4 Sylvan Advocate
- 4 Thought-Knot Seer
- 4 Matter Reshaper
- 4 Duskwatch Recruiter
- 4 Decimator of the Provinces
Lands (25)

Setting aside how dubious a list with zero removal spells is, there is still plenty to like about this direction. Duskwatch Recruiter is a great threat early and a fantastic way to build a critical mass of creatures for a lethal Decimator.


Eldrazi Mimic becoming a 4/4 or 5/5 because of Thought-Knot Seer or Reality Smasher is nothing new, but if you cast a Decimator of the Provinces, you’re talking about nine damage from the Mimic after it becomes a 7/7 with +2/+2 from the Decimator trigger.
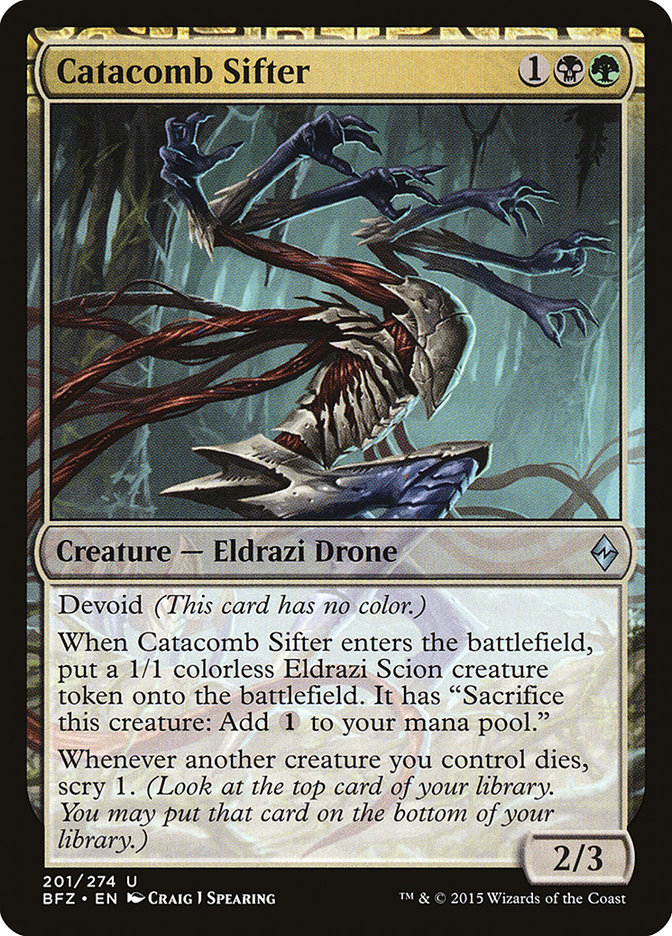
Catacomb Sifter is a just a great card in its own right. However, it also combines excellently with Decimator of the Provinces. To start with, the Sifter makes two bodies, which plays right into the Overrun ability. Additionally, the extra mana from the token can help cast the Decimator a turn earlier in some circumstances (which should hopefully tend to be game-winning whenever).
The Catacomb Sifter’s enters-the-battlefield trigger means it’s ideal for sacrificing. See, if you sacrifice Surrak, the Hunt Caller, it might be fine, but you’ve got nothing to show for it besides the mana. Three- to four-cost creatures with enters-the-battlefield triggers are generally better choices for sacrificing to emerge creatures, which sort of begs the question, why Surrak, the Hunt Caller instead of just running Eyeless Watcher?
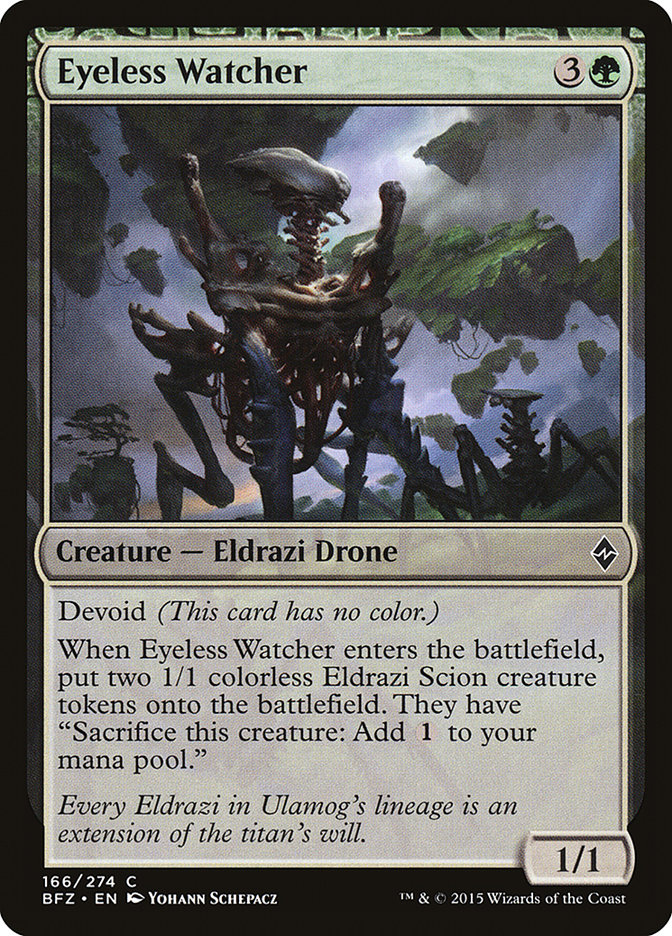
Eyeless Watcher is not breaking any power level records, but it is the ideal four-drop to sacrifice to Decimator of the Provinces. Basically, any two-drop and any three-drop is game over if you cast Watcher into Decimator on four and five.
What if we build into that?
Creatures (33)
- 4 Elvish Visionary
- 4 Catacomb Sifter
- 4 Eyeless Watcher
- 4 Reality Smasher
- 4 Thought-Knot Seer
- 3 Matter Reshaper
- 2 Deathcap Cultivator
- 4 Duskwatch Recruiter
- 4 Decimator of the Provinces
Planeswalkers (3)
Lands (24)
This list is almost starting to remind me of those G/B Company decks that just cranked out tokens. It’s a little tough, since the perfect cost to sacrifice is typically four, which butts against Collected Company. That said, if we have to pay six for the Decimator, it’s not the end of the world.
If Eyeless Watcher isn’t rich enough yet, we can go all the way up to Brood Monitor. If you cast a Brood Monitor, you need just a single additional Forest to be able to make a Decimator Emerge from the Brood Monitor (plus we’ll be up a token that won’t be able to attack).

This might be bigger than we need, but if we’re playing one of those Eldrazi Displacer combo decks, Decimator offers a nice added dimension of attack.
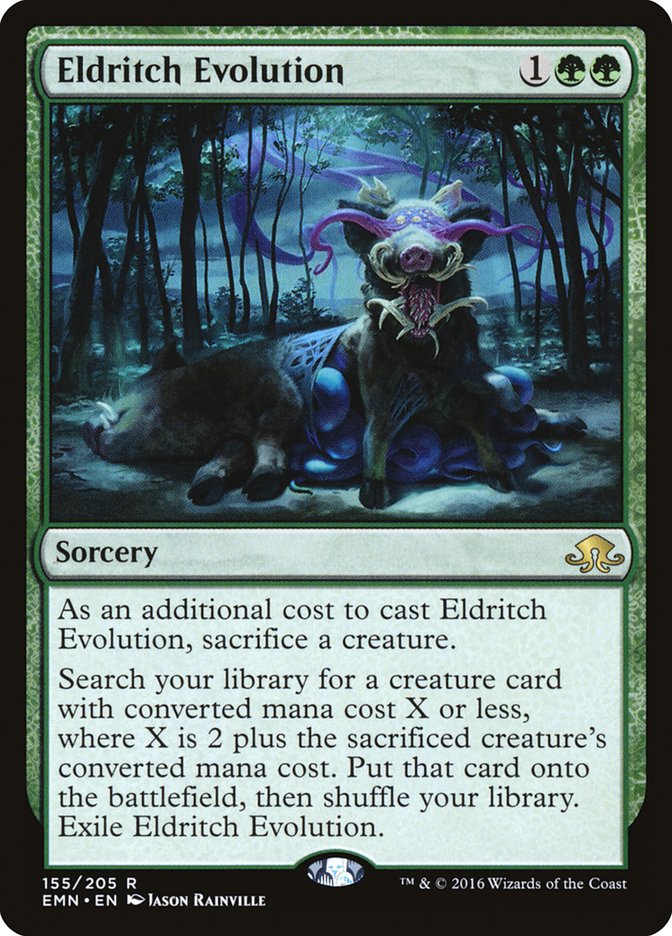
You know, a deck with Eyeless One and Brood Monitor might not be the worst home for Eldritch Evolution. We’ve probably already got Dragonlord Atarka too, so if we can just manage to find a good five-drop to sacrifice…
All this Eldrazi Scion token-making is fine and dandy, but is there a way to make actual tokens to put the Decimator to good use? It’s tricky, since you can’t sacrifice planeswalkers for Emerge, but maybe we can get there.
Creatures (19)
- 3 Nissa, Vastwood Seer
- 4 Hangarback Walker
- 4 Archangel Avacyn
- 3 Tireless Tracker
- 2 Lambholt Pacifist
- 2 Decimator of the Provinces
- 1 Emrakul's Evangel
Planeswalkers (8)
Lands (25)
Spells (8)
Okay, this is kind of a haphazard starting point, but there are just so many possible ways to go with this thing. For instance, how good is Emrakul’s Evangel?
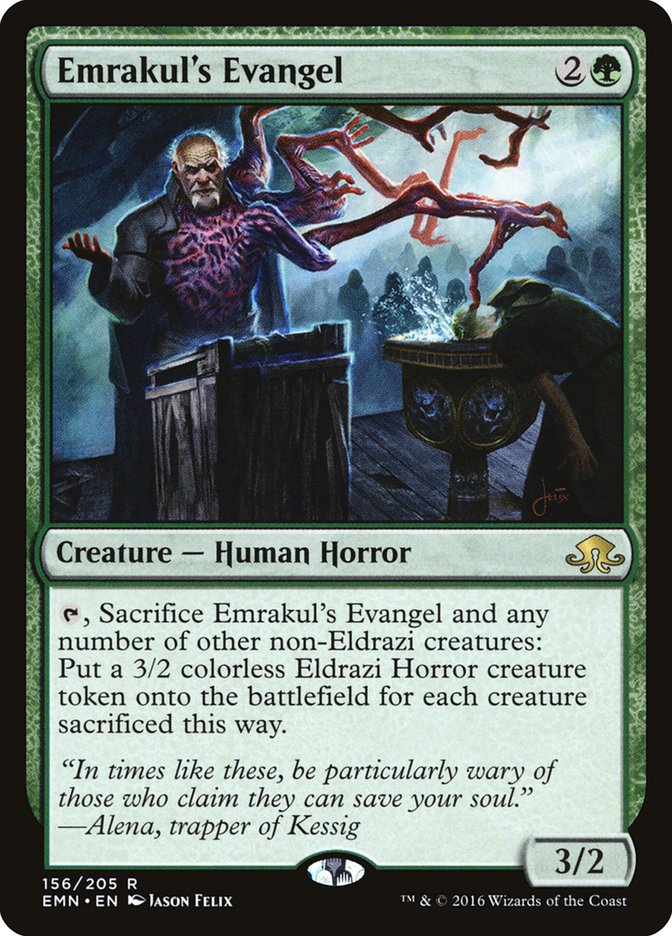
Emrakul’s Evangel might just be doomed on account of having two toughness and summoning sickness. However, if it lives, it’s sort of a permanent +2/+1 bonus to each of your tokens. Additionally, it can fizzle Declaration in Stone, flip Archangel Avacyn, split Hangarback Walker, and more.
It’s just tough, coming up with enough creatures to sacrifice. It’s nice to sacrifice Nissa, Vastwood Seer, sure, but that’s just one of those Nissas when you have six lands on the battlefield and your opponent doesn’t do anything about it, eh?
If we’re willing to play six for Decimator of Provinces, we could just slot a couple into Bant Company:
Creatures (27)
- 3 Jace, Vryn's Prodigy
- 1 Nissa, Vastwood Seer
- 3 Eldrazi Skyspawner
- 4 Reflector Mage
- 3 Eldrazi Displacer
- 4 Sylvan Advocate
- 3 Tireless Tracker
- 4 Duskwatch Recruiter
- 2 Decimator of the Provinces
Lands (25)
Spells (8)
Space is tight, as always, but Eldrazi Skyspawner is a natural fit for the Decimator plan. Two bodies is nice, but we could also use the help getting up to six.
It’s important to remember that we’re responsible for the Decimator’s triple green. If we sacrifice Reflector Mage, we need three green lands among our six. Tireless Tracker and Nissa reduce the burden by one, of course.
Two possible Decimator homes that I don’t have a good build of yet are G/R Ramp and Cryptolith Rite. In Ramp, it could make a good one-of tutor target for Sanctum of Ugin. It’s also not trivial that World Breaker can make the Decimator cost just two mana.
If we’re willing to mutate a little, Conduit of Ruin and Oblivion Sower are both interesting sacrifice food. I’m not sure how we’d fuel it, but if we can support Blight Herder, the tokens are much appreciated and that’s a great size body for sacrificing. Behold the Beyond is another interesting source of tokens and mana that can make finding a single Decimator no big deal.
Cryptolith Rite could be built like the Brood Monitor / Dragonlord Atarka stuff we described above, but it could also be a more token-centric list with Secure the Wastes. The main thing is figuring out what to sacrifice.
Decimator of the Provinces isn’t the only emergent Eldrazi, though. So far, they all look appealing in different contexts. For instance, Wretched Gryff and Elder Deep-Fiend make for a lot of fast and aggressive ways to trigger Kozilek’s Return.
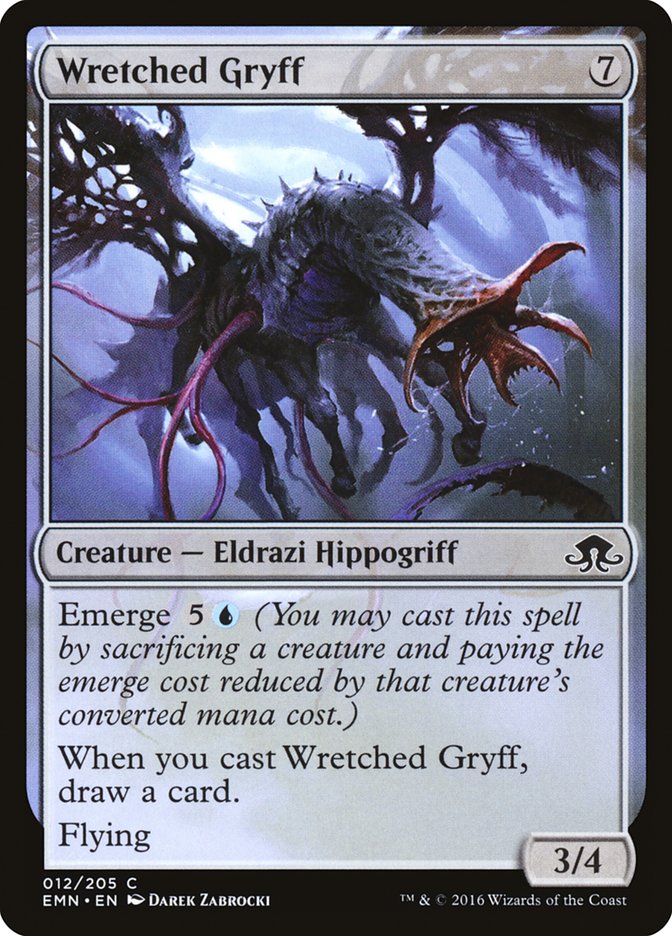
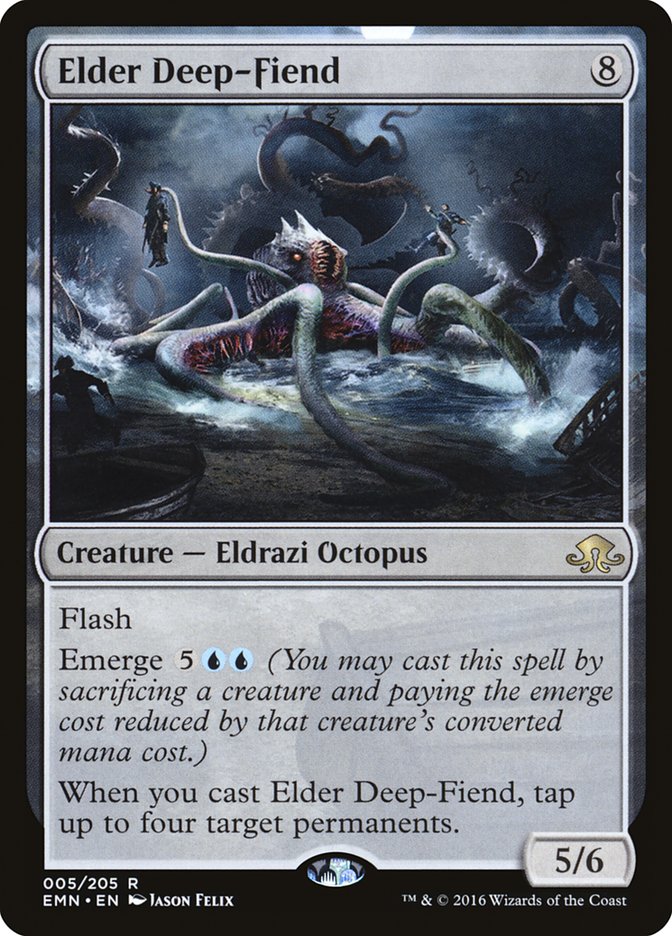
The problem here is figuring out how to play enough creatures to sacrifice to the Wretched Gryff and Elder Deep-Fiend while still wanting Kozilek’s Return. For cards with six- and seven-mana emerge costs, the default cost to look to sacrifice is three, which is good news, as there are tons of good three-drops worth sacrificing. Maybe the Kozilek’s Return part is a trap?
The rare black one, Distended Mindbender, is hard to evaluate but definitely inspiring. It does seem like a real jerk of a card to have to play against, though.
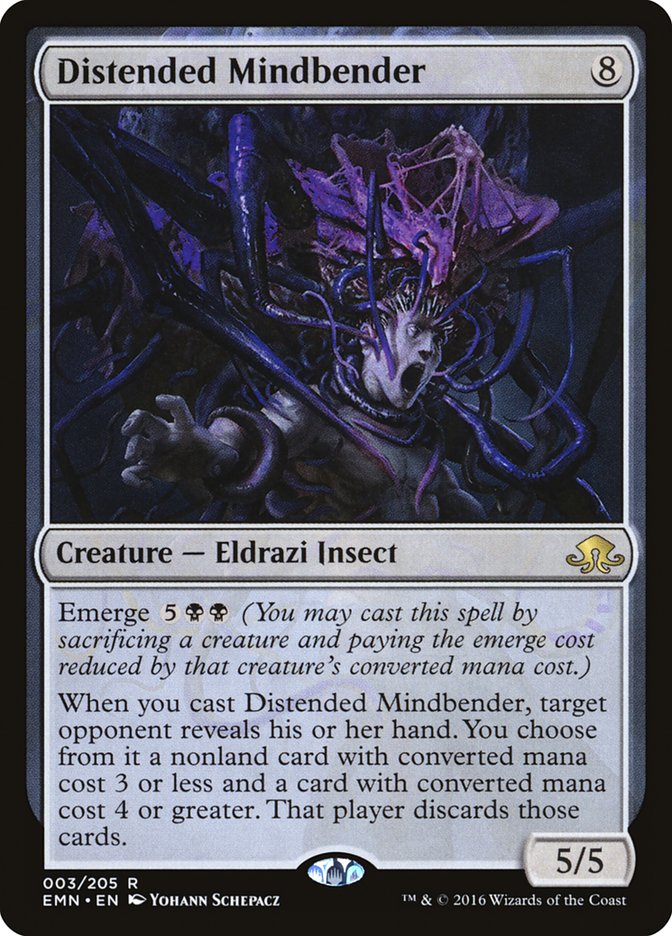
Costing just seven, the natural dream is to set up Distended Mindbender on turn 4 with any three-drop. You may be down a three-cost creature, but you are getting an Inquisition of Kozilek and an Appetite for Brains, not to mention a 5/5.
There are a few cards that make turn 5 look attractive, however (as opposed to turn 4). For instance, consider Voldaren Pariah:

When things are going well, Voldaren Pariah is a “three-drop.” Plan A is to discard it to an Heir of Falkenrath, Call the Bloodline, or Stromkirk Condemned; pay the three; and get a 3/3 flier with serious upside.
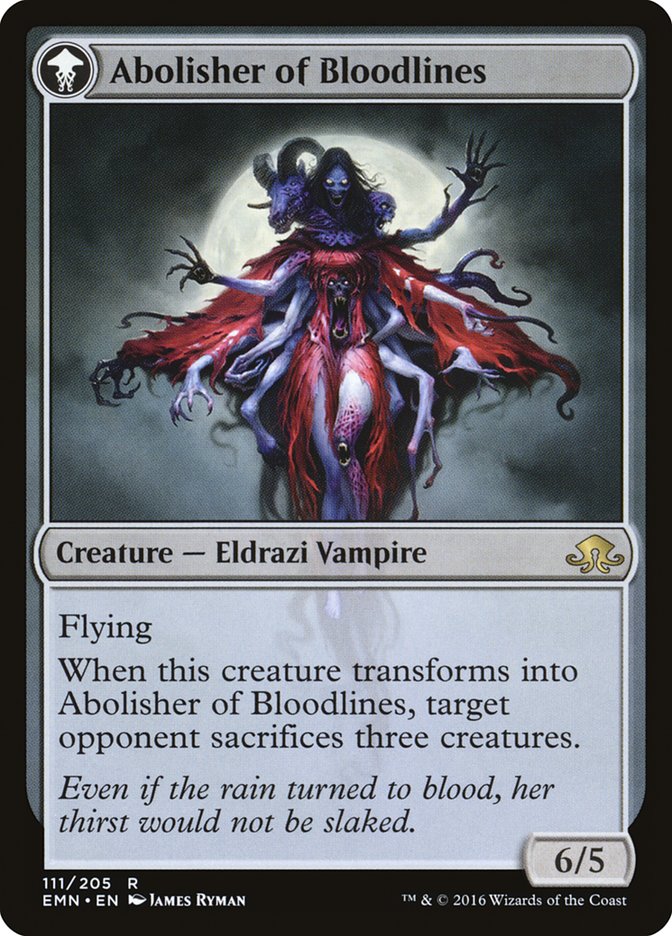
Voldaren Pariah’s flip ability can be played anytime you want for no mana. All you need is three creatures you’re willing to sacrifice, and you get to triple Edict your opponent, which is already typically enough to make it worth your while. As if that wasn’t enough, however, you also get to upgrade your 3/3 into a 6/5.
While Abolisher of Bloodlines has no casting cost, Voldaren Pariah technically counts as costing five. This means Distended Mindbender needs just two more mana.
● Turn 2: Heir of Falkenrath or Stromkirk Condemned
● Turn 3: Discard and Madness Voldaren Pariah, attack for three
● Turn 4: Attack for five to seven damage and then sacrifice Voldaren Pariah to cast Distended Mindbender, destroying your opponent’s counterplay. You’ve even got two mana left over for a Grasp of Darkness or another Vampire.
This is an excellent start, but it’s also reasonable to madness the Pariah on turn 5 and then immediately sacrifice it to the Mindbender, taking your opponent’s last two cards. While we don’t want to rely on hardcasting the Pariah, that is a totally normal and reasonable plan. It makes us more interested in flipping the Pariah into the Abolisher, since we’re not getting as massive of a boost from the mana savings on the Mindbender. It’s still just something you have to take on a case-by-case basis, though.
Important note: flipping Voldaren Pariah will not save it from hard removal (though it can save it from a Fiery Impulse).
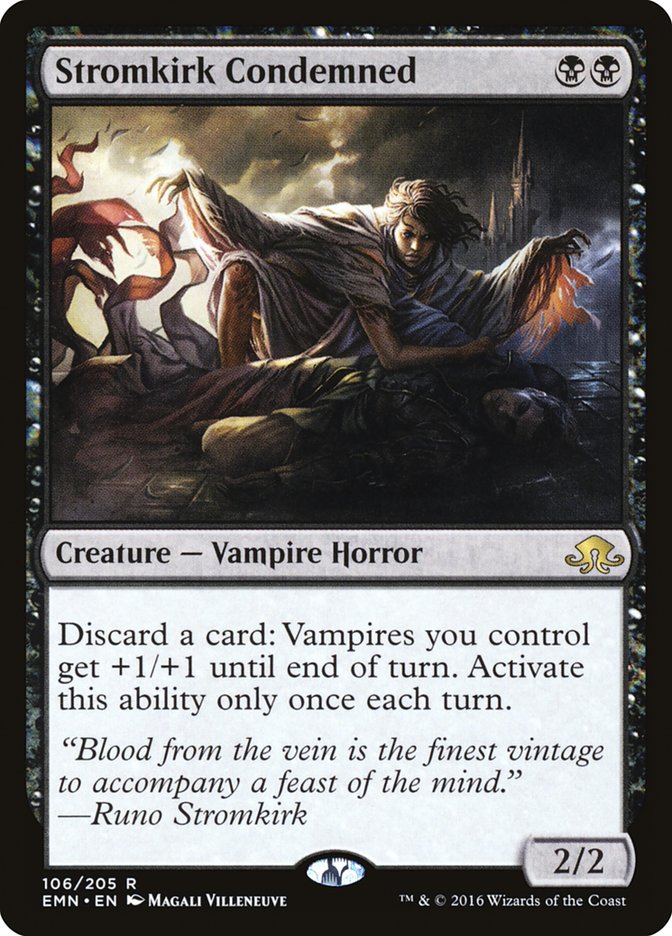
Stromkirk Condemned is an aggressive tribal lord that fuels madness and other graveyard action but is also efficient enough to inspire us to try to do Vampires for real. The threat of using the ability is often so warping to our opponent’s play that we don’t even end up having to use it.
Creatures (27)
- 3 Drana, Liberator of Malakir
- 3 Kalitas, Traitor of Ghet
- 4 Heir of Falkenrath
- 4 Indulgent Aristocrat
- 4 Asylum Visitor
- 3 Voldaren Pariah
- 4 Stromkirk Condemned
- 2 Distended Mindbender
Lands (24)
Spells (9)
Geier Reach Sanitarium is sweet, but it is both legendary and colorless. If we’re going to support Stromkirk Condemned and Voldaren Pariah, we’re gonna have trouble doing anything too fancy.

Geier Reach Sanitarium is fantastic at grinding out midrange opponents. We can also use it as a constant source of flash threats by threatening to madness out Vampires when they can do the most damage.
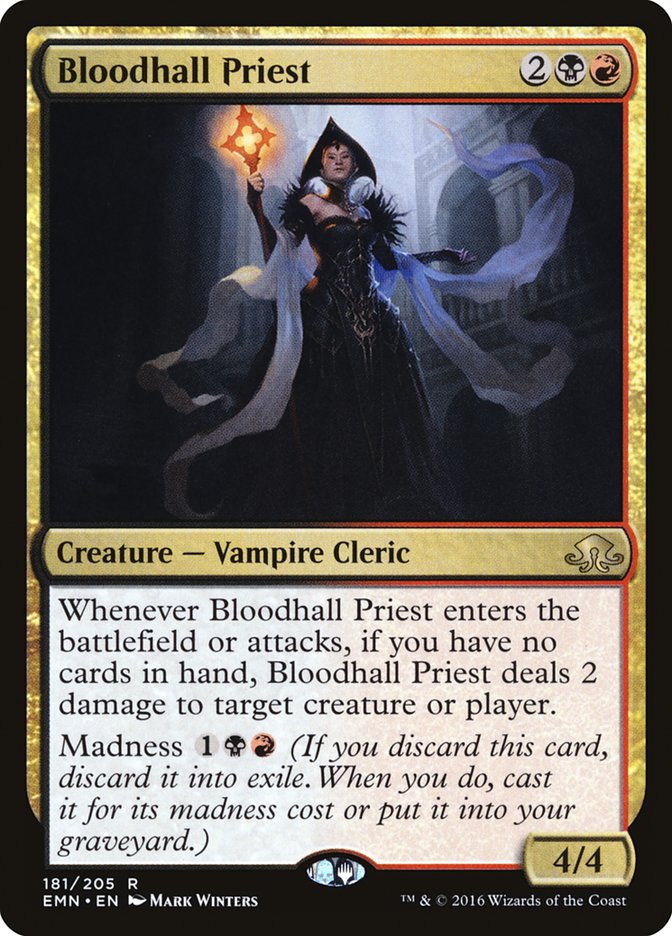
If we want more madness Vampires, Twins of Mauer Estate are another five-drop we can madness down on turn 3 to set up a turn 4 Mindbender. The trick there is figuring out how to get enough discard outlets reliably. Adding red makes it easy (Insolent Neonate; Ravenous Bloodseeker; Olivia, Mobilized for War), but we probably have to give up Voldaren Pariah. We do get to make extra good use of all the discarding, as Bloodhall Priest is a very serious four-drop or madness three-drop.
There’s some pretty serious competition at the four-spot, but if we end up really valuing Shocks, it’s a strong card.
This is a reasonable start, but my biggest complaint is that we don’t have enough flunkies to sacrifice to our Indulgent Aristocrat or Voldaren Pariah; Kalitas, Traitor of Ghet; or even Distended Mindbender. We’re always sacrificing something good!
The default go-to are Zombies. The more we move towards them, the more easy sacrifice fodder (but fewer awesome Vampires to power up).
Creatures (28)
- 3 Drana, Liberator of Malakir
- 2 Kalitas, Traitor of Ghet
- 4 Heir of Falkenrath
- 4 Indulgent Aristocrat
- 4 Asylum Visitor
- 3 Voldaren Pariah
- 4 Stromkirk Condemned
- 2 Haunted Dead
- 2 Distended Mindbender
Lands (24)
Spells (8)
For instance, adding a couple (or more) Haunted Deads gives us another card we can feel good about pitching to our discard outlets that can then serve as a discard outlet itself. It’s also a source of very mana-efficient token-making.
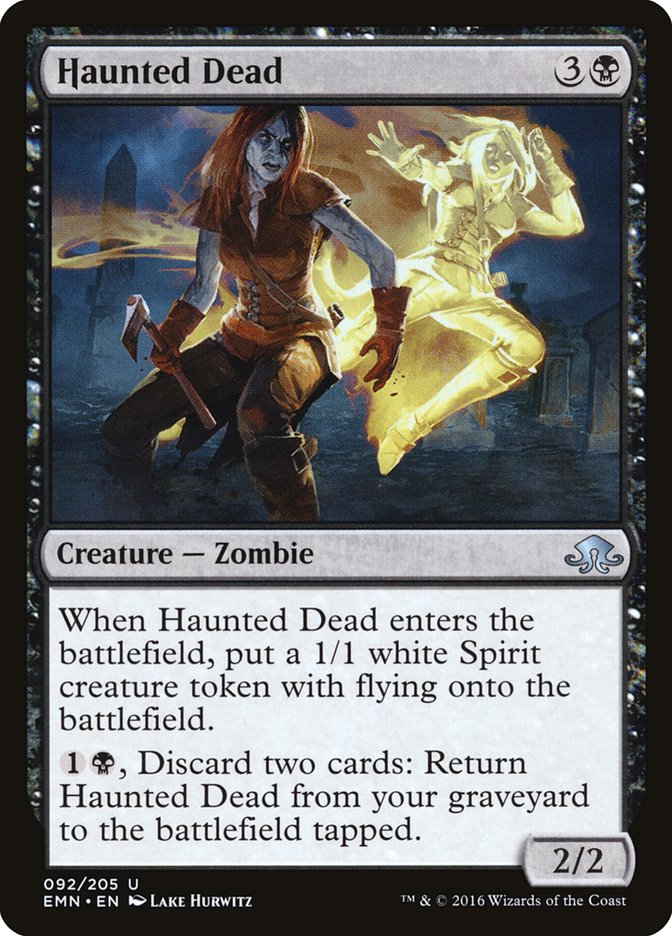
I’d love to use even more, but the card actually works much better with some of the Zombie cards that interact with the graveyard.
Creatures (32)
- 2 Nantuko Husk
- 2 Fleshbag Marauder
- 4 Heir of Falkenrath
- 4 Relentless Dead
- 4 Diregraf Colossus
- 4 Prized Amalgam
- 1 Ghoulsteed
- 4 Pale Rider of Trostad
- 1 Gisa and Geralf
- 4 Haunted Dead
- 2 Distended Mindbender
Lands (23)
Spells (5)
This list is too all-in on the Zombies, and while it gets a lot of mileage out of the recursion, it just isn’t sacrificing them enough to care. My recommendation would be to try to find a way to get the best of both worlds.
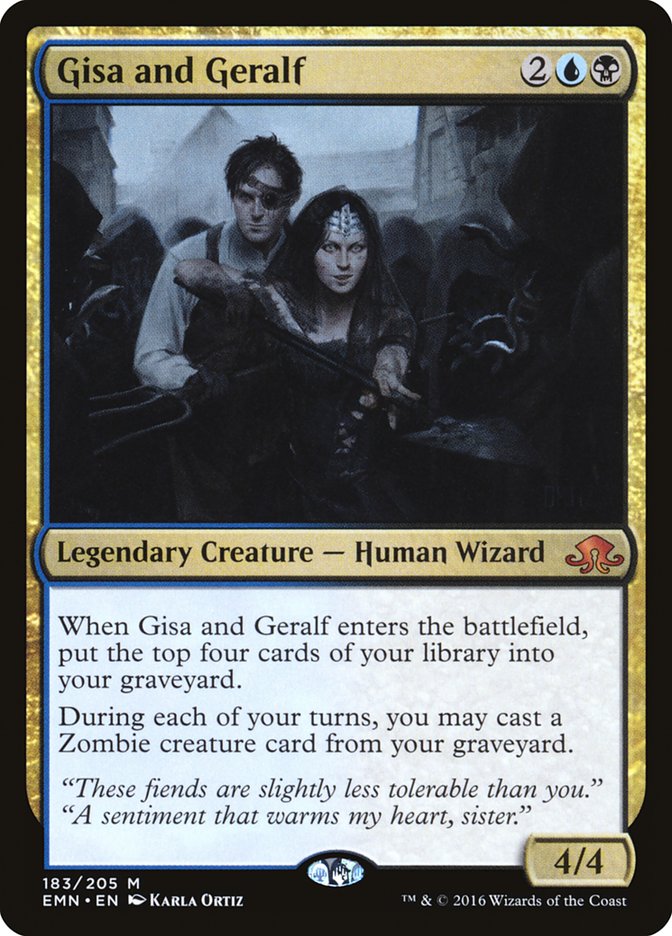
If we do end up dedicated Zombies, we definitely want to be B/U (unlike Vampires, which might be able to stay mono-black). Gisa and Geralf are a potent source of card advantage, but as always, they are just grinding out more recursion. If we don’t have ways to sacrifice our Zombies profitably, we’re really letting our edge go to waste.
One card that might be the key to bridging the two strategies (and ensuring we’re playing enough interaction) is Collective Brutality.
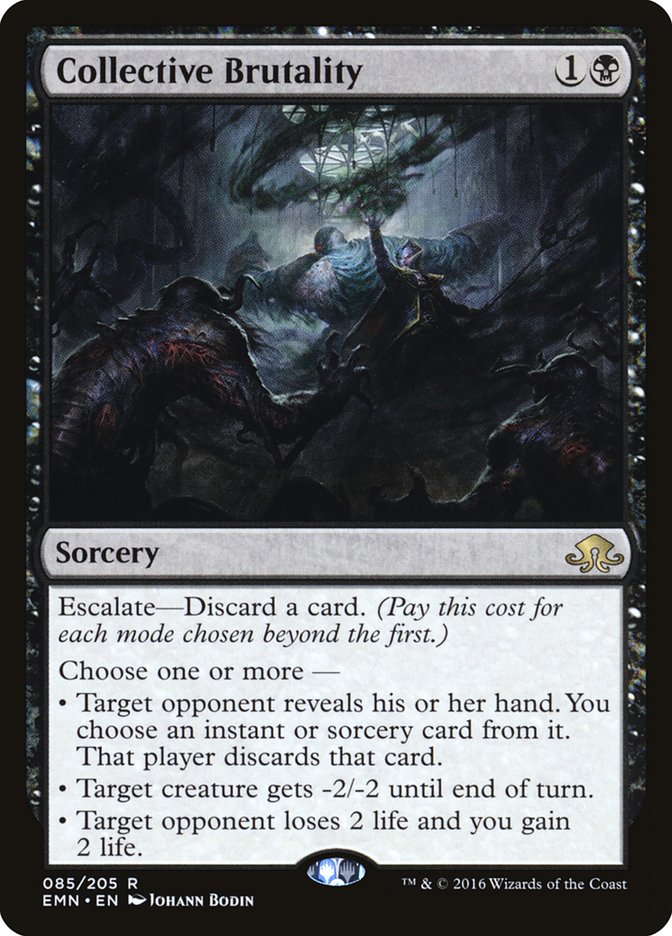
Collective Brutality is a Charm on the surface but actually has four other modes (any combination of two, and the trifecta). Not costing any additional mana is a big deal, particularly when you have things you can afford to discard for value, despite little extra mana. Stuff like Haunted Dead and Prized Amalgam is perfect for this.
Collective Brutality also fits nicely into a madness plan, particularly if you’ve got red for Fiery Temper or just happen to use Drownyard Temples. The ability to discard multiple cards for cheap is extremely abusable if we turn into a Dredgevine style of aggro swarm deck. The card might also just be versatile enough to show up in normal-ish decks in small numbers.
Emerge is definitely priced to move (at least on a couple of the standouts), and maximizing the mechanic will require looking at deckbuilding in new ways. How dedicated should we be? Should we be tutoring up our Eldrazi? What are the best cards to sacrifice to it? Should we try to abuse the “colorless creatures that cost seven or more” theme?