
I’ve spent the last few months singing the praises of this Standard format, which is in no small part because I’ve been able to find success with my own rogue decklist. I played my deck at three different professional-level events and my combined record is an impressive 22-8, so I’m certain of this deck’s ability to compete with the popular metagame decks.
If you’re sick of playing your sixteenth Golgari Midrange mirror of the week, want to play something off the beaten path, enjoy casting spells that deal ten-plus damage to your opponent, or just really enjoy casting Goblin Chainwhirler, this deck is for you.
Creatures (20)
- 4 Siege-Gang Commander
- 4 Rekindling Phoenix
- 4 Dire Fleet Daredevil
- 4 Goblin Chainwhirler
- 3 Legion Warboss
- 1 Goblin Cratermaker
Lands (25)
Spells (15)

Deck Gameplan
Big Red is inherently a midrange deck. Similar to Golgari, it plays relatively cheap removal spells and more expensive and powerful late-game threats. Where Golgari achieves card advantage through explore creatures and planeswalkers, Big Red gets up on cards via Treasure Map, Dire Fleet Daredevil, and Arch of Orazca. In my mind, however, there’s a major difference between Big Red and other traditional midrange decks. Big Red has a stronger form of inevitability than other midrange decks.
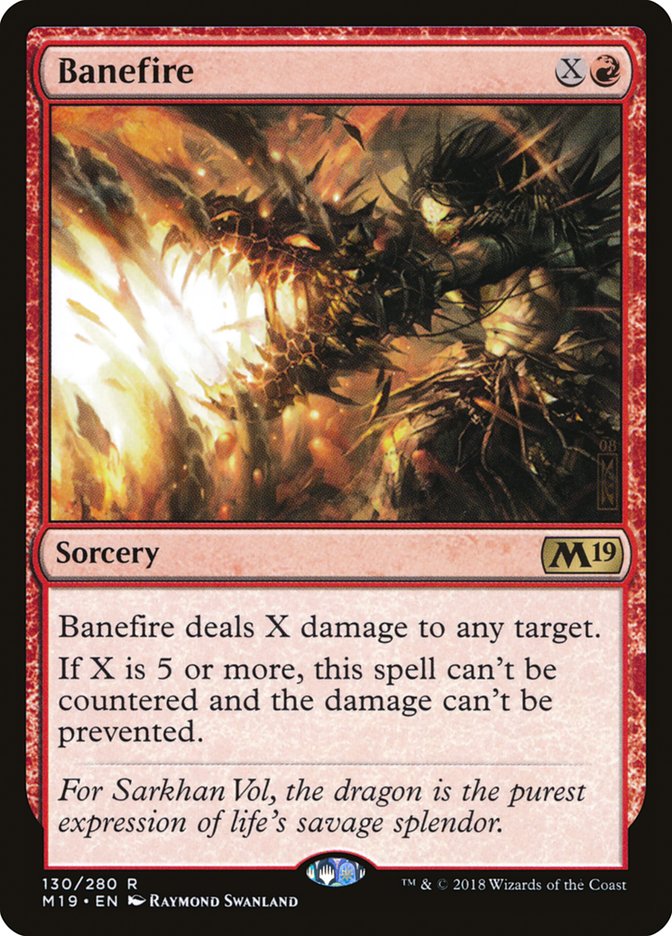
If the game is long and your opponent is around ten to twelve life, you’ll eventually have a lot of lands on the battlefield and draw a Banefire which will kill your opponent in a way that’s extremely difficult to interact with. This is a fundamental gameplay pattern to the deck, and without Banefire I don’t believe this deck would function. For this reason, there are two objectives that you should keep in mind when playing a game:
1) Get your opponent to ten to twelve life
2) Stay alive and hit your land drops
Because dealing enough damage is so important, I frequently don’t attack planeswalkers if I decide I have to give up too much damage or it will be too difficult to kill them. Most decks don’t value the points of damage between thirteen and eight life, but they can be extremely important for Big Red. I also don’t mind casting a Dire Fleet Daredevil on Turn 2, even though I don’t get any value from the trigger. Dire Fleet Daredevil is pretty difficult to block because of first strike, and getting in the chip damage early can mean the difference. In fact, if you look at the decklist, almost all the threats are difficult to block and good at dealing damage even through blockers.
No Experimental Frenzy?!?
People usually express disbelief and shock when I say that there are zero copies of Experimental Frenzy in my 75. After they recover, they’re once more surprised and disgusted after realizing there are also zero copies of Runaway Steam-Kin in my mono-red deck. When I first built the deck, I had both of those cards in it, but after countless games I have determined that zero is the correct number for both.
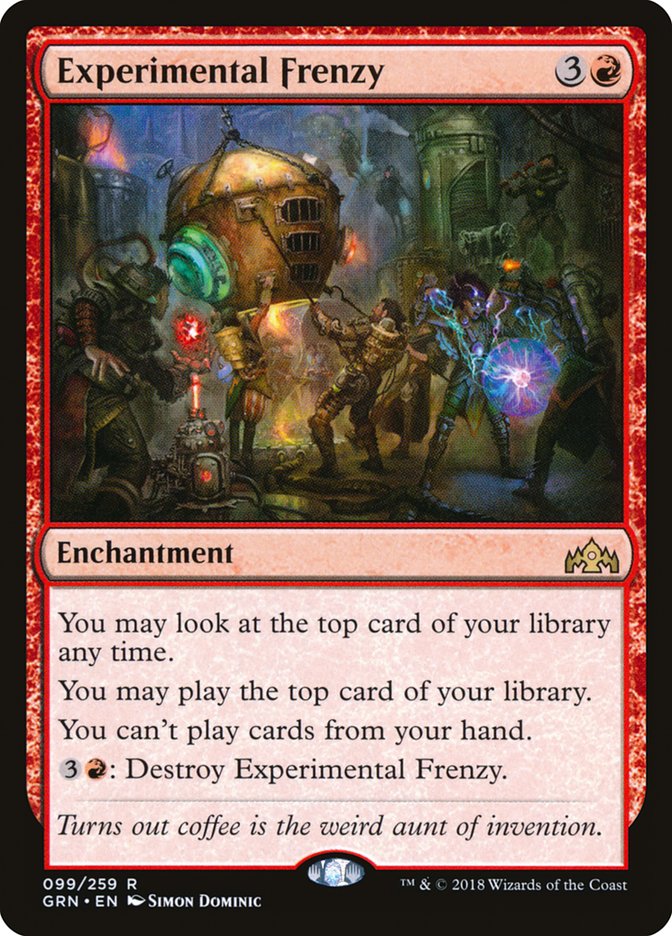
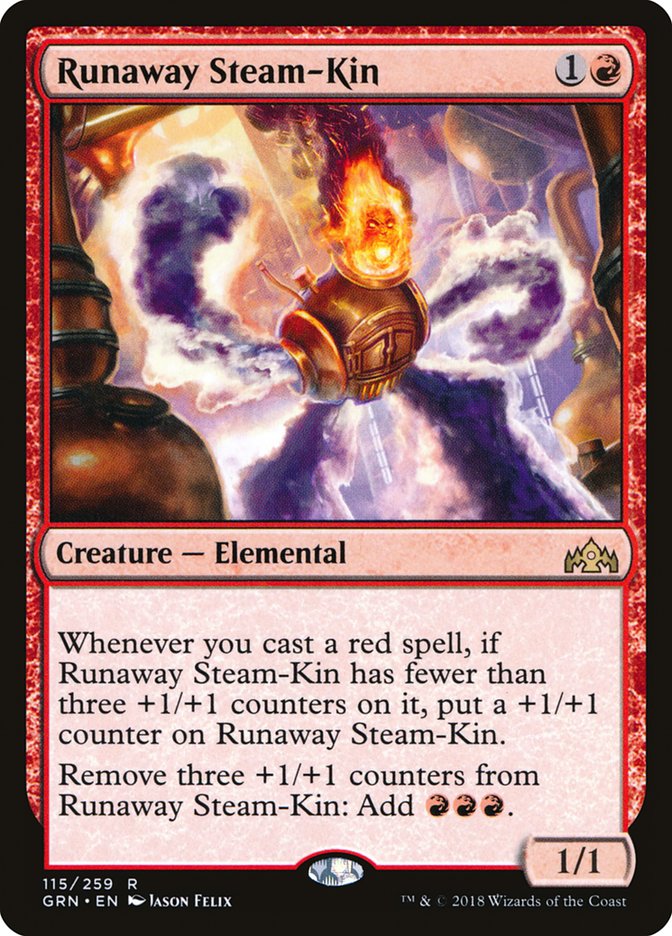
Both cards truly shine when your deck is filled with cheap cards and you can cast multiple spells per turn. Steam-Kin is extremely threatening when it’s attacking for four damage on Turn 3, and Experimental Frenzy looks unbeatable when it draws four cards a turn. The thing is, neither situation happens very often when you play this deck. Big Red has a higher land count than typical Mono-Red Aggro decks and much more expensive spells, both of which cause you to get stuck on Frenzy or be stuck playing one spell per turn pumping the Steam-Kin.
Additionally, Big Red also has generally more reactive spells like Lava Coil and Shivan Fire, which do not always have good targets on the battlefield. This compounds the problems for both cards even more. I’ve also tried just playing Lightning Strike and Shock instead and trying to play with Frenzy, but the fundamental issues of expensive spells and more lands were still there.
Sure, Frenzy has its games even in a deck filled with expensive cards where you just hit land, cheap spell, expensive spell, and then wash, rinse, and repeat the next few turns, but I found the average case of the card is to cast one or maybe two spells per turn and then pass with a Banefire on top of my deck, which I’ll later have to pay four mana to unlock. Steam-Kin is not a very good blocker early, which is at odds with my goal of extending the game, and grows slowly when you cast expensive spells. This doesn’t even count the times your hand is set up for Turn 2 Steam-Kin, Turn 3 Treasure Map, which is an embarrassing start for the two-drop.
VS Golgari Midrange
This matchup is pretty close, as most Golgari matchups are, but I believe Big Red to be a slight favorite. Carnage Tyrant is their best card against you by a mile, as your only real way to deal with it in Game 1 is to Banefire them in the face (you can technically double-block it, but that basically never works out).
Rekindling Phoenix really shines against them, as when they don’t have Vraska’s Contempt, it takes over the game pretty easily. Dire Fleet Daredevil is also quite good, since flashing back Find on Siege-Gang Commander and anything else usually ends the game. If you cast an early Treasure Map, try to make sure you have a threat on the battlefield to make it awkward for your opponent to kill the Map with a planeswalker.
I will often skip casting a threat on Turn 3 to avoid getting my creature killed by Ravenous Chupacabra and thus have a creature on the battlefield the turn my opponent would cast Vivien Reid. It’s pretty hard to save a Map from a Vraska, Golgari Queen, but you can skip casting Goblin Chainwhirler if you think they might have it.
Out:

In:
After sideboarding, I think Big Red is favored. You now have tools to actually remove Carnage Tyrant and you can assume more of a control role while retaining your ability to just burn them out from ten or less life.
I don’t like Legion Warboss because the Golgari deck gums up the ground with explore creatures and it doesn’t play very well with the Star of Extinction plan. Siege-Gang Commander is a really powerful card that’s a good Star of Extinction follow-up, but we have to cut some expensive cards since we are bringing in so many Stars, and I think Rekindling Phoenix is better.
Goblin Cratermaker can stay in the deck if you know your opponent has Karn, Scion of Urza, and a Banefire can be cut because Fight with Fire does a good Banefire impression against a deck without counterspells (especially since Banefire is a bit clunky). Sometimes I keep in an extra Shivan Fire on the draw if I know my opponent has kept in Llanowar Elves.
VS Jeskai Control
This is a bad matchup and probably the worst one for Big Red. Game 1, a lot of your win percentage just comes from the fail rate of Jeskai Control. Sometimes they stumble on mana or can’t kill a second Legion Warboss or don’t have a sweeper and they just die.
The rest of your win percentage comes from getting in as much damage as you can in the beginning – cast your Dire Fleet Daredevils on Turn 2! – and then just hoping to draw a lot of lands and one or two Banefires. This is a surprisingly effective strategy but it’s certainly not enough to make Game 1 favorable or even neutral. Be very careful about how much you attack Teferi, as every point of damage counts, but you also cannot let them ultimate Teferi too soon or else you’ll die before you can Banefire them.
Out:
In:
There are a lot of builds of Jeskai and you must sideboard slightly differently against each one, but this is where I generally start. If they don’t have Niv-Mizzet, Parun, you need fewer Fight with Fires, but you need at least a few in case they have Lyra Dawnbringer. If they have Rekindling Phoenix after sideboarding, you may want to keep a few Lava Coils but never more than two (and usually just one).
We add some pretty effective cards in the fourth copy of Banefire and some planeswalkers to help us hit land drops and find Banefire. Sorcerous Spyglass is also an efficient answer to Teferi which is sorely needed. Post-sideboard, I believe Big Red is favored because of the four Banefires, but not by enough to flip the whole matchup.
VS Izzet Drakes
Izzet Drakes also has gone through many variations in the last few weeks. I think the matchup is pretty much 50/50 against the eight-Drake version, with a lot depending on the die roll. They have more Drakes than you can reasonably kill, but they don’t have much interaction themselves, so they cannot stop you from killing them. Both decks slow each other down only a little bit, so it ends up turning into a race.
However, the builds that have been popular recently have really cut down on Enigma Drake in favor of more interaction like Lava Coil and Entrancing Melody. I believe Big Red is solidly ahead of these decks. By playing more interaction, they slow themselves down and more Lava Coils in their deck means more Lava Coils in our deck via Dire Fleet Daredevil, which means more ways to kill their Drakes.
Not having to worry about dying to Maximize Velocity gives you a significant amount of wiggle room, and the longer the game goes, the more favored you are. They have no way to trade well with Siege-Gang Commander and Entrancing Melody is very inefficient when Goblin Electromancer never lives.
Out:
In:
I like to take out one Legion Warboss because they generally have a good amount of Shock effects, but it does force them to remove it the turn you play it, which can make sequencing cantrips to bring back Arclight Phoenix a bit awkward. You can also cut a Treasure Map instead if you prefer, as they can be clunky when drawn in multiples. I also like to bring in all the cards that can kill Drakes and Niv-Mizzet and take out the low-impact burn spells.
Your gameplan is the same – kill all the Drakes and eventually overwhelm them with card advantage, hard-to-answer threats, or Banefires. Try to sequence your removal spells so that you have a removal spell available to kill Murmuring Mystic, but don’t be afraid to Fight with Fire a Crackling Drake if it pushes through damage or saves a lot of life. Goblin Chainwhirler lets you come back from even a rampant Mystic.
VS Mono-White Aggro or Boros Aggro
This matchup is your best matchup by a wide margin and I believe this is the most lopsided matchup in all of Standard. Goblin Chainwhirler will often win the game on the spot and Siege-Gang Commander almost always will. Your goal is just to stay alive until you can cast the Goblin army-in-a-can.
Adanto Vanguard is one of their best cards against you, but the arrival of the Commander will halt its aggression immediately. Playing against Vanguard can be tricky because there are often times you should Shock it just for the four damage; usually do this if you have a Chainwhirler and they don’t have a two-toughness creature on the battlefield. Nine life is a lot of life and then you’ll have a 3/3 that can attack as well.
Out:
In:
First things first: do not sideboard out Dire Fleet Daredevil! I’ve seen people do this because these white decks don’t have any spells to steal with it, but a 2/1 with first strike is excellent against them. History of Benalia is one of their best cards against you and the Daredevil shuts that down for a while.
Treasure Map is a bit clunky and unnecessary against them, but I find that one is fine. Banefires can also stay in because they are actually reasonable at killing X/1s when you don’t draw Chainwhirler and give you another card that can kill the Lyras or Aurelias that often pop up after sideboarding. Fight with Fire is in for similar reasons and also give you another way to kill Benalish Marshal, as well as being a sweeper when you flood out.
Honestly, Legion Warboss isn’t even bad against them, as they often cannot profitably block the 1/1 and it generates blockers for Adanto Vanguard, but I cut it for curve considerations when sideboarding in Fight with Fire.
VS Mono-Red Aggro
I go back and forth on how this matchup is. On the one hand, you cannot remove Experimental Frenzy and it’s extremely good against you. On the other hand, your other spells are all more impactful and you have more of them. It’s probably close, and although I believe it ends up being favorable for Big Red, that may be bias because I’ve won a lot overall with the deck.
You want to actually kill them because it will be very hard to win if they have a few turns with Frenzy. Try to be pretty aggressive and get them in Banefire range to finish them. If they don’t draw Frenzy you will very likely win, as you’re “pre-sideboarded” with four Treasure Maps, lots of Phoenixes, and high-impact Siege-Gang Commanders.
Out:
In:
The post-sideboard games are pretty much identical, with their deck being a bit better than in Game 1 because they can cut a bunch of mediocre cards for Treasure Maps. I take out Legion Warboss because it does not trade well on mana.
Conclusion
Big Red is a really fun twist on the usual Mono-Red Aggro strategies, especially if you like casting Banefire for X=15. Siege-Gang Commander is also just a way more fun and interactive card than Hazoret the Fervent, which made playing against red pretty unfun last season.
Big Red enjoys matchups that are pretty positive across the popular decks in Standard, but Jeskai Control is definitely a tough matchup and it’s getting quite popular. I only recently added the fourth Banefire in the sideboard and I went 3-1 against Jeskai in the tournament in which I made that change, so it’s possible the matchup is fine.
Regardless, one bad matchup is a small price to pay and I think Big Red will remain a strong choice going forward.