With the banning of Omnath, Locus of Creation, Historic is largely back to where it was during the Mythic Invitational a short time ago. With ramp strategies now sufficiently gutted, Rakdos Arcanist is my clear number one pick for the best deck in Historic. Here’s my current list:
Creatures (16)
- 2 Young Pyromancer
- 4 Stitcher's Supplier
- 4 Dreadhorde Arcanist
- 4 Kroxa, Titan of Death's Hunger
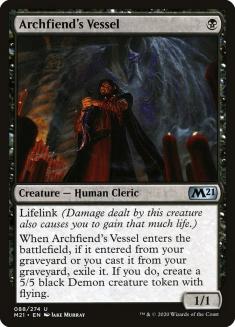
- 2 Archfiend's Vessel
Lands (20)
Spells (24)

Rakdos Arcanist is a disruptive midrange deck that has many similarities with Delver strategies in Legacy and other Eternal formats. It’s lean, plays Thoughtseize and many other interactive spells, and can easily ride a singular threat to victory by poking holes in an opponent’s gameplan while answering anything relevant they produce on the battlefield.
It’s also capable of playing deep games. Dreadhorde Arcanist; Young Pyromancer, and Kroxa, Titan of Death’s Hunger all generate card advantage and, in the case of Arcanist and Kroxa, can pseudo-lock an opponent from getting any foothold in the game. Stitcher’s Supplier turbo- charges many of your synergies, not only finding Kroxa but fueling Claim, Arcanist, Lurrus, or Agadeem’s Awakening.
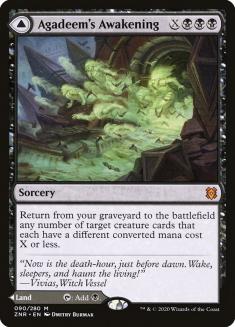

Luis Salvatto described Rakdos Arcanist as “the best Game 1 deck in the format” during the course of his massive run through the Mythic Invitational, and Agadeem’s Awakening from Zendikar Rising is another massive injection of power to allow Rakdos Arcanist to keep claiming that title.
It’s also the catalyst for many of my small tweaks over the last few weeks — moving towards additional copies of Archfiend’s Vessel as a large supplementary threat. Rakdos Arcanist is a bit prone to flooding, and turning three of your lands into an extremely powerful four or five-drop does a ton to alleviate that issue. Returning Kroxa and a Vessel is plenty powerful for a land, but the ability to rebuy Lurrus means you can grind with even the likes of Uro-based strategies.
The incentive to move towards additional copies of Archfiend’s Vessel has resulted in my shaving of Young Pyromancer, which is both the largest fundamental change in the deck since the addition of DFCs, and likely a point of contention for many folks.
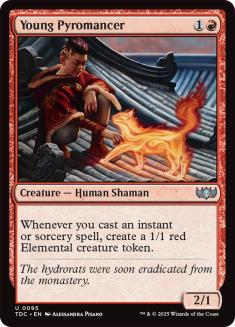
Young Pyromancer is fairly weak as a Turn 2 play. It generates no immediate value, is easily contained, and is often punished by common cards in the format like Mayhem Devil, Goblin Chainwhirler, and Bonecrusher Giant. Further, the issue with many of the best answers to the Pyromancer is that they can often clean up the majority of its impact, as compared to Dreadhorde Arcanist which is immediately threatening to disrupt an opponent and is more difficult to kill.
Having access to a Young Pyromancer is strong though, as it’s one of the best cards to return with Claim at the beginning of a big turn and it can generate a large battlefield presence out of nowhere later in the game. It’s also still good fuel for Spark Harvest and Village Rites.
The point is, Rakdos Arcanist’s strength is in the amount of game actions it can take each turn throughout the early and mid-game, and any valid reason to lower its curve is a boon.
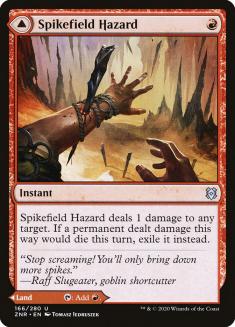
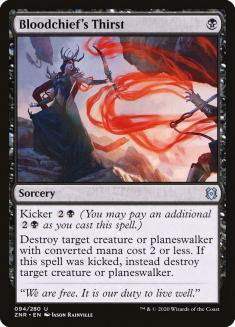
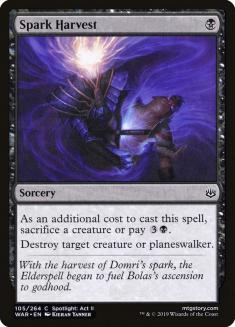
The inclusion of Spikefield Hazard shouldn’t look particularly strange at this point, but I am eschewing any copies of Bloodchief’s Thirst. Hazard can kill many of the same early plays, with the added bonus of the exile text mattering a lot against exposed Cauldron Familiars or in any kind of mirror match against Stitcher’s Supplier, Vessel, or Young Pyromancer. It can hit an Uro on the way out to ensure that it remains exiled, and the increased land count is certainly welcome alongside Agadeem’s Awakening.
Further, the four-mana mode of Bloodchief’s Thirst is just so weak. Yes, having an additional answer to Nissa, Who Shakes the World would be welcome in the Sultai/Four-Color Midrange matchup, but Spark Harvest and Bedevil insure that you aren’t high and dry against planeswalkers.
The other likely odd exclusion is Shatterskull Smashing, especially when I’m choosing to play two copies of Hazard before touching the mythic DFC.
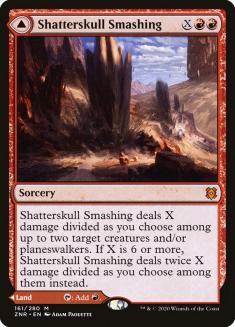
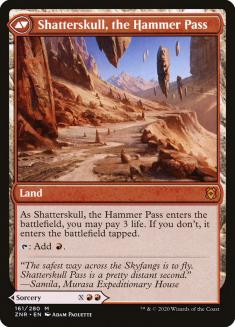
Shatterskull Smashing is overrated.
I’ll present that as a blanket statement, but in the context of Historic specifically, speed is king, especially in a deck like this where leveraging early-game advantages and snowballing with Arcanist, Pyromancer, or a quick Kroxa is priority number one.
Spending six mana and getting a two-for-one on the battlefield is just so unlikely to be what the game is about, whereas Hazard is both efficient and flexible, key for a deck that is great at using its mana and leveraging its resources both on the battlefield and in the graveyard.
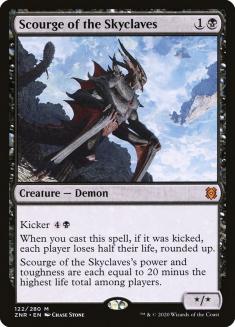
Scourge of the Skyclaves is another card I’ve started to see pop up in other decklists in small numbers, but I don’t really get it here.
I think there’s plenty of potential for Scourge to penetrate Historic, but it feels like a card I’d want to move all-in on if I’m trying to support it — including many more mythic DFCs and more aggressively oriented one-drops than Stitcher’s Supplier and Archfiend’s Vessel.
Having a two-drop that you can’t even cast on the second turn is a complete disaster scenario for a deck like Rakdos Arcanist that needs to spend its mana every turn.
The Sideboard
The other huge pickup for Rakdos Arcanist from Zendikar Rising is this seemingly innocuous removal spell.
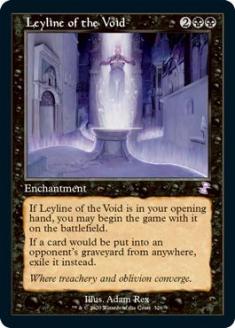
When Luis Salvatto was referring to his deck as the “best Game 1 deck” he was referring to how difficult it could be to navigate sideboard matchups against hate like Leyline of the Void and Rest in Peace. Almost all of Rakdos Arcanist’s power is predicated on leveraging its graveyard, and losing access to it can make you nearly incapable of winning a fair fight.
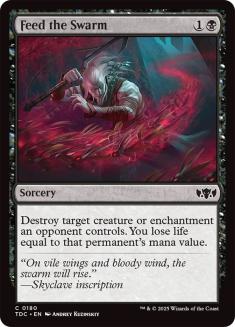
Feed the Swarm is flexible and relatively efficient, cleaning up the aforementioned enchantments; the newest piece of hate in Yasharn, Implacable Earth; Uro, Titan of Nature’s Wrath; and others.
The point I want to emphasize the most about this card is that its fail state — being an anti-hate card that rots in your hand with no targets — is so slim due to it being a no-nonsense kill card that you can justify bringing it in for many, many situations where you normally would be more nervous about making a similar choice. Think your Goblins opponent might have Leyline of the Void? Just bring it in. Jund Sacrifice? Same thing. This logic can be applied to so many different scenarios in Historic and any opportunity to eliminate a sideboarded game auto-loss is a massive deal to a deck that’s so great in Game 1s.
This shouldn’t be too surprising, especially when I just spouted out how I think this is the best deck, and how important this card is against it. Further, Jund Sacrifice is still one of the premier decks in the format. Should Four-Color Control and Yasharn pick up in huge numbers, I could see dialing back here, but for now I think it’s too important.
This is your other hate dodging tool. It’s also just excellent against most control decks and can even be justified as a top-end threat against other fair decks if you feel like the games will go very long.
What I hoped that you picked up from this section is that sideboarding with Rakdos Arcanist is an extremely flexible and dynamic affair based on what you’ve seen from your opponent, what you might be anticipating, as well as your typical play/draw dynamics. I will be presenting a guide but you really should remain flexible, especially when your choices can dictate whether you’re presenting Lurrus as a companion or not.
Tips and Tricks
- To reiterate, using your mana every turn is always a good blueprint for how to map your turns.
- If you aren’t sure how to advance, but you have a Stitcher’s Supplier, start there. Supplier always generates the most potential options, whether flipping over Kroxa, creating a Claim target, or turning on Dreadhorde Arcanist.
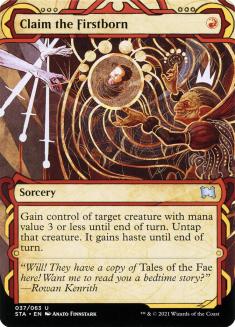
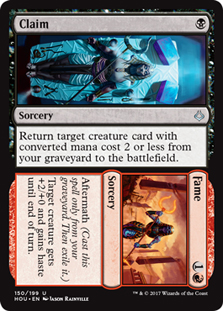
- Two Dreadhorde Arcanists can build your Claim the Firstborn combos if you stack your triggers correctly. Have the first target Village Rites / Spark Harvest and your second target Claim so that it resolves first and can be sacrificed away.
- As useful as Claim // Fame is for generating a threat, using it in conjunction with Kroxa to clear out an opponent’s hand is always something to look out for.
- On the topic of the split card, remember that it takes a Fame on an Arcanist to then in turn enable a second copy of Claim, as the converted mana cost of the split card is three.
- Finally, as potent as Fame on a Kroxa is as a six-mana one-two punch, remember that you can use your Claims to grant haste to your creatures. Kroxa is the highest-impact, but there are plenty of strong turns to be had by using it on your Arcanist or a Demon token.
Sideboarding
VS Sultai/Four-Color Midrange
Out:
In:
This is a good starting point for any more controlling deck that has the potential to contain combinations of Yasharn, Leyline, or Rest in Peace. Try not to leave yourself exposed to big Nissa turns and always be cognizant of Uro, and you’ll be in fine shape. They actually have few breakers if they can’t stick a Nissa or Uro, and will tend to flood, so you’re often able to both win long and short games depending on how they play out. Choosing the correct path is the tricky part.
VS Jund Sacrifice
Out:
In:
This is making a couple of assumptions: that Seth Manfield’s Collected Company version will remain the most popular version of this deck, and that you’ll be facing often zero copies of Leyline of the Void after sideboard as most decklists currently reflect.
The majority of this matchup is about containing Witch’s Oven and Mayhem Devil. Any plays you make should be about answering or getting out ahead of those two cards while avoiding getting blown out by Claim the Firstborn. Without these two pieces, their engines aren’t competitive with what your deck is capable of doing. Abrade is your best card in the matchup as it answers both as well as any early-game pressure like Dreadhorde Butcher or Priest of Forgotten Gods.
I’ve already alluded to how Young Pyromancer is largely ineffective in this matchup, and Spark Harvest gets a lot weaker once it’s out of your deck. It might be strange to remove Spikefield Hazard against Cauldron Familiar, but Leyline and Abrade are contributing heavily to shutting down the Cat, and Hazard has few other favorable targets in the matchup.
VS Mono-Red Goblins
Out:
In:

If your opponent doesn’t have Leyline, you really don’t want to sideboard much at all in this matchup, but this is another sideboard scenario where Young Pyromancer will be weak due to the multiple copies of Goblin Chainwhirler that the vast majority of decklists have after sideboard.
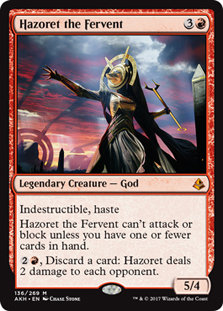
If your opponent does have Leyline or is playing black and you suspect they do, you want to max on Feed the Swarm and even consider Hazoret.
This is a strange matchup, as you can boil it down in simplistic terms to “kill nearly everything you can on sight,” but you actually would prefer your opponent be spell-heavy and not land-heavy. It’s difficult for you to kill them before the sixth or seventh turn, and even hellbent they can always just peel Muxus with six lands. If your opponent is slowing down and playing hate cards, Hazoret can be excellent for getting over the finish line, particular in conjunction with your pseudo-Plague Wind in Witch’s Vengeance.
VS Rakdos Arcanist (Lurrus)
Out:
In:
Yet another situation where you’ll want to remain flexible. If your opponent doesn’t have Leylines, you’ll have a huge edge and you may not even want to consider Hazoret, but if they do then the games become much harder and you’ll need to flex a lot more of your sideboard and prepare to play some long and grueling games. This is yet another matchup where you want to make sure to not get the game flipped completely by Claim the Firstborn. These mirror matches are extremely tough to navigate if both players are on equal footing, and more so than in most matchups your pacing will dictate the game rather than brute force and mana efficiency.
Let The Games Begin
I strongly feel that if you have any interest in Historic at all, it’s worth it to pick up and start learning Rakdos Arcanist. It’s powerful, flexible, and extremely fun to play. You have game against everyone and there are plenty of options to tune it to your preferences and the metagame at large.