I’ve been struggling in Pioneer since the release of Ikoria: Lair of Behemoths. My previous pet deck, Izzet Ensoul, is unplayable at this point, since it’s a worse version of Lurrus Orzhov Auras. Lurrus of the Dream-Den has given a huge boost to the synergy-driven aggro decks that can incorporate it at a low opportunity cost, and Izzet Ensoul isn’t on that list. You have to cut Skilled Animator, one of the deck’s key payoffs, and splash a third color, which is tough in a deck that wants to play a low land count and four copies of Darksteel Citadel.
Moreover, the rise of Lurrus decks has brought a lot of cheap removal to the metagame, with an emphasis on exiling to dodge Lurrus’s recursion and Disenchant effects for Lurrus Orzhov Auras. That means most decks have more and better removal for Ensoul Artifact and friends.
Over the last few weeks, I’ve played with nearly every major archetype that has emerged in our new companion-dominated metagame, from Lurrus Burn to Yorion Azorius Devotion, and none of them have brought me significant success or felt strong enough to bring sustained success with enough homework. Every deck seemed to have significant holes to exploit. That’s typically a sign of a healthy metagame, but it did little to assuage my concerns whenever I entered a Pioneer queue.
A Last-Minute Audible
As Saturday night came, I was still in search of a deck to play in the Lotus Box League tournament the next day, and I resigned myself to trying Lurrus Orzhov Auras, which I had shied away from since I’m averse to playing linear decks when there’s a major spotlight on them. But the deck has continued to perform well despite the target on its back, and in recent weeks Yorion, Sky Nomad decks as well as Lotus Breach had become major metagame targets as well, so I expected narrow hate cards like Barrier Breach to decrease in popularity.
Creatures (18)
- 4 Favored Hoplite
- 4 Sram, Senior Edificer
- 2 Aphemia, the Cacophony
- 4 Alseid of Life's Bounty
- 4 Hateful Eidolon
Lands (19)
Spells (23)
- 4 Ethereal Armor
- 4 Gryff's Boon
- 3 Cartouche of Solidarity
- 4 All That Glitters
- 4 Karametra's Blessing
- 4 Sentinel's Eyes
Sideboard

But when I woke up, I couldn’t bring myself to register another stock deck. I had heard rumblings of various Rally decks and seen a few lists, and while they didn’t jump off the page to me, there were some clearly powerful synergies going on and Lurrus is great at helping you assemble synergies from powerful creatures. So I rolled the dice with a rogue deck and crossed my fingers.
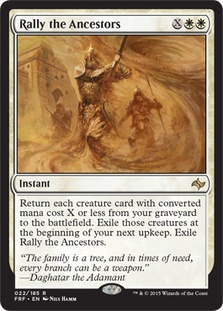
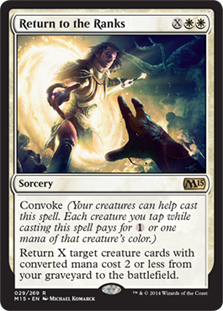
Despite an unremarkable record of 3-3 before dropping, I left the tournament impressed with the deck, and my record was mostly due to a pair of game-losing mistakes on my part. The deck’s clock was better than I expected, and its great draws were killing on Turn 4 or 5, on par with the top aggressive decks in the format. But on top of those draws, Rally decks can play defense with their cheap creatures, buying time before setting up a game-winning Rally the Ancestors or Return to the Ranks.
I finally had a deck in Pioneer I felt I could succeed with, and have been working on the deck this week. Here’s my current list:
Creatures (32)
- 4 Cartel Aristocrat
- 4 Satyr Wayfinder
- 1 Blisterpod
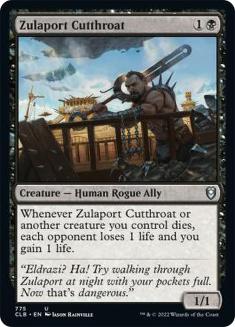
- 4 Zulaport Cutthroat
- 4 Stitcher's Supplier
- 4 Hunted Witness
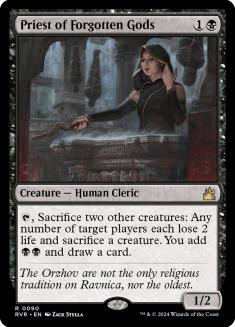
- 4 Priest of Forgotten Gods
- 2 Cruel Celebrant
- 4 Fiend Artisan
- 1 Drannith Magistrate
Lands (21)
Spells (7)
I haven’t deviated much from the stock lists, since the deck is full of key synergy pieces, but the choices I’ve made are informative, so let’s examine the most important deviations in my list.
The Importance of Satyr Wayfinder
Abzan is the most common Rally variant, but I’ve seen Orzhov builds, and while the mana gets better in those lists, I can’t imagine not playing Satyr Wayfinder. It’s one of the best cards in the entire deck because of how well it ties the room together.
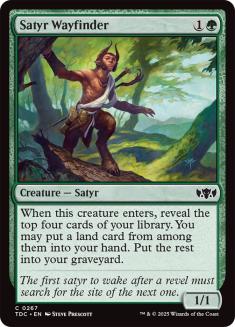
At first glance, Rally the Ancestors seems like a simple card to build around. Play lots of cheap creatures, some ways to profit off of sacrificing them, and ways to fill your graveyard. But doing so takes a lot of deck slots because you need redundant copies of each combo piece. Orzhov is short on ways to efficiently fill the graveyard and Satyr Wayfinder is perhaps the best such enabler in all of Pioneer.
Moreover, fitting all these pieces forces you to play a low land count, which plays well with a pile of cheap creatures but leaves casting Rally the Ancestors and Return to the Ranks somewhat dicey. Satyr Wayfinder helping you hit land drops is essential to all of your best draws. Splashing for it and some sideboard cards is a real sacrifice on the manabase, but it’s well worth it to play a card that helps your deck operate much more consistently and powerfully.
Adjusting the Curve
My main complaint about the deck after playing with it was its curve. It’s glutted on two-drops with too few one-mana plays to fill in the gaps. Unfortunately, all of the two-mana cards in the deck are essential, so you move too far away from the Zulaport Cutthroats and Cartel Aristocrats or you lose vital functionality. My draws that had one or two one-mana plays to cast on Turn 1 and double-spell on Turn 3 were vastly superior to those without, because establishing a wide battlefield is important, so I knew I wanted to shift down as far as possible.
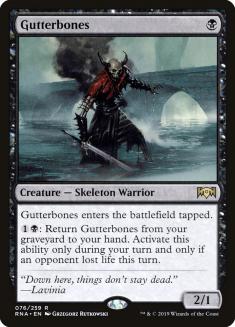
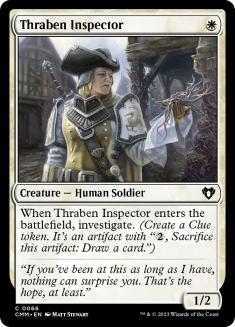
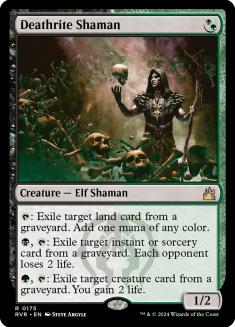
Ultimately, that meant adding a ninth one-drop over the seventh life-draining creature, and there were several options to choose from. Gutterbones gives you more aggression against Lotus Breach and control decks while playing nicely with Priest of Forgotten Gods. Thraben Inspector is a powerful option that helps you dig for your key payoff cards. Deathrite Shaman adds valuable graveyard hate and potential acceleration with your self-mill creatures.
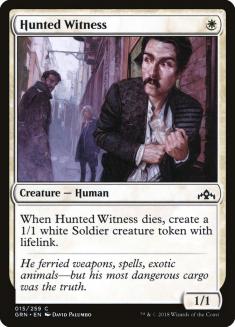
But ultimately I sided with Blisterpod because I found myself wanting to draw Hunted Witness over and over again. In a normal aggro deck, an extra 1/1 is worth significantly less than a full card, but this deck makes good use out of every extra body, especially in conjunction with Priest. The Eldrazi Scion token also offers a potential boost of acceleration or free sacrifice for your Zulaport Cutthroats, making it more attractive than similar cards like Garrison Cat.
You could move towards more Blisterpods and fewer Hunted Witnesses but the lifelink tokens are relevant against Lurrus Burn and white creatures can convoke for white mana for Return to the Ranks, making it easier to cast, so I’m happy with the singleton for now.

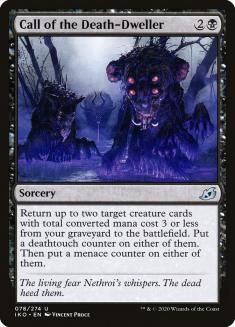
Curve considerations are also why I’m playing a single copy of Call of the Death-Dweller. It’s less powerful than the fourth Return to the Ranks, which it’s replacing, but casting it on Turn 3 for two creatures is a huge tempo boost that mimics a double-spell turn, and I wanted more of those curve-out games, especially against aggro decks. It can also target Lurrus in the late-game, which Return cannot — a potentially game-breaking play.
Tuning the Removal Suite
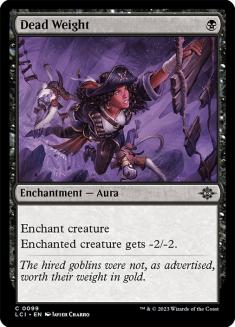
Abzan is not short on removal, and this deck doesn’t have much space to work with when it comes to interaction. The only obvious choice is Dead Weight because of its synergy with Lurrus, but you don’t want to play too many of them since the first copy will do in most scenarios.
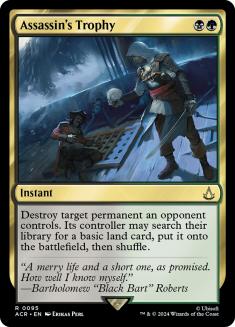
Past that, my approach with decks that are limited on interaction is to play the broadest possible answers so I’m prepared for the widest range of threats. To that end I initially supplemented the Dead Weights with Assassin’s Trophy and Dire Tactics. Trophy would cover noncreature permanents like planeswalkers and Grafdigger’s Cage, while Dire Tactics covers any creature and exiles in the face of opposing copies of Lurrus and Uro, Titan of Nature’s Wrath. My current list has seventeen Humans so the downside is minimal.
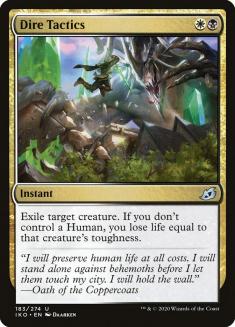
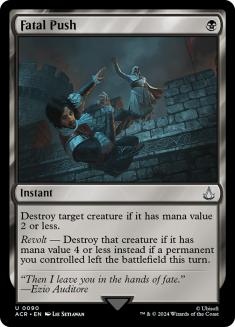
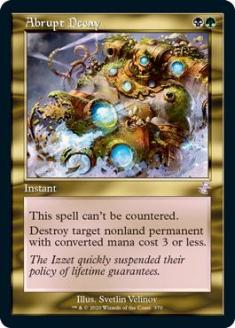
However, a 2-2-2 split of those three ran into a couple of issues. First was the pesky Grafdigger’s Cage, which is the best card in the format against this deck and must be answered in most games. Second was the curve, which was exacerbated by playing more two-mana removal. Ultimately I sacrificed the versatility of Dire Tactics for the efficiency of Fatal Push. I also squeezed in a third answer to Grafdigger’s Cage in the form of Abrupt Decay over the Keening Apparition, which failed to impress despite its obvious synergy with Lurrus.
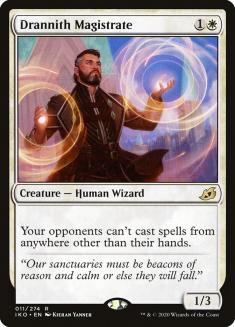
Reconsidering Drannith Magistrate
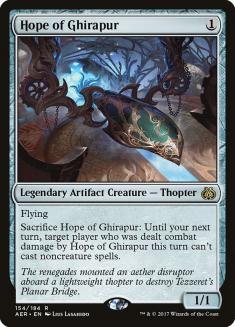
The lone tutor target for Fiend Artisan, Drannith Magistrate is also the most contentious card in the maindeck. It’s there as a piece of disruption against Underworld Breach, which is the deck’s worst matchup, but by itself it doesn’t move the needle by much. It’s not great in the other common matchups, but it always does something, since nearly every non-Breach deck plays a companion. If you decide to cut it, play it in the sideboard over the second Hope of Ghirapur, which is also a nice angle of attack to have against Breach and control decks.
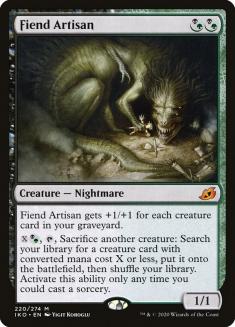
Ultimately I think the one slot is worthwhile, but I’d like to have another one-drop for the curve, so that’s one thing I have my eye on moving forward. That said, I’d resist the urge to cut Fiend Artisan once you have no tutor targets, which I anticipated myself doing before playing some more with the deck.
I was low on Fiend Artisan during preview season, because I thought it would be too difficult to craft a deck which took advantage of Artisan as both a Tarmogoyf-style efficient attacker, and a Birthing Pod-esque utility card. But this deck does just that. Finding a key Cartel Aristocrat or extra Zulaport Cutthroat to set up lethal damage is common, as is casting it as a 6/6 or bigger against red decks. Once I even used it with Lurrus to create a chain of Hunted Witnesses to provide fodder for Priest of Forgotten Gods. I’d say the card is more often in Tarmogoyf mode than Birthing Pod, but having the ability to go tall is valuable for a deck full of small creatures.
Sideboard Guide
VS Lurrus Burn
Out:
In:
Normally Priest is great in creature matchups but red decks with their bevy of Shocks are the exception. Playing defense here is largely about figuring out how many bodies you can throw away to chump blocking and still be able to stabilize and turn the corner, especially if Return to the Ranks is part of your plan. Try to maximize your chump blocking by making them cast burn spells when they’d rather cast creatures. The more awkward you can make their development, the more time you’ll have to set up a combo kill.
This matchup is favorable, but not heavily so since their best draws will run you over most of the time. If you get to Turn 6 or so, you should be in a good position to take it down.
VS Lurrus Orzhov Auras
Out:
In:
Priest is by far your most important card, and if you activate it early your priority should be maintaining the ability to do so as often as possible. I like to chump block early unless I need bodies for Priest or Return to the Ranks, since eventually they’ll get by your blockers with Gryff’s Boon or multiple copies of Alseid of Life’s Bounty. Because they don’t have any reach like Burn, you don’t have to prioritize turning the corner as much. Play defensively and set up an unbeatable position.
VS Yorion Azorius Devotion
Out:
In:
You’re vulnerable to being cheesed out by the combo, but their fair game is quite poor against you. I like to keep their battlefield clear so their Nykthos, Shrine to Nyx doesn’t get out of hand, so a good amount of removal comes in, but in general it’s stick to Plan A here. Most lists are moving to Disdainful Stroke, which you should watch out for, and given their tap-out nature, it should be pretty clear when they’re holding it up.
VS Yorion Jeskai Fires
Out:
In:
Normally I’d be happy to play against a deck that relies heavily on sweepers to control creatures and doesn’t have a fast clock, but Fae of Wishes grabbing Grafdigger’s Cage and/or Rest in Peace from their sideboard is problematic, as is Gideon of the Trials, since Abzan Rally isn’t good at attacking planeswalkers.
What’s critical here is figuring out which cards you need to target with your precious Assassin’s Trophy or Abrupt Decay. Sometimes you have to ignore the graveyard hate and hope to dodge a sweeper in a fair game; others it’s about pacing your graveyard so you can refill and execute a combo. This is a matchup you should practice since experience is key.
VS Yorion Dimir Inverter
Out:
In:
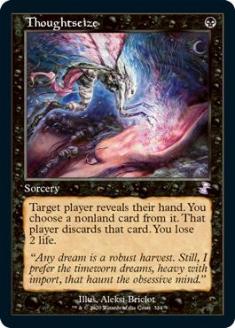
The combo is scary, but the more popular 80-card build of Inverter is much worse at executing that combo, making this matchup favorable. Their fair game is poor against you so long as Jace, Wielder of Mysteries doesn’t go unchecked, so prioritize attacking it down and tagging Inverter with your Thoughtseizes — that means generally holding it until after their third turn if it’s in your opening hand.
VS Lotus Breach
Out:
In:
Your worst matchup. I haven’t had success with just Damping Sphere and Thoughtseize so I’m going for another angle of attack in Hope of Ghirapur, which can be looped with Lurrus. The only problem is that Fae of Wishes and Arboreal Grazer interrupt the loop. Still, I think diversification is better since every extra piece you force them to have makes assembling a kill harder.
Try to press an early Fiend Artisan to create a clock and if you’re unsure of what to do with Thoughtseize, try playing the Breach side, since having a sense of the deck for yourself provides valuable insight on how to best attack it.
With Abzan Rally in Pioneer and Lurrus Orzhov Copter in Modern, I have my deck choices in the formats I commonly play set for the foreseeable future. There’s a lot of comfort there as I can now focus on building my skill with each deck and tinkering with the flex slots to adjust to an ever-changing metagame. It’s been awhile since I’ve had that kind of comfort with a deck in any format, so I’m looking forward to the next few weeks of playing Magic tournaments from my living room.
Right next to my shrine to Stitcher’s Supplier.