I know I have a certain reputation, but it’s a well-kept secret that I actually enjoy the blue cards every now and again. What it shares with red is a well-defined set of parameters, strengths and weaknesses, and games that have a certain personality to them. I grew up playing blue decks in my “building real-ish decks but not playing in big tournaments” phase, my initial FNM phase, and plenty of early PTQ wins. I’m not opposed to countering some spells and drawing some cards when the mood strikes.
I haven’t engaged with competitive Standard much lately. I don’t mind the Embercleave red decks but I don’t think there’s a ton of play to them, the card selection isn’t that engaging (once you play with Embercleave you’re kind of priced into just playing the best creatures along the curve), and the sideboarded games don’t amount to much besides hoping to fade your opponent’s haymakers. The green soups aren’t exactly my cup of tea either.
Fortunately, I came across a tweet from SCG legend Andrew Jessup, a Dimir Control list with which he posted an astonishing 25-0 record through five leagues. I built it, tweaked a little with it, and have been happy with the deck and results.
Creatures (3)
Planeswalkers (2)
Lands (25)
Spells (30)

This deck’s position is helped by the fact that most of the decks in Zendikar Rising Standard are doing one of two things — play with a bunch of creatures, or mostly ignore the battlefield. Control decks usually shine when the terms of engagement are fairly narrow, and this is no different.
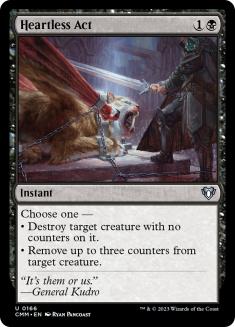
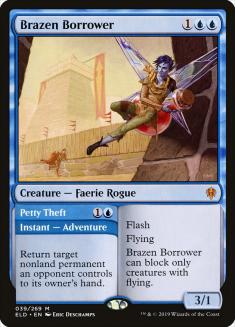
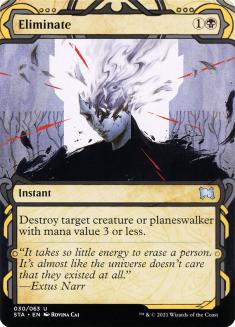
You still need to cover all of your bases, and so the maindeck is littered with cards that aren’t ideal on rate or in terms of your overall strategy but are flexible enough to pull weight in most of your Game 1s. Brazen Borrower is a little out of place in some respects, but it does an acceptable job of pressuring planeswalkers, engaging profitably with opposing copies of Shark Typhoon, and doing a good bit of work both early against creature decks and later when the game can circle around cards like Embercleave and The Great Henge. Eliminate covers both aggressive decks and Crawling Barrens, one of the most problematic opposing cards in the entire format. Bloodchief’s Thirst is both needed interaction and powerful late-game insurance. And on and on.
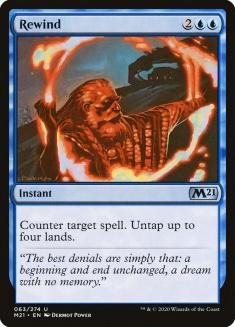
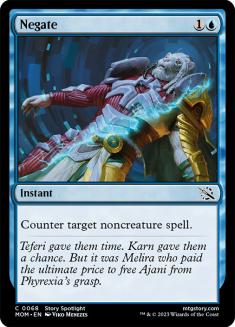
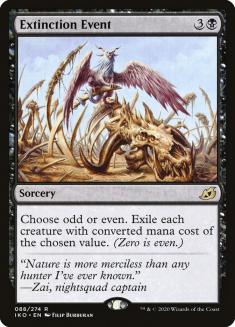
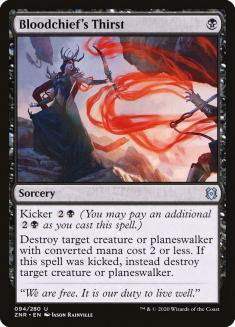
The counterspell suite is varied and modest, with two copies each of Negate, Neutralize, Rewind, and Thassa’s Intervention, along with a single Essence Scatter. I would like to find room for a second Scatter; most of the control decks I encounter involve Yorion and Solemn Simulacrum and the two-mana interaction is important against aggressive deck for setting up two spells in one turn, the inflection point when the game pivots in your favor (I’m close to cutting the third Extinction Event for another Scatter). Non-intuitively, Rewind plays better against the aggressive decks than the control decks, setting up safe two-spell turns and playing particularly well against haste creatures like Questing Beast. But the variation here speaks more to the lack of one option that’s clearly above rate, or a metagame homogenous enough that you would want to push on one axis.

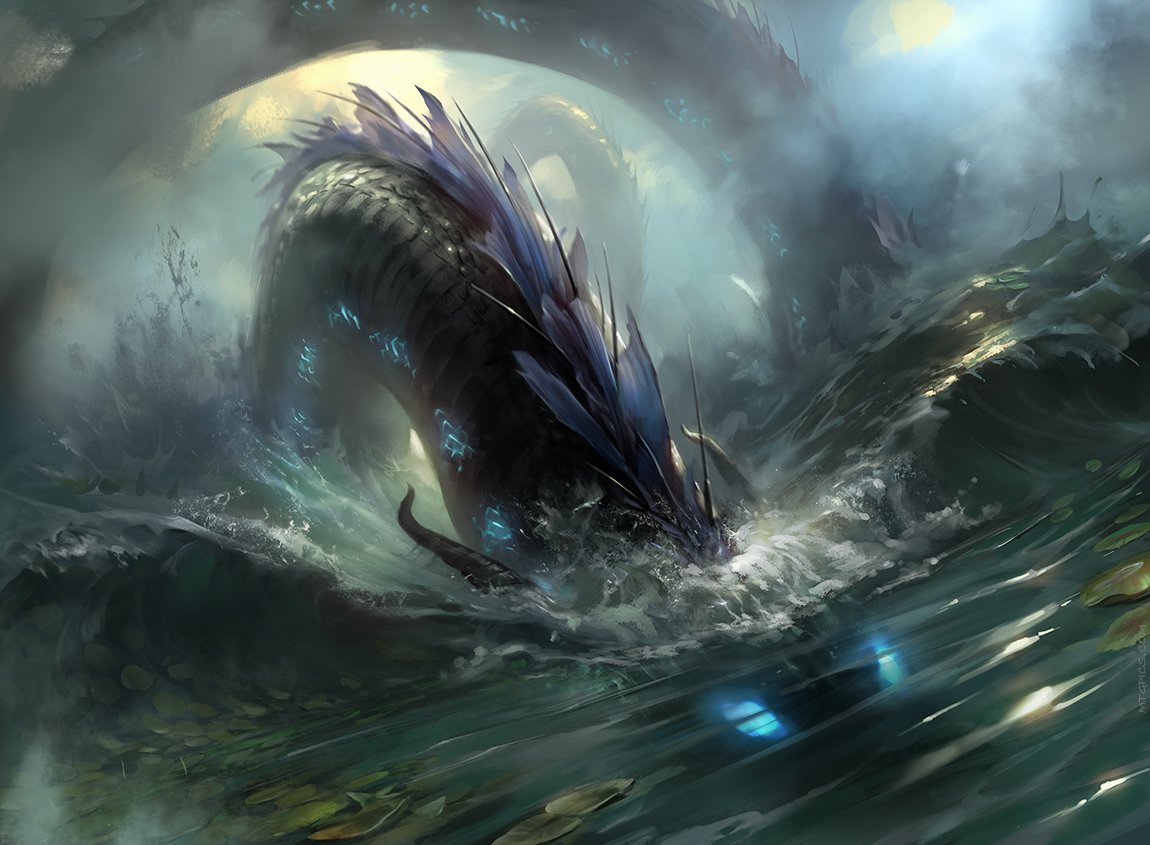
The one Cling to Dust has a fairly low opportunity cost; it’s very rare that you can’t get off the hook by cycling it at low friction, and it can set up another modest card advantage engine in games that go deep. The format isn’t that long on opposing graveyard stuff, but Phoenix of Ash is an issue and tagging Lochmere Serpent in the mirror can be huge, as that card is very diffcult to manage in long games.
Shark Typhoon and Mazemind Tome are easily the best cards in the deck. Typhoon is emblematic of the deck’s entire thesis — bend but don’t break, trade off profitably, accrue extra cards, lengthen or contract the game as appropriate, and does all these roles very well. Mazemine Tome contributes to most of your “free wins” — play it on the play, trade off a bunch, win with the leftovers. I think I was trying to squeeze Tome for too many cards against aggressive decks instead of just scrying and moving along with things; the four life is often worth a card or more, and the deck isn’t short on ways to spend mana profitably. That said, the burden of proof is very high to scry in the mirror and similar; your removal isn’t usually dead and so all your cards are life, and one engine often chains into another, cascading into an arbitrary advantage among multiple fronts that usually translates into a win if your opponent can’t produce something similar.
On Yorion and Adjacent Cards
I think more than half of my control opponents are playing Yorion and cards that play well with it–Solemn Simulacrum, Omen of the Sea, and Atris, Oracle of Half-Truths. I haven’t found this setup to be compelling. For starters, both the depth of the control card pool and the mana fixing is such that adding 20 cards isn’t free; I believe you start running into consistency and card quality issues with some regularity. And all the cards I mentioned are the same thing–low on battlefield impact, just some extra cards and material over a long runway. The deck isn’t short on ways to generate that sort of thing at a higher rate and/or a lower opportunity cost; you can just play another Mazemind Tome, some more Castles, whatever. If the format had something like Trial of Amibition, something that gave Yorion a different dimension, I’d feel a lot differently about it. About a week ago I ran into a Jeskai Yorion deck that played with Omen of the Sun, Skyclave Apparition and Shatter the Sky to play catchup. I thought the deck was flawed insofar as the black cards are too much better than the white ones to justify playing Jeskai over Dimir, and Omen of the Sun seems poorly positioned when Brushfire Elemental and Questing Beast are two of the things you want to chump block the most, but I appreciated the effort to make Yorion more than just more of the same.
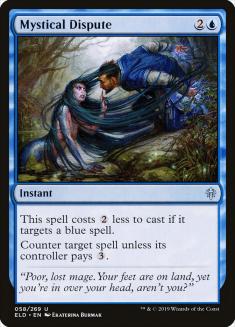
I don’t think Omen of the Sea is in consideration without Yorion. The four drop ceatures do have some merit; I’m considering one copy of Atris over the Cling in the sideboard as a random good card to have in games that go deep. But the body doesn’t do enough against aggressive decks and tapping out (or even low) for something modest in the control mirrors is asking for trouble. To the latter, the entire calculus changes when the games are shaped by Mystical Dispute and Duress on both sides, and so Atris is appealing to me when those other cards are in play.
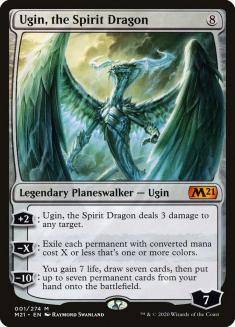
Ugin is popular as a one-of, but I think it is a worse Game 1 card than Lochmere Serpent, and the deck can only tolerate so many expensive plays. Against the fast decks, Lochmere is about as lights-out as Ugin (maybe even moreso) for two mana less, and against control, Lochmere can attrition out their removal over a long enough timeline. Against control Ugin is both hard to resolve and unlikely to amount to much; cards like Crawling Barrens, Shark Typhoon, and Bloodchief’s Thirst can make Ugin ineffectual or even uncastable. Both things shift in the post-board games; your aggressive opponents slow down and your can push through Ugin more reliably against control opponents and its likely to do work against their sideboard cards.
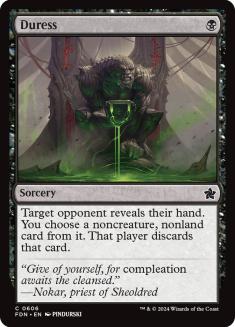
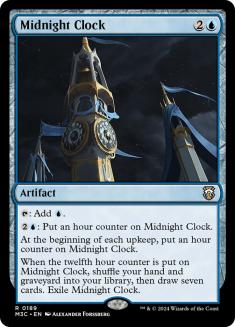
The sideboard is pretty basic; some general purpose stuff at good rates plus a few cards to clean up some edges cases. Andrew’s initial list only had two copies of Duress (along with an Agonizing Remorse) but I can’t countenance playing fewer than four when they are so good in general, with and against Mystical Dispute in shaping the game in certain ways, and as a way to play proactively alongside Midnight Clock.
Like most control decks, Dimir Control abides by some common tropes. You have a handful of cards that are weak against certain opponents, and you cut them for some stuff that’s strong. Simple enough. Still, there are wrinkles in all the popular matchups, and I’m definitely better at sideboarding now than I was when I first picked the deck up.
Mirror / Dimir Control (Yorion)
In:
Out:
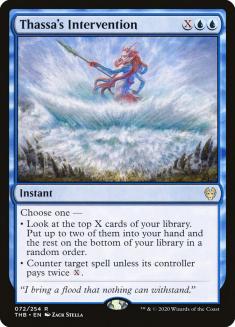
That’s thirteen coming in and eleven coming out, which doesn’t add up. I started out playing these matchups by cutting all the removal but that leaves you ice cold to Crawling Barrens, and even Shark Typhoon/Brazen Borrower attacks can leave you vulnerable in that setup. Eventually I settled on cutting Rewind and Thassa’s Intervention, as they both have a low ceiling and are especially weak to Mystical Dispute, and started having more success in the mirror immediately.
The last two cuts will depend on the specifics of their list; against my list I would cut the Essence Scatter and an Eliminate; the Yorion builds usually imply more creatures and so I leave in Essence Scatter there. If you know for sure they don’t have any copies of Crawling Barrens you can just dump the two Eliminates.
The games are usually determined by who can use their mana most efficiently without exposing themselves to much risk, so Mazemind Tome, the Castles, and Crawling Barrens are the most important cards. There’s no uncounterable haymaker or otherwise individual card that puts an insurrmountable pressure on the game so just put a premium on using mana, drawing cards, and trading off efficiently. Be wary of initiating fights or otherwise exposing yourself to risk by playing into stuff, but be willing to do this if Midnight Clock is part of the game–you can afford to trade off non-optimally if you’re reloading for a bunch of cards, and it isn’t uncommon to deck your opponent post-Clock if you’ve attritioned out their resources leading up to it.
Dimir Rogues
In:
Out:

They’re neither fast nor well-equipped to slog through a ton of removal. Their best sideboard card is Mystical Dispute and all the cards you’re cutting are blue and aren’t that great to begin with. Midnight Clock is lights out here; they can’t engage with it once it resolves, you are well equipped to trade off with them because all they do is cast creatures, and on top of the Draw 7 you shut off all their “cares about 8+ in the graveyard” stuff. This configuration leaves you a little soft to exteme sideboard plans involving a lot of expensive spells but since they definitely have Dispute you have to optimize for that first and foremost.
Mono Green Food
In:
Out:
Mono Green Food is slow enough that your clunky cards all play here and their beatdowns are modest enough that you can afford to cut some removal. Whatever sideboard they have is going to involve a bunch of spells and they can’t hang with you in an attrition-oriented game without Trail of Crumbs so I really like loading up on Negate here. Brazen Borrower doesn’t combat their planeswalkers reliably enough and with all the food they generate you rarely beat them down, so I like cutting it here. Their creatures really don’t matter except as vehicles to resolve The Great Henge so try to sequence your removal with that in mind.
Gruul Adventures
In:
Out:
I think this is the most challenging of the common matchups, because they apply a ton of early pressure and have expensive haymakers (The Great Henge, Embercleave, Vivien, Monsters’ Advocate) to hammer you if you fall behind and/or tap out. Fortunately, two of those three are predicated on having creatures on the battlefield so if you can keep them empty you can get the breathing space to leverage your more powerful cards. The extra Cling is out of respect to Phoenix of Ash, one of the best cards against you and something worthy of a narrow response.
When playing pre and post board, it is important to remember that you rarely have the game completely locked–you don’t draw a million cards or gain life to some insane total or have an unlimited well of permission. Even the aggressive decks have ways of undoing your advantages, their own card advantage engines, ways to kill out of nowhere. As such, there’s merit into keeping in chip shots with Sharks and Brazen Borrowers, or otherwise finding ways to shrink the length of the game. You aren’t a beatdown deck by any stretch, but this deck is at its best when it is attacking the opponent from a variety of angles and forcing people to cast premium cards at inopportune times.
I think this deck has a lot going for it, a great matchup against Mono Green Food and Dimir Rogues and a better collection of sideboard cards for the mirror than most lists I encounter. The Gruul Adventure matchup is admittedly not great but not a disaster by any stretch, and “counters, removal, and card drawing” isn’t a bad way to engage with opponents doing something unorthodox. I don’t think I’m quite done iterating on this list, as I mentioned a few of the slots are still in the air, a couple of cards I’m not playing have their charms, but the core of this is quite good. I don’t think Andrew’s 25-0 run is quite sustainable but I’d definitely play this or something close to it for the foreseeable future.