
Playing to your outs is one of the most important skills you can utilize.
I don’t have some fancy opening line or story that neatly segues into what I want to talk about today. That’s it. Snatching victory from the jaws of defeat, winning games you have no business winning, punking people out of games…whatever you want to call it, there are a surprising number of games that are significantly more winnable than one might think.
It isn’t uncommon, about once a tournament, for a big-name player seemingly get incredibly lucky and win a game that it looked as if they were about to lose. This tends to come from vetted players having a tendency to maximize the odds that the top of their library will be impactful. Naturally, there is a bit of luck involved in this happening (the correct cards have to be drawn, of course), but perhaps that player did some things to make the card even better than it normally would be via using their life as a resource, playing “unnecessary” lands to increase the odds that they had the mana to cast draw spells that could find their out, and so forth.
Understanding When the Game Is Lost
For anybody who has played a great deal of resource-management games, it isn’t hard to understand that a lot of games are won or lost long before a player’s life total reaches zero. Many times, when one player’s resources greatly dwarf another player’s, it becomes time for the latter player to start considering if it is even possible for the game to be won. If the game is completely unwinnable, then it is likely a better use of one’s time to concede the game and try to save some time, either to win the following game(s) in the match or just do something else with their life than twiddle their thumbs while the opponent takes the time to reduce their life total to zero.
“Emma, every single game is winnable. Until someone’s life total is reduced to zero, it is worth taking every second possible to continue playing!”
In a lot of untimed situations, this is true. Consider a situation in which you are playing a deck with fifteen Mountains and 45 Lava Spikes.
It is later in the game, and you have flooded a bit. Your opponent is at eight life. After being attacked for five, you find yourself at ten life. This is a game that you should concede. Even if every card off the top of your deck is a Lava Spike, it will take you three more draw steps to kill your opponent. In this case, your opponent has you dead in two turns. It is literally impossible to win from this position.
In this example, there aren’t any outs to play to, but Magic is hardly this cut-and-dried.
Aggressive red decks with burn spells for reach tend to regularly apply this line of thought. We’ll be using a more realistic Lava Spike deck for this example:
Creatures (13)
Lands (19)
Spells (28)

One of the draws to Burn decks is that the pilot knows what all of their cards will do at the start of the match. Lava Spike is going to deal three damage to the opponent; Rift Bolt is usually a Lightning Bolt that will be cast during its owner’s upkeep; and so forth. The exceptions to this rule are the creatures.
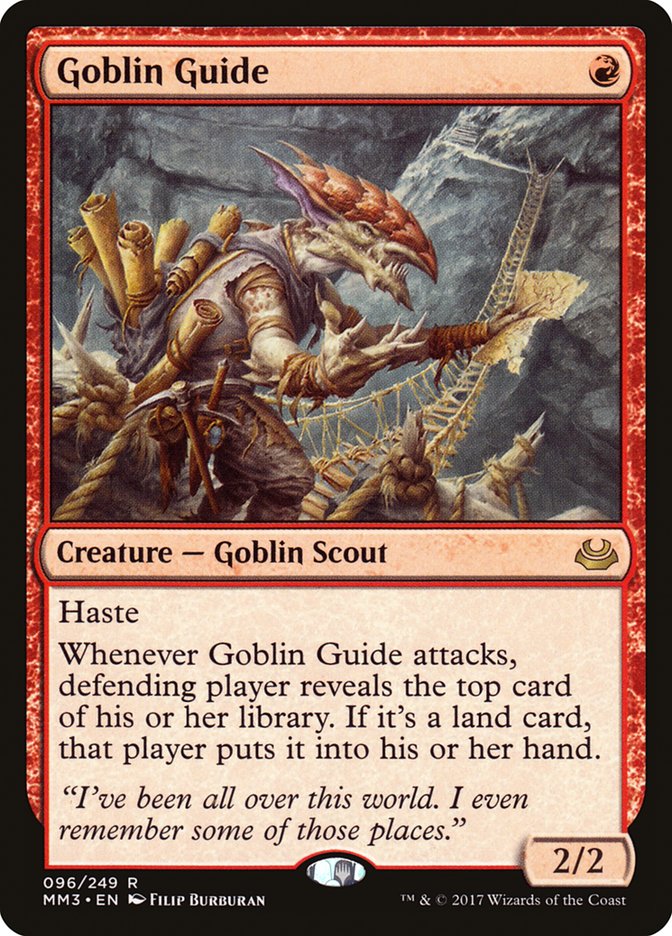
Both of the hasted one-drops in the deck have varying effectiveness, almost directly related to when they are drawn. A first-turn Goblin Guide is generally going to be worth between two and six damage. Later in the game? Goblin Guide is a Runeclaw Bear with a drawback. The longer the game progresses, the longer the Burn player’s opponent has to develop their mana (for removal spells) or battlefield (with blockers). This means that, as the game progresses, it is on the Burn player to begin considering if Goblin Guide will be worth more damage as an attacker or as a blocker.
“All right, Emma, I’ve read this far and don’t understand how you’re putting these words in my mouth, but what do you mean, ‘worth damage as a blocker?’ It’s not like you’re talking about Meglonoth or something.”
I’m glad you asked, disembodied voice that is here to help me with transitions!
As the game progresses, the Burn player will tend to be less and less favored on the battlefield. Burn plays relatively underpowered cards with the tradeoff being that it plans to kill the opponent before Burn’s weaker cards are outclassed. The later the game drags on, the more likely it is that the opponent will have bigger creatures, better answers to burn spells, and/or a strategy that is prepared to go over the top of Burn, one way or another.
This means that in fairer matchups Burn needs to be able to gain as many draw steps as possible. More draw steps yield more points of Burn being drawn. This equates to a higher chance of the opponent having a life total of zero or less.
Even understanding when it is correct to block with a Goblin Guide instead of attacking with it, an entire separate laundry list of questions is added to the equation. Is it better to just not cast a Goblin Guide in hopes that the opponent will forget to leave a blocker back for a turn? Is it better to chump block a 3/3 with Goblin Guide if the opponent may end up with bigger creatures later in the game? Saving three points now may be better than saving four points later.
Distinguishing Between Lines of Play
(For this section, if you don’t have a firm understanding of Leveled Thinking, I recommend brushing up with former StarCityGames.com author Chris Mascioli’s Leveled Thinking article.)
When figuring out the best way to win a game that it feels like you’ve lost, the first step is to look at what resources you have and then determine what the literal perfect series of draws from here would be. Imagine that you have an active copy of Archmage Ascension on the battlefield, and every single Collected Company, Dig Through Time, and Aetherworks Marvel does exactly what you need it to.
If there is a series of cards that can win, maximize your chances of making that sequence of cards happen. Figure out how many land drops need to be made, how to live for long enough to find those cards, and how many “misses” can be accounted for while trying to find the required resources to cobble together a win.
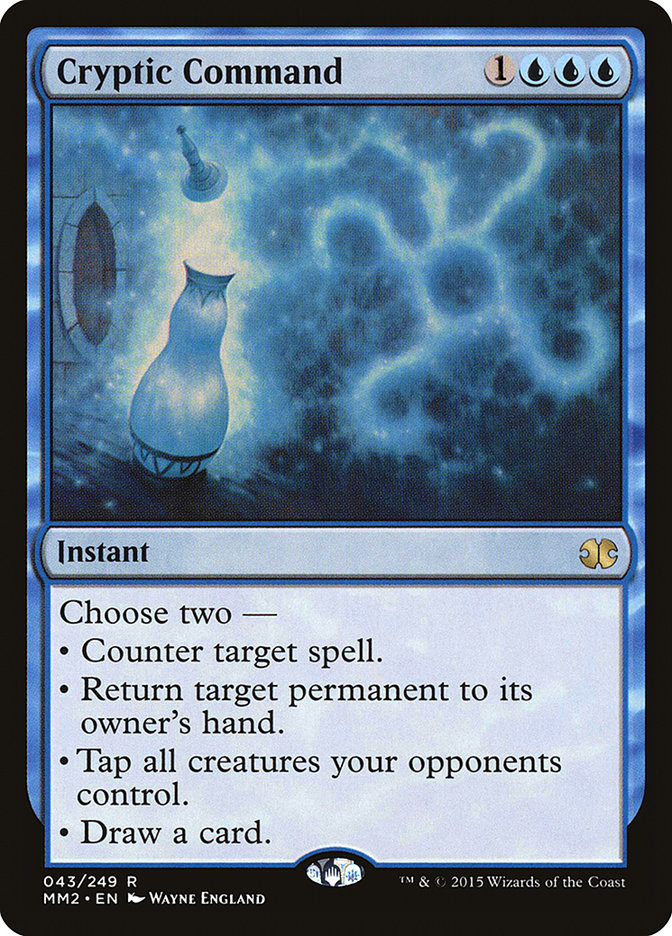

After determining what is needed, the next step is understanding what the opponent is going to do to try to stop you, and how to play through it. It doesn’t matter if you finally draw that Boros Charm if the opponent has a Cryptic Command and four available mana. If the card has to get through a counterspell that the opponent has been representing the entire game, that means one of a few things needs to happen:
- Two copies of the “big” spell need to be drawn. That way, the first one can be answered before the second resolves.
- An answer to the opponent’s answer needs to be found. For a Burn deck, this would likely equate to something in the vein of Guttural Response, Vexing Shusher, or Exquisite Firecraft to stop a counterspell.
- Spells need to be sequenced in a way that will make the opponent unable to answer all of the cards. If the opponent has two Cryptic Commands and six mana, that means all of the spells need to be cast in the same turn for the purpose of overloading the opponent’s mana, making a threat that may seem covered able to slip through a tight grid of defenses.
What’s the Play?
Two weeks ago marked the first Team Constructed Open on the SCG Tour, and despite barely missing the second day of competition, I was quite happy with an incredibly complex play made in the first game of this match:
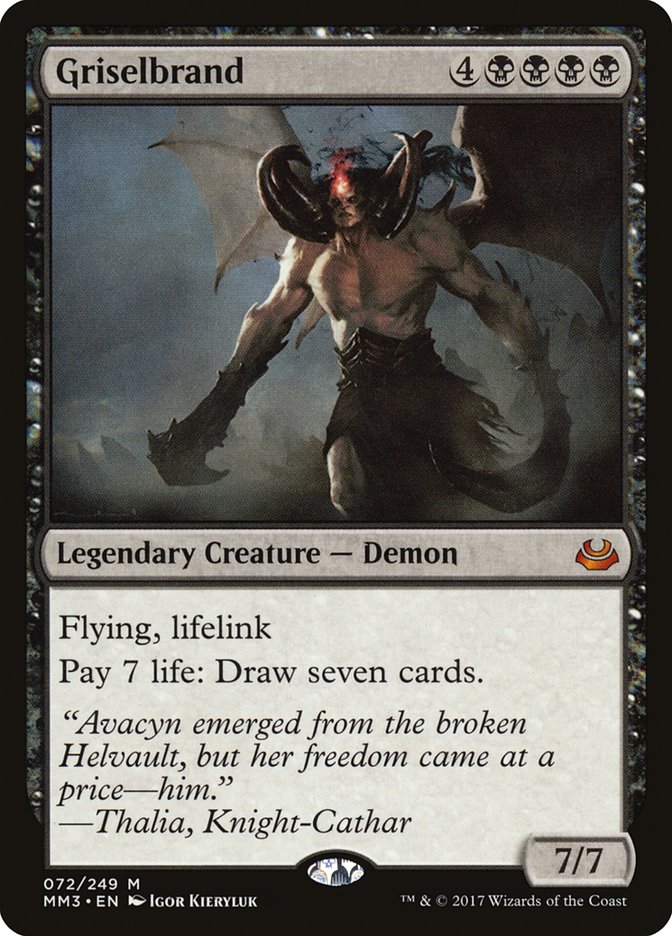
In the aforementioned game, on the second turn, it becomes apparent that the opponent will inevitably have a Griselbrand on the battlefield. From here, I’m going to use timestamps to explain the thoughts going through each play and how they pertain to playing to outs in a game that it appears I’m going to lose.
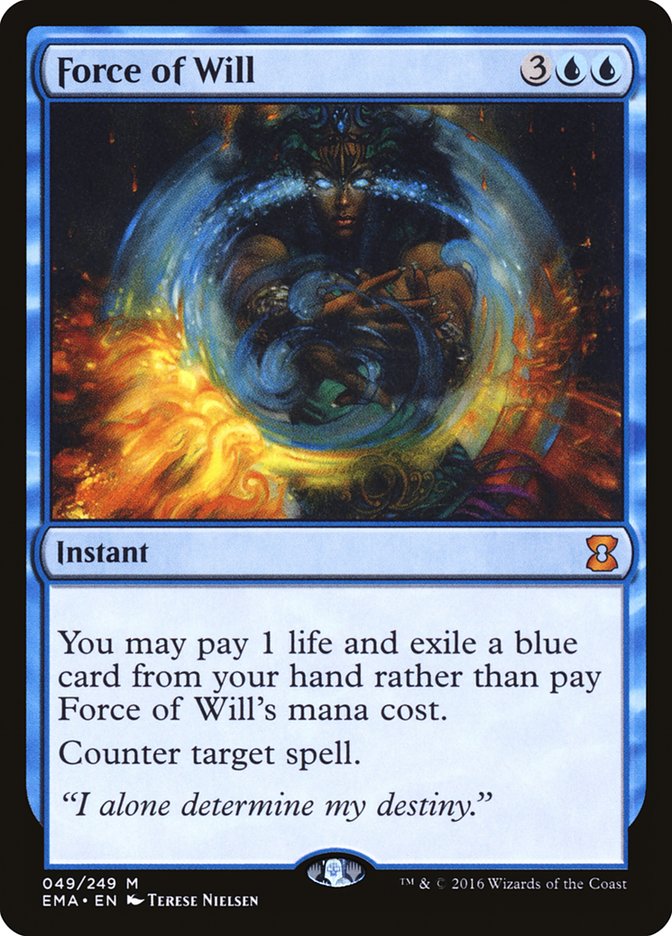
5:55 – At this point in the game, it has become apparent that my opponent is going to resolve a Show and Tell. I know that they have the Show and Tell, a Brainstorm to find a third land, a Force of Will with a blue card (to counter my Force of Will), and a Griselbrand to put onto the battlefield.
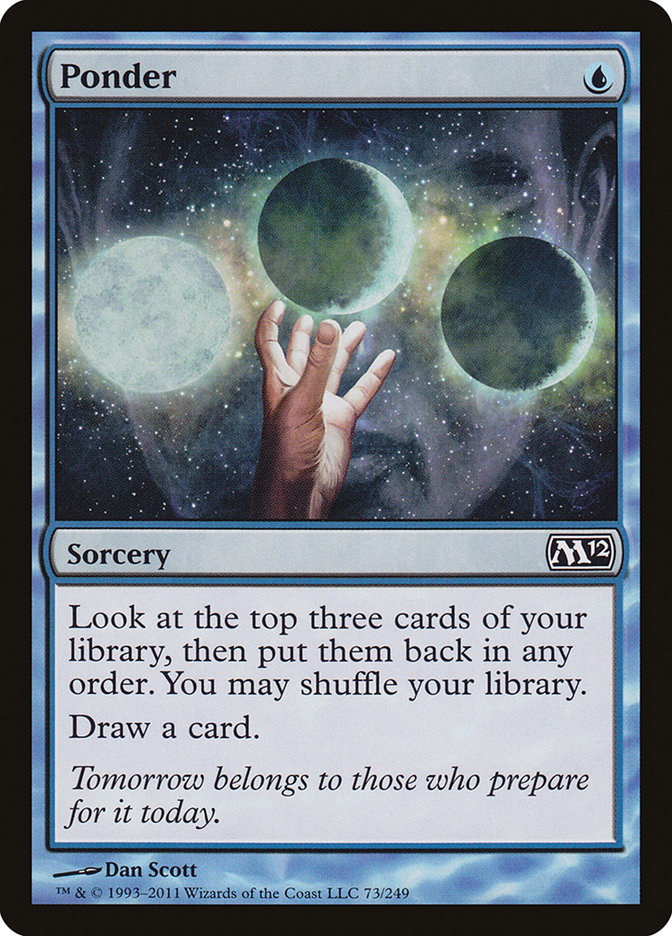
The Ponder shows me Force of Will, fetchland, Mountain. If I keep these cards on top of my library, it is possible that my opponent thinks I drew a Daze or the food for a second Force of Will (he knows about the first one from an earlier Gitaxian Probe) and waits for a turn to go off. The issue with this line is that I find myself in the exact same position the following turn and have to spend a draw step on a land. This land means that I’ll effectively have one fewer resource than required to actually win the game (as a 7/7 with lifelink is nigh-unbeatable for the deck once it has resolved, ignoring the Yawgmoth’s Bargain stapled to it) and the opponent may still just go for it.
Outside of the bluff involved in not shuffling, there isn’t really a line with keeping these cards on top that results in a victory, so it’s a relatively easy shuffle.
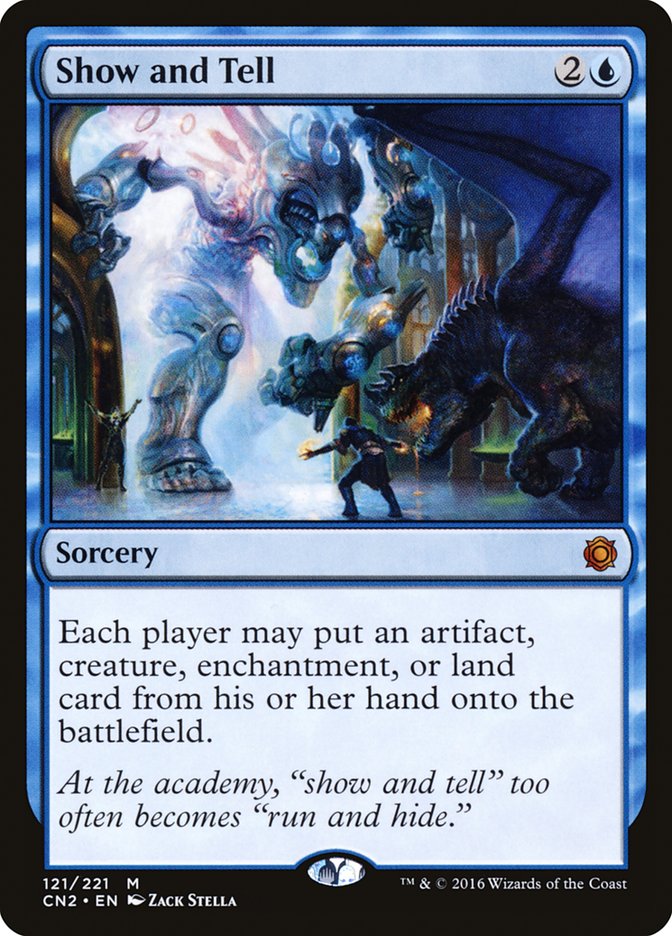
8:33 – Good thing we didn’t take the bluff line. The jig is up. Hank knows that his Show and Tell is going to resolve.
9:36 – Both Matthias and Ryan make a point that I should likely try to pick a fight with Force of Will just to force Hank’s hand, but I vehemently disagree. Against combo decks, it is generally a better strategy to try to reduce the combo player to as few cards as possible, but in this case, I think it is wrong for a few reasons.
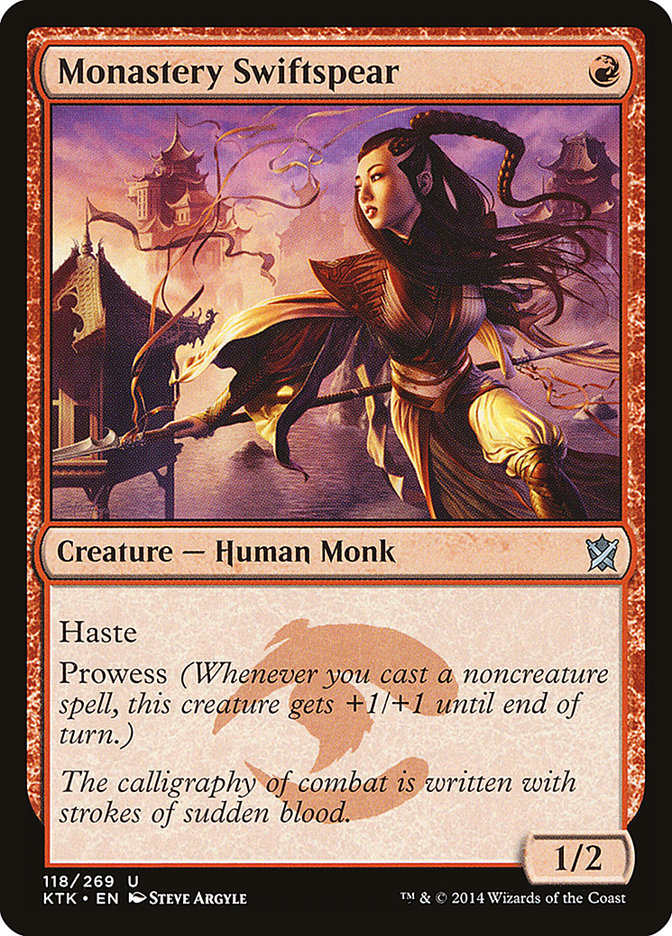
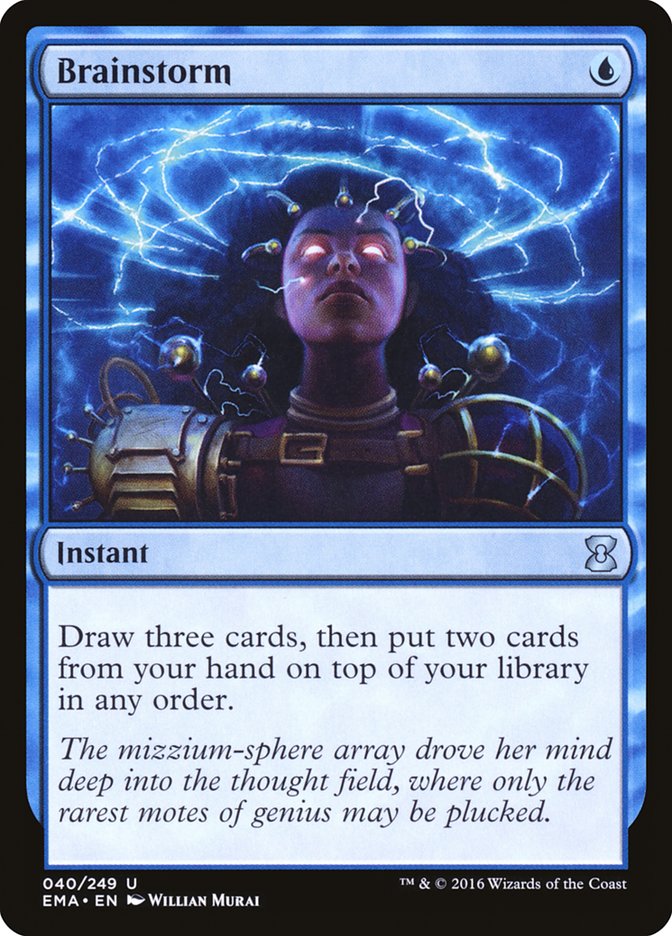
First, if Force of Will is cast on my turn, it will grow Monastery Swiftspear. Even if Force of Will ends up being countered, it will still be worth +1/+1 on one of my creatures. Second, I have a Brainstorm in my hand. The more cards that are in your hand when resolving a Brainstorm, the better. There is an enormous chance that it will be correct on the following turn to put Force of Will back in my deck in order to keep a slew of red cards or some other solution to the Griselbrand that will inevitably find his way onto the table.
Even ignoring these points, what isn’t brought up (until later) is that now I win the counter war if I end up having a must-counter spell. My opponent only having the single Force of Will means that I could push an important spell through later. An even number of counterspells will cancel each other out, which just results in whatever spell is being fought over resolving.
11:07 – It’s entirely possible that it was correct to play the Mountain and attack with both creatures. Instead of casting Brainstorm pre-combat, if any of the top three cards of the deck are Lightning Bolt, I win the game almost no matter how they block.
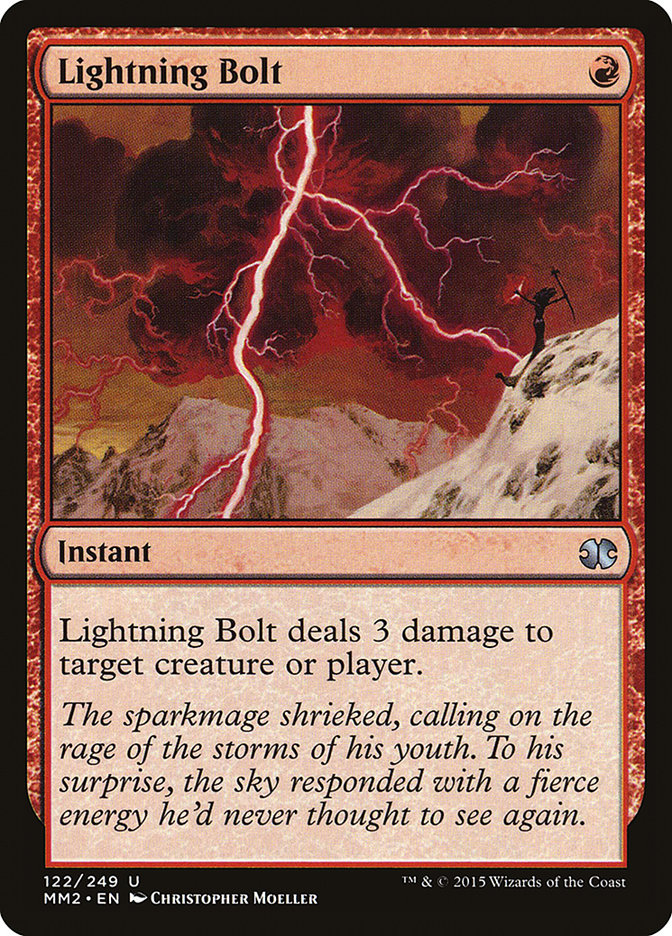
If I wait before casting the Brainstorm, I can cast Lightning Bolt on the creature that Hank chooses to block. Depending on how he blocks, things can get complicated.
If Hank chooses to block the Monastery Swiftspear, we can cast Lightning Bolt on the Swiftspear, preventing Griselbrand from dealing any damage (and gaining Hank any life).
Except Hank can Force of Will the Lightning Bolt.
Then if I choose to Force of Will back, the Monastery Swiftspear will become a 3/4 and Lightning Bolt no longer kills it. From here we are forced to Brainstorm and pray to draw some sort of answer to the Griselbrand that doesn’t use every single card we control (spoiler: there isn’t one).
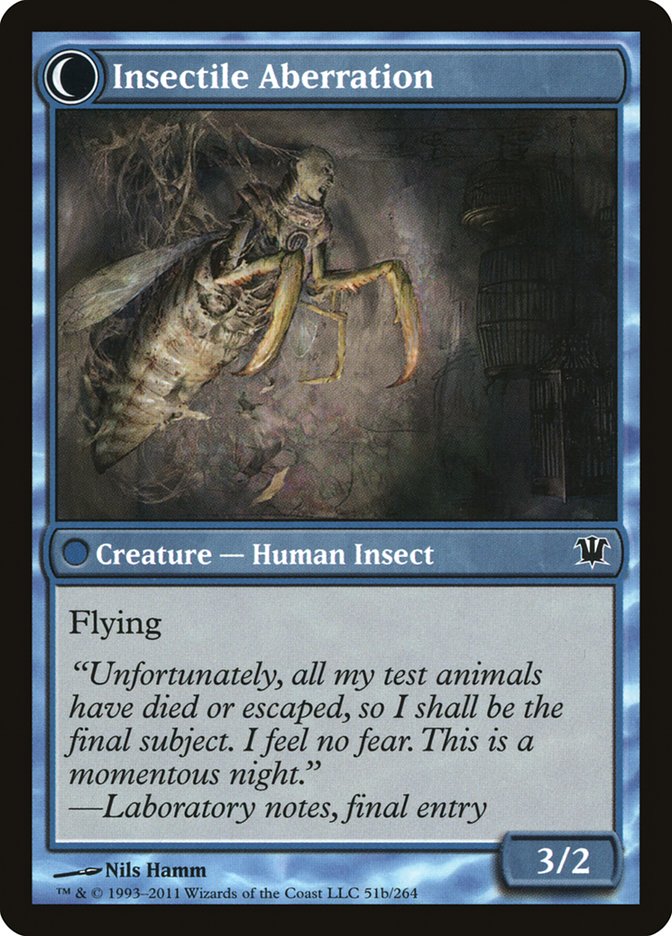
If Hank chooses to block Insectile Aberration with Griselbrand, then things are a bit more awkward, but it does give me a window to kill Hank. From here, I can Lightning Bolt the Insectile Aberration, Brainstorm, and pray to hit exactly Lightning Bolt for lethal damage. If we hit, Hank is likely dead to the damage from the burn spells plus Monastery Swiftspear (with Force of Will backup on our side of the table).
Because of how damage works with prowess, the spells would have to be cast mid-combat, meaning that Chain Lightning doesn’t count as a “hit” in regards to requiring a Lightning Bolt to kill the opponent.
11:20 – Outside of being one of the longest Brainstorms of my Magic career, this also may be one of the hardest sequences in recent memory. After the “draw three cards” portion of Brainstorm, I had the following grip staring at me:

For those counting at home, this hand is one card short of killing the opponent with Force of Will backup.
From here, there is an entire matrix of different progressions that can play out based on how Hank chooses to block and how Hank uses his Force of Will.
From here, the assumption is that if Hank untaps with Griselbrand, my odds of winning are zero to none. I either need to make like the challenge in a Scrye Magazine and win this turn, or I need to find a way to get Griselbrand off the table.
Winning the Game
Winning the game requires a few things to go right for me, which means that, first and foremost, I need to make my opponent lose ten life this turn. This can mean either dealing all ten points with burn spells and/or creatures, or dealing nine points with burn spells and/or creatures with them paying a life for their Force of Will.
Because it is known information that the opponent has a Force of Will and a blue card, a sequence that kills the opponent has a few ingredients:
- Cast enough spells to deal nine damage to the opponent, all with Force of Will backup, as Hank will definitely counter a spell that would result in his losing the game.
- Deal enough damage with one creature while killing the creature that Hank blocks (to prevent Griselbrand gaining Hank life) in conjunction with burn spells to deal nine damage to Hank. He will assuredly Force of Will anything that will result in his death, so there needs to be an extra spell or Force of Will.
Both of these lines are incredibly shaky. Without having the additional card needed to play a red land, cast the three burn spells, and have Force of Will plus blue card as protection, these lines just aren’t realistic. Hank is going to get an untap step. If Hank is getting an untap step, that means I have to deal with a Griselbrand.
Killing Griselbrand
At this point, we know that I have to get Griselbrand off of the battlefield. With both of the creatures on the table having at least three power (if another spell is cast this turn, Monastery Swiftspear will be a 3/4), the Fireblast is going to have to deal damage to the Griselbrand unless multiple spells are cast, which would allow a Lightning Bolt to do the job.
No matter what, two of the red spells in hand are going to be cast this turn, meaning that either the Bloodstained Mire or the Mountain must be kept off of the Brainstorm, while the other is put on top of the library. This leaves us with this set of cards to determine which to keep one of:
There are a few options here for killing Griselbrand. The easiest is just to point a Lightning Bolt and a Fireblast at the Griselbrand and be done with it. This means that I can either keep the second Lightning Bolt or the Force of Will/blue card pair.
If we keep the Lightning Bolt and Hank Force of Wills the Fireblast, we are up the creek without a paddle. Two Lightning Bolts isn’t enough to kill a Griselbrand, and we’re in a spot that involves attacking into a Griselbrand to kill it while having to Lightning Bolt pre-combat to show the opponent what we are planning.
If I keep the Force of Will, this opens up an avenue for us to almost lose the game on the spot. Imagine that Hank decides not to Force of Will the Fireblast and then uses his Force on Lightning Bolt. If we Force of Will and then Lightning Bolt the Griselbrand, this gives Hank an opportunity to draw seven cards with Griselbrand and hit another copy of Force of Will. If he hits the Force of Will, I effectively lose the game on the spot.
It is unlikely that I will need to use the second Lightning Bolt this turn. Using Force of Will is more situational and it is better to use reactive cards in this spot, as, once the battlefield is clear, those cards may not have a use for a few turns, giving Hank time to rebuild and combo (with disruption) again. That leaves the decision down to Bloodstained Mire or Mountain to be put on top of my library.
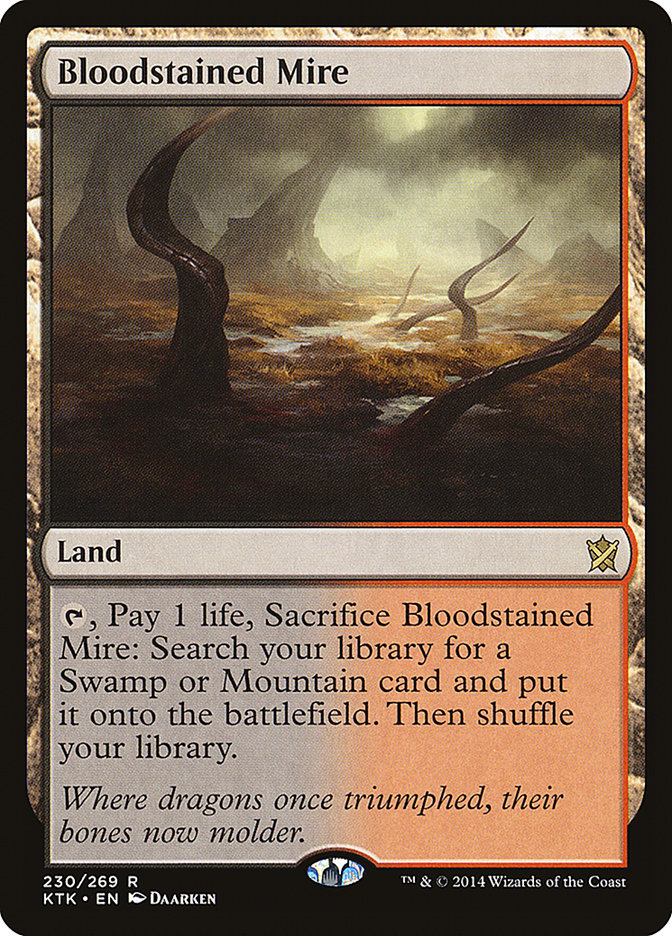
I elect to put Bloodstained Mire on top of my library, because if the Griselbrand dies, depending on how Hank blocks, he is dead in two turns to the pair of Lightning Bolts in-hand, and shuffling the extra red source (when we know we’re sacrificing both on the battlefield to Griselbrand) and the second Lightning Bolt away isn’t in my best interest.
The line that I elected to take was one that could lead to Hank losing, depending on how he blocked.
14:00 – I attack into the Griselbrand with a 2/3 Monastery Swiftspear and Insectile Aberration with the following hand:
If Hank blocks the Insectile Aberration with Griselbrand, I can Lightning Bolt the Aberration (which he can counter with Force of Will to make sure he still gains seven life). Him Forcing that spell puts him to nine, and then Force on his Force makes Delver die, and then
If he blocks the Monastery Swiftspear, I have the ability to trade Fireblast plus Swiftspear for the Griselbrand, effectively turning Monastery Swiftspear into an uncounterable burn spell aimed at Griselbrand. If he fights over it with Force of Will, I have the opportunity to fight back with my Force of Will, putting me to a single card in hand. This gives Hank the chance to try to draw seven cards (by paying seven life) in order to save his Griselbrand, but it would make him die to the last card in my hand (Lightning Bolt).

Hank choosing to wait puts him in a precarious position of being dead in two to three turns from Insectile Aberration plus the two Bolts that I know I have access to, so it puts the onus of action on him. He is going to die in three turns (two if he casts a Gitaxian Probe for life, fetches, or activates Ancient Tomb for mana), and he needs to do something to prevent it.
The drawback to this line is that it does give him a two-turn window to try to combo again. As it happened in this game, he was able to find the pieces required to make another enormous creature, and I lost the game about a turn short of lethal damage. It’s entirely possible that it was correct to just point the burn spells at Griselbrand and pray that Hank didn’t find a second copy of Force of Will, but it felt more likely that he would draw a single Force of Will than he would draw both halves of a combo (when half of the combo had to be the second Show and Tell, as he didn’t have the proper mana to cast and activate Sneak Attack).
At this point I stand by my play, but I welcome any other ideas that people may have in the comments. Learning about Magic is one of my favorite things, and U/R Prowess is probably my favorite deck in Magic right now!
Understanding the Margins
Playing to one’s outs isn’t always going to work. I’ve used the quote before and I’ll use it again:
Sometimes the out is hoping that the opponent makes a mistake and pays a little bit too much life, or makes a poor block, or accidentally leaves themselves dead on the battlefield. Sometimes it doesn’t work out, and at other times the margins are just too narrow.
Remember that variance is part of what makes Magic great. Sometimes you’ll get unlucky and lose to somebody else playing to their outs, but other times you will draw exactly three Boros Charms in a row and kill an opponent from twelve life, despite them having an overwhelming battlefield position.
Harnessing this part of your Magic game takes time and a lot of experience. It isn’t learned overnight; ideally you won’t find yourself in a losing position very often. When it works, it’s the best feeling in the world, and you think yourself all the better for finding the only way to win a game that many other players would have lost.
What are some of the best games you’ve ever come back from? Drop a comment and give your best sick-beats story!