Burn is one of the best decks in Modern.
Deal with it.
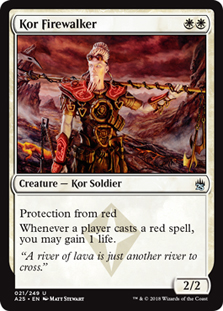
Those Kor Firewalkers aren’t going to save you, either.
Red decks have always gotten a bad rap. They’re misconceived as brainless, spineless, and tasteless. They’re for people who can’t afford the super
expensive ultra-secret rare Benjamin-Goyfs and flashy, enthusiast-only VIP-Cliques. Even little kids can play the deck. I mean, just how hard can it be to
play haste creatures and turn them sideways?
If you’re one of those people that think any of that, you could learn a thing or two from this.
Burn is a red-based, hyper-linear, aggressively-slanted combo deck that looks to kill your opponent as quickly as possible with the cheapest and most
efficient damage dealing spells in the format. The foundation is simple: find as many spells that deal three or four damage for one or two mana, and go to
town.
Burn has been one of the top decks in the format for quite some time now, even before Pro Tour Fate Reforged. It was tough to really tell just how good it
was, due to the lack of high profile tournaments, but when the Pro Tour hit, it came out in droves. You would think that Burn would have a tough time due
to the significant amount of cards that punish you for merely registering the deck for the tournament…


To name a few…
However, Burn has remained atop the tables for most of this past year.
How?
Because much of the “hate” doesn’t even solve the problem, which is momentum and tempo.
…Tempo?
What do you think when you see or hear the word tempo? Delver decks? Faeries? Well, add Modern Burn to that list.
Go on…
Burn is very much a deck that thrives off of generating and maintaining tempo in Modern. It’s the only deck in the format that is capable of gaining tempo
by way of punishing your opponent for choosing a deck that’s more than one color right from the get go. Your opponent fetches and shocks to cast that Serum
Visions on their turn? Sweet!
On top of that, it is the only deck in the format that can boast as much low-end power while also retaining redundancy and consistency. You have access to
the best sideboard cards as well, since any splash you decide to take puts you into strong colors for hating out anything you want (especially white).
Creatures (14)
Lands (20)
Spells (26)
Sideboard

Creatures (14)
Lands (19)
Spells (27)
Creatures (12)
Lands (20)
Spells (28)
- 4 Flames of the Blood Hand
- 4 Lightning Bolt
- 4 Lava Spike
- 2 Lightning Helix
- 4 Rift Bolt
- 2 Searing Blaze
- 4 Skullcrack
- 4 Boros Charm
Sideboard
So, I have this philosophy with Burn. I’m of the firm belief that 70% of the time, you’re going to have very straightforward plays, and things are going to
both look and feel easy. These are the type of games that give Burn quite a bad rap, and 20% of the time, you’re going to have to work really, really hard
to figure out how to steal the game. This is the point that separates the “Burn sucks, it’s easy to play, and it’s boneheaded” players from the “I’m going
to have to actually develop a plan” players. Then, you have the other 10%, the 10% where you may have zero business winning the game, but you do. The games
where you feign weakness really hard just to hopefully get your opponent to make a play that you want them to make and completely blow the game out of the
water because of it. The games where you’re willing to trade their eight damage for your one damage, just so you can hopefully get them for exact damage
four turns later down the line if you draw that Lightning Helix to stay alive in the first place. There are very few Burn players that I’ve seen play at
that level, and I’m certainly not even close to that, so those are the people I’ll go to when it comes to evaluating Burn.
With that, let’s jump into it, because there’s a lot going on.
Lands
Why are we starting with lands? Isn’t that the easiest part?
Probably, but in a deck where you want to juice every last percentage you can, you’d be surprised where you can find them.
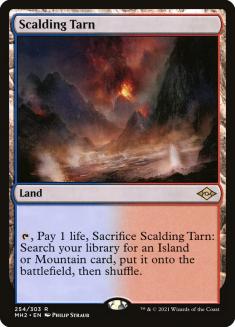
4 Scalding Tarn, 4 Arid Mesa, 2-4 Wooded Foothills.
If you can afford to do so, this is the fetchland suite you want to be running. While any red fetches will do, the reason is deeper than just the text on
the cards.
There will be games where you’ll be able to piggyback damage from your opponent because of your opening land.
Picture this as your opener:
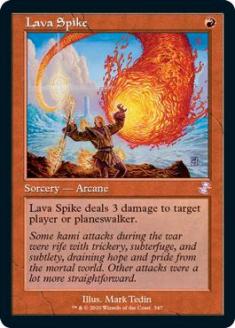
You’re on the play, blind, with a good seven. Many would say to lead with Lava Spike and be done with it, but if you look more closely, there’s a pretty
good opportunity of making your opponent put you on something else entirely. We can lead with Scalding Tarn and just pass the turn, leaving up one of our
Lightning Bolts. Now, there’s a solid chance our opponent puts us on Splinter Twin, and is more willing to play a shockland untapped, fire off that
Thoughtseize, or make a turn 1 play that isn’t nearly as effective against us. It’s not going to happen that often at all, but when you’re trying to get
every little bit out of your deck, I don’t see why you wouldn’t if you’re able to.
There’s a lot more where this came from.
What if you decide to play those two Wooded Foothills, but you play the Onslaught ones over the Khans of Tarkir ones?
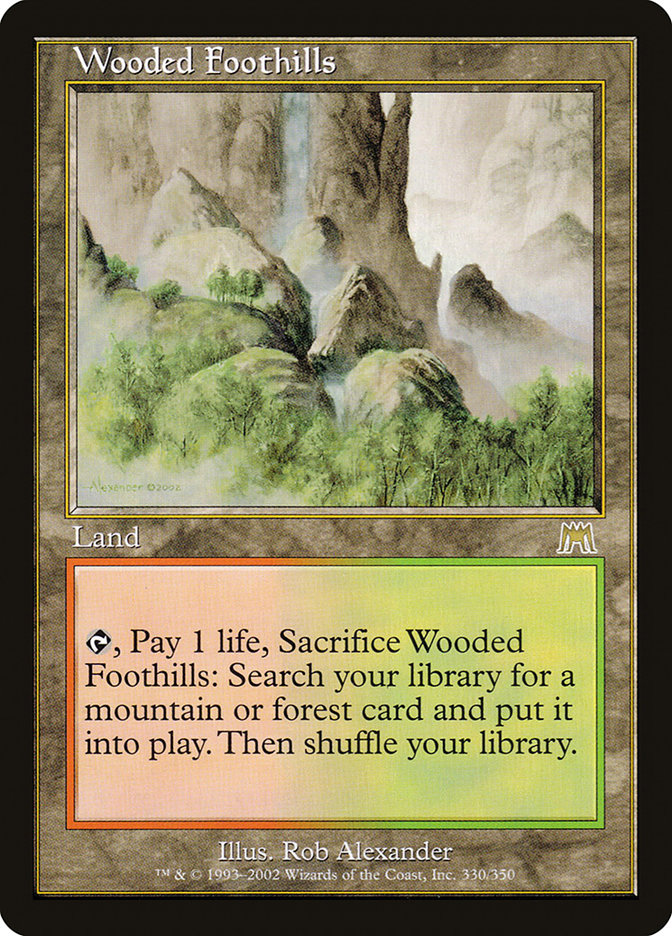
Okay, now you’re going too deep!
Well, it goes along the same lines as playing Scalding Tarn and Arid Mesa, except it opens up more potential opportunities against more seasoned players.
So, you lead with an old school Foothills. How many, say, Legacy veterans that are just coming in town for a Modern event do you think would put you on a
deck that they’d respect more than Burn, like Jund or Zoo? How many times will those players change their opening play because of it, and how many times
will that change get you a point or three more damage? I guarantee you that it isn’t much at all, but it’s definitely a non-zero amount.
And I’ll reiterate: When you’re on a deck that’s built to maximize the non-zeros, might as well go all the way.
From here, it greatly depends on which colors you’re splashing, but for the sake of this primer, we’ll keep it as stock as possible.
2-4 Sacred Foundry, 1-2 Stomping Ground, 3-5 Mountain
Your shockland and basic Mountain count will vary depending on how many fetches you decide to run. The more fetches, the less of these you’ll end up
playing (which also ties in to your Grim Lavamancer and Searing Blaze count, but more on this later). It is highly recommended that you don’t skimp on
whatever your primary color ends up being. You really don’t want to be left without all of your colors early because you didn’t end up playing the third
Sacred Foundry. Also take into strong consideration what sideboard cards you end up playing, as those can also affect how many of each color you want to
play. If you jam four Kor Firewalker for the mirror, consider playing an additional Sacred Foundry, or even a thirteenth fetchland to make sure you get the
white sources as soon as possible.
Creatures
Your proverbial offensive line. These creatures are built to residually increase the value of the spells you haven’t cast yet. The more damage these
creatures do, the less strain there is on your non-creature spells to pull the weight of killing your opponent. The more people you have to push a dead car
up a hill, the less energy your own body needs to muster to get the car moving.
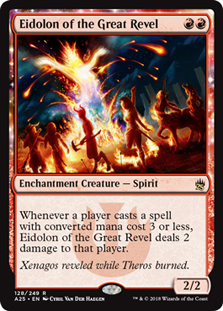
4 Goblin Guide, 4 Monastery Swiftspear, 4 Eidolon of the Great Revel
The most efficient damage dealing creatures red has to offer in Modern. You are not a true Burn deck if you aren’t running these. Goblin Guide is your star
quarterback, your Tom Brady, and your first option when looking to deflate your opponent’s life total. Monastery Swiftspear is no slouch herself, as her
damage output goes up a ton every time you untap with her in the earlygame.
Now, let’s talk about what I call “The Eidolon Fallacy.”
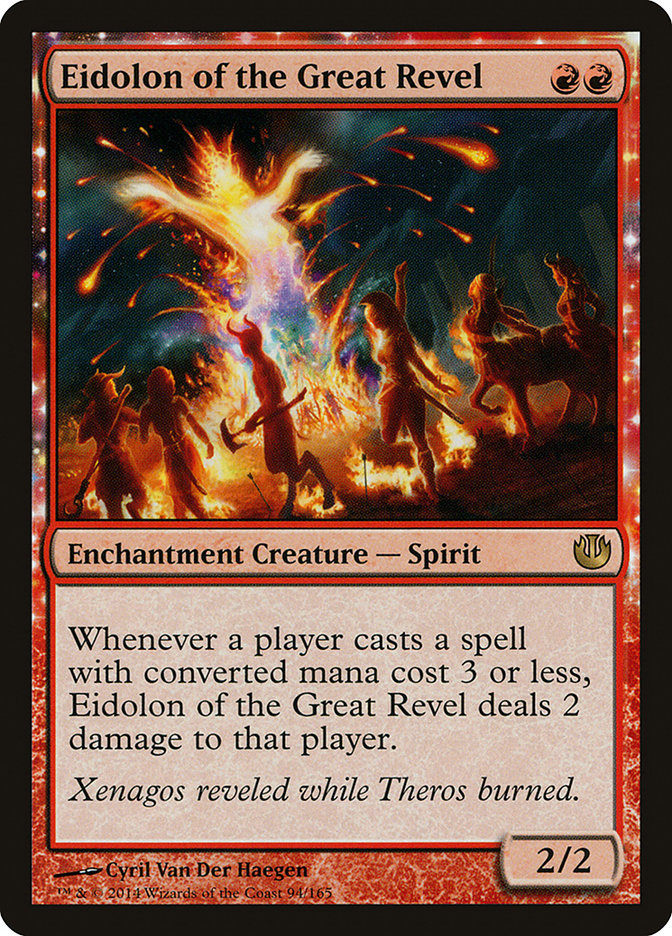
Many players, especially those newer to the archetype, are rather shy to the fact that Eidolon of the Great Revel can harm you as much, if not more, than
your opponent. While it’s certainly not something you should ignore, it’s not a reason to avoid the card. Modern is not a format where you avoid the best
cards available to you because your opponent can make the card bad in a given game. If your opponent is spending a card to kill it, they’re usually hurting
themselves to do it, which is even for you. If they can’t kill it the turn that you cast it, it’s already put itself ahead of the curve by about a half a
turn. If they’re spending a turn to kill it, with, say, a sorcery speed spell, or if they just drew the removal spell, you now have all of your options
available to you on your turn. If it attacks and gets in damage, it now pulled double its worth and only gets better from there. Yes, there will be
situations where Eidolon of the Great Revel will get you killed, but a good number of those games were going to be unfavorable anyway. You aren’t going to
get every touchdown, and you’ll certainly take field goals where you can get them.
0-4 Grim Lavamancer
Grim Lavamancer is in a similar vein as your other creatures, but it functions on a different angle. You get rewarded for playing more fetchlands, and the
more Lavamancers you play, the more fetches you’ll want to play. If you’re looking to maximize every resource you have available, then Grim Lavamancer is
for you. The issue with the fiery wizard is its massive diminishing returns in a lot of situations. There will be a large portion of games involving
multiple Grim Lavamancers where you can’t activate them both, leaving the other stripped of functionality other than being a measly 1/1. All of your other
creatures are insane in multiples, and at best, you’ll maybe get to utilize two Lavamamcers once. These diminishing returns can be mitigated with
Atarka’s Command, but don’t let Atarka’s Command be the reason you’re playing more Lavamancers.
Spells
Your spells have one job: get them dead. Redundancy and efficiency need to be at a maximum here, and anything less will simply not cut it. This isn’t a
place to get cute. Get the job done.
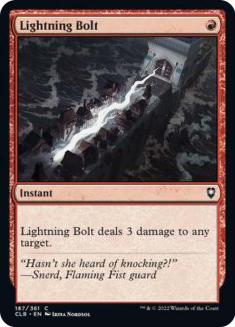
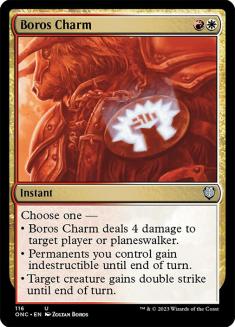
4 Lightning Bolt, 4 Lava Spike, 4 Rift Bolt, 4 Boros Charm
These will always be in your stock build as four-ofs in some way, shape, or form. These are simply the best and most efficient damage dealing spells the
format has to offer, and you aren’t doing yourself any favors by cutting them in any capacity. When deciding which one-mana burn spell to play on turn 1 in
a vacuum, it should be Rift Bolt > Lava Spike > Lightning Bolt. Rift Bolt goes up first because of how many different things can happen in a turn.
Lava Spike is as one-dimensional as it gets, and there’s only one way to play it. Lightning Bolt goes last if you can help it, as it has the most options
(like the aforementioned Scalding Tarn scenario). Boros Charm is quite simply the best two-mana spell in your deck and is the primary reason to splash
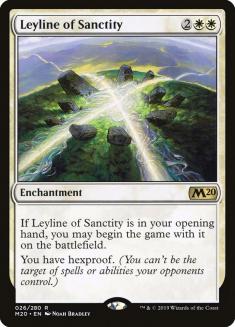
white at all. Rarely will you use the indestructible mode, and there are a few corner case scenarios where you’ll use the double strike mode (Leyline of
Sanctity games for one), but the four damage mode is great and will have the greatest impact on the complexion of an earlygame.
0-3 Lightning Helix
Lightning Helix isn’t the greatest burn spell. In fact, it’s one of the worst spells in your deck in games you’re already winning. When it comes to getting
back into the game or buying time, however, it’s the best option available. There will be plenty of games where the life swing will easily mean an entire
turn for you, and you need as much as you can get when you’re pressured by Tarmogoyfs or recovering from an Inquisition of Kozilek. In the mirror match,
this is the most important card. It allows you to gain the most flexibility in where you want the game to go, and the mere presence of it forces the
dynamic of the game to be about functional Absorbs. If you can successfully land a Lightning Helix in the mirror, you now have a ton of room to maneuver
around a given gamestate.
If Lightning Helix can buy you a turn, then Skullcrack can completely steal them. The lifegain in Modern is absolutely brutal, and having a way to mitigate
the repercussions is extremely important. Skullcrack is the best option for taking an already established lead and pushing it way further. The issue with a
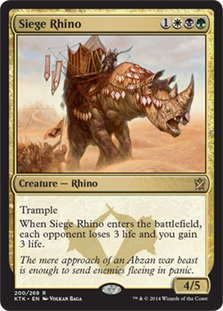
lot of hate in Modern is that the investments line up in a way that Skullcrack punishes ultra hard. You’ll often see Abzan players dance around with their
fetchlands before trying to resolve a Siege Rhino, only to get ‘Cracked and fall behind for the rest of the game, even through another lifegain spell. When
you’re designed to take a ball and roll it as much as possible, Skullcrack ensures that said ball continues rolling.
It isn’t all bells and whistles for Skullcrack, though. If your opponent tries to hate you out via mitigation, such as, Inquisition of Kozilek and Leyline
of Sanctity, or if your opponent has lifegain on top of mitigation, Skullcrack can line up very poorly. Not being able to hit creatures is a real thing,
and there will be matchups where it’s absolutely useless. A stock Splinter Twin deck is one where Skullcrack is one of your worst cards, mostly because
it’s not the most efficient card you can be casting, and it doesn’t really help against the cards that actually kill you.
1-4 Searing Blaze
Searing Blaze, as you might have guessed, is incredibly efficient against small creatures and is a great way to break serve when on the draw as well. When
the last thing you want to do is spend a burn spell killing a creature, Searing Blaze can often cover for you. That said, the card can be wildly high
variance, even in the matchups where you have something you want to kill. It doesn’t line up with the likes of Siege Rhino, Deceiver Exarch, Loxodon
Smiter, or any bulky threat that can kill you quickly or on the spot. There are also multiple decks that simply don’t play any creatures or creatures that
you can’t interact with. There are also matchups where, despite Searing Blaze being good, it isn’t where you want to be. The card is still good enough to
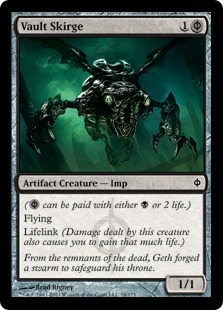
warrant playing, as dealing with Vault Skirge, mana accelerants, and other cheap threats is important, but choose your numbers wisely.
Stay tuned next week for part two, where we’ll tackle sideboarding, build variations, and other tips and tricks!