
This weekend I played my newest version of Abzan Tokens to a mediocre record of 10-5 at GP Omaha.
I owe Todd Anderson an apology.
He made a joke on Twitter about my deck being bad against Aetherworks, and I responded that I thought I was favored. My sample sizes were small and the Aetherworks lists and strategies I played against weren’t as tuned as they are now, and after going 2-4 (I think, maybe 3-4) against Aetherworks this weekend, I do think I’m disadvantaged in the matchup.
The problem is that Ulamog is powerful enough that I have to be able to interact with it.
In the late-game I can win around it, but usually only if I can actually exile it so that it doesn’t deck me after slowing me down. I can get wide enough that I can beat the trigger if I can answer the creature if it isn’t hit off an early Aetherworks.
Obviously, I can’t beat an early Aetherworks Marvel into Ulamog.
The problem is that this means that I need a lot of interactive cards in my deck, but because my deck relies so strongly on synergy, drawing interactive spells instead of more synergistic pieces makes everything I’m doing worse. The issue is exacerbated by the fact that, between Glimmer of Genius; Tireless Tracker; Rogue Refiner; Chandra, Flamecaller; and Aetherworks Marvel, they have a lot more card advantage than I do, so any one-for-one trading favors them, which means that cards like Anguished Unmaking are horrible to draw unless they have something I need to answer. Drawing two early answers is basically a death sentence.
The same issue came up with Lost Legacy.
Spending a turn and a card to prevent possible future Ulamogs is fine if the rest of my draw is perfect, but too much can go wrong. I might not have double black, I might have a few too many lands, and having this as one of my spells means my other cards don’t amount to anything.
Somehow, it’s only now, while explaining the problem in writing, that I’ve realized what I should have done. I needed Cast Out. When I first built this deck, I actually started with four Cast Outs, but I determined that it was too many four mana spells, which meant that I usually had to cycle them, which meant they were just slowing things down. However, if the point is that I want to be able to scry to find cards to answer Ulamog when it comes down once I have my battlefield set up, but I can’t afford to draw removal in the early-game because I have to be spending my cards proactively, the solution is just to sideboard in Cast Out, which is the answer I need when I need it and won’t clog up my hand when I don’t. Anguished Unmaking has been in my sideboard for U/R Control and Aetherworks so that I can answer their must-answer threats, but in both matchups, drawing early reactive cards is horrible, so those should definitely be Cast Out.
That would improve things considerably, but I still don’t think it would make the Aetherworks matchup favorable.
The other card I was trying was Gideon’s Intervention in place of Lost Legacy.
My thinking was that if I’m on the play and they have energy and don’t have Aetherworks Marvel out yet, I can name Aetherworks Marvel, and once we’ve gotten past the early-game, then I can name Ulamog, the Ceaseless Hunger. It’s a lot easier for me to get WW than BB, and if my Aetherworks opponent is stumbling at all, I’m afraid of clearing up their hand by casting Lost Legacy while they might be holding two Ulamogs and letting them back in the game. Gideon’s Intervention leaves Ulamog as a dead draw. Most importantly, I think it’s probably also great against U/R.
I can often set up a spot where I attack into six mana and my opponent feels that they have to Torrential Gearhulk in combat. If they do that, I can cast Gideon’s Intervention after combat to effectively remove my opponent’s threat while also preventing them from casting their other Torrential Gearhulks. Torrential Gearhulk is an extremely important card in the matchup, so that would be a huge play.
I never played against a control deck in the GP, so I didn’t actually get to see how that would work out.
I should probably go over the list I actually played, since I made a few changes after
Creatures (19)
- 4 Catacomb Sifter
- 4 Blisterpod
- 4 Thraben Inspector
- 4 Anointer Priest
- 1 Oketra the True
- 1 Dread Wanderer
- 1 Bontu the Glorified
Planeswalkers (1)
Lands (25)
Spells (15)

Changes to the maindeck from then were:
Out: Loam Dryad
In: Dread Wanderer
I thought of Dread Wanderer while trying to find sideboard cards that could help against U/R. My thinking was that I wanted something that wouldn’t just get countered, and that’s the one matchup where I actually do a lot of attacking with small creatures. If I have Hidden Stockpile, they can’t exile my Dread Wanderer with Magma Spray (a card they might sideboard out against me anyway) and this is a persistent threat that provides more of a clock than my other cards. Also, because a lot of my spells are going to get countered, it can be hard to have extra resources to trigger revolt. I can often resolve Hidden Stockpile because it’s so cheap, but a lot of the time I’m just sacrificing my one Servo to make another just to scry. In the late-game, I can sacrifice Dread Wanderer and return it to trigger revolt to build a larger battlefield.
I decided that there was enough utility to having a single Dread Wanderer to return in the late-game, which can also let me generate extra clues with Ulvenwald Mysteries that it made sense to play it as my ninth one-drop over Loam Dryad, knowing that it would particularly overperform against U/R.
In practice, I didn’t get a lot of experience with it. Loam Dryad was a card I sideboarded out a lot because it’s the least-important engine piece and a card that plays a lot worse in sideboarded games in general. I never know how much detail to go into on this topic, since it comes up so often and I feel like I touch on it regularly, but I also think it doesn’t really get the attention it deserves; a low-impact card that needs to work with other cards to speed up your own gameplan is the exact card that decreases in value the most in sideboarding, when decks get more interactive and games slow down and each card has to pull more weight. In taking its place, I knew I’d be sideboarding Dread Wanderer out a lot, which is what happened, and I never played the match it was intended for, so I’m really not sure how good it is.
Out: Yahenni, Undying Partisan
I really hate spending mana to sacrifice things, but sometimes it doesn’t matter. The purpose of these cards is to have a fifth sacrifice outlet to make sure I don’t end up in a spot where I have Ulvenwald Mysteries and some one-power creatures and can’t find a way to get them in the graveyard to start drawing cards. Without Fatal Push, it’s usually very hard for me to make Yahenni, Undying Partisan get bigger, and I found that the 2/2 was just too low-impact. I thought Bontu might be better, as it can discourage attacks by giving me a blocker that can kill one of their creatures and threatens planeswalkers well. Ultimately, I think it’s close to Yahenni in power level, but both underperformed somewhat. I think it’s probably not worth having the fifth outlet. A possible compromise would be playing Start // Finish, where I can use Finish to get one of my creatures in the graveyard if I have to, and Start has a little more synergy with my deck in general.
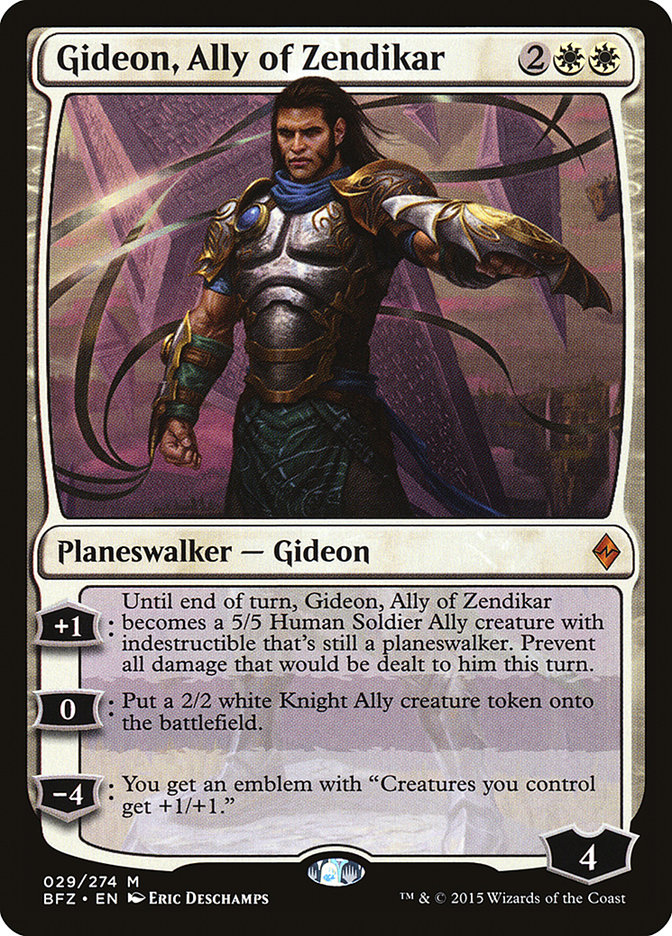
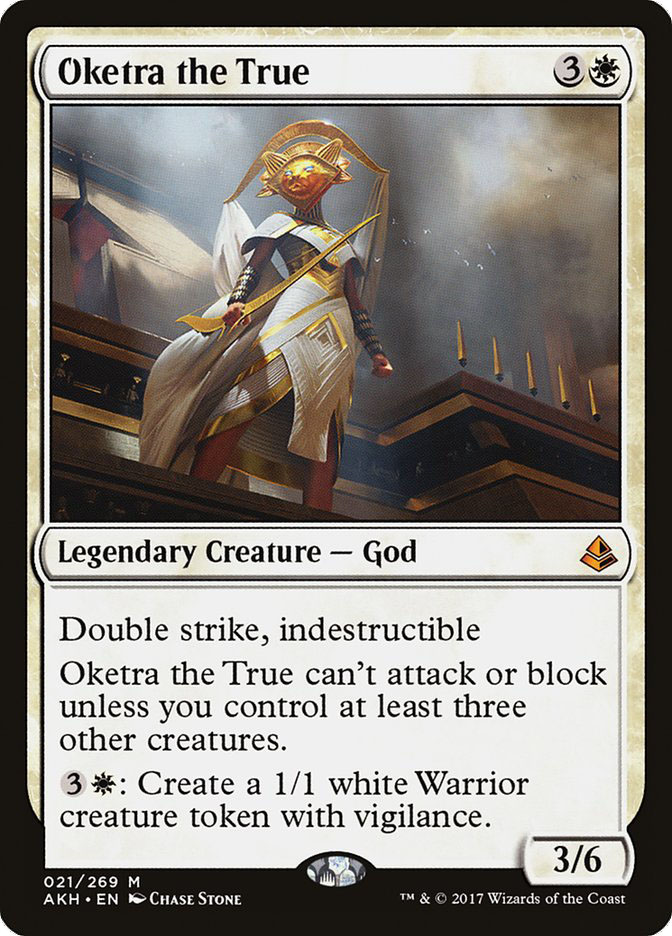
In: Oketra the True
Anyone trying to build this deck on a budget, rejoice! I’m down to only a single Gideon, Ally of Zendikar. This is a weird change, because Gideon is certainly a stronger card, but when gaining life is my primary line of defense, I’m not always great at protecting my planeswalkers, and it’s easy to find battlefield positions where Gideon isn’t a great play. Oketra is usually harder to attack into because it’s very easy for me to have three small creatures, and this gives me a blocker that will eat almost any attacker on the ground, which can instantly stop their attacks. I like Gideon because I want to be able to make an emblem at some point, but it’s not really a priority, and Oketra’s body is really nice. Also, it’s a great mana sink with Cryptolith Rite, especially because vigilance means the tokens work particularly with Rite. It’s also really nice that Oketra can’t be Negated.
Moving forward, I’d recommend:
Creatures (18)
Planeswalkers (1)
Lands (25)
Spells (16)
- 1 Anguished Unmaking
- 3 Ulvenwald Mysteries
- 3 Cryptolith Rite
- 4 Hidden Stockpile
- 1 Cast Out
- 4 Anointed Procession
Sideboard
One of the biggest lessons for me has been the danger of over-sideboarding, and how easy it is for interaction to detract from what this deck is doing. I’m actually not sure if it’s even worth having Fatal Push in the sideboard. I’m currently bringing it in only against Mardu, Winding Constrictor, and Electrostatic Pummeler, but I think it might be wrong. If you watch the second game of my match against Erik Peters from this weekend (which I recommend, as that match was sweet), you’ll see that I had a Fatal Push in my hand that I never used. It can be important against some Heart of Kiran starts, but it’s possible that you just always want to focus on doing your own thing.
My last article covered sideboarding with the deck and what’s going on strategically in most of the matchups, but I concluded by saying that the deck in general is hard to play and that there are a lot of options. I figured I should try to go into that a bit more and spend some time talking about the major decisions that come up and what to prioritize.
Let me try to go through the decisions in the order they’re like to come up in a game.
Mulligans
First off, what are you looking for in a hand to keep? When playing a deck with bunch of weird cards, or cards that don’t do anything by themselves, it’s really easy to draw a hand and have no idea if it’s good, or if it even does anything. I mulliganed a lot this weekend, but I don’t think that’s because I was mulliganing particularly aggressively or even that the deck needs to mulligan more than others; I was mostly just drawing a lot of hands with one land.
In general, I think I like to mulligan less than a lot of people in Constructed. I tend to keep most hands with two to four lands regardless of what spells I have, and this deck isn’t often an exception. You’ll often have hands that don’t look like they really do anything, and that’s fine. Trust the deck. It’s all synergy and everything works together, so as long as you have some pieces and you can develop your battlefield, you can trust your draws to round it out.
Don’t worry so much about having all the right pieces for your combos; just keep hands that let you cast all your spells. If I have a Hidden Stockpile I can cast, I’m extremely unlikely to mulligan, even if I have no way to trigger revolt yet.
Early Turns
Your creatures aren’t there to attack. I mean, they’ll attack if they don’t have anything else to do, but your gameplan isn’t about pressuring your opponent’s life total. Because of this, getting creatures into play early isn’t a priority unless you’re trying to block or set up Cryptolith Rite.
If your hand is…

…it might be tempting to play Concealed Courtyard on turn 1 and cast Thraben Inspector. If you draw a Forest, Plains, or Scattered Groves, your Fortified Village will enter the battlefield untapped, and if you don’t, you can play Westvale Abbey and sacrifice the Clue on the second turn.
Making this play would be a huge mistake. You’re in no hurry to get Thraben Inspector onto the battlefield or to sacrifice the Clue. You want to play Fortified Village on the first turn to get the tapped land out of the way and get access to green mana. This will allow you to play both creatures on the second turn, but it’s not even clear that you’ll want to. You know you can play Catacomb Sifter on turn 3, and Eldrazi Scion will let you cast Anointed Procession even if you don’t draw a land on turn 4, at which point the Thraben Inspector will generate a second Clue. The body being on the battlefield earlier is unlikely to matter, so there’s a good chance you’ll want to hold Thraben Inspector to cast on turn 5, but you can make that decision on your second turn after you know what your opponent is playing and you’ve seen another card.
On the second turn, you’re likely to be faced with a decision like “should I play Anointer Priest or Hidden Stockpile?” The Anointer Priest gives you an immediate battlefield presence that can attack or block, and the Hidden Stockpile won’t do anything on that turn. Despite that, it’s generally better to cast Hidden Stockpile unless you’re playing around Censor or you need to block a two-power creature. The creatures you generate from Hidden Stockpile are much more valuable than a possible life or two you’ll generate from Anointer Priest, and you can’t be sure how you’ll want to spend your mana on the following turns, so you want to be sure Hidden Stockpile is on the battlefield so you can catch its value as soon as possible.
The same decision comes up with Catacomb Sifter versus Ulvenwald Mysteries, except this one is a lot harder. It’s more likely that you’ll care about being able to block at this point in the game and you might want the extra mana from the Eldrazi Scion on the following turn. On the other hand, if you can get Ulvenwald Mysteries down before you cast your creature, you make your opponent’s removal a lot worse. In general, if you’re under pressure and your creatures would alleviate that, you should probably cast them. You need time more than anything, but if you’re not being pressured, your enchantments are your infrastructure and they make everything you do after them better, so you should get them on the battlefield as early as you can.
The Mid-Game
The most important thing to understand is that you don’t care about your creatures, except for Catacomb Sifter and Anointer Priest. Sometimes you’d prefer to keep them on the battlefield; that’s when you have Cryptolith Rite or when you’re about to have Ulvenwald Mysteries. If you think your life total might be in danger at some point, chump blocking is totally fine. If your opponent has a planeswalker and you can kill it by throwing away several creatures, that’s probably worth doing.
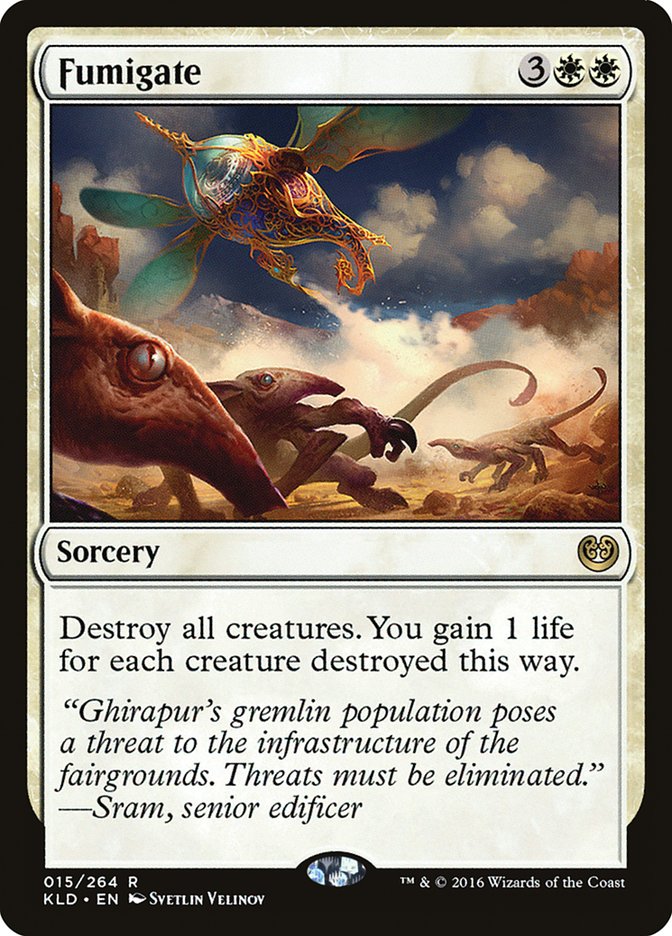
If your opponent casts Fumigate, you don’t really care. You’re playing an enchantment deck; the creatures are just cogs in the machine of inevitability you’re building. Remember that your deck is all about scrying. After the early-game, your cards have wildly differing values. You’ll often reach a point where you never want to draw a card you haven’t already looked at. If you have Cryptolith Rite and Hidden Stockpile, sometimes you’ll sacrifice six creatures in your upkeep to make sure you draw another part of your engine instead of a land that won’t do anything. Drawing Anointed Procession instead will repay you in that many creatures in a turn or two anyway, so don’t sweat it. You could attack with those creatures to reduce your opponent’s life total, but that doesn’t matter. Your clock is about the same if you just focus on building your battlefield and then attack them when a single attack is lethal.
Playing Around Sweepers
Your most important tools for playing around sweepers, especially Chandra, Flamecaller, are Blisterpod and Ulvenwald Mysteries. Both of these let you rebuild before you even untap so that you can attack or tap creatures for mana again right away and not miss a beat. When you have Cryptolith Rite and Ulvenwald Mysteries, it’s very easy to have incredibly explosive turns where you churn through Clues and cast more spells and pass with twice as many permanents on the battlefield.
Exercise some restraint in these spots. Don’t use all of your mana. If you pass with four or six mana up, if your opponent does something to kill all of your creatures, you can float mana, let their effect resolve, and sacrifice three or four Clues to get creatures. Similarly, you’ll often get a big explosion of value when Blisterpod dies, getting multiple Clues and Eldrazi Scions. It can be tempting to cash in on that, but it’s often best to sacrifice a token instead and keep Blisterpod around. You’ll only get more from it later if you find more Anointed Processions or Ulvenwald Mysteries, and your opponent’s sweepers are a lot worse while it’s on the battlefield. Similarly, if you have enough life, you might want to leave your Anointer Priests in the graveyard.
When you’re less set up than that, it can be a little harder. The main thing to watch for there is not bankrupting your Hidden Stockpile. Hidden Stockpile requires something to get going, and if you don’t have a Clue or an Evolving Wilds on hand, that means you’ll need a creature to die. Pay attention to whether your opponent can shut off your Hidden Stockpiles with a sweeper, and consider holding a creature back in your hand to cast after the fact.
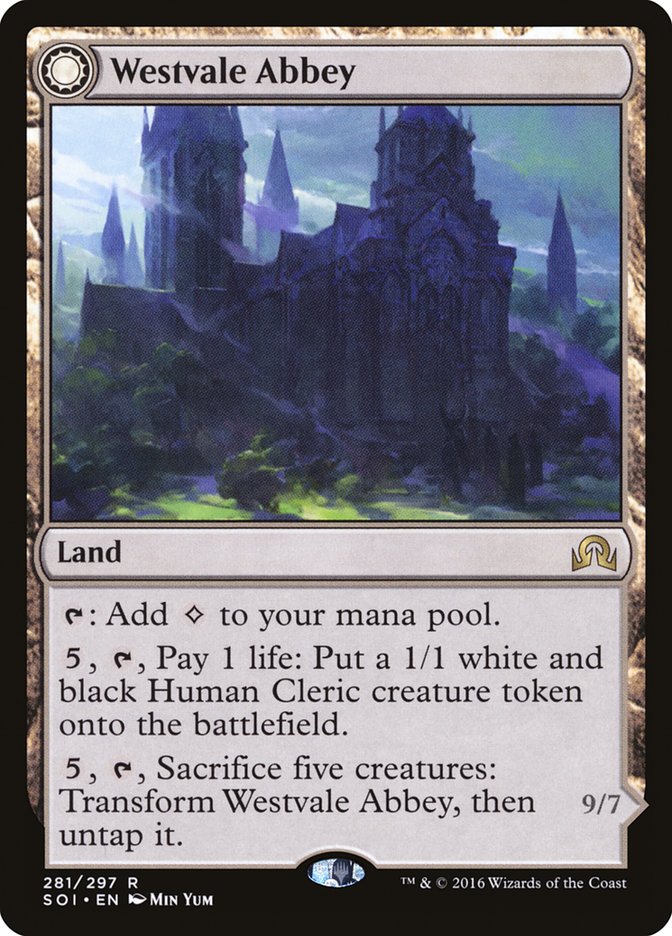
Westvale Abbey is your “end-game” when you need one beyond just doing your thing. In general, you don’t, and Westvale Abbey exists primarily to attack planeswalkers or block fliers, but against a deck like Zombies or G/B, and even sometimes against Ulamog, your opponent will go big enough before you really get set up that you’ll need to be able to close the game quickly, so you just move in on Westvale Abbey and hope for the best. I stole multiple games that my opponents thought they were winning by playing and immediately flipping Westvale Abbey while way behind on the battlefield and creating spots where they just couldn’t beat the two-turn clock.
That said, if I’m not under enough pressure to need to make the Demon, I usually won’t unless five is a trivial number of creatures to sacrifice at that point. Most decks have some way to answer Ormendahl and it’s usually not worth losing my battlefield if they have it. Making tokens is a fantastic alternative and a huge part of this deck’s gameplan against control decks.
Overall, my record this weekend was nothing special. Half of my matches were against Aetherworks, and I lost two-thirds of them. That said, I went 5-1 against non-Aetherworks opponents, beating two Jeskai Vehicles, Zombies, Temur Energy (Aetherworks-less Aetherworks), and G/B Constrictor/Delirium and losing to a similar G/B deck (likely the same list, played by Sam Pardee’s teammates Matt Nass and Josh McClain).
Like many people, I’m hoping for an Aetherworks Marvel ban in the near future, and I’m excited to see if this deck can become a serious competitor if that happens. Until then, I’d follow Brad Nelson’s content closely if you need to win some Standard matches in the next few weeks.