U/W Control has established itself as a pillar of current Standard. The deck plays with a ton of powerful yet flexible cards and maximizes the effectiveness of the format’s best spell:
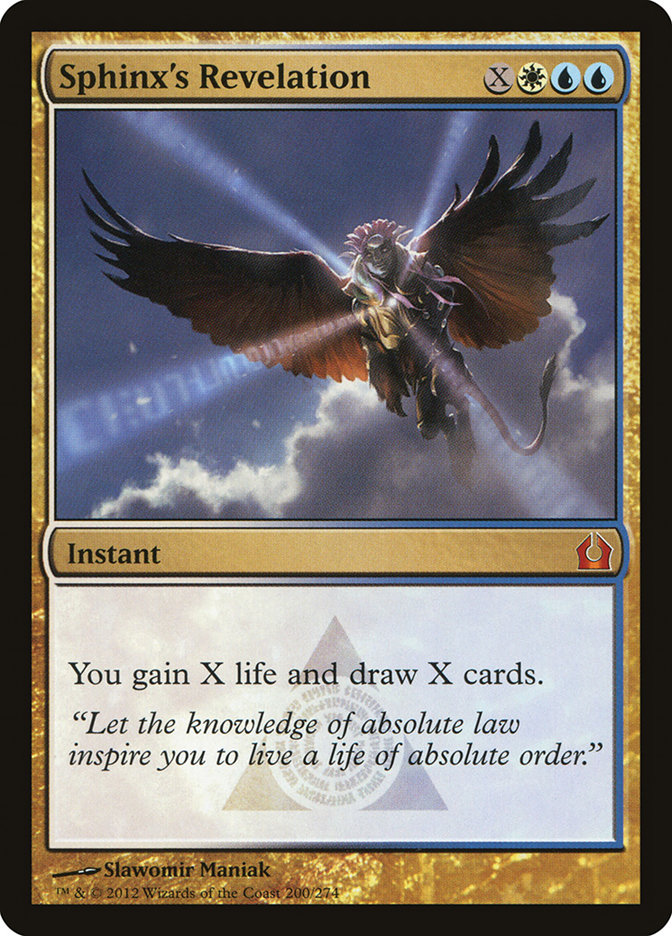
Sphinx’s Riddle: "For four or more, you’ll play no more."
If you play any amount of Standard, it should be obvious that in the late turns Sphinx’s Revelation puts the game out of reach like no other card in the format. It may have been a close contest through the first nine turns, but when U/W Control fires off a Sphinx’s Revelation for six cards and six life, the game is essentially over.
It doesn’t matter if you’re on straight U/W, U/W/R, Esper, or Bant Control—the basic principles about what is important remain largely the same. All of these decks are essentially U/W Control decks in principle and run a ton of overlapping cards:
At the core, all Standard control decks are the same.
One of the more daunting challenges of playing a U/W Control deck for many players is understanding how to play the mirror match.
The control mirror is a particularly challenging matchup for newer players because the dynamic of what is and isn’t important tends to be very different from other typical matchups.
The good news is that the control mirror is only really difficultif a player doesn’t understand what they’re supposed to be doing and what is important. Today I’m going to give control players a quick walkthrough on which axes to focus on in order to be more successful with Islands against Islands.
The Foundation: Land Drops
Let’s start with the most basic principle upon which we will build all other theory about the control mirror:
You must hit your land drops or else you will lose.
Having a land to play every turn for the first four or five turns is extremely important in the control mirror matchup. Since this is the founding principle of playing a control mirror, it’s important to make sure that we are all clear on this.
If one player misses a land drop in the first four turns and the other doesn’t (and keeps making land drops), it becomes extremely difficult for the player with less mana to win.

Sphinx’s Riddle: "O! Mana, where art thou?"
First of all, once you start missing land drops early in the game, you will have to discard cards to hand size on your end step. If your opponent is smart, they can simply keep hitting land drops and watch as you have to discard (essentially earning a one-for-zero every time you don’t draw a land).
The other thing that’s awkward about missing land drops is that typically the player who starts missing land drops first is the one who has to start playing spells first.
If I’m on the draw and my opponent and I play draw, land, go for the first four turns of the game but on the fifth turn I don’t have a land to play, I’m put in a precarious position:
Should I cast a spell into my opponent’s potential countermagic or discard to hand size and leave up my own counterspell?
It’s a tough situation to be in, as both of these possible lines of play tend to be poor.
The key here is to recognize how important it is to hit land drops and do everything in your power to ensure you hit them.
One of the big mistakes I see players make in the control mirror is that they keep land-light hands. If one’s goal is to hit eight land drops in a row, keeping land-light hands is a no-no. I also see people mulligan hands with six lands in the mirror (which actually turn out to be pretty great most of the time). Use the knowledge that land drops are the foundation of winning to influence your mulligan decisions in situations where you know that you’re playing the control mirror.
The Building Block: Scrying
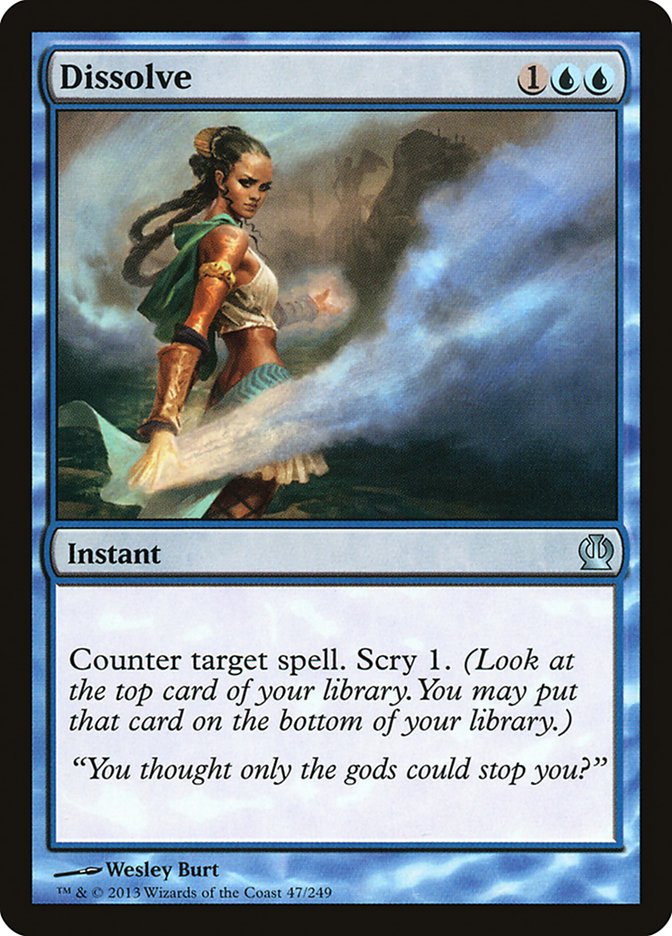
One thing that players tend to overlook or misevaluate in the control mirror is which cards to scry away with Dissolve or scry lands.
Sphinx’s Riddle: "To keep it on top, or not keep it on top: that is the question."
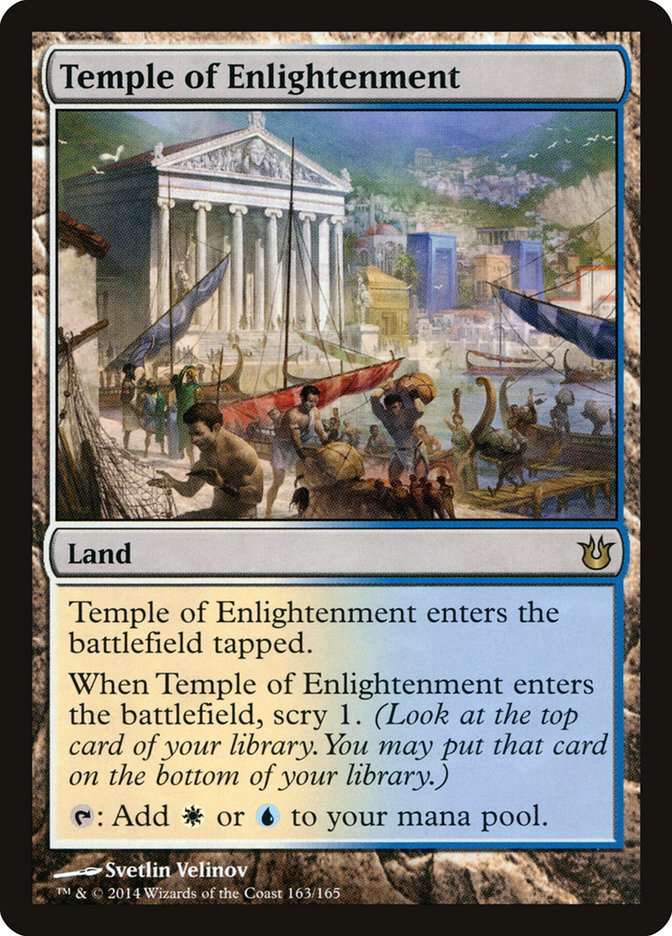
If your opponent leads with a scry land or Hallowed Fountain of their own, the number one thing that you should be thinking about is how to hit as many land drops as possible.
People undervalue leaving a land on top of their deck with a scry land and often overvalue leaving a mediocre spell on top of their deck when they ought to be digging for more lands.
It obviously depends on what’s in your hand every time you scry, but one of the biggest mistakes I see when people are playing the control mirror is keeping or scrying away the wrong card with a scry land or Dissolve.
Making the most of your opportunities to scry will add up over the course of a long game and potentially a long match. Often the edge given to the player who makes better scrying decisions can be the factor that tips the scales one way or the other in the mirror.
Most importantly, I use my scry lands to keep the land drops coming. I see a lot of players keep weak or unimportant cards on top of their deck, and this mistake is often a game changer.
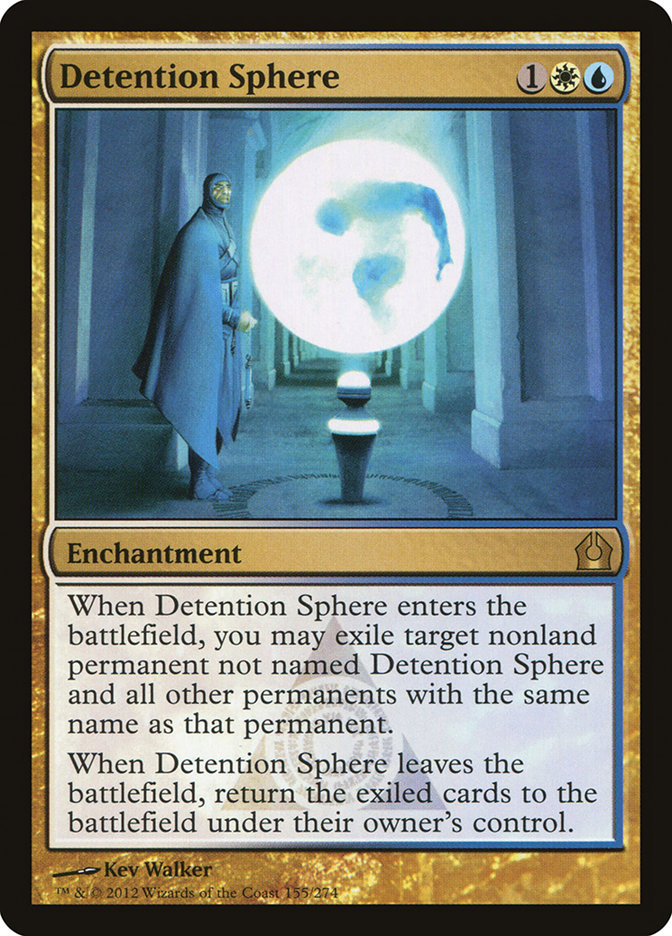
For instance, on turn 2 a player leaves a Detention Sphere on top of their deck. This is probably wrong a large percentage of the time. At this juncture of the game, you don’t want this card, so you should let it go.
My rule of thumb is:
If it isn’t one of the two or three spells I hope to draw, I scry it away.
Don’t settle for cards that are likely to not be good enough to win the game. The whole point of scry lands is to find the cards that you actually want to draw, so be proactive when you scry so that you can dig to the cards that will put the game in your favor.
In the mirror when I scry, I want to make sure I hit my land drops and draw the most relevant spells in the matchup: counterspells, card draw, and threats.
The Ground Floor: In Position
One of the most important elements of the control mirror is what I like to call being in good position.
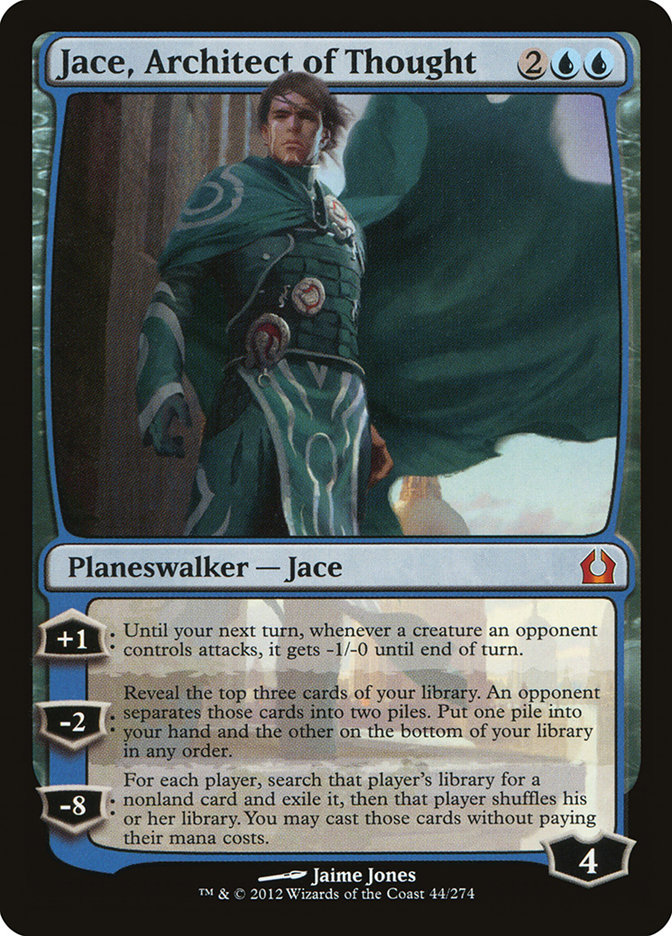
For example, on turn 4 my opponent casts Jace, Architect of Thought, and I Dissolve it. I untap, play my forth land, and cast my Jace while they are tapped out.
Even if my opponent and I had identical hands (assuming they had a Dissolve too), the fact that they played their Jace first put them into a bad position, as it allowed me to counter their Jace and then safely resolve my own.
The four-mana planeswalkers are all really important in the control mirror because they are threats that once resolved will continue to either gain you scaling advantage turn after turn or force your opponent to deal with them and thus continue to put them out of position.
A Tale of Two Jaces
Let’s follow the example further down the line. I resolve Jace and draw some cards. My opponent untaps and casts Detention Sphere. I untap and play another Jace or leave countermagic up. Either way, I continue to be in position.
Here’s why:
By having a Jace, it forces my opponent to tap their mana on their turn, which opens up more options for me on my own turn. Thus I will be able to dictate what happens next in the game. Even if my opponent kills the Jace with a removal spell (which may be a best-case scenario for the opponent), I have also created card advantage because my Jace drew some number of cards (thus replacing itself) and my opponent lost a card to deal with Jace.
Pure card advantage isn’t as tremendously important as it has been in the past because a card like Sphinx’s Revelation can draw a ridiculous amount of cards. Grinding two-for-ones becomes less important in a matchup with potential draw 7s. The thing that tends to be important is the fact that the early Jace advantage allows a player to continue to press positional advantage and offers card selection that ensures making more land drops.
In the control mirror, mana is everything, and having good position is an extension of a kind of virtual mana advantage.
If you can force your opponent to make plays where they cannot use their mana as effectively as you can or you can make sure they won’t have enough mana to deal with your threat and play a counterspell at the same time, you’re likely pulling ahead.
It’s possible for both players to have the same amount of mana but through positional advantage for one player to be able to execute their game plan while the other player falls further and further behind.
Getting and maintaining positional advantage revolves around making one’s land drops. If you don’t make land drops, you forfeit having any kind of positional advantage. The reason of course is because if your opponent continues to hit land drops, they’ll eventually be able to play two spells per turn to your one.
The Hierarchy Of Threats
In the control mirror where there are so many answers and so few threats, actually winning the game can be quite the challenge.
Part of the problem with actually winning the control mirror is that both players have far more answers to threats than their opponent actually has threats.
Imagine we’re playing a mirror match where both of our decks are 30 lands, 26 Swords to Plowshares, and 4 Serra Angels. Who would win? It would be nearly impossible for either player to win via damage because there are so many more answers than threats. The game would likely come down to who runs out of cards in library first every single time.
While the control mirror can come down to decking, sometimes the more answers than threats dynamic is not nearly as simple as my Serra Angel example. In the U/W Control mirror, there are actually ways to out-card, out-mana, and outwit your opponent to stick and protect a threat despite the fact that there are more answers than threats in both decks.
It’s all achieved by the first few principles we have already discussed:
1. Make land drops
2. Maximize card selection
3. Maximize positional advantage
If you lay the foundation in the control mirror, you will create the opportunity to put threats into play and maximize potential for generating more advantage.
There are a bunch of different threats that various U/W Control decks can play, and they all create different types and rates of advantage. What’s important to realize is that these advantages scale every turn. The longer a card goes unanswered, the more profound that card’s influence over the game becomes.
The best threats in the control mirror are the ones that create the most advantage and are also the most difficult to answer.
Not all threats are created equal in the control mirror.
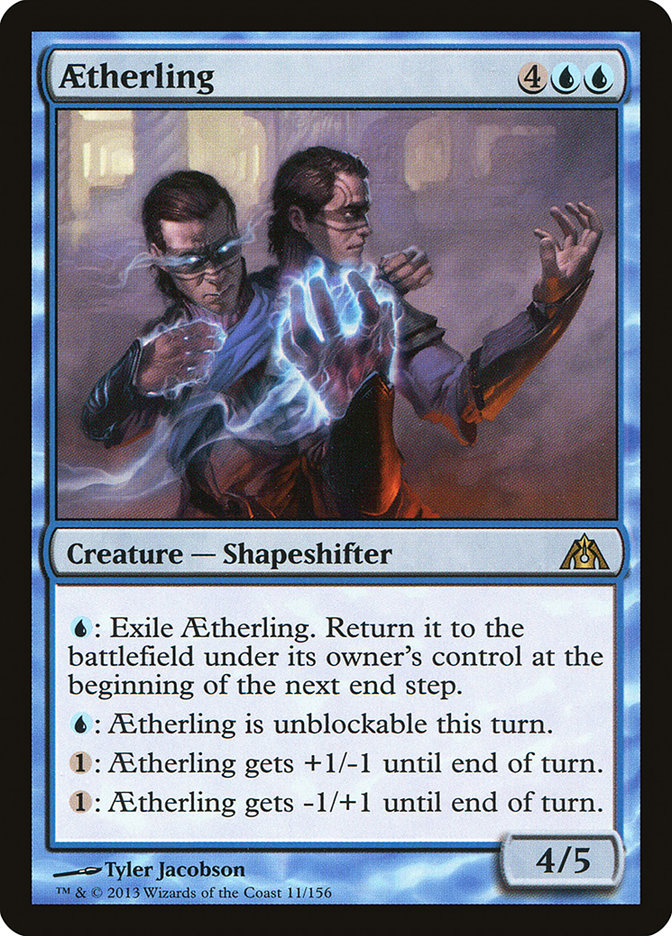
In the abstract, Aetherling is the best card to have in play in the control mirror. It basically trumps a vast majority of the other threats that people are likely to play and is almost impossible to answer.
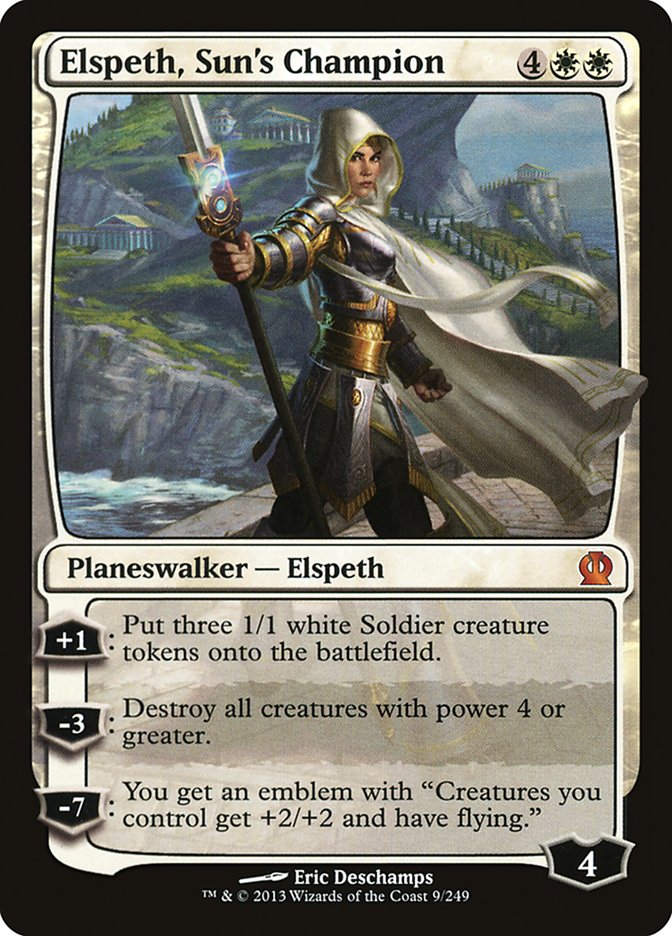
For instance, a resolved Aetherling will singlehandedly kill most of the other threats the opponent can play for no cost. If they play an Elspeth, Sun’s Champion, you can just attack it, kill it, and then block down the tokens one at a time.
Aetherling is beatable in the mirror, but it takes a lot of resources to do so. Beating an Aetherling requires a player to use multiple (and often many) cards in order to offset the advantage Aetherling creates. For example, if I can run my opponent out of cards and then outdraw them by a lot of cards by stringing together multiple Sphinx’s Revelations, it’s possible that I can resolve some of my own threats and then throw a card at the Aetherling every turn and race it.
Though it’s possible to beat an Aetherling by virtue of going much bigger than the Aetherling player, I strongly discourage letting the opponent get an Aetherling in play.
The positional advantage I was discussing earlier becomes extremely important when it allows us to resolve very powerful threats like Aetherling or Elspeth, Sun’s Champion. Both of these cards require the opponent to use more than one card to suppress it, so not trading them for a counterspell at a one-for-one rate is really important.
Another thing to consider is that while most U/W Control decks don’t play a ton of threats in the maindeck, this dynamic can change after sideboard. Many U/W Control sideboards include additional threats that can be brought in and thus up the ratio of threats. Some of the most common cards that U/W, Esper, or Bant might bring in for the mirror include:
Having additional threats (and good threats at that) is important because it gives the control mage additional ways to take advantage of the positional advantage that we are trying to force.
Along with boarding better threats, control players also board more efficient answers to the most important threats:
What these sideboards are trying to accomplish is to create positional advantage with answers that are extremely efficient and then use that advantage to present threats that are difficult or awkward to answer.
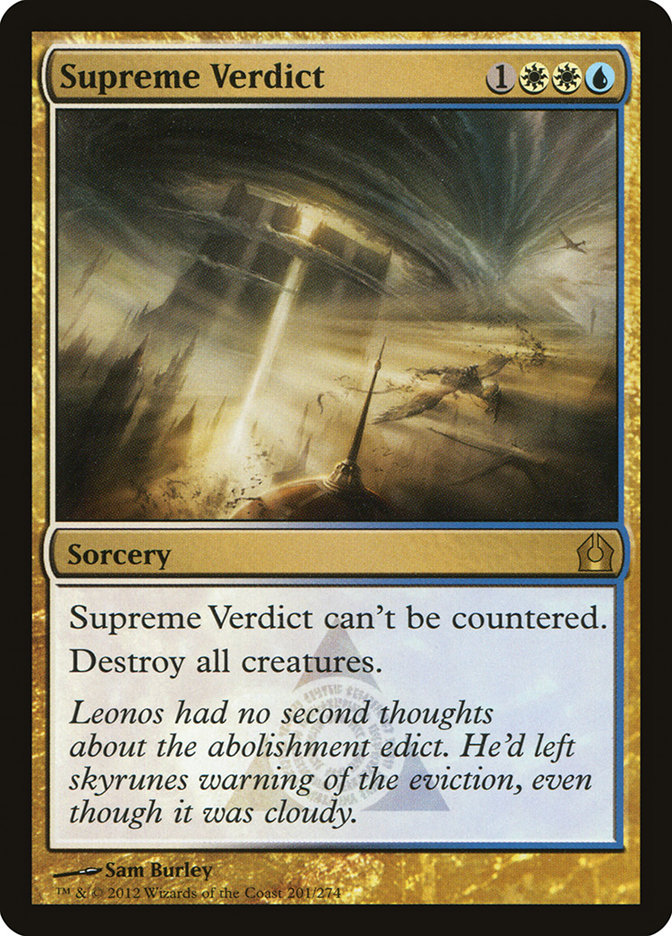
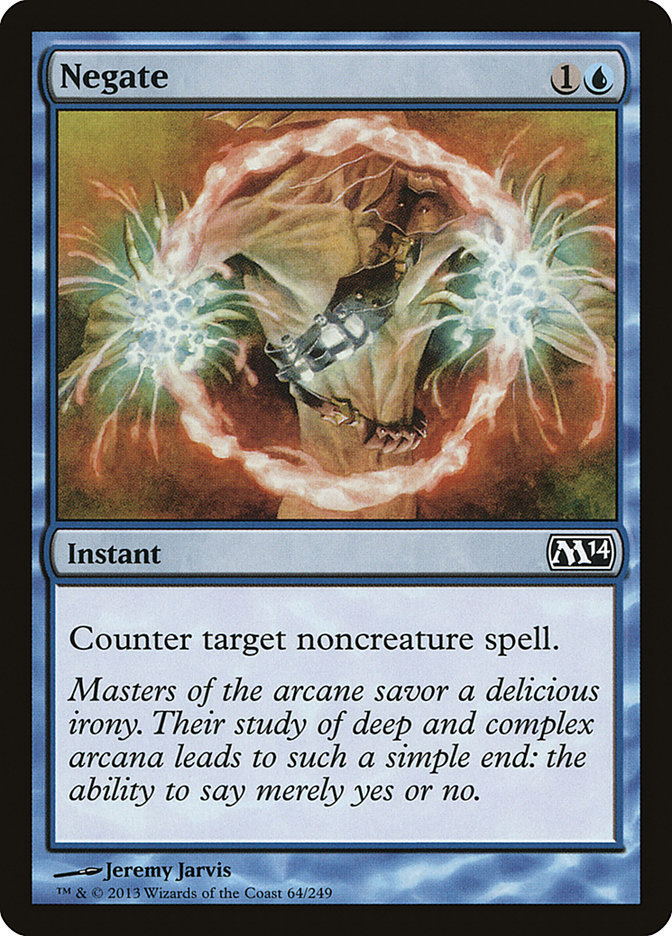
For instance, if a player can Negate a Jace, Architect of Thought and then stick a Blood Baron of Vizkopa, it puts a lot of pressure on the opponent to have a Supreme Verdict or an Elspeth, Sun’s Champion. If they don’t, the Blood Baron (or any threat really) by virtue of being in play will continue to create cascading positional advantage.
Not only do threats do the obvious of creating a clock to end the game by attacking the opponent’s life total directly, but they also make opposing planeswalkers quite bad. Being able to cast a Jace, Architect of Thought is not an appealing or practical use of one’s mana if that Jace is just going to get attacked to death.
Another thing to keep in mind is that sideboarding in cheap enchantment removal, such as Revoke Existence, Glare of Heresy, or Unravel the Aether, is a pretty common tactic in the U/W Control mirror as a way to take out opposing Detention Spheres.
In the past control players didn’t need to worry as much about Detention Sphere getting blown up because people had less enchantment hate. However, the printing of versatile and efficient exile Disenchant effects like Revoke Existence and Unravel the Aether has changed that dynamic. Assume that everybody has access to these effects in their sideboard because they’re better than the average enchantment removal since they’re extremely efficient at banishing the indestructible Gods.
My control deck of choice is Esper because I prefer to move away from loading up on Detention Sphere in a format where it has increasingly become a liability post-sideboard. The reason that I say it is a liability is that if I play a Jace, Architect of Thought and draw cards off it and then my opponent Detention Spheres my Jace, they are already down a card. The trade is oftentimes fine even at a loss because the Jace needed to be dealt with.
The problem is that when I cast Revoke Existence on the Detention Sphere and get the Jace back, I have essentially created a scenario where I’m now casting a two-mana Jace! A control mage cannot survive for very long when they allow their opponent the opportunity to cast two-mana Jaces.
Creatures (2)
Planeswalkers (6)
Lands (27)
Spells (25)
- 1 Last Breath
- 2 Syncopate
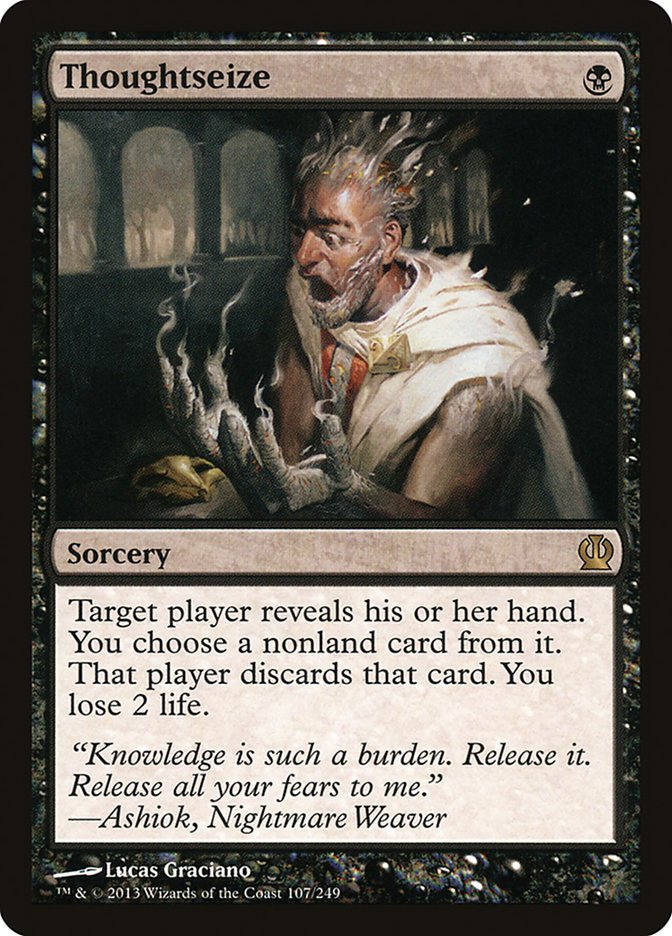
- 1 Thoughtseize
- 1 Negate
- 1 Divination
- 1 Revoke Existence
- 2 Azorius Charm
- 4 Supreme Verdict
- 2 Detention Sphere
- 4 Sphinx's Revelation
- 4 Hero's Downfall
- 2 Dissolve
Sideboard

27 lands is a must if we want to hit all of our land drops.
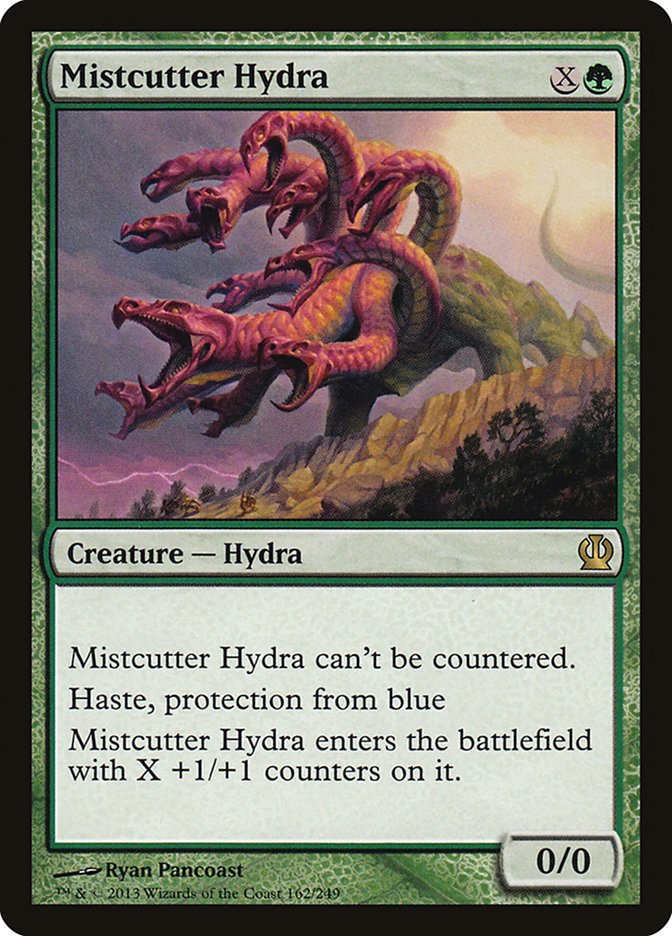
There are two really good reasons that I’m packing Hero’s Downfall right now. The first is that it kills Mistcutter Hydra and Stormbreath Dragon from G/R Monsters. I found that decks playing four copies of Mistcutter Hydra and four copies of Stormbreath Dragon were nearly impossible to beat with straight U/W or Bant decks if they had fairly reasonable draws. The other reason is that I have a pretty sweet sideboard plan for the mirror match:
Out:
In:
I think that the majority of my opponents will board in removal for Detention Sphere, so I board mine out. I also believe that most players will bring in more threats, which causes me to leave Supreme Verdict in.
Glare of Heresy is great in this plan because it lets me eat their Detention Spheres to bring back my planeswalkers and also doubles as removal for Brimaz, King of Oreskos or Archangel of Thune if my opponent is on the creature plan.
The threats that I do have are all fantastic in the control mirror. Sin Collector is a two-for-one that takes their best spell and both defends and attacks planeswalkers. Blood Baron of Vizkopa is extremely difficult to kill (basically only Supreme Verdict will do), and Sin Collector and Duress help clear the way for Blood Baron to survive long enough to create massive havoc on the board.
Duress may seem strange as a sideboard card instead of Thoughtseize. The reason I’m playing the typically worse version is that I really want Duress against burn decks; I can’t bring in Thoughtseize against mages who want to burn my face!
That’s my plan, and it’s been working out pretty well for me thus far. Obviously, if other players are on the roulette Detention Sphere plan, there’s a little bit of a head game we can play. However, a lot of U/W Control decks simply don’t have other answers to Jace and don’t have a ton of choices.
I would love to hear any neat tactics or strategies that you guys and gals are using to gain an edge in the control mirror, so feel free to share them.
The control mirror has a million and one nuances to it, and it would be impossible to cover every aspect of how to play control versus control in one article. Today I tried to touch on some of the areas and tactics that I believe are the most important to being successful.
Go out and create opportunities to exploit positional advantage. Get ahead, stay ahead, and scry like you mean it.
Most of all, be sure to hit your land drops!