
My Season Two Invitational didn’t go according to plan.
At one point during the event I found myself with an 11-2 record which
meant I only needed to win one of my next two matches to Top 8. Sadly I
wasn’t able to get that last win, but that didn’t mean I regretted either
of my deck choices. In fact, if I had to do it all over again, I’d only
change a single card out of the 150 I registered. That must be a new
record! I liked my deck choices so much that I thought the only thing I
could do was write about both this week. Today we’re going to break down
Golgari Midrange in Standard, and Thursday, I’ll be discussing Jeskai
Control in Modern.
Here’s the 75 I registered for the Standard portion of the event.
Creatures (24)
- 4 Llanowar Elves
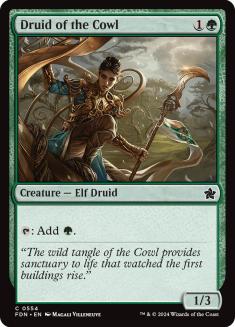
- 1 Druid of the Cowl
- 3 Carnage Tyrant
- 3 Wildgrowth Walker
- 4 Merfolk Branchwalker
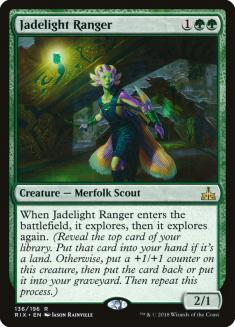
- 4 Jadelight Ranger
- 2 Ravenous Chupacabra
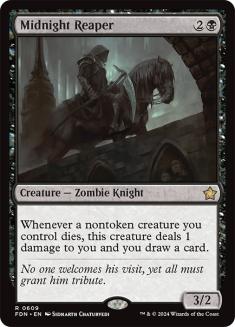
- 3 Midnight Reaper
Planeswalkers (5)
Lands (23)
Spells (8)

I debated two specific card choices before the event. The first being
whether I should play two Midnight Reapers and two Druid of the Cowl or
play the maindeck listed above. In the end, I decided that the extra
acceleration was only necessary in certain matchups when on the draw, and I
wanted to make sure I had everything I could possibly need for the Jeskai
Control matchup as I sideboard out all of my mana accelerants against them.
The other debate I had with myself involved the sideboard Deathgorge
Scavenger. I didn’t want to play Deathgorge Scavenger but didn’t know what
version of Izzet Drakes was going to be most popular. The SCG Tour regulars
rarely play Standard so predicting their deck choices in this format wasn’t
going to be easy. My gut said they would mostly lean on non-Arclight
Phoenix variants of Izzet Drakes, but in the end, I still played one. Now I
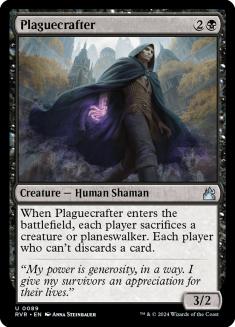
consider this to be a mistake and would rather had the second
Plaguecrafter. The impending sideboard guide will have this switch in mind.
I think it’s important to spend some time discussing my card choices and
those that didn’t make the cut. Every version of Golgari is slightly
different than the next, and there’s a few cards I practiced with that
ended up not making the cut.
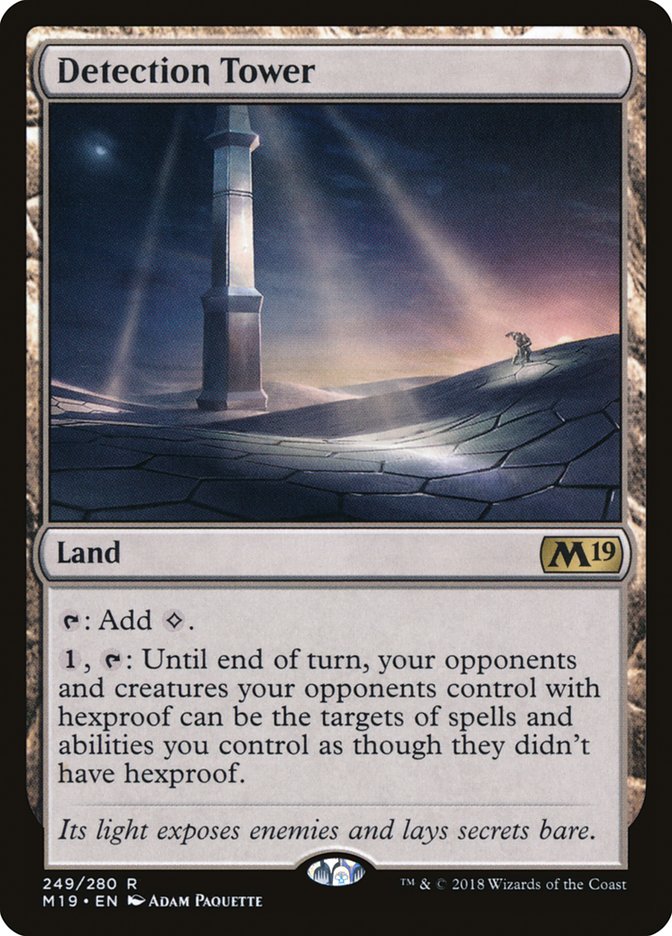
I’ve been excited about this card ever since Pro Tour Guilds of Ravnica, but it’s never made the cut. Now there’s a
possibility that one copy is “fine” but I’ve yet to consider it a necessity
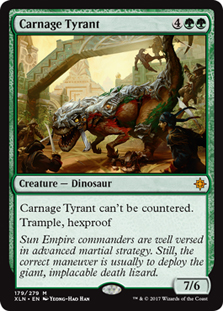
to the strategy. Carnage Tyrant is very important in the mirror but it’s
not the only thing going on. It’s also difficult to find Detection Tower
when it’s most needed as Vivien Reid does not stay on the battlefield for
very long when you’re behind.
Given the randomness level to Detection Tower, I decided to have a
consistent manabase for the weekend as I expect more than just mirrors to
get played. I still don’t believe having one Detection Tower to be a bad
thing, but I tend to lean on consistency which is nice in a deck that plays
so many double-black costing cards.
This is also why I only played one Memorial to Folly. The land is great, of
course, but making sure you curve out is very important, especially with so
many Midnight Reapers in the deck generating card advantage as well. You
can play more copies of Memorial to Folly, but I would suggest playing more
two-drops over Midnight Reaper if you decide to do so.
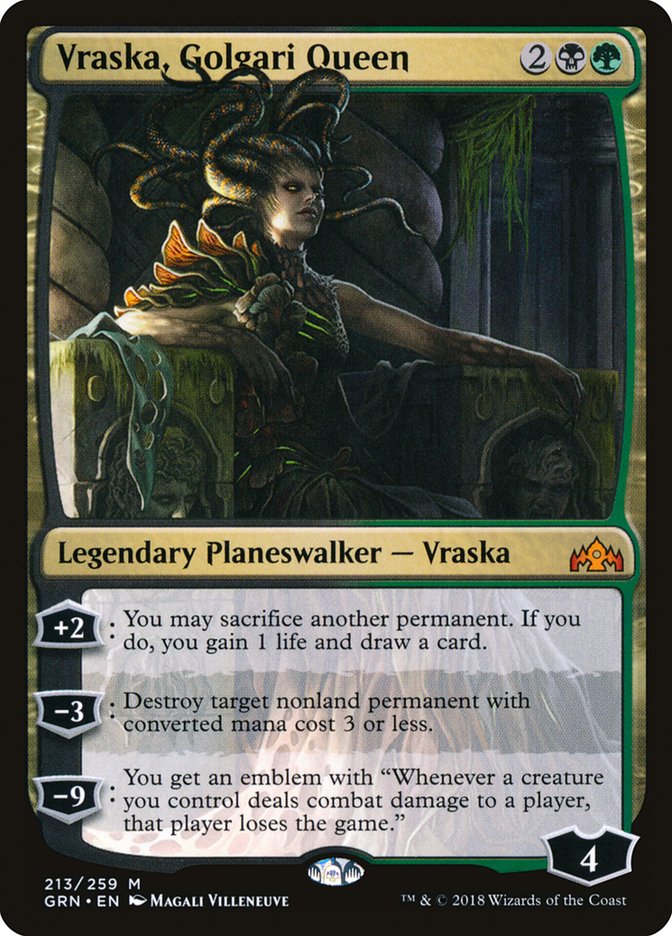
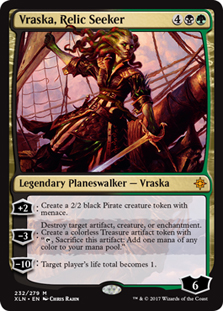
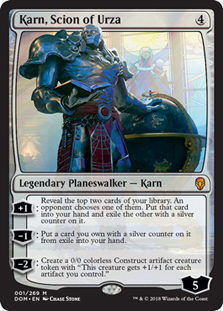
Quite a few people have moved towards playing one or two planeswalkers that
cost four, but some have a split between Karn, Scion of Urza and Vraska,
Golgari Queen. For the longest time I liked this Vraska, but mostly due to
being addicted to the old “Chandra, Torch of Defiance” play. Coming down on
turn 3 or 4 to kill their one permanent is fantastic, but at the same time
ramping into a Planeswalker with no abilities can be devastating. This is
the biggest reason for playing two Karns as it will always generate card
advantage even when there’s nothing on the opponent’s side of the
battlefield.

This is one of the more difficult decisions to make in Golgari Midrange
right now. Sometimes you want access to six of these effects which makes it
an easy 3/3 split. Right now, I think you only want five, but knowing which
way to lean is rather difficult. Ravenous Chupacabra is very good in the
mirror when an opponent can beat you down with explore creatures backed by
a Midnight Reaper, but other than that, the card is a little
lackluster–good, but not better than the other things going on.
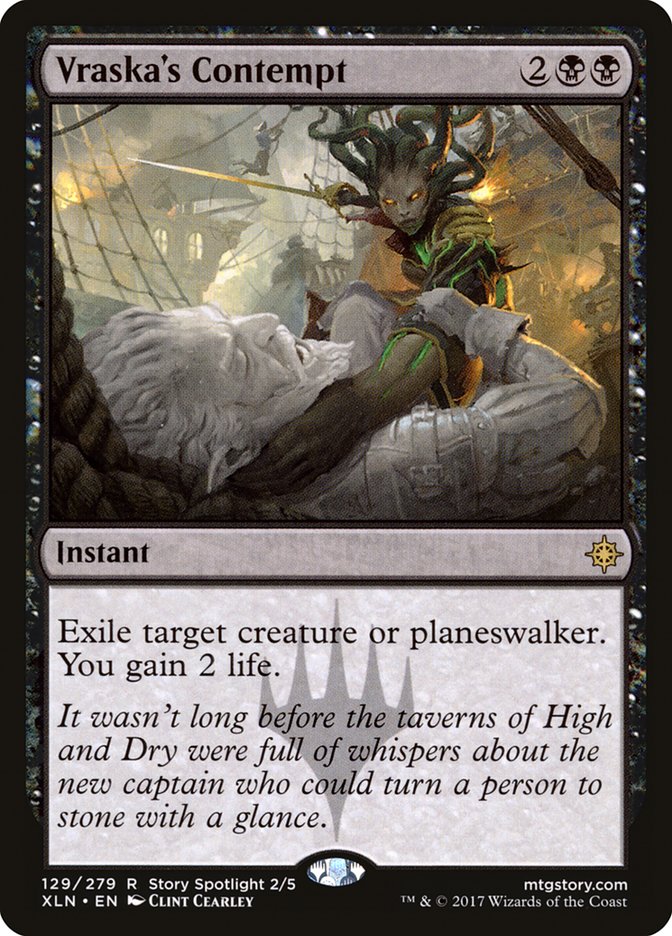
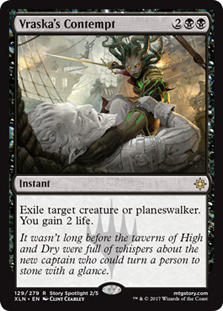
I think you should play more Vraska’s Contempts than Ravenous Chupacabras
when you expect Jeskai Control and Rekindling Phoenix matchups, but I think
it’s close. I’d never go into battle without three copies of Vraska’s
Contempt in my 75 though, but making room for one in the sideboard sucks.
That’s one of the main reasons why I only played two Ravenous Chupacabra,
but I could see trimming a Wildgrowth Walker for the third copy if Boros
Aggro isn’t on your radar. I didn’t do this at the Invitational as I
expected Boros Aggro to be played by a healthy number of SCG Tour veterans.
You’d also want to change the dials a little bit if you did this and turn
the third Midnight Reaper into a second Druid of the Cowls. Making sure you
curve out is important.
Let’s talk about the matchups!
VS Golgari Midrange
The Golgari mirror is both complex and elementary. Right now, it’s at its
easiest as everyone seems to have moved towards playing high numbers of
both Vivien Reid and Carnage Tyrant. This is just correct and it would take
a lot for me to believe otherwise as there’s just too many decks like
Jeskai Control and Izzet Phoenix out there to play anything but these two
powerful mythics. Sure, everyone says they can beat a Carnage Tyrant, but
those same people still lose to it just as much as they beat it (we’ll get
to that later though).
The most important aspect to the Golgari mirror is to be generating some
form of card advantage. That’s the main reason why I play three Midnight
Reapers and two Karn, Scion of Urza. Both cards help generate an advantage
earlier in the game. Vivien Reid and Carnage Tyrant are the tools that lock
up games, but they rarely do it all by themselves.
In many games, one player will cast Midnight Reaper and attack with their
explore creature(s). Now everything’s contextual, but often you just must
take this damage. Trading here just generates card advantage for them and
thus, the likelihood that they find the next thing that will generate them
more advantage. It also leaves you more vulnerable to a Carnage Tyrant or
unable to pressure their life total by turning their Midnight Reaper
against them.
Sometimes games in the Golgari mirror aren’t winnable, but the likelihood
of winning goes down every time you involve yourself in a poor trade. It’s
sometimes best to hope the top of your deck helps you find a new path to
victory.
Out:

In:
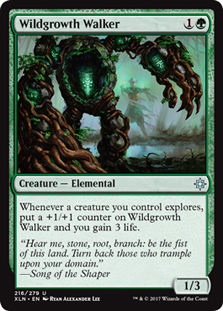
Wildgrowth Walker is fine in the mirror, but it’s never better than the
best thing you could be doing. You can keep this card in when your decklist
is not focused on the mirror, but this one is iffy. If you’re worried about
losing traction on the draw, I’d suggest making room for more two mana
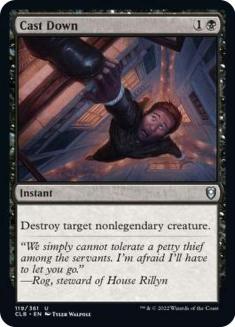
removal like Cast Down than keeping this card in.
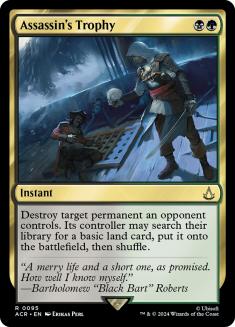
I’m still not sold on having all three Assassin’s Trophy on the draw, but
the extra land is usually not that important, especially when you’re behind
and desperately need to catch up. They can use it to destroy you if their
hand is good, but that’s how the mirror goes sometimes. I’ve actually found
it to be a good thing when I don’t need to spend four mana to kill a
Planeswalker, and instead, can develop my own battlefield while stifling
theirs. It’s also important to remember that Assassin’s Trophy can be used
to kill Detection Tower or Memorial to Folly which can be huge on certain
gamestates, especially when you mess up an explore in the process!
VS Jeskai Control
While there’s two unique builds of Jeskai Control, they both play out in
similar fashion. Those without Treasure Map tend to be more difficult
matches, but I’ve personally found this to be a great matchup. The only
reason why I think it’s close is because other people I respect tell me
that, but know that in reality my win percentage in this matchup is in the
high 80s.
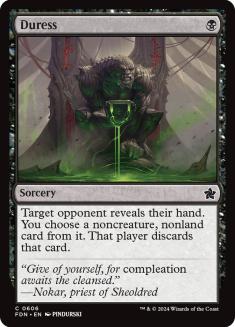
Game 1 is the most difficult game. You don’t have Duress for some fast
information and you have all these vulnerable mana creatures. Your gameplan
should be just to jam and hope, but sequencing is important. For example,
don’t play Carnage Tyrant into a battlefield full of creatures unless you
have a Planeswalker to back it up. If the battlefield is clear, -2 your
Karn making a 1/1 if it’s your only threat as you don’t want them to
“Teferi minus” it the following turn. Small things like this can help out,
but at the same time these games come down to if they have the answer for
Carnage Tyrant or not. Everyone talks a big game until they get attacked
three times with this Dino!
Out:
In:
It’s important to expect them to have a high density of threats after
sideboard. In fact, the biggest mistake I find players make in this matchup
is they lean to hard into the idea that Jeskai is the control deck and
Golgari is the aggro deck. In reality, both are midrange decks and we
should treat the matchup as such. That’s why I take out all my mana
accelerants and keep in Ravenous Chupacabra.
You really just need to sink your feet in when you play this matchup.
Things will go slow, the games will be long, and your job is to sequence in
a way that you’ll mitigate their card advantage and generate your own.
Don’t be afraid of them drawing extra cards. No matter what you do, they
will draw extra cards and they’ll kill most of your permanents. You can’t
stop this, nor should you try. You should just try to make good exchanges
and eventually win with something. They win the game when you stop doing
stuff, so it’s important to not give them good exchanges all game long by
hastily trying to win too quickly.
This means you don’t need to run out a Duress at the first chance you get.
It’s nice to keep it around to mess up their plans later in the game. The
logic of “knowing their hand” isn’t really that important as you should
already know their hand. It’s got a way to draw cards, a mass removal
spell, a threat, and a counterspell. Early game Duress should only be cast
when trying to force through a Planeswalker or defending from a
Planeswalker of theirs when you don’t have another answer for them. Other
than that, just deploy it when you have a decent reason.
VS Izzet Drakes
The days of Arclight Phoenix seem to be behind us. Yuuya Watanabe played a
unique version to a Top 16 finish at Grand Prix Shizuoka and since then, it
seems to be all the rage. I don’t know if it’s going to continue, but for
now we must expect less Arclight Phoenix and more Enigma and Crackling
Drakes.
Creatures (10)
Lands (21)
Spells (29)
The biggest difference between the lists is the fact that this version
plays very well with an extra land up. They have tons of Dive Downs and
Spell Pierces which means two things. First, you need to be careful of
Spell Pierce – it’s crucial to never walk your Vivien Reids into this card.
I just didn’t expect this card after sideboard, but now looking back it
makes sense to keep in a couple.
The second important thing to keep in mind is anticipating when they’ll
deploy threats. This could be on turn 4 with Enigma Drake or turn 5 with
Crackling Drake. Sometimes they’ll have a high number of Drakes in their
hand, so they will cast them on curve, but the best thing you can do is
hold up two-mana removal for their turn even if they don’t have one on the
battlefield. That way you can lose to Dive Down on their turn and then kill
the creature on your own, sometimes with a Vivien Reid you’ve been holding
out on.
This is not an easy matchup to just pummel your way through, so it’s
important to navigate the waters carefully.
Out (on the play):
In (on the play):
Out (on the draw):
In (on the draw):
Again, don’t expect to just win these games. They take forever, meaning the
most important thing to do is win on the exchanges. Luckily for us we have
many ways to do this. Duress should be considered a card that helps beat
their threats and not one that pushes through yours. Their deck is filled
with deck manipulation and very powerful mid-game threats that it’s almost
impossible to keep them from functioning. Instead, it’s vital to try to
break up their combos when you can. I like to save Duress for when I need
to cast Ravenous Chupacabra/Vraska’s Contempt on their threat. The only
time I cast it proactively is when I need to tap out on the next turn or
when I want to protect a Wildgrowth Walker from Entrancing Melody.
The next two matchups are the white-based aggressive ones. I believed both
decks would pick up in popularity which is why I wanted to have access to
three Assassin’s Trophies. They both diversify their threats after
sideboard and both don’t utilize the extra mana that well. In fact, I’ve
found Assassin’s Trophy to be a great sideboard card even though it’s a
catch-all that looks like it would be good in the maindeck. If these decks
aren’t popular in your local metagame or you see a decline of them in
anyway, I suggest lowering your numbers of Assassin’s Trophy.
VS Selesnya Tokens
This matchup is strange. I think Golgari Midrange is favored, but really
that’s only the case when my deck functions well. Other than that, I just
seemed to always get destroyed by their go-wide strategy. There’s really
not much to say besides try to contain them by building up a good
battlefield and using it to protect your Planeswalkers. After that, use
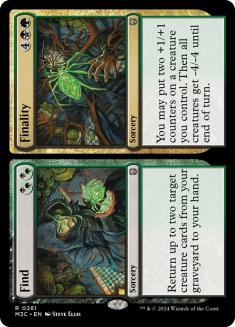
Finality to contain their battlefield and begin pressuring them as hard as
you can.
The sideboard games are the exact same except they have Planeswalkers and
less token generators.
Out (on the play):
In (on the play):
Out (on the draw):
In (on the draw):
VS Boros Aggro
This is another matchup that’s difficult to write about. They try to kill
you and you try to stop them from doing that. Wildgrowth Walker is MVP in
stopping their early assault, but they have Tocatli Honor Guard to keep you
from doing so. That’s why I wanted so many “Doom Blade” and why I’ll
continue to play them. Having this much early removal makes the matchup way
easier to beat as you don’t feel as clunky against this hyper-aggressive
strategy.
Out:
In:
If you have any more questions about Golgari Midrange, be sure to ask them.
I’ll do my best to answer them in a timely manner as I know there are
important Standard events coming up this weekend. For now, though, that’s
all I’ve got! Come back on Thursday when I breakdown Jeskai Control in
Modern, why I played it, and how I sideboard with it against almost every
important matchup in Modern!