
Two weeks ago, I took a look at a reader’s Gitrog Monster deck and shifted its focus from a deck with several loose and open-ended combo cards to one built around The Gitrog Monster as a midrange value engine. Several readers felt this was a mistreatment of the deck, as The Gitrog Monster can do something quite unfair if you let it – it’s one of those unique Commanders that can function as a combo piece, and they wanted to see its freak flag fly. I’m generally disinterested in combo decks in Commander; except for my efforts to prove Ad Nauseam is broken in Commander and deserves some serious side-eye, the last “combo” I played in any of my Commander decks was “fifteen lands plus Emrakul, the Aeons Torn.” I don’t find combo decks either interesting or fun, so other than perhaps looking at one as a disgusting optimization problem from time to time I’d rather play Commander the way it was meant to be played: as a format with a concept of self-restraint, where not building a broken deck is actually harder.
For a brief while, my focus on Ad Nauseam got to meet an absurdly disgusting Commander that seemed custom-printed for it – those brief months where Griselbrand was a legal Commander were pretty gross! But that was a weird blip on the radar and one that was quickly banned; with it back out of the way, the deck reverted to the one-card combo of “cast Ad Nauseam, draw deck, kill opponents.” Because of this, I have often referred to Ad Nauseam as “the worst thing you can still do to people…” but after looking into other peoples’ Gitrog Monster combo decks, I’m now far less sure of that fact.
Unlike, say, Ad Nauseam, The Gitrog Monster is legal as a Commander and thus starts the game effectively in your hand. Sure, that combo piece isn’t Yawgmoth’s Bargain like Griselbrand was, but it’s still absolutely a set-up card for an unfair combo deck if you want to build around it. Ryan’s Gitrog Monster deck was dredging until it revealed Dakmor Salvage and then used discard outlets + Gitrog Monster + Dakmor Salvage to mill his entire deck if he wanted to; if he got specifically Skirge Familiar + Gitrog Monster + Dakmor Salvage he could generate infinite mana thanks to the reshuffle trigger on an Eldrazi Legend, which combined with Exsanguinate to kill the table. Ryan wanted me to make his deck better, and me being me I took that to mean “a better grindy Commander deck full of interaction” rather than “a better combo deck.”
Today, we’ll look at that combo deck instead. There wasn’t really a way to build that deck on a $50 budget from where Ryan started from, so we’re going to start from scratch instead and build the no-expenses-spared ‘optimal’ version of a Gitrog Monster combo deck. And first things first, that means we need to block out how the deck converts its value chain into a game win.
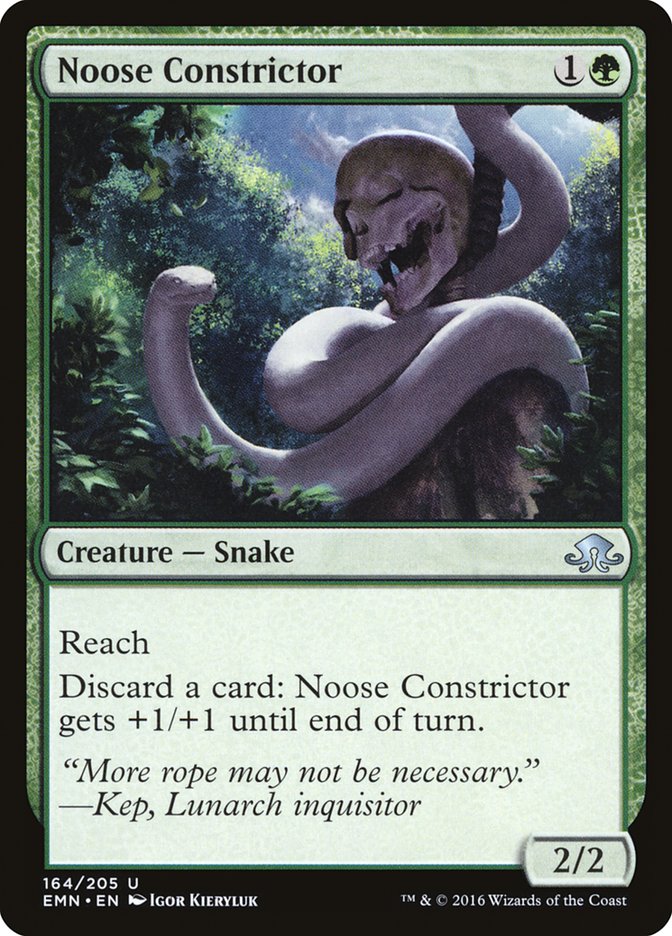
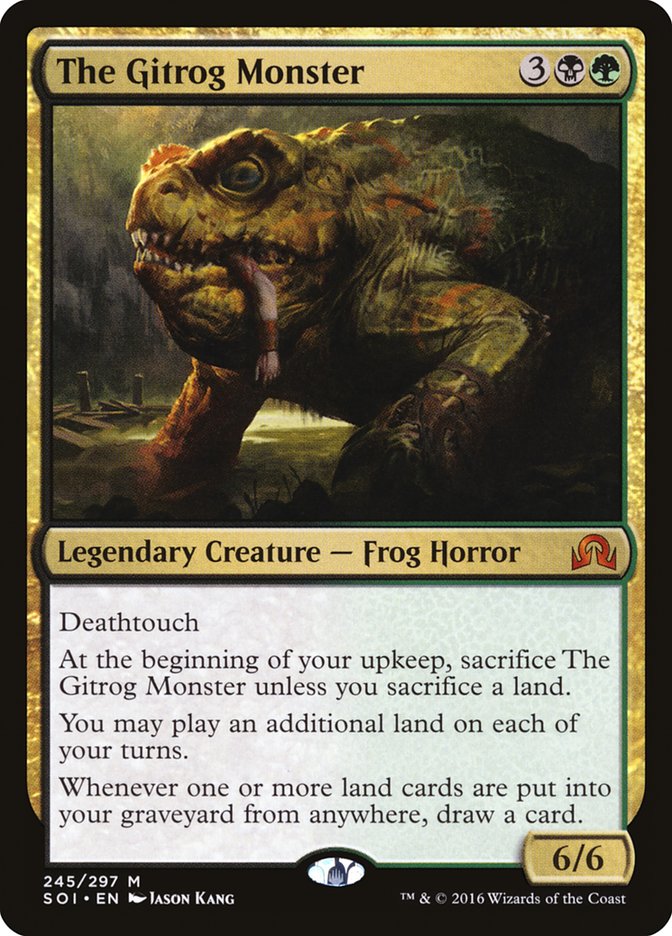
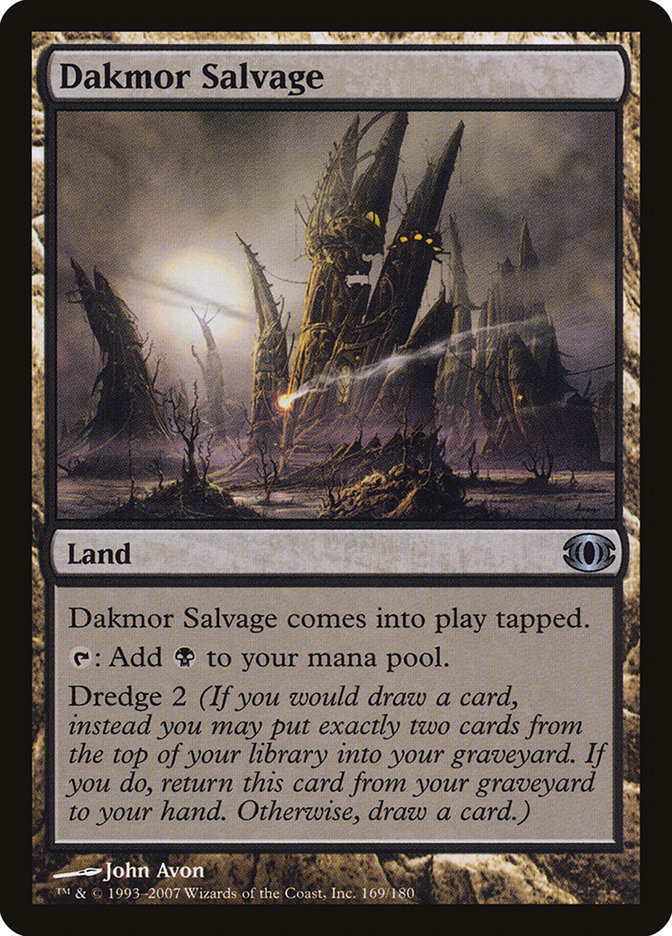
Combine these three things – a way to discard a card, a Dakmor Salvage in your hand, and your Commander in play – and you effectively gain the ability “0: Put the top two cards of your library into your graveyard.” Add an Eldrazi Legend to your deck and you can do this an infinite number of times, which doesn’t sound like it’s getting us anywhere until you note that the Noose Constrictor gains +1/+1 an infinite number of times. If the Noose Constrictor is instead Skirge Familiar, we trade infinite power for infinite black mana. Still, we need another mechanism for converting this ability into a kill, preferably one we don’t have to rely on drawing or the unique identity of specific discard outlets – Exsanguinate is not the plan, as that requires the discard outlet to be specifically Skirge Familiar, making it much harder to pull off this combo quickly and requiring the added step of having to both draw and fire off a tutor first.
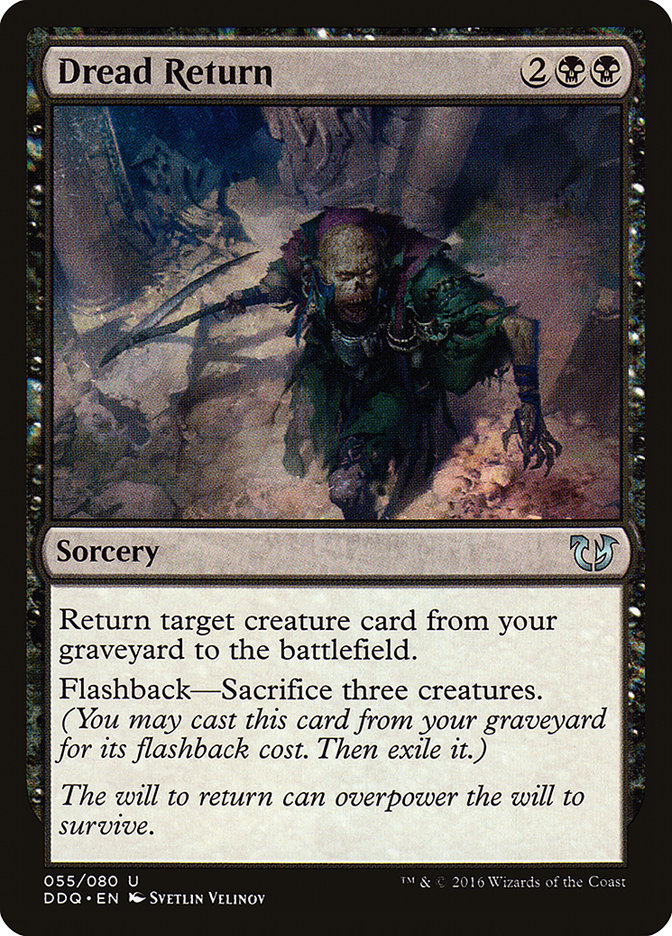
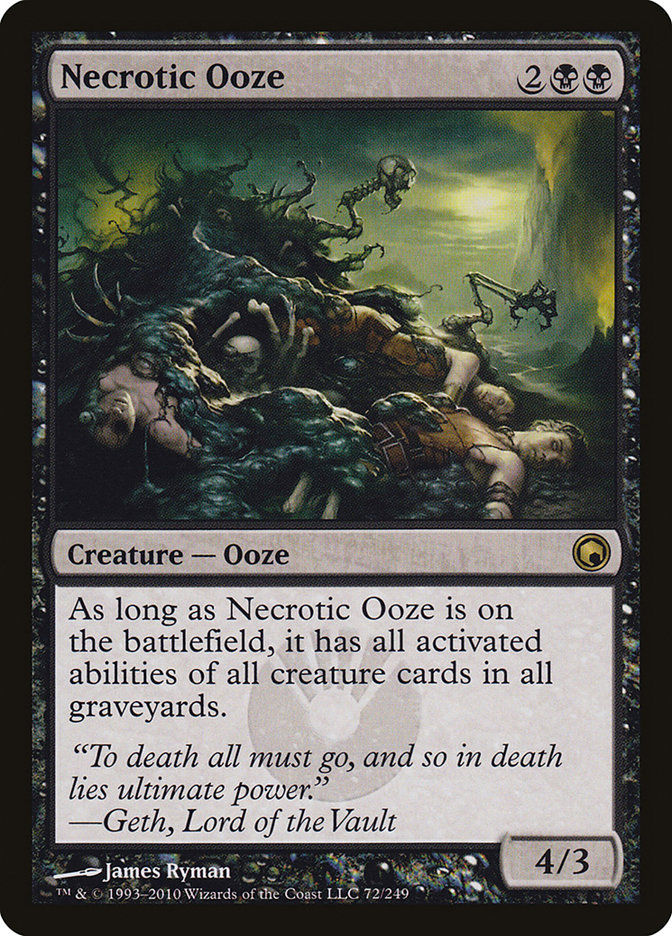
Dread Return has the benefit of costing zero mana to cast and being castable from our graveyard, so if we can somehow resurrect just a single creature and convert that into a game win from there we’ve found our next step in the combo chain. We can reasonably expect to have two creatures in play already – The Gitrog Monster itself, plus our discard outlet – so we’ll just need a third creature in order to pull this off and can add a few clever tricks to make that happen on the cheap while we’re at it. As a Dread Return target, Necrotic Ooze is full of potential: if we just get the right combination of creature cards in our graveyard, we can find a way to build it into a kill.
Here’s where we get a bit more convoluted:

Thornling gives Necrotic Ooze the ability to gain haste for just one green mana, and once Necrotic Ooze has haste it can tap for a green mana, gain a -1/-1 counter to untap itself, and spend that green mana to remove that -1/-1 counter and give Quillspike +3/+3 until end of turn. The idea behind this combo is generally to give Quillspike infinite power, but because the Quillspike and the Devoted Druid are both stapled to the same card, in this usage we can have both infinite power and infinite green mana. Infinite green mana plus both Ant Queen and Krovikan Horror in the graveyard is now infinite power and/or infinite pings, completing our combo in full at instant speed once Dread Return has already resolved without needing to enter combat.
With that in place, we’ve filled in eight slots in our Gitrog Monster deck so far and can spend the other 91 slots making this happen more reliably, better, and/or faster. Ryan used Dredge cards to help assemble the combo because you can Dredge the Dakmor Salvage into your hand once you’ve milled it, and that’s a very common approach. While I’m not in love with it, it’s a fine pathway and Dredging for Life from the Loam can also make opponents’ lives very miserable if you have to play fair against them. Golgari Grave-Troll is a reasonable side plan when you can’t reliably combo an opponent out, so it’s just the weaker Dredge creatures that I’m unhappy to play but can accept it may be correct to dredge anyway. Just because you can smash your combo quickly doesn’t make it right, so this side of things operates as a fine way to grind out fair opponents or just soften them up until the combo will actually resolve.
We begin with price not being an object, and that means a fetchland-dual manabase since Gitrog Monster also loves fetchlands. While they aren’t required to play the deck, they’re nonetheless optimal so we’ll start there.
The Dryad Arbor may look a little sketchy here, but it’s part of the ‘optimize Dread Return’ plan. A spare fetchland capable of searching for a Forest can now fulfill the requirements of providing a body for Dread Return, and it doesn’t hurt that it also turns the Green Sun’s Zenith I will be adding later into a Llanowar Elf option if we want to cast it for zero on our first turn. My experience also tells me that any deck which has both Dakmor Salvage and Dryad Arbor in it is busted, so I aim to continue in that noble tradition once again.
42 lands is a bit high, but we’re really interested in not missing an early land-drop and even without Dakmor Salvage we can combine a discard outlet plus our Commander to give all of these lands Cycling: 0, so all we really miss by playing a few extra is the opportunity cost of whatever might have filled those slots instead. Putting a few more lands in our deck will let us draw a few more cards off of Gitrog Monster when we are using it “fairly” instead of completing a ridiculous combo, drawing more cards off of any dredges and any cards like Grisly Salvage that end up making the cut. It’s also worth noting that with more lands than average in the deck, we can also mulligan more aggressively than is usually seen in Commander to find a strong opening hand.
Next up, let’s add our discard outlets:
Zombie Infestation doesn’t exactly count, but if you have a strong dredge card and some lands in your hand it has a decent chance of digging up that missing Dakmor Salvage as soon as you cast The Gitrog Monster. Worst-case scenario, if you fizzle you probably have a full hand and a bunch of Zombie tokens – we want some redundancy here, so I was interested in at least one discard outlet that wasn’t itself a creature and Zombie Infestation met that need. I could have played Oona’s Prowler as well if the cutoff was as simple as “every card of this type with a CMC under 3,” but this number plus all of the other support cards should be fine.
We also need to add in our dredge cards – they’re only a minor element but they can help other cards complete the combo, so they’re still worthwhile because they can replace our need to tutor for Dakmor Salvage before going off or even let us skip past completing the combo entirely if they mill enough of the right cards to begin with.
Life from the Loam is our weakest dredger, but it also has the strongest fair use; for the ones we aren’t really thinking of casting as spells, I think we need a dredge number of at least 4 to be worthwhile. It’s only a minor element, it doesn’t need to be played up much beyond this as our combo is otherwise rather straightforward and direct. Hermit Druid counts as an ‘honorary’ dredge card here because a single activation should mill past a good chunk of cards, but it’s merely helpful as an enabler rather than an actual dredge card – we can discard a Stinkweed Imp or Golgari Grave-Troll multiple times to our discard outlet and dredge it multiple times so long as we also have a land in hand to start things off with and keep revealing lands as we dredge, but the Hermit Druid is downright fair by comparison. We’re not trying to optimize the deck here as ‘one use of Hermit Druid is by itself lethal,’ but we’ll happily use it as a bit of free help.
Four more creature slots can be added based on needing them for the combo, since we want to be able to go off as soon as we’ve put together the correct combination of cards. Bloodghast and Dregscape Zombie are weak as far as actual cards go, but they’ll allow you to flash back Dread Return faster and more easily by milling past them – one wants a black mana to feed Dread Return while the other just asks for a land drop, which at the very worst can be Dakmor Salvage when the combo has been successfully completed. We may very well have creatures in play to sacrifice already and thus not need them, but our window for going off successfully will become wider if we have them available.
Two other additions can also help while in the graveyard even if we’re not actually interested in drawing them. Sylvan Safekeeper gives Necrotic Ooze the ability to protect itself from removal once it has been successfully reanimated, while Blood Celebrant will make sure we don’t need extra mana available to us before we can start giant-sizing Necrotic Ooze and going infinite. Skirge Familiar already allows us to discard a card from our hand in order to make black mana, so Blood Celebrant will allow us to convert that ability into the green mana required by Thornling’s to give Necrotic Ooze haste without us needing an actual green mana untapped at the start of the combo.
We’ll want more tutors as well so we can complete our combo more effectively, just for redundancy’s sake, but it doesn’t hurt that tutors will also help to play normal non-combo games when that is correct for us to do instead. Six slots will focus on that element of things just to help make sure we pull things off quickly and consistently:
Expedition Map and Sylvan Scrying only get Dakmor Salvage while Green Sun’s Zenith only gets a discard outlet, but both have been designed with added utility as well – sometimes you just want to Sylvan Scrying for Cavern of Souls to push The Gitrog Monster into play past countermagic, or you have enough combo pieces and tutors to spare in your opening hand and just want to use Green Sun’s Zenith as a ramp spell instead of a tutor. We’ve included Dryad Arbor for that function but also will want a few utility creatures and other cheap ramp effects if we can get them, as just shortening the number of turns we have to actually play will make our combo draws harder for any given opponent to stop.
On the subject of ramp cards, let’s add a few more.
Nothing fancy, and not much explanation necessary – Treespeaker is just a little bit more explosive than a Birds of Paradise would be, and we’re mostly interested in that slot for redundancy’s sake and to help make Green Sun’s Zenith better. Lotus Cobra is great with the number of fetchlands we’re already playing, and a Green Sun’s for two can already find Devoted Druid so this is more of a free-roll than it is optimizing that particular card any further.
But we don’t have to combo off as fast as humanly possible; doing so may often be wrong, and the typical strategy for a deck like this would be to include some mass removal so we can spend more time completing our combo or finding ways to make sure it is successful against resistance. We can get a lot of bang out of just a few slots, so we’ll add the five that make the most sense for us here:
From here, the broad swathe of the deck is already sketched out – we have just eighteen slots left, the combo is already built up and we just want support cards to play non-combo games of Magic or just some of those cards that are so good in the format that they don’t really bear spending any words on explaining. Such as:
If we’re actually playing a fair game of Magic, we’d probably be better off trying to do so with one of these on the battlefield:
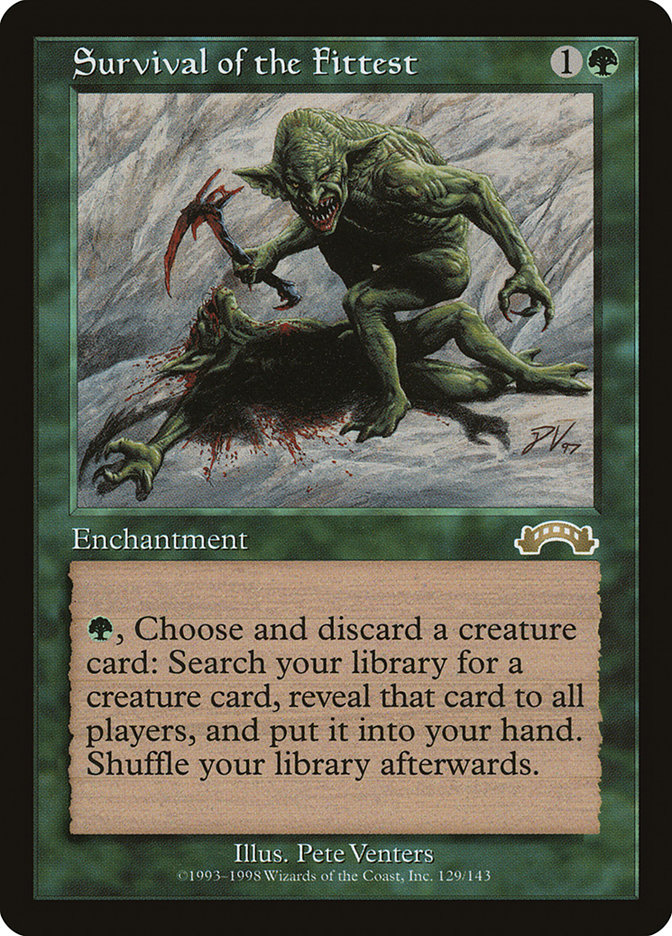

Survival of the Fittest already has Krovikan Horror in the deck to operate as a quasi-Squee, as before Squee was even printed and long before the days of getting free Vengevines that was the way we old people profited off of Survival of the Fittest. Survival is also technically a combo all by itself, as you can spend some mana to put all of the necessary cards into the graveyard and then search up Necrotic Ooze and just win, but it’s also a solid support card by itself. We’ll add a few other cards specifically to work with Survival as well as a few silver bullet cards for likely problem situations that we’d probably want to have available to tutor for more generally anyway, so let’s add those here:
The Kozilek is the sketchiest addition since we’re playing a combo deck based off of filling our graveyard, but once we assemble Gitrog Monster + Discard Outlet + Dakmor Salvage it no longer matters if the Eldrazi triggers or not. If we mill past it, Dakmor Salvage will still be in our hand and we’ll still have an infinite combo so we can reshuffle and continue on, we’ll eventually run through into an iteration where we have either drawn the Eldrazi into our hand off of Gitrog Monster’s draw trigger for milling past additional lands as we combo off or we will draw all of our necessary combo pieces into our hand and it no longer matters where that Eldrazi is. One way or the other its shuffle trigger is ignorable when we want to go off but can be very beneficial when playing Magic more normally, as being able to Survival for it and then Survival it into our graveyard can help get around things like an awkwardly-timed Bojuka Bog.
It also functions as a safety net – Gitrog Monster’s draw trigger is not optional, so it is entirely possible to not be paying close attention and have more spare “draw a card” triggers on the stack than you have cards left in your library. The turn you go off will usually dump a solid 30 or so cards in your hand as you dredge your library into your graveyard, and with an Eldrazi reshuffle trigger available you can essentially choose what that hand is – and eventually have it in your hand as well, letting you complete the combo correctly in the end without having to play correctly in the middle. And sometimes you play fair Magic and just want a fattie that says draw four cards.
Reclamation Sage can handle problem permanents that hose our graveyard, and Myojin of Night’s Reach stops that “opponents providing resistance” problem by itself right there – as can Dosan the Falling Leaf if you play it immediately before you go off. Genesis gives us more of a late-game grind for when we decide to slow-play the combo or have to win without it, we get a lot of extra value out of that slot since we’re already planning to dredge and Hermit Druid our way through our library, we will mill past it quite frequently.
With six slots left, we can afford to get a little cute. How cute? This is pretty darn cute…
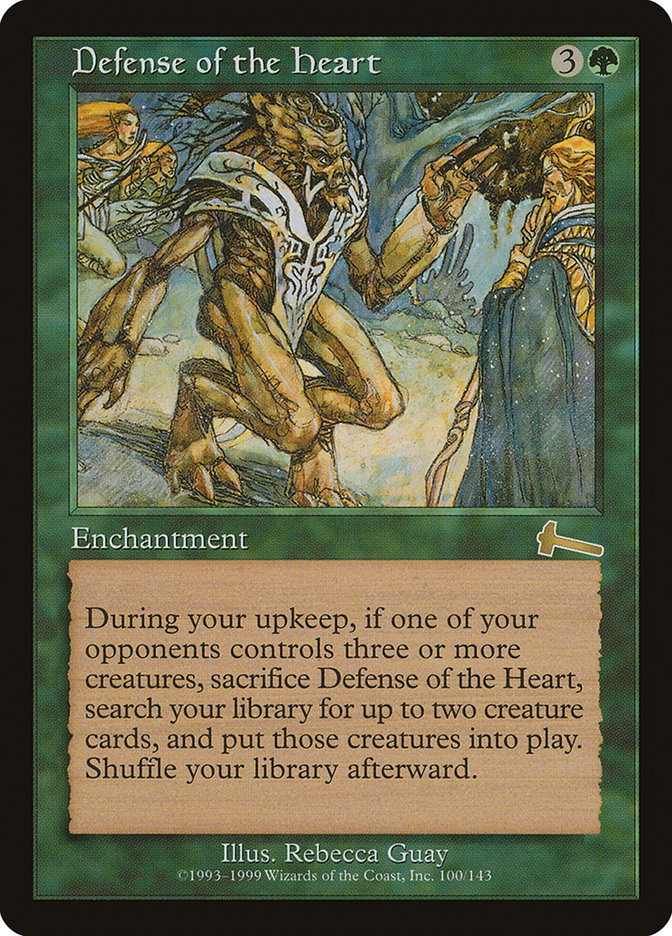
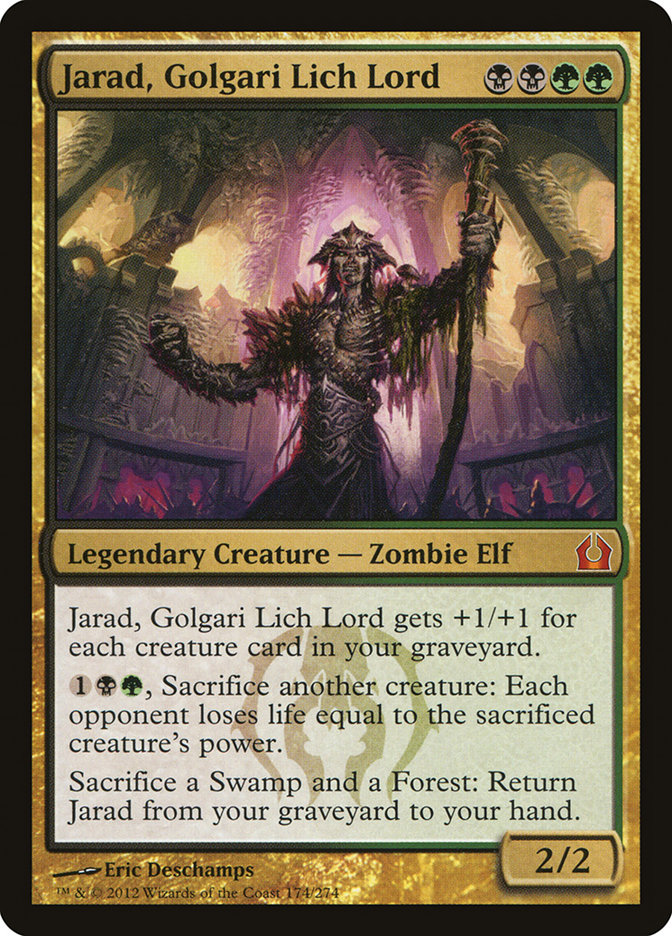
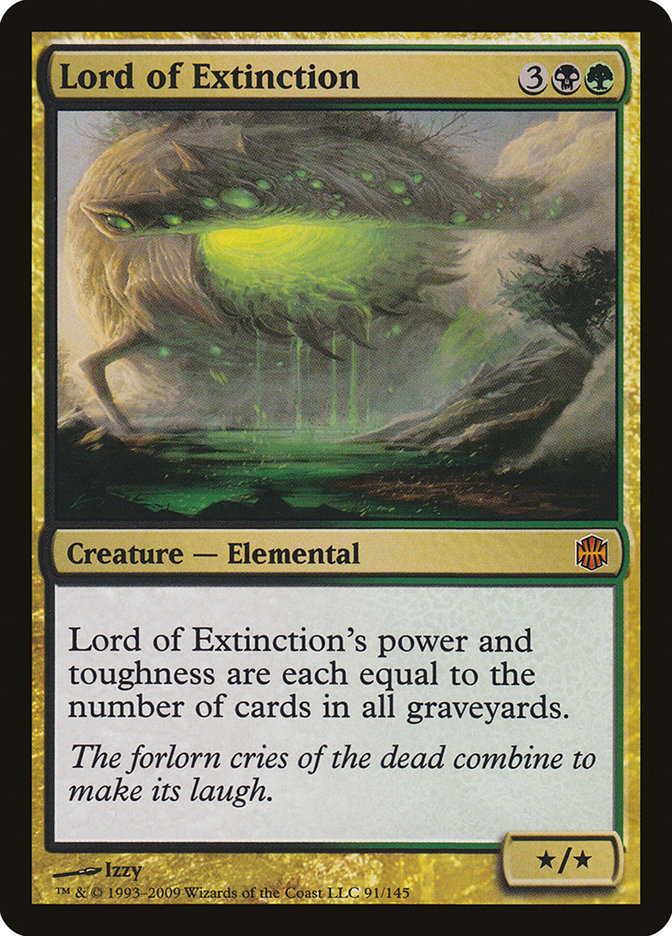
Again, as in the fair version of the deck we saw two weeks ago we have the long-game inevitability of eventually milling past Genesis, Jarad, and Lord of Extinction and being able to assemble a lethal combo. Here it serves as a back-up plan for if something bad happens to a key combo piece and we’re no longer able to go infinite, but also as a surprise lethal one-shot off of a copy of Defense of the Heart that is just be a strong play against fair opponents to begin with and too much free value to not include. It’s not a card I usually play because it’s a cheap shot, but this entire deck is a cheap shot so we might as well.
Three slots left. A copy of Beast Within will give us the ability to remove any problem permanent while also just being a decent removal spell when we play ‘fair’ Magic, so it’s worth the slot both as a Tutor target and as part of our “sometimes we just have removal” plan. Grisly Salvage is part tutor and part value engine, our chances of seeing either a Dredge card or a discard outlet off of five cards is surprisingly decent because we’re playing enough copies of both, but it’ll downright shine whenever we play a Gitrog Monster and try to grind out our opponents in a fair game. And for that last slot, Survival of the Fittest is so good with our dredge cards that I wanted something that could replicate it… and found a bootleg copy in the same block in Tortured Existence, letting us discard our dredge cards and trade them in for our choice of any creature they’ve milled past, turning a borderline-unplayable card into a decent value engine. Oversold Cemetery would be better for the ‘fair’ side of things, but I wanted another potential dredge enabler instead of ‘just’ a value card that worked along the same metrics we’re already going down.
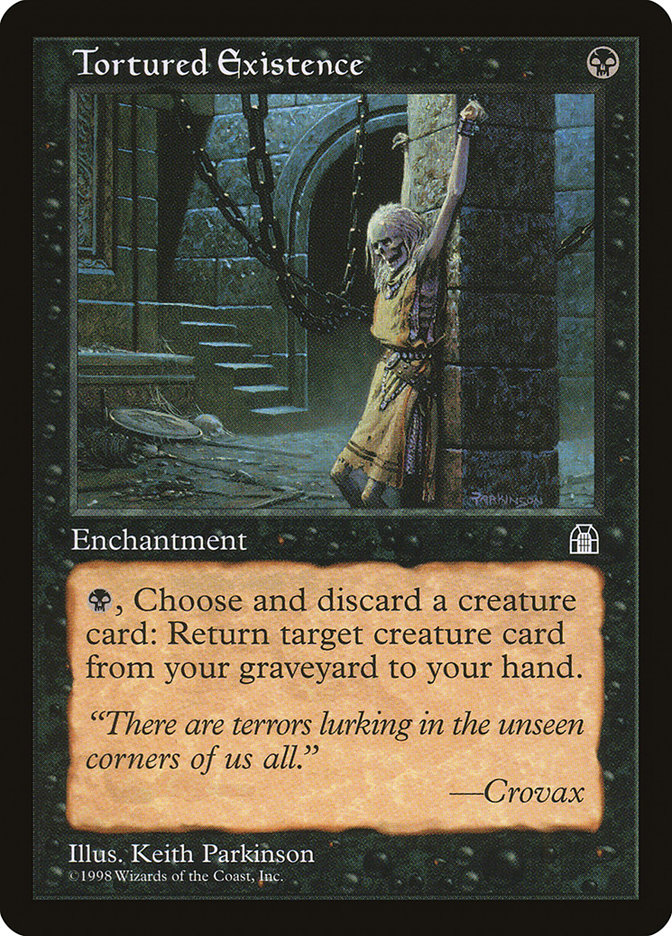
It’s definitely the low-powered version of Survival of the Fittest since it searches your graveyard instead of your library, but I’ve seen it used successfully in a few other graveyard-centric Commander decks over the years so I think it’ll work well alongside Stinkweed Imp and friends.
Putting it all together, we get the following:
Creatures (33)
- 1 Sakura-Tribe Elder
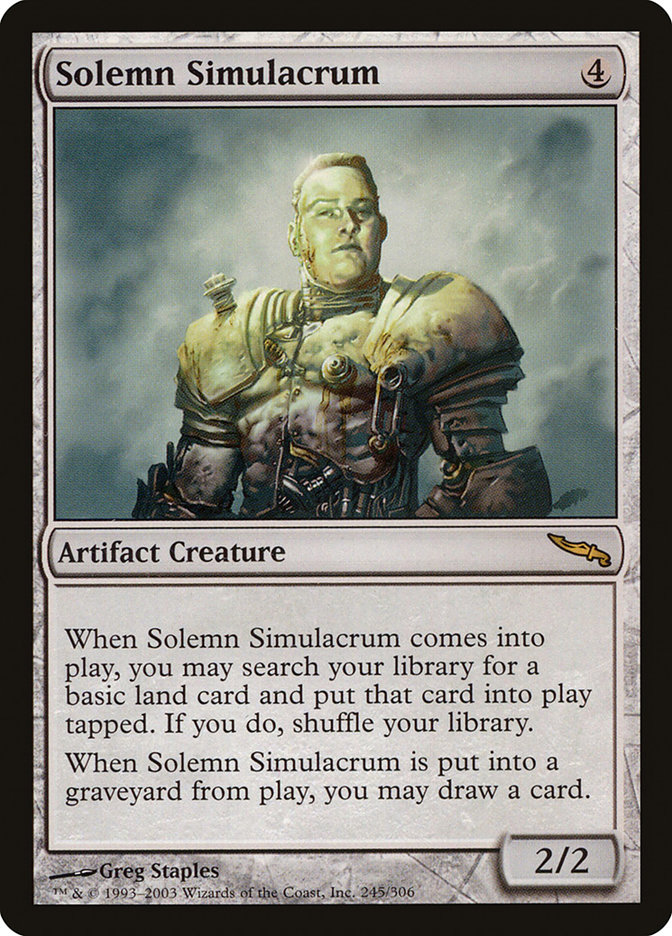
- 1 Solemn Simulacrum
- 1 Hermit Druid
- 1 Myojin of Night's Reach
- 1 Dosan the Falling Leaf
- 1 Wild Mongrel
- 1 Genesis
- 1 Eternal Witness
- 1 Blood Celebrant
- 1 Krovikan Horror
- 1 Skirge Familiar
- 1 Sylvan Safekeeper
- 1 Putrid Imp
- 1 Kagemaro, First to Suffer
- 1 Golgari Grave-Troll
- 1 Golgari Thug
- 1 Stinkweed Imp
- 1 Devoted Druid
- 1 Quillspike
- 1 Dregscape Zombie
- 1 Thornling
- 1 Lord of Extinction
- 1 Ant Queen
- 1 Bloodghast
- 1 Lotus Cobra
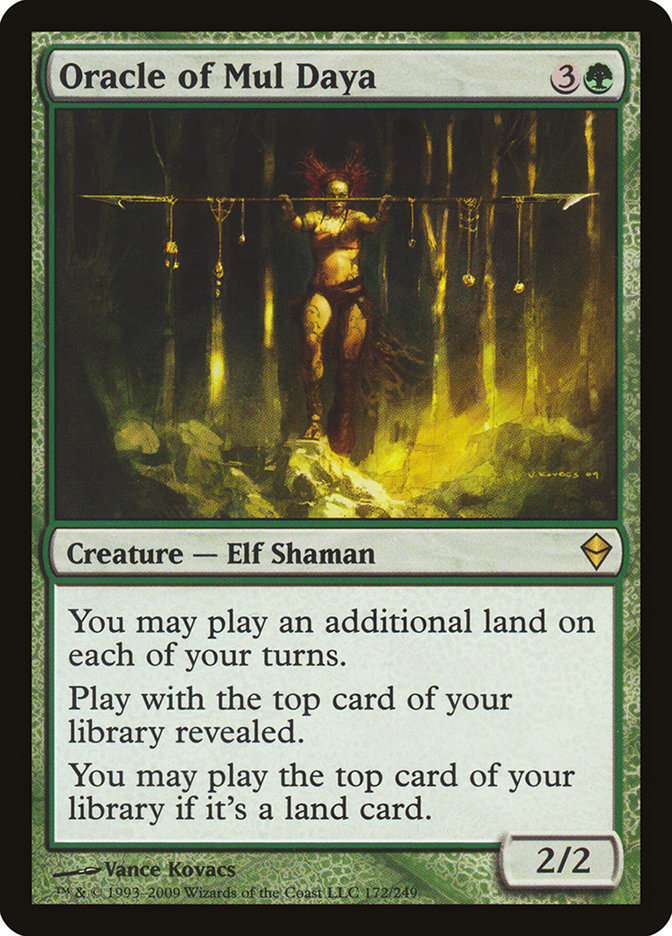
- 1 Oracle of Mul Daya
- 1 Joraga Treespeaker
- 1 Kozilek, Butcher of Truth
- 1 Necrotic Ooze
- 1 Jarad, Golgari Lich Lord
- 1 Reclamation Sage
- 1 Noose Constrictor
- 1 Olivia's Dragoon
Lands (42)
- 1 Strip Mine
- 6 Forest
- 1 Cabal Coffers
- 1 Wooded Foothills
- 1 Wasteland
- 6 Swamp
- 1 Bayou
- 1 Slippery Karst
- 1 Polluted Mire
- 1 Shizo, Death's Storehouse
- 1 Okina, Temple to the Grandfathers
- 1 Windswept Heath
- 1 Polluted Delta
- 1 Bloodstained Mire
- 1 Tranquil Thicket
- 1 Barren Moor
- 1 Dust Bowl
- 1 Blasted Landscape
- 1 Golgari Rot Farm
- 1 Overgrown Tomb
- 1 Ghost Quarter
- 1 Urborg, Tomb of Yawgmoth
- 1 Dakmor Salvage
- 1 Dryad Arbor
- 1 Mosswort Bridge
- 1 Jund Panorama
- 1 Marsh Flats
- 1 Misty Rainforest
- 1 Verdant Catacombs
- 1 Bojuka Bog
- 1 Command Tower
- 1 Cavern of Souls
Spells (24)
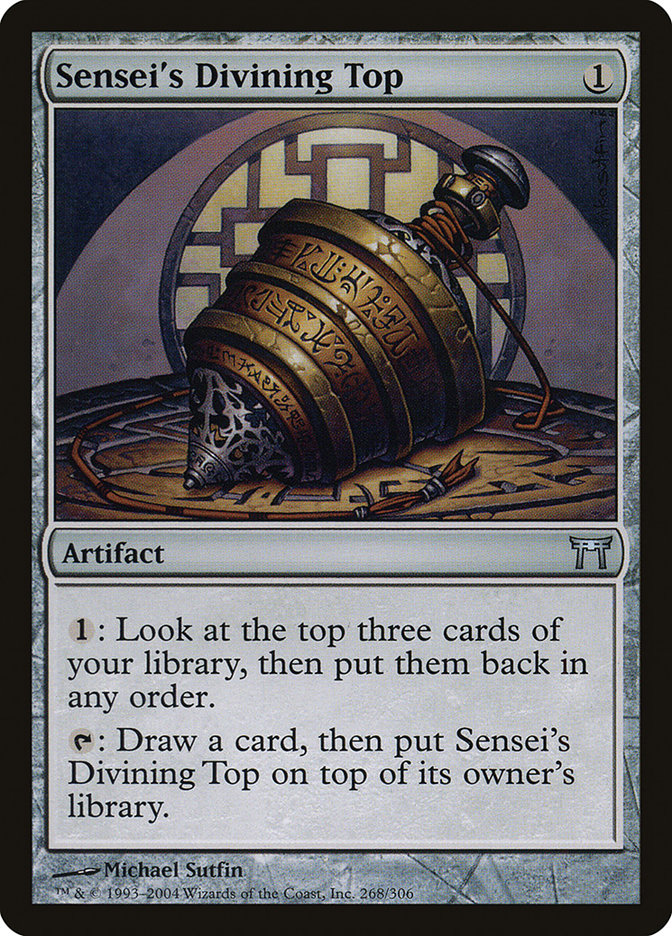
- 1 Sensei's Divining Top
- 1 Nevinyrral's Disk
- 1 Vampiric Tutor
- 1 Exploration
- 1 Sol Ring
- 1 Demonic Tutor
- 1 Mana Crypt
- 1 Zombie Infestation
- 1 Decree of Pain
- 1 Crucible of Worlds
- 1 Oblivion Stone
- 1 Sylvan Scrying
- 1 Tortured Existence
- 1 Survival of the Fittest
- 1 Defense of the Heart
- 1 Life from the Loam
- 1 Dread Return
- 1 Damnation
- 1 Beseech the Queen
- 1 Lurking Predators
- 1 Expedition Map
- 1 Green Sun's Zenith
- 1 Beast Within
- 1 Grisly Salvage

Playing the broken deck is not really my thing, but sitting down and building it can be surprisingly fun – so hopefully all of my readers who saw me take on The Gitrog Monster and veer hard away from the potential combo elements will see just how nasty it can be if you want to maximize for that value instead of minimize it. It’s pretty filthy, and of course this is not the only way you can take things once you optimize the combo of discard outlet + Dakmor Salvage + Gitrog Monster… just the way that seemed to make the most sense to me, as Dread Return is an obvious pathway and Necrotic Ooze is a reasonable answer to “so what would you Dread Return then?”.
I will probably never actually play this deck, because it lies far outside of my play aesthetic to do so. But you never know – maybe one day I’ll feel the urge to teach a life lesson to a local combo try-hard. There is always a nastier combo mousetrap in this format if you want to find one, but this one is pretty darn gross… a Commander that is itself a combo piece is not common, and the Gitrog Monster combo pieces are pretty non-specific or otherwise have plenty of redundancy to them as dredgers can suffice until you turn up Dakmor Salvage and can really fine-tune your control over what goes into your graveyard when.
Want to submit a deck for consideration to Dear Azami? We’re always accepting deck submissions to consider for use in a future article, like Will’s Skullbriar, the Walking Grave deck or Ryan’s The Gitrog Monster deck. Only one deck submission will be chosen per article, but being selected for the next edition of Dear Azami includes not just deck advice but also a $20 coupon to StarCityGames.com!
Email us a deck submission using this link here!
Like what you’ve seen? Feel free to explore more of Dear Azami here, in the Article Archives! And feel free to follow Sean on Facebook… sometimes there are extra surprises and bonus content to be found over on his Facebook Fan Page as well as previews of future columns!