

I wasn’t an early adopter of this archetype, and I didn’t have anything at all to do with the creation or even tuning of the list I played. I only played ten to twenty matches with the deck before registering for the Grand Prix, and I had never really given the deck any thought until the Sunday night before the Grand Prix.
This is to say I have no personal attachment to the deck that would bias me in favor of it, and I have no special familiarity that would give me more of an edge with this deck than I’d have with anything else.
I lost one match before drawing into the Top 8 in GP Charlotte; it was the only match I played where I felt disadvantaged (against Burn), and I came close to winning it. I felt like I had a huge edge in most of my other matches. I wasn’t even playing very well this weekend, and generally felt a bit “off.”
I credit this finish to two things: First, I played the best deck in the format. Second, I generally drew relatively well; I think the deck is consistent, but I rarely had to mulligan, and when I kept questionable hands, they always got there (until the Top 8). The one other thing I think I did well is sideboarding.
This is not the kind of Modern deck that I want the format to be about. I want Modern to be about taking advantage of weird synergies, about the fact that you can play Zombies from every block, and about all the sweet ways to grind card advantage. The reality is that the power level in Modern is high enough that it’s about doing broken stuff.
I’ve always advocated doing the most unfair thing you can that people aren’t ready for in Modern. It’s a diverse field, which always rewards the best proactive strategy. It’s very hard for a turn 7 deck to beat a turn 3 deck in Modern.
At the end of the day, Modern is about mana.
Who did more on the first turn? Both players have one mana by default, so who got ahead by spending that one mana better? Did a player spend more than one mana? A big advantage of Affinity it’s almost always ahead on turn 1. It’s very hard to do more on turn 1 than Affinity.
Who did more the second turn? If you played a mana creature and it lived, you probably got to spend three mana on turn 2, and that’s going to give you a pretty big advantage. Most people are going to play one spell on turn 2, and they’ll usually be roughly equal in quality or directly trade.
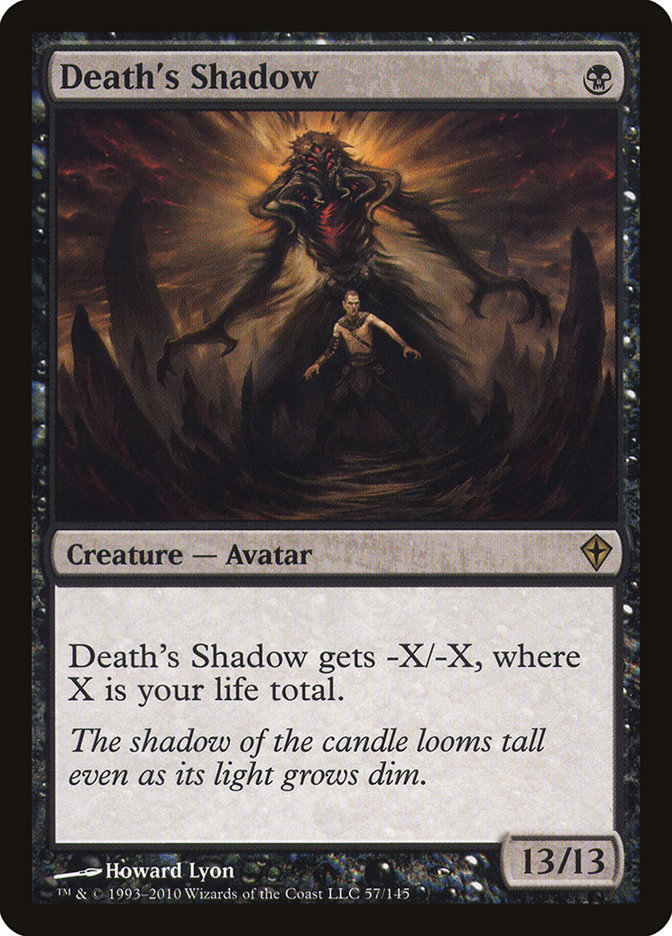
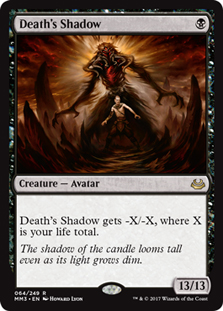
I think turn 2 is the fundamental turn for Death’s Shadow, and where it gets its biggest edge. It has generally spent three mana to cast three spells on turn 2, and it’s also used a variety of free spells to generate additional advantages. Critically, each of the three cards it’s played at this point will be roughly as strong as any two-mana spell the other deck has played, so Death’s Shadow will be up one to two cards’ worth of development.
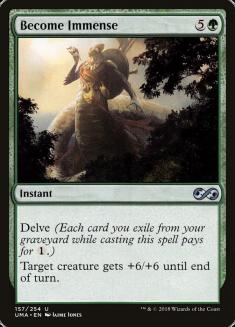
This archetype is fundamentally about playing the most undercosted cards to get the most value from its mana. They also happen to combine to regularly kill the opponent on turn 3. The synergies, and specifically the basic infrastructure of cards that cycle for life, fuel Death’s Shadow and Become Immense give you seven cards that offer dramatically more than one mana worth of value for one mana.
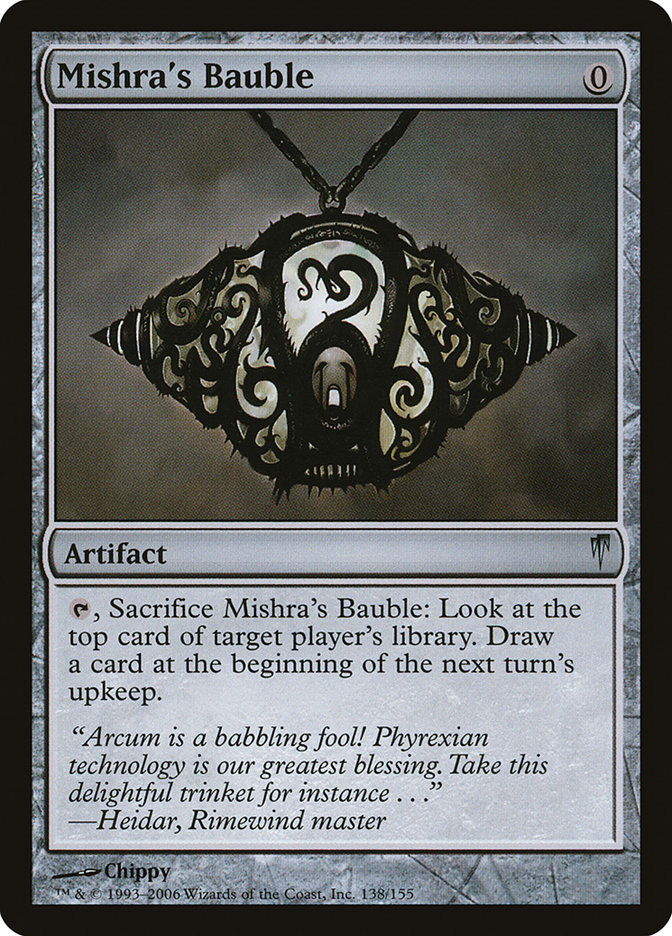
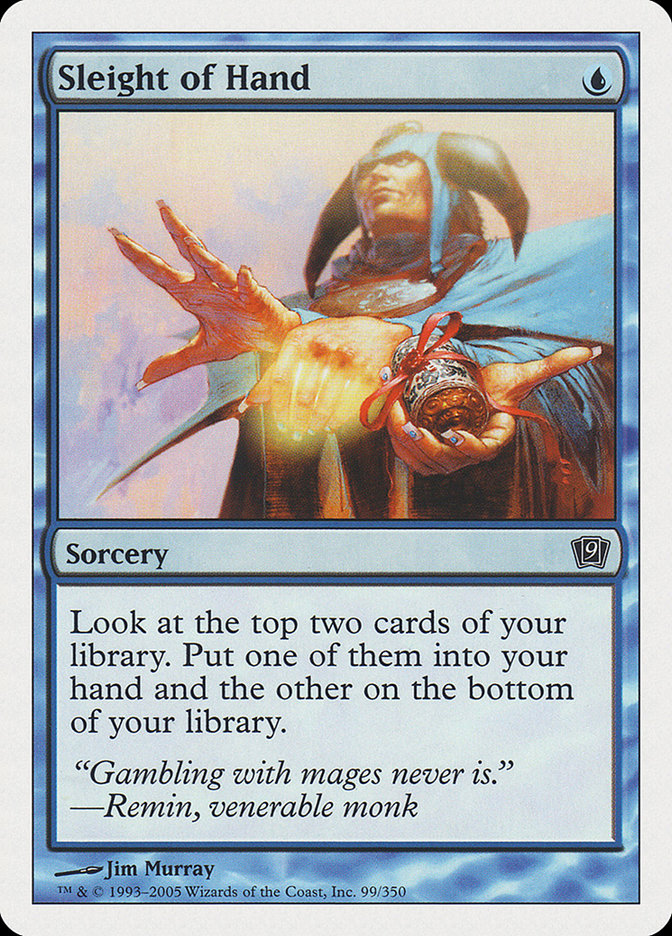
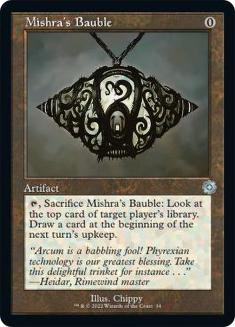
Mishra’s Bauble is another all-star, as I’d argue that it gives you a full mana worth of value for a no mana. How is looking at a card and drawing a card worth a full mana? Prowess and delve help, but this card is very close to Sleight of Hand in this deck. “Scry 1. Draw a card” is a great card for no mana. In my Top 8 match, Mike Sigrist asked how often I Mishra’s Bauble myself.
I didn’t answer, but the answer is around 90% of the time. Most hands with Mishra’s Bauble will also have a fetchland and either Gitaxian Probe or Street Wraith. I always lead with Mishra’s Bauble and sacrifice it targeting myself. This lets me see my top card, which tells me whether my next action should be to draw that card or to sacrifice my fetchland.
This deck can play like a combo deck and, as mentioned, is about building the best possible turn 2, so getting to scry for the exact right card on time is a huge advantage. The ability to use Mishra’s Bauble the way this deck does is secretly one of its biggest strengths.
That Mishra’s Bauble line is trick of the trade number one with this deck, but there are others. I rarely focus on how to play a deck. Generally, my focus is on one-card choices and building a deck. This deck is different. I played all the cards in it because Magnus Lantto said they were good, and then I won when I played with them. I don’t have much to add to the card selection process beyond that.
However, because this deck plays a short game and almost always controls the narrative of that short game (the game is always about the things Death’s Shadow makes the game be about), it’s not that important what your opponent is playing. The games play out consistently enough that general strategic advice is useful.
The biggest mistake I made with the deck is focusing too much on “thinning” before drawing. This is misapplying a lesson from playing Storm. When playing U/R Storm, it’s generally correct to do everything you can to sacrifice all of your fetchlands as soon as possible to get the lands out of your deck so all your cantrips are more likely to draw more spells.
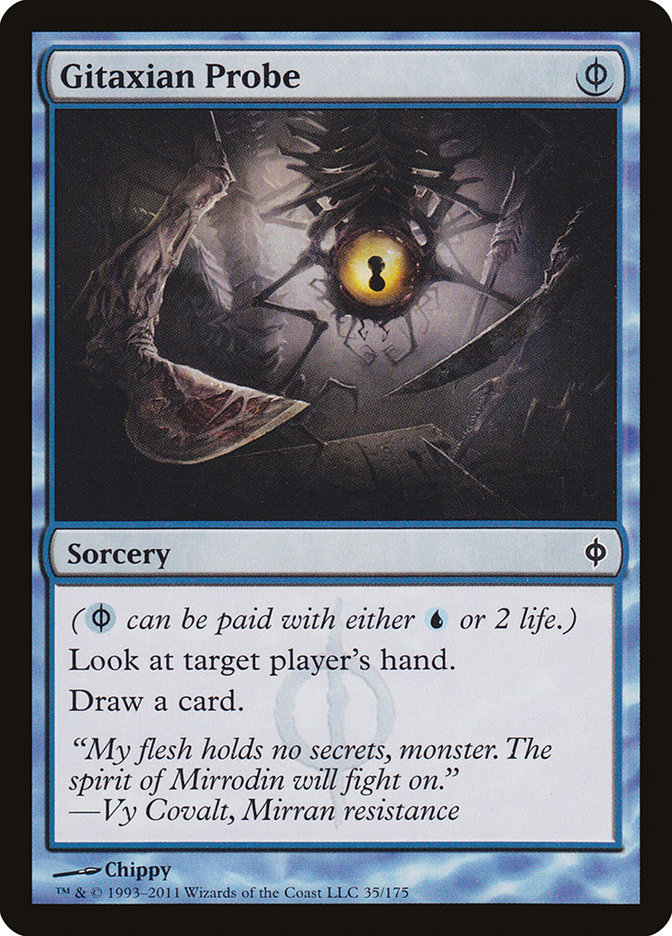
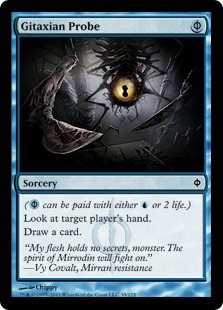
This deck has very different priorities. Too often, I’d find a spot where I was happy with my first-turn play; maybe I had two fetchlands and a Wild Nacatl, but I’d also have a Gitaxian Probe. I’d usually just fetch Stomping Ground and then use the Gitaxian Probe, so that I wouldn’t draw Stomping Ground. Now I’ve realized that most of the time, the information about what I’m going to draw is more valuable than eliminating the small possibility that I’ll draw Stomping Ground. I might chain into other cards that let me pay two life and then draw Death’s Shadow, or I might draw Steppe Lynx and realize I’d rather play that on turn 1.
I also wasn’t properly prioritizing making sure that I knew exactly what I was doing on turn 2 before I fetch my first land. If I fetch Stomping Ground and then realize that I want to play Thoughtseize and Death’s Shadow on turn 2, not being able to play both could be a big cost that I potentially could have avoided by fetching Overgrown Tomb.
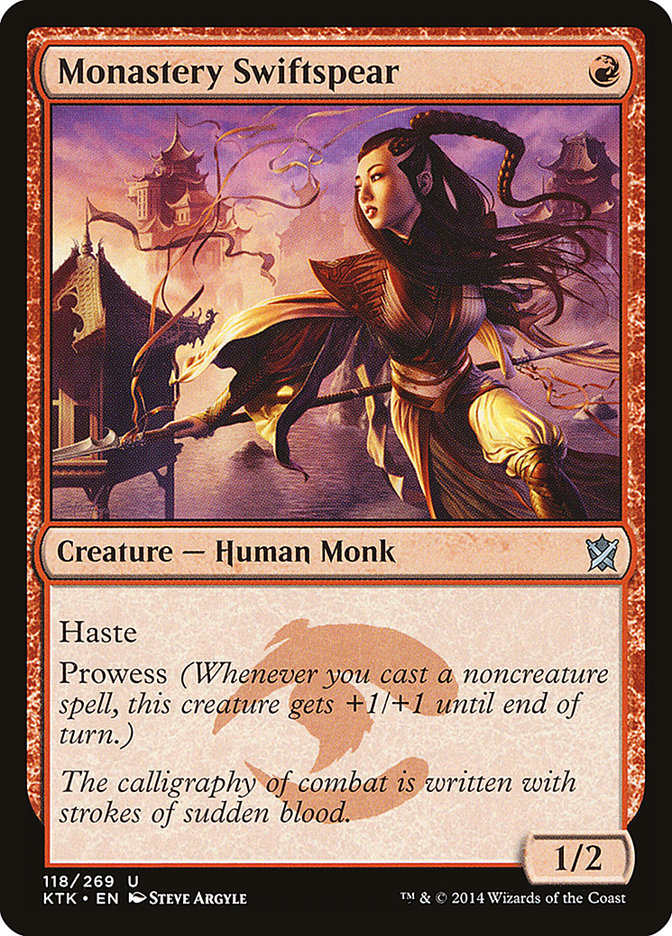
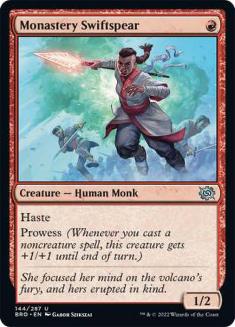
The one spot where you can be pushed to commit to a line is when you have Monastery Swiftspear and Gitaxian Probe in your hand, so if you’re going to play the Monastery Swiftspear, you get an extra damage by doing so before playing the Gitaxian Probe. I’ve generally played the Swiftspear first in these spots, but I think that’s often wrong unless you have a good plan for turn 2 already. The games aren’t just about squeezing in all the damage you can; they’re about curving out perfectly so that you have a large advantage going into turn 3.
Take, for example, a game I played at the Grand Prix. I was on the draw in Game 3 against Grishoalbrand, and this was my hand after I drew on turn 1:

The obvious play that maximizes damage is “fetch for Blood Crypt, play Monastery Swiftspear, play Gitaxian Probe and Mishra’s Bauble, and attack for at least three.” This is an easy line to commit to because you know you’re likely to want to cast two black spells in a turn, so Blood Crypt is a good land to fetch, but there are some concerns. First of all, I don’t play Temple Garden, so if I fetch Blood Crypt, I won’t be able to have all four colors of mana after using my second fetchland. This means any line that involves fetching Blood Crypt on turn one needs to be given a slightly lower priority. Also, taking this line essentially gives up the scry offered by Mishra’s Bauble.
What I did was play Mishra’s Bauble first because the scry is too valuable to give up and, if I can use it to find another Street Wraith or Gitaxian Probe, I might be able to play Death’s Shadow on turn 1, which would be great in this matchup. I don’t remember what I saw, but I think it was a card I wanted, so I played the Gitaxian Probe. When I played Gitaxian Probe, I saw that my opponent’s hand was Desperate Ritual, Blood Moon, Worldspine Wurm, and two lands. Now I knew to play Inquisition of Kozilek to take the Blood Moon rather than playing a creature on turn 1. Disaster averted. (Well, as it turned out, my opponent just topdecked another Blood Moon that turn, but that shouldn’t be factored into how important taking the line I played was.)
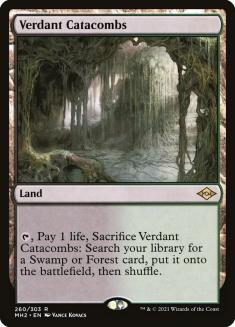
The next and most basic tip is to almost always pay two life to put a land onto the battlefield untapped, regardless of whether you have anything to cast and regardless of whether you’ve drawn a Death’s Shadow. There are a few exceptions, like against a very aggressive deck, or you might reconsider if you’re already under ten life, but for the most part, you’d rather have less life than more in a vast majority of matchups.
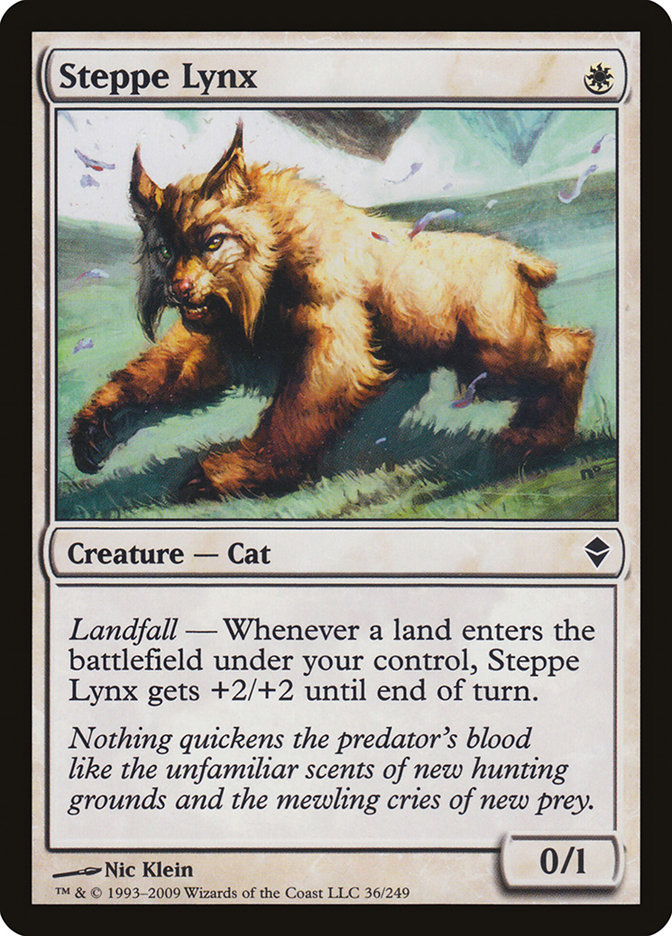
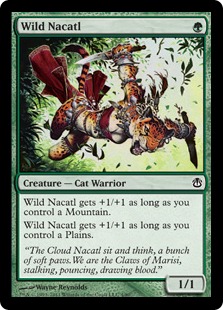
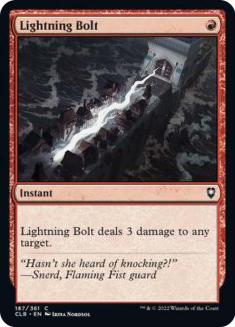
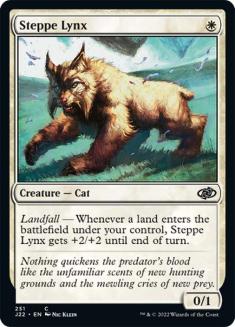
As for sequencing your creatures, if you can play Death’s Shadow on turn 1, you want to do that unless it would expose it unnecessarily to Lightning Bolt against an opponent who might have it. If you can’t start with Death’s Shadow, you generally want to lead with Steppe Lynx, then Wild Nacatl, then Monastery Swiftspear. If you have only one land in a hand that has Steppe Lynx and another creature, I’d play Wild Nacatl over Steppe Lynx and probably Steppe Lynx over Swiftspear, but which one I play is largely going to depend on which land my hand most needs me to fetch.
Steppe Lynx is often horrible if you can’t play it on turn 1, but that doesn’t mean you should always play it turn 1. Sometimes your hand just doesn’t develop well if you need to use a white mana on turn 1. It’s okay to just give up on your Steppe Lynx if doing so lets the rest of your hand play out well. It’s not important to maximize each card; it’s most important to maximize your first three turns.
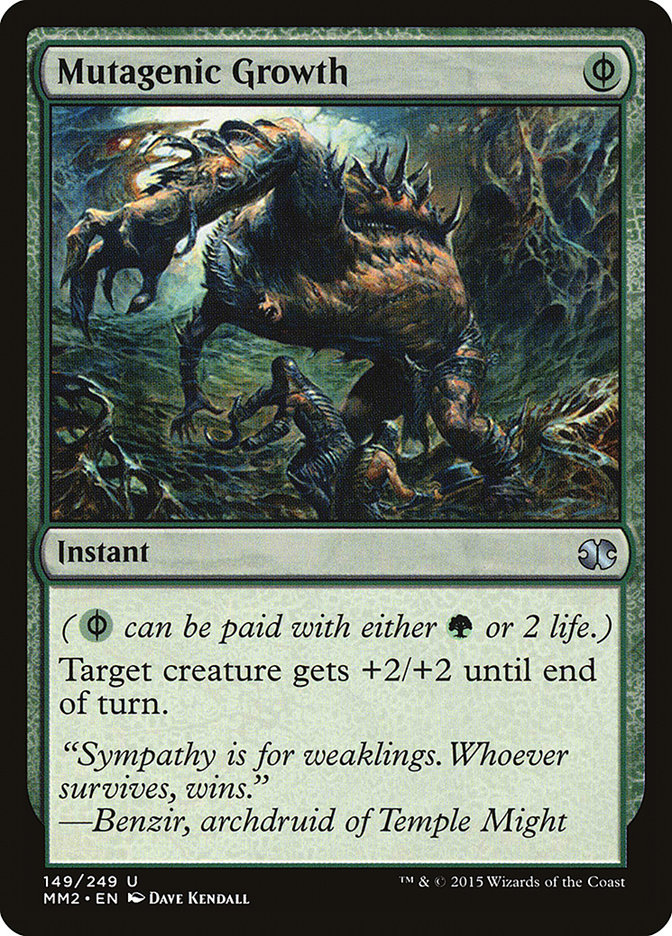
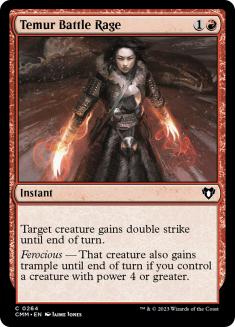
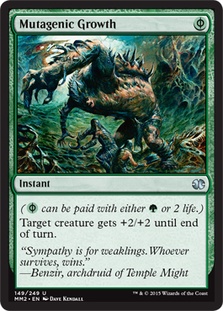
It’s rarely correct to use a Mutagenic Growth on an unblocked creature when it doesn’t kill your opponent. The biggest exception is when it allows you to cast Death’s Shadow. There are also corner cases where the damage will make it so that your next attack is lethal without you needing to play another spell and you’re worried you might not get another safe chance to use it because of opposing instant-speed removal. For the most part, saving it is valuable because it allows for bigger Temur Battle Rages.
For the most part, you want to cycle your Gitaxian Probes early to make sure you develop as well as possible, but if your hand is already great, you might want to save it, especially if you already have Temur Battle Rage and/or Become Immense, so that you can check that the combo is safe to go for the turn that you want to do it. Also, if your first plays are good enough, meaning you know that you can spend your first three mana, but you’re going to be playing a Monastery Swiftspear on turn 2, it can be correct to wait to get a damage off the prowess trigger. Again, only do this if you’re really sure you can’t do much better with the extra card you might draw.
Those are most of the basic tips for the deck in game one. The other issue is sideboarding. This sideboard is a bit scattered, but I liked it a lot.
Sideboarding
There are a few basic guidelines that should take you through sideboarding for most matchups with this deck:
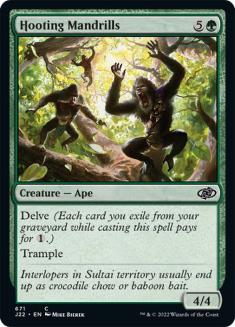
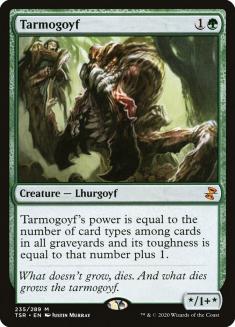
First, against anyone who’s trying to kill your creatures, you want more creatures. This is where Hooting Mandrills and Tarmogoyf come in. They’re especially good against people with Lightning Bolt. When I’m bringing in Hooting Mandrills, the first cuts are almost always the first two copies Become Immense (the sole exception is against Burn, where it’s more important to cut as many cards as possible that cost two life). Examples:
Jeskai Control
Out:
In:
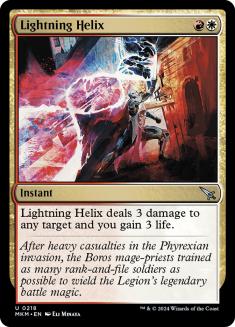
Jeskai doesn’t have creatures that matter, so you don’t want Lightning Bolt. Lightning Bolt gets cut frequently because it’s not good to have Lava Spike in your deck; you have to really want the removal. They have a lot of cheap, instant-speed removal, so it’s hard to get pump spells to work and you want discard to force them through and protect Death’s Shadow. Mutagenic Growth is good as a counterspell for Lightning Bolt.
Jund
Out:
In:
Jund is similar, except that they do have creatures that matter, so you want removal. Instead, cut discard; it plays too much into their gameplan. You want to focus on the battlefield as much as possible and try to get under them with your cheaper creatures.
Bant Eldrazi with Spellskite
Out:
In:
Between Spellskite, Path to Exile, and Eldrazi Displacer, attempting to resolve a pump spell is a nightmare. Instead, you want to take advantage of the fact that your creatures are cheaper and sometimes larger, and your deck contains a lot less mana. You want to play somewhere between a traditional Zoo- and Jund-style game against them, again, focusing on getting ahead in material on the battlefield.
The ability to play this kind of game is one of the two biggest differentiating factors between this deck and Infect, which generally plays a very similar game on a similar axis, and it offers a big advantage. The other major advantage of this deck over infect is that it has access to discard spells, which gives it a larger edge over other unfair decks.
Against other unfair decks that are just trying to race you, like Ad Nauseam or Grishoalbrand, you need to focus on speed and relevant disruption. You can trim creatures; the creature count in this deck currently assumes the opponent is going to be interacting with your creatures. If you’re just trying to play an Infect-style combo game, you don’t need this many. You also usually don’t want Lightning Bolt in these spots. Examples:
Out:
In:
Grishoalbrand
Out:
In:
Out:
In:
I’m not completely sure this is right. I want to bring in creatures that live through Lightning Bolt, but I don’t want to cut Become Immense and I don’t want to slow down, so I can only go a little that way.
The other major swath of archetypes are opposing creature decks, where you want to play like a Zoo deck. Examples:
Merfolk
Out:
In:
The goal here is to keep the game small. Your creatures beat theirs if you can keep them from having lords.
Affinity
Out:
In:
Mutagenic Growth isn’t important here. It’s not countering Lightning Bolt and your creatures are already bigger than theirs. You’re not looking for additional life payments because they’re already attacking you. While discard is good against Affinity in some matchups for the same reason that I’d want it against Merfolk, because keeping a game small favors me, I tend to think it’s too likely that they’ll have emptied their hand before I find a window where I want to cast discard,because it’s more important to play a creature on turn 1. It might be worth having Inquisition of Kozilek on the play, when you can plan to cast it on turn 2.
Broadly, against control, you want to push your mana efficiency and try to get under them. Become a traditional aggro/disruption deck. By focusing on creatures and discard, you’re transforming to become basically the same aggressive strategy that any black creature deck will be come here.
In non-interactive games, you want to emphasize your fast clock and discard. Win the short game.
Against creature decks, emphasize the fact that your creatures are bigger than theirs, play the traditional Zoo game against smaller creatures.
The ability to follow any of these paths is a big asset to this deck. Another huge asset is that because so many of your cards cycle, each change that you make in sideboarding has a bigger impact. The five-card transformations end up feeling like fairly radical changes as a result, which really lets you maximize your positioning.
And that’s it. I think following the advice here should be enough to allow an experienced player who hasn’t played this deck before to pick it up and do fairly well with it cold. While Modern generally rewards sticking with a deck and knowing it well, I genuinely think this deck is far enough ahead of the curve and easy enough to learn that I’d recommend trying it out to almost any Modern player who’s looking to maximize their win rate.