
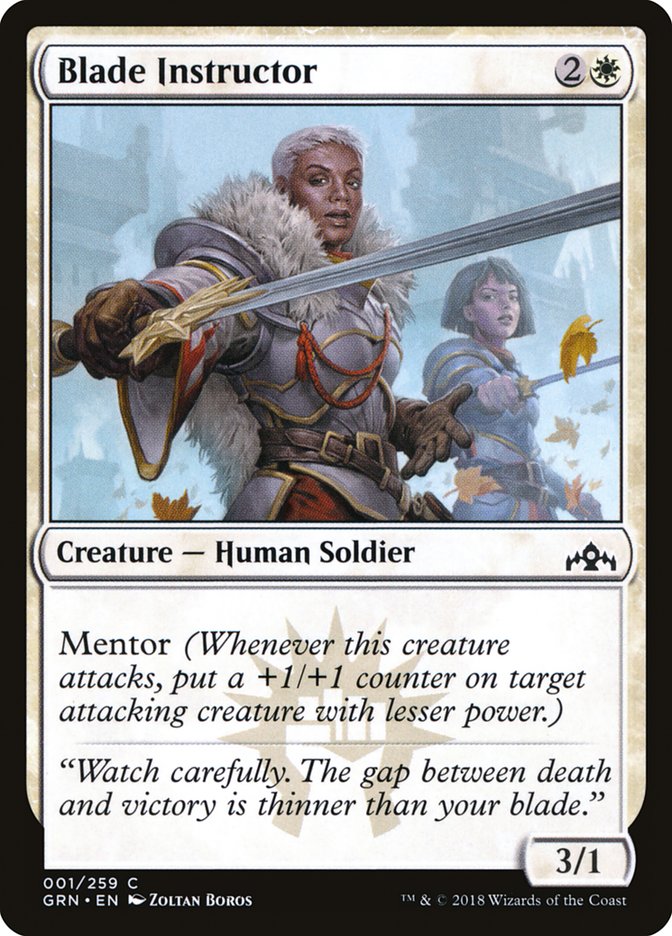
Boros is the Force of Will of Guilds of Ravnica Limited. It keeps the format in check. You can’t just disregard early plays and build your deck to dominate the late-game, because if you do, you won’t beat even a mediocre Boros deck. It’s not uncommon for Boros decks to have a creature to cast on Turn 1, and there are too many common two-drops for a Boros deck not to have a fantastic curve. Take a minute to digest the common and uncommon creatures available to Boros at each point of the curve.
Note: These sections are organized by tiers. The first line of cards are actively fantastic in Boros, the second line of cards are solid inclusions, and the third line are cards I hope do not make my deck but will play if I need to for curve considerations or additional synergies.
One Mana

(Tier 2 for this section is empty.)
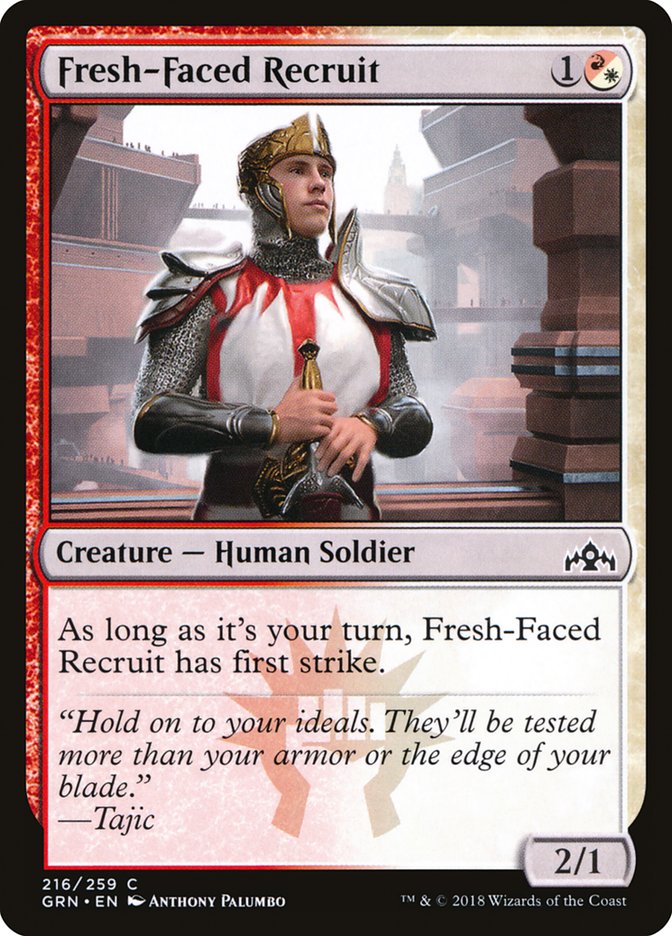
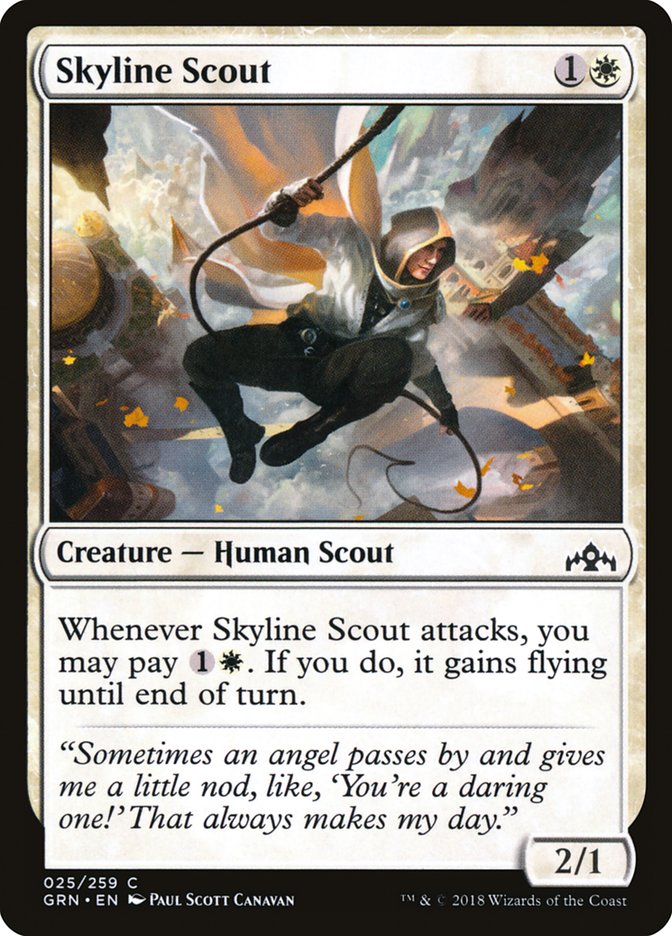
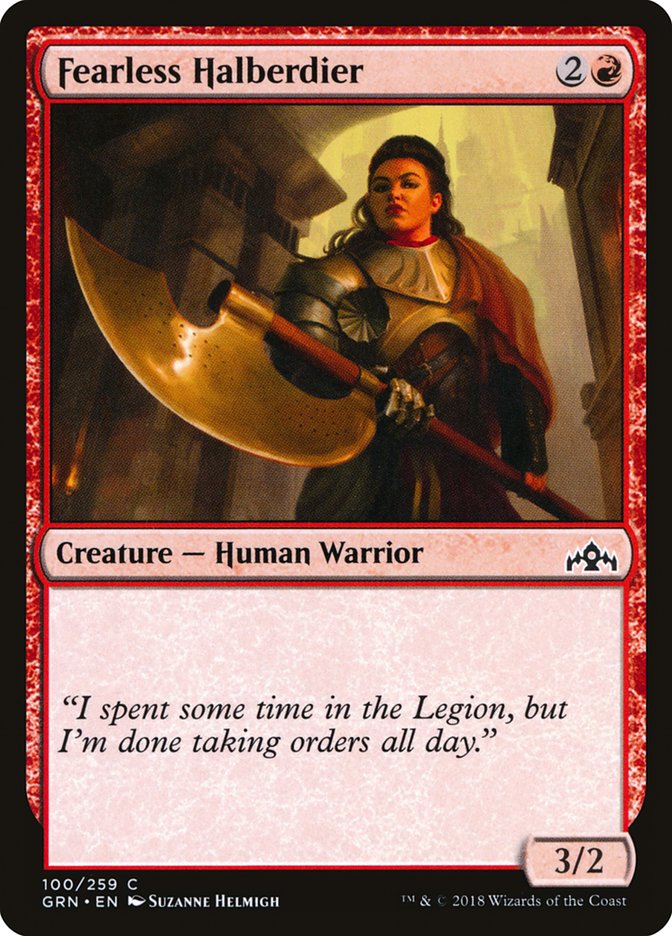
Two Mana
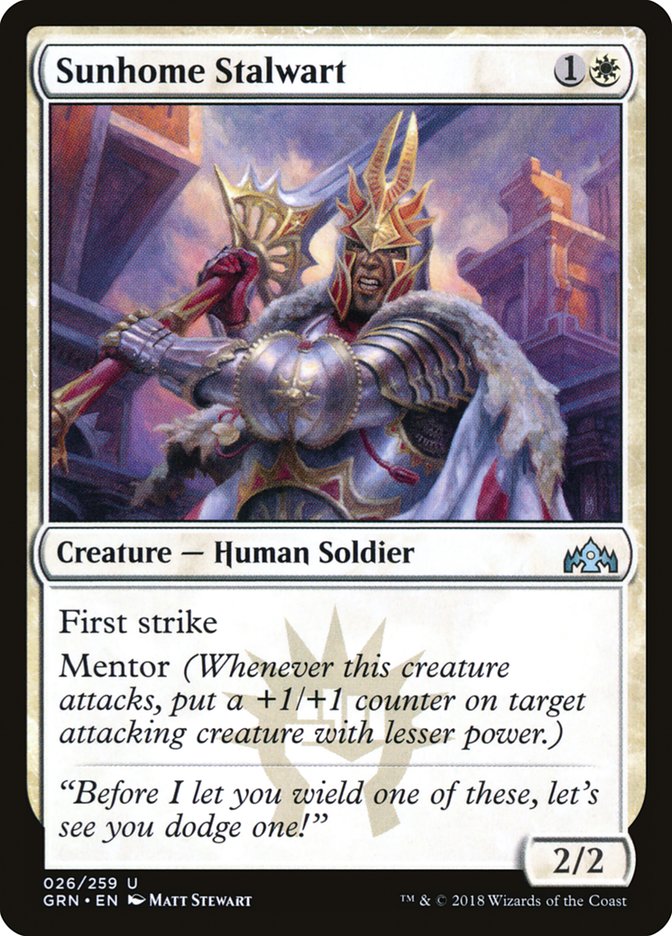
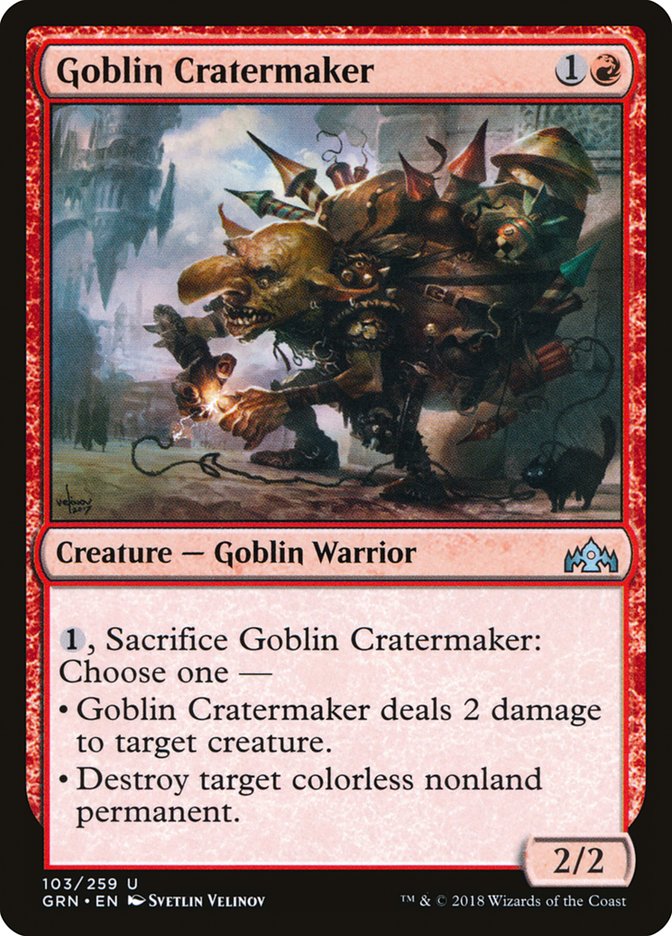
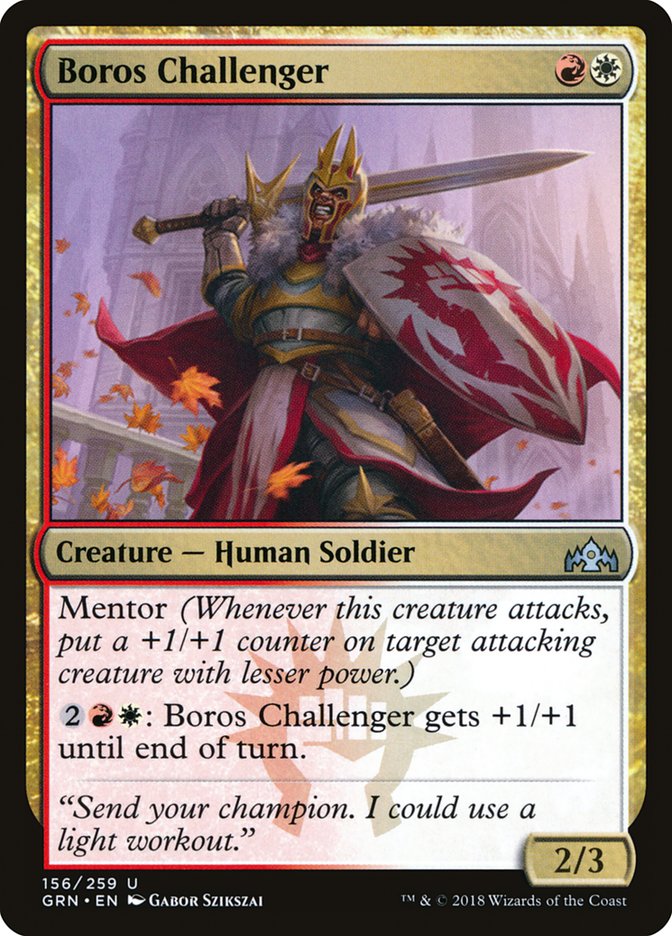
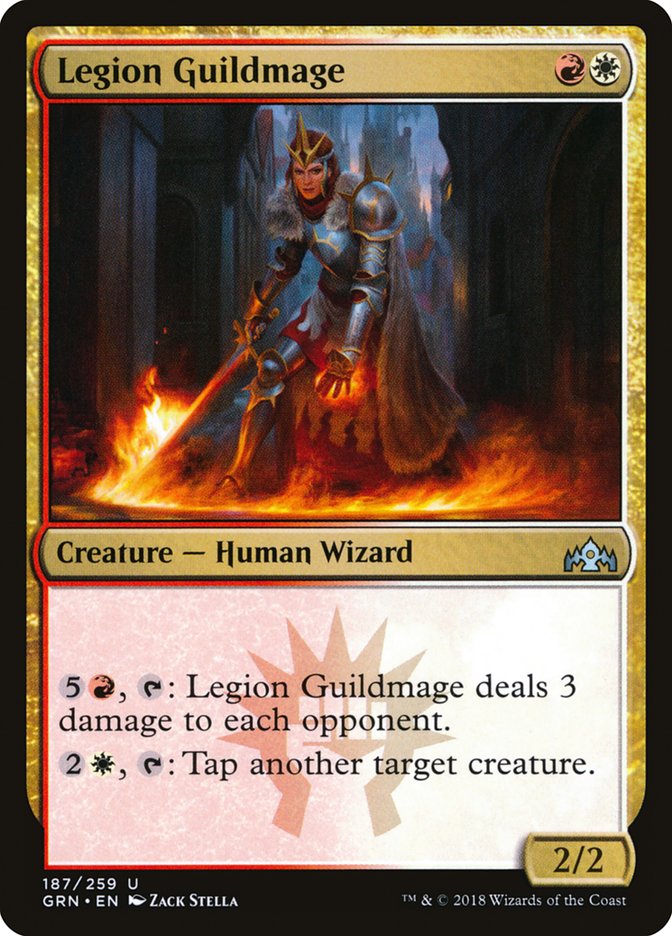

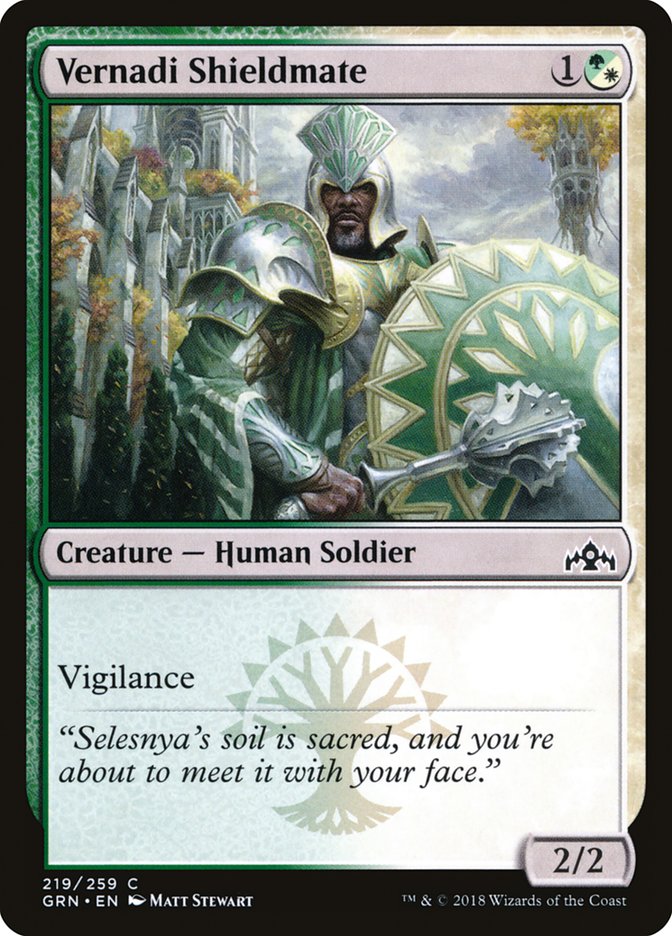
Additional Notes: With the proper assortment of two-power creatures with mentor and combat tricks, Fire Urchin moves up a tier. If you are attempting to splash Rosemane Centaur, Vernadi Shieldmate moves up a tier.
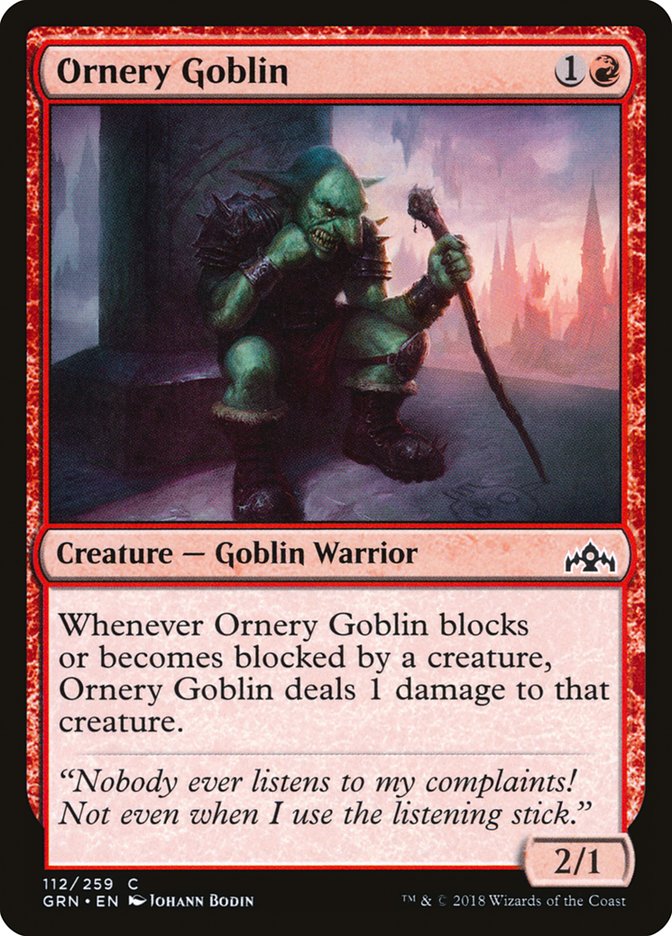
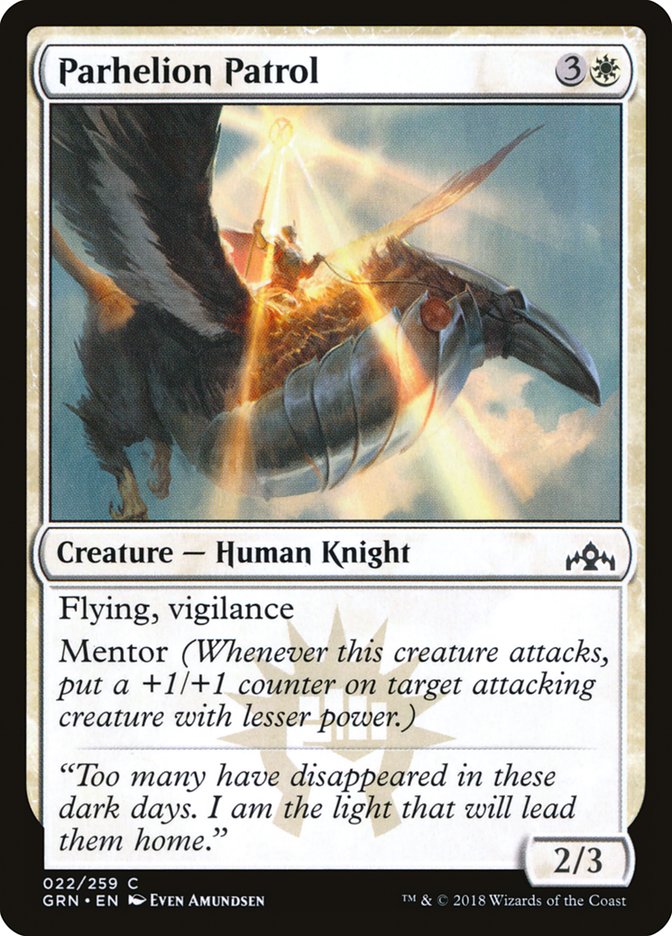
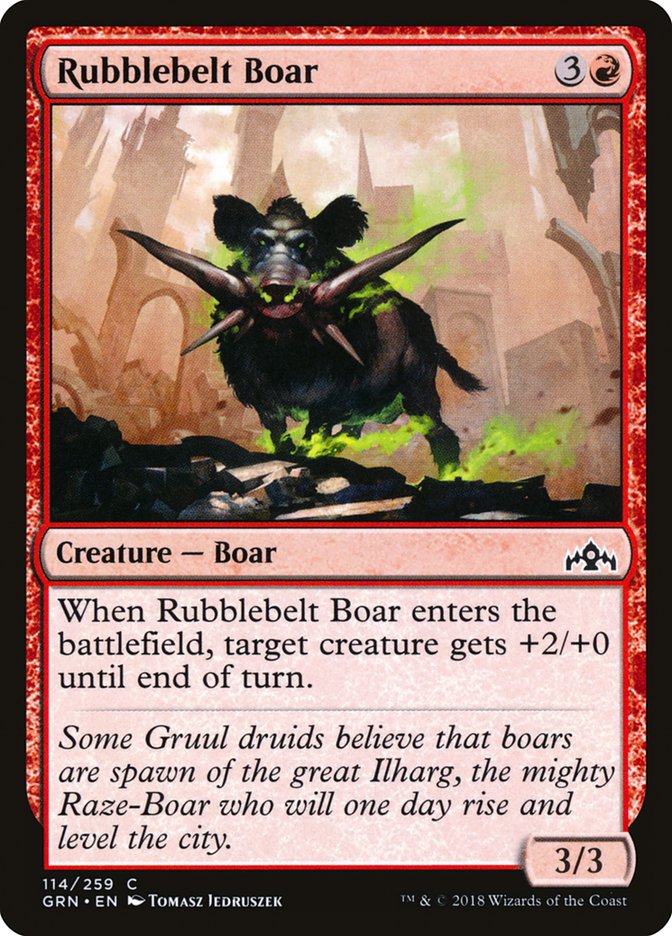
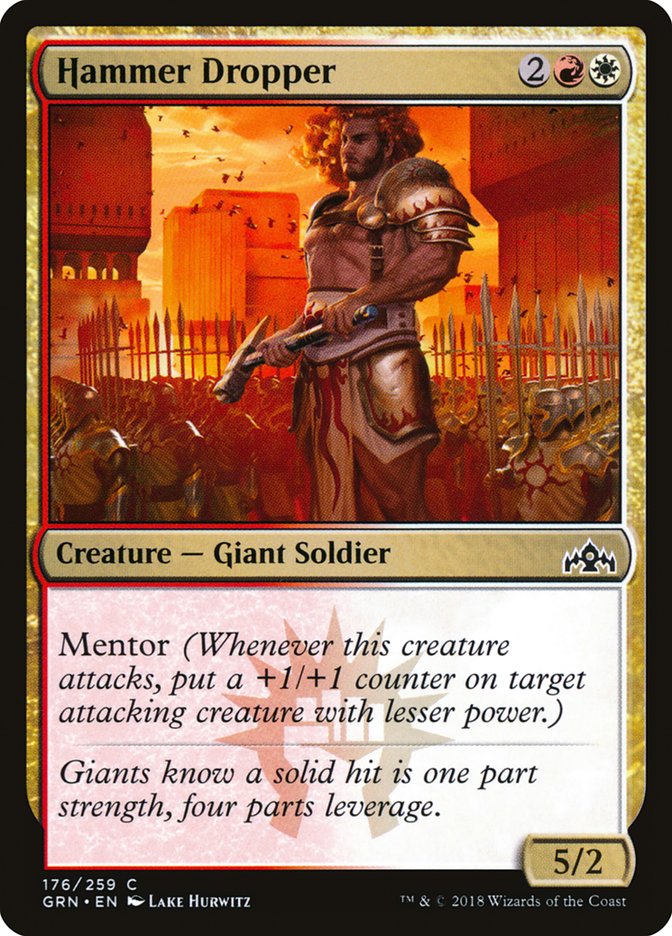
Three Mana
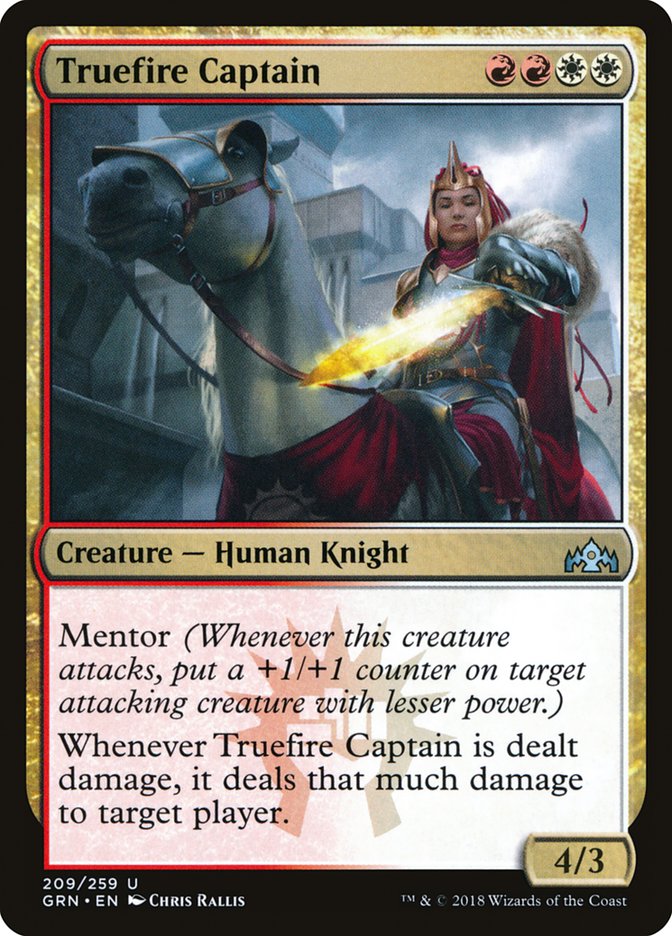
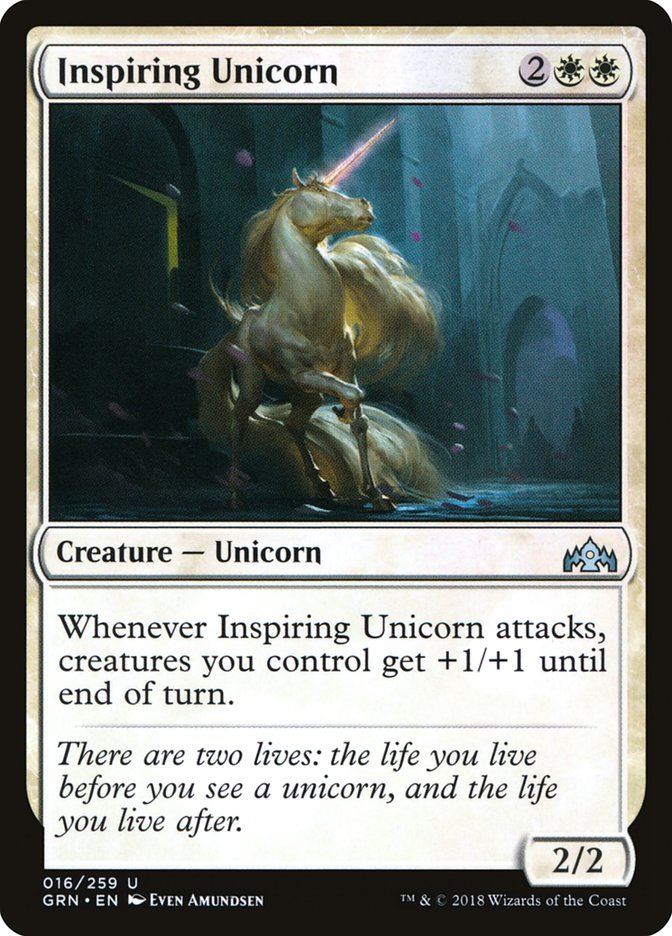
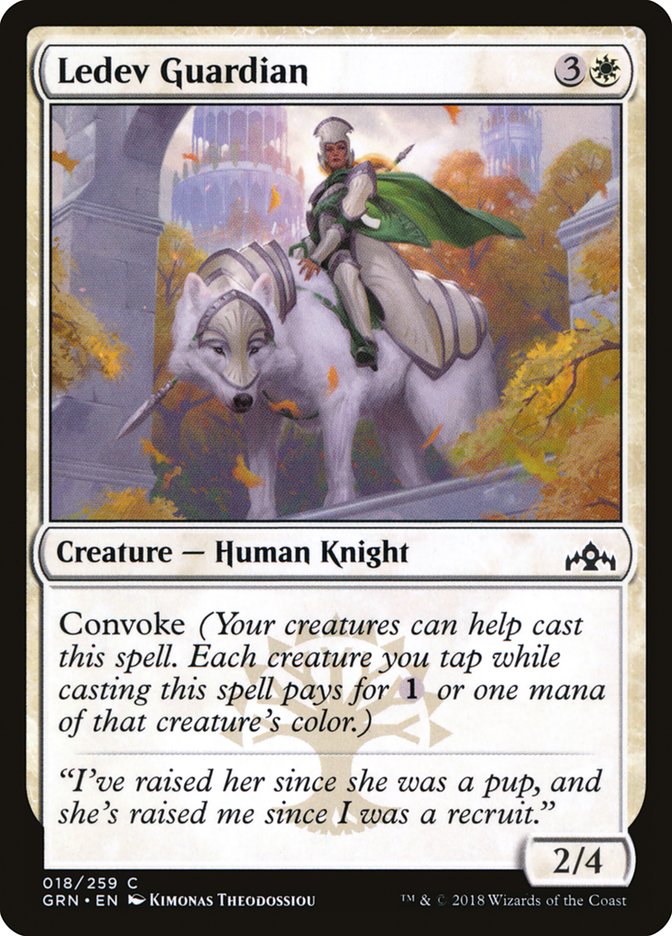
Four Mana
Five Mana
(Tier 1 for this section is empty.)
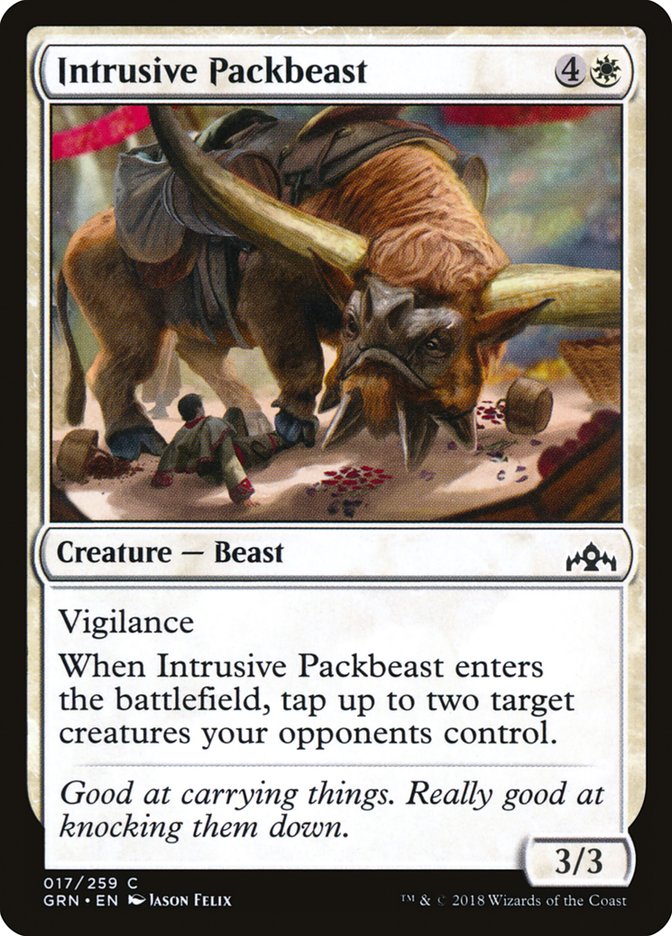
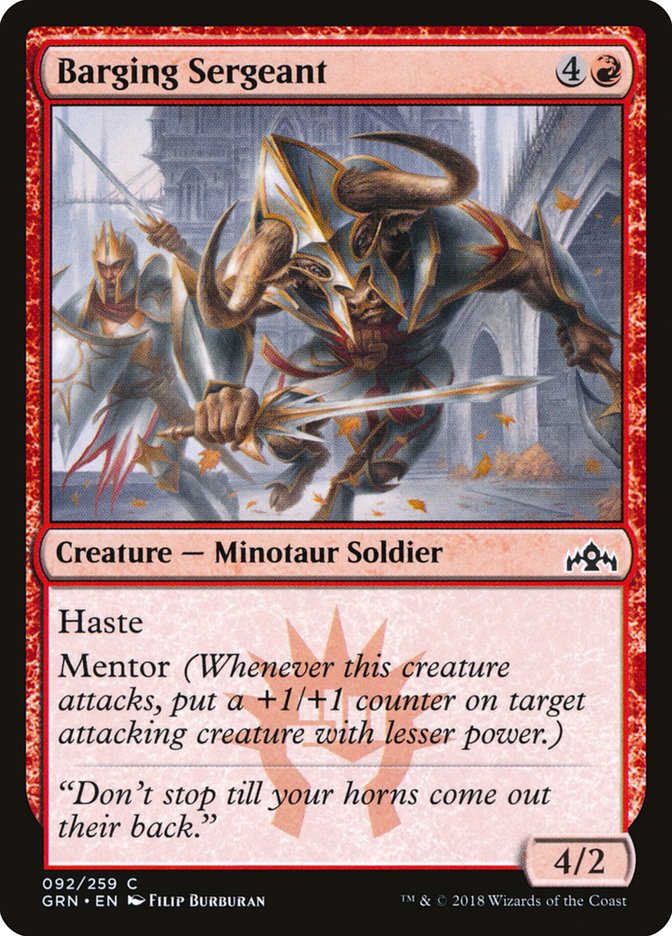
You’ll notice I excluded six-mana creatures from this list. I didn’t forget about Swathcutter Giant; I just don’t want to include it in my Boros decks. I think both Intrusive Packbeast and Barging Sergeant are more impactful. The only cards that provide incentive to go up to six lands are Light of the Legion and Inescapable Blaze. If you don’t have access to either of them, I suggest minimizing the amount of cards you play above four mana such that you can justify playing only sixteen lands.
Furthermore, there just aren’t many premium creatures after three mana. This goes to show how low-to-the-ground the Boros archetype is. Let’s take a look at the deck from yesterday’s article:


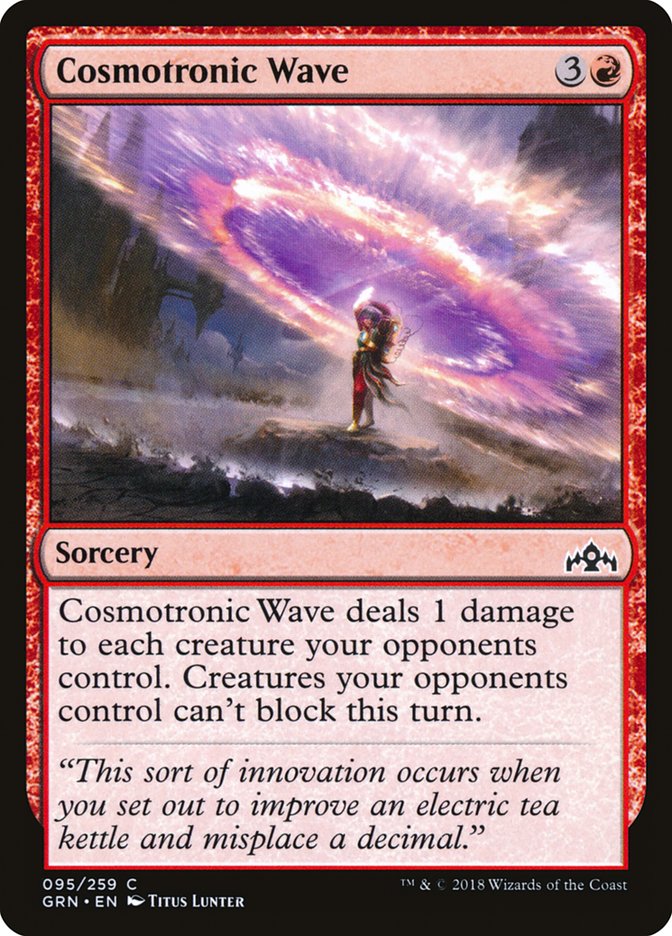
This deck is made up of mostly commons, and while it isn’t the best Boros deck, it’s a solid version. Outside of the creatures, Boros decks are made up of combat tricks and removal spells. Lastly, it’s crucial to have access to Cosmotronic Wave in case the game gets into a battlefield stall, so make sure that you pick one up if you’re drafting Boros. But not all of these cards are created equal. I find it useful for linearized strategies to sort the different types of cards they have access to into tiers, just like I did for the creature curves. Many of the cards are common, so having an easy heuristic for comparing cards that fill a similar purpose takes a huge weight off your shoulders during the draft.
Note: Cards are ordered left-to-right by how highly I pick them, assuming I’m already Boros.
Combat Tricks and Augmentations
Removal
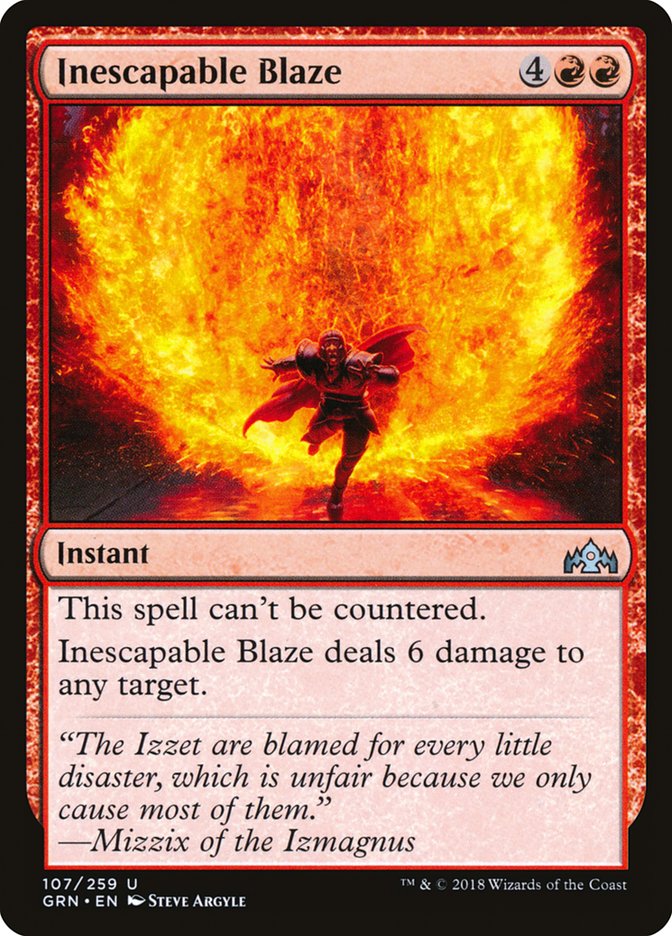

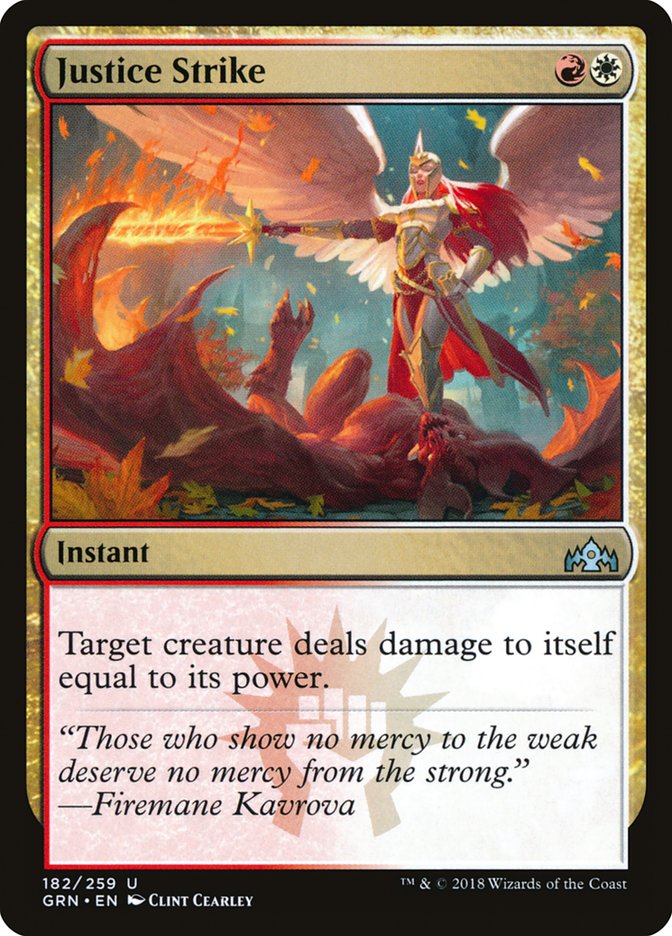
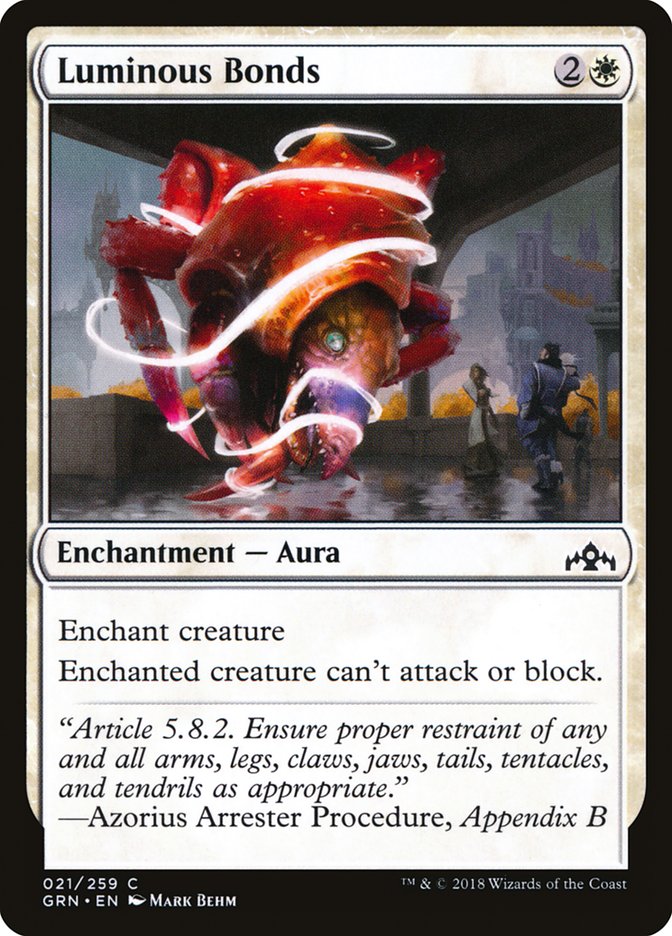
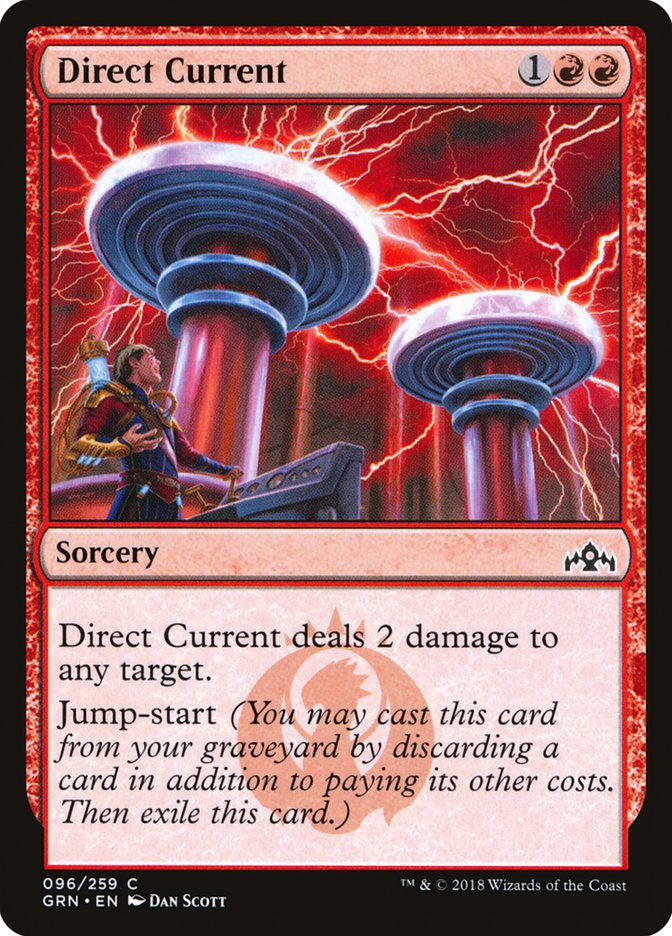
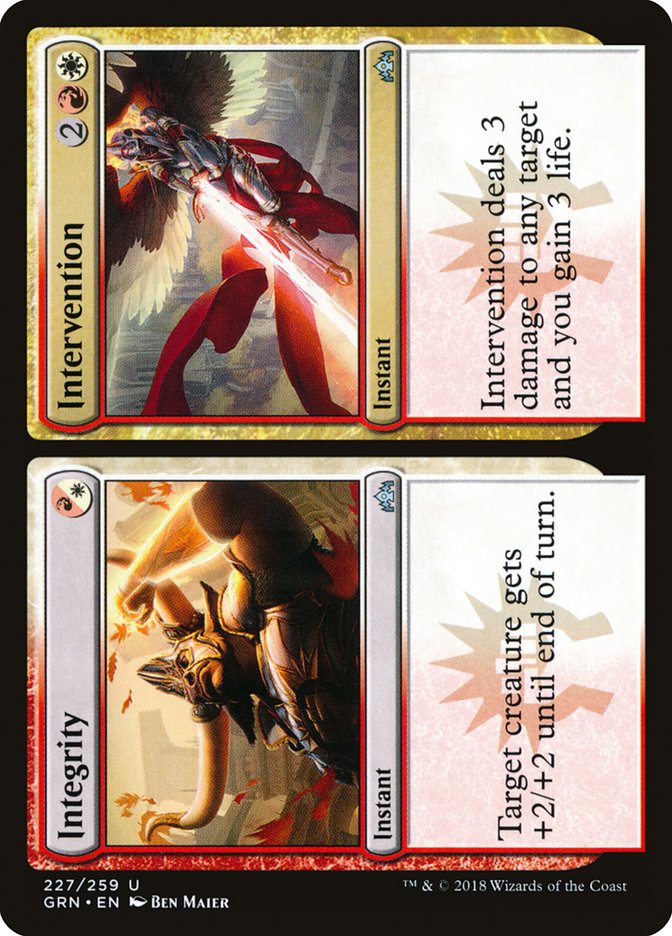
You might be surprised with Inescapable Blaze above Conclave Tribunal or Justice Strike and Direct Current above Luminous Bonds, but there’s rhyme to my reason. The way a Boros deck loses is that the opponent stabilizes the battlefield by either removing all profitable attacks or just interacting with every creature (usually it’s a mix of both). This drastically increases the value of cards capable of dealing direct damage. It’s why Intervention is above Lava Coil too. If you can draft a Boros deck with a density of reach, it largely influences how your opponent must play the game.
In fact, this is one of the reasons Healer’s Hawk is so incredible in Boros. It’s not actually about the chip-shot damage; it’s about the lifegain it presents and how that changes every single matchup. Against the aggressive decks, it makes racing impossible, but it the lifelink is surprisingly relevant versus the more controlling decks too.
Healer's Hawk has been surprisingly annoying for my #MTGGRN controlling decks. It's hard to turn the corner when your opponent is at 30+ life. I've decked because of this twice now.
Observation: your controlling decks may need more high quality finishers than usual.
— Ryan Saxe (@rcsaxe) October 3, 2018
Most controlling decks in this format have only twelve or so creatures, and many of these creatures are cards incapable of winning the game, like Burglar Rats, Goblin Electromancer, and other small critters. Because many of these decks utilize blockers in order to turn the corner, they usually win over the course of a couple of turns with a flier like Citywatch Sphinx or Watcher in the Mist.
Healer’s Hawk effects that clock by multiple turns because it provided you with lifelink and also can potentially chump-block. However, at this stage in the game, you’re not winning by drawing creatures or combat tricks. You either need to draw reach or removal, and preferably reach to end the game on the spot. The more reach in your deck, the lower the chance your opponent will have the requisite amount of time to close out the game, especially if you’ve utilized Healer’s Hawk.
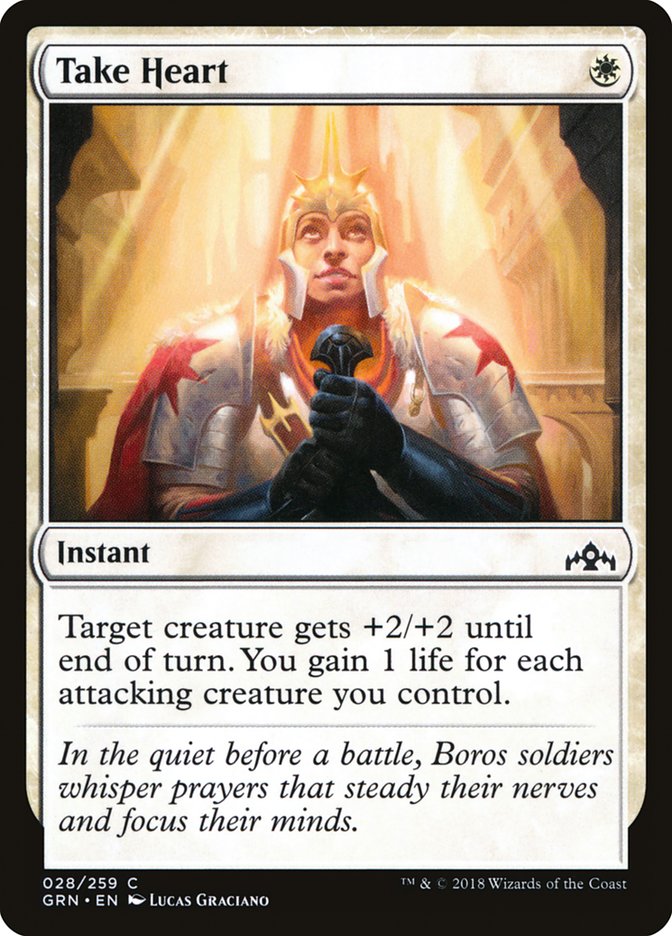
Last, an important part of maximizing your win rate with the Boros archetype is how you use your combat tricks. In Guilds of Ravnica Limited, these fall into the following camps:
1. Win a fight in combat.
2. Cast pre-combat in order to trigger mentor.
3. Cast on an unblocked creature to deal damage directly.
4. Counter a damage-based removal spell.
That’s a lot of ways to use a card like Take Heart. Because combat tricks tend to be cheap, it’s important not to use them just because you can. Consider the following scenario:
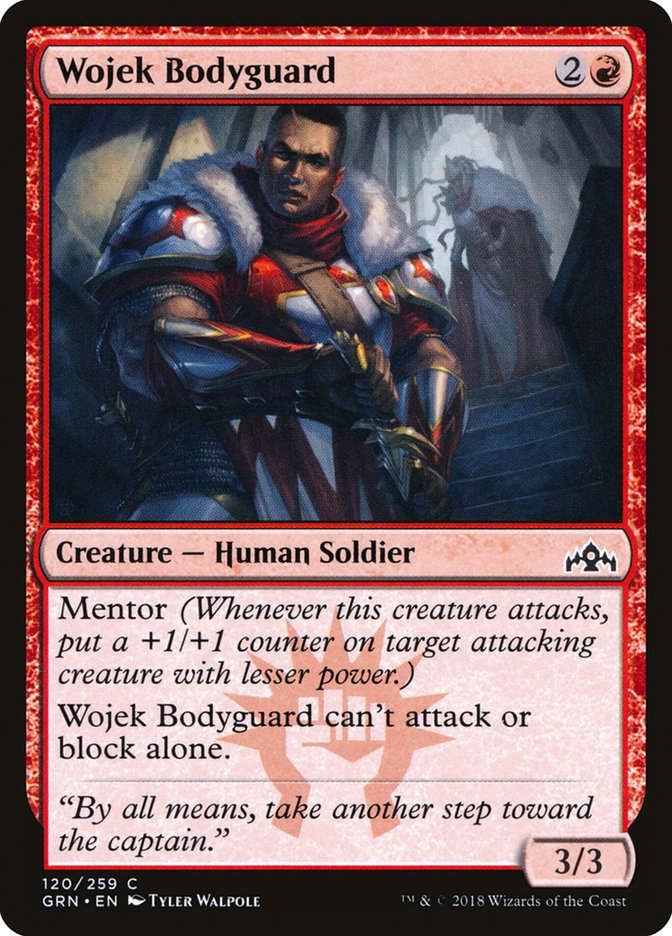
It’s Turn 3. You are on the play in the Boros mirror. Both you and your opponent have a Vernadi Shieldmate. You have Take Heart and Wojek Bodyguard in hand. Do you attack?
Absolutely not!
The probability your opponent does not block is quite slim, since your creature has vigilance. If they do block, you can either spend your whole turn using Take Heart or let the trade happen and cast Wojek Bodyguard. But if the trade happens, then the Bodyguard cannot attack the following turn. If your opponent offers the trade, you are stuck between a rock and a hard place, so don’t make the attack. You want to be able to mentor onto your creature next turn.
Combat tricks get better later in the game for two reasons. First of all, you have access to more mana so casting a spell alongside a combat trick is much easier. Second, your opponent is more likely to block in a manner where you’re advantageous because their life total will be lower and you will have more creatures on the board than just the bear in the above scenario.
Don’t cast your combat tricks just because you can. Finesse them. Maximize them. Use them to keep attacking when you otherwise wouldn’t be able to. If you find a Boros player offering a trade early on and you’re afraid to block because of a combat trick, don’t be. Most of the time it’s better to get the card out of their hand when they don’t have as much mana to use for the rest of their turn.