
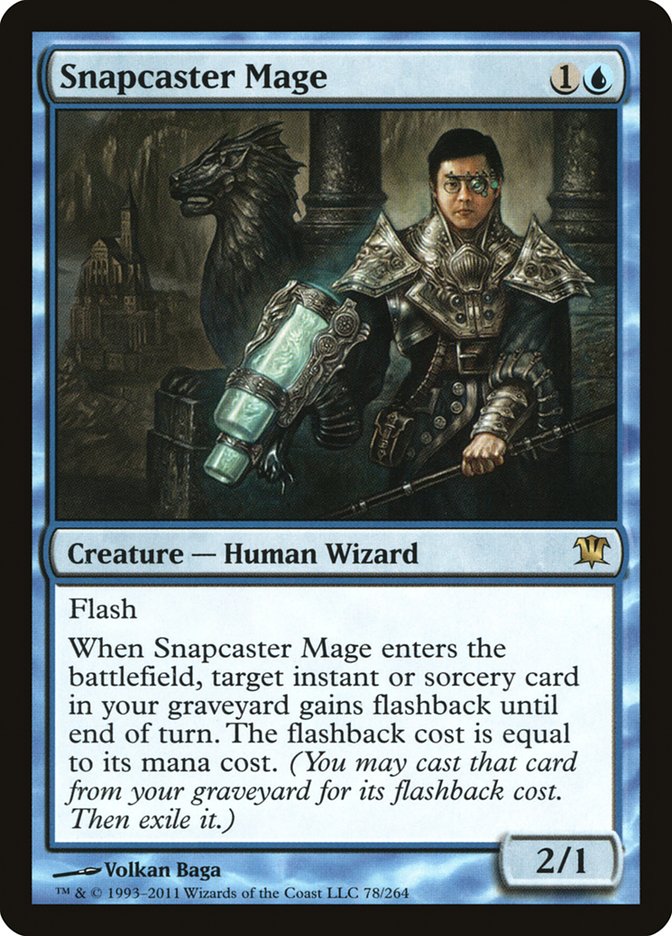
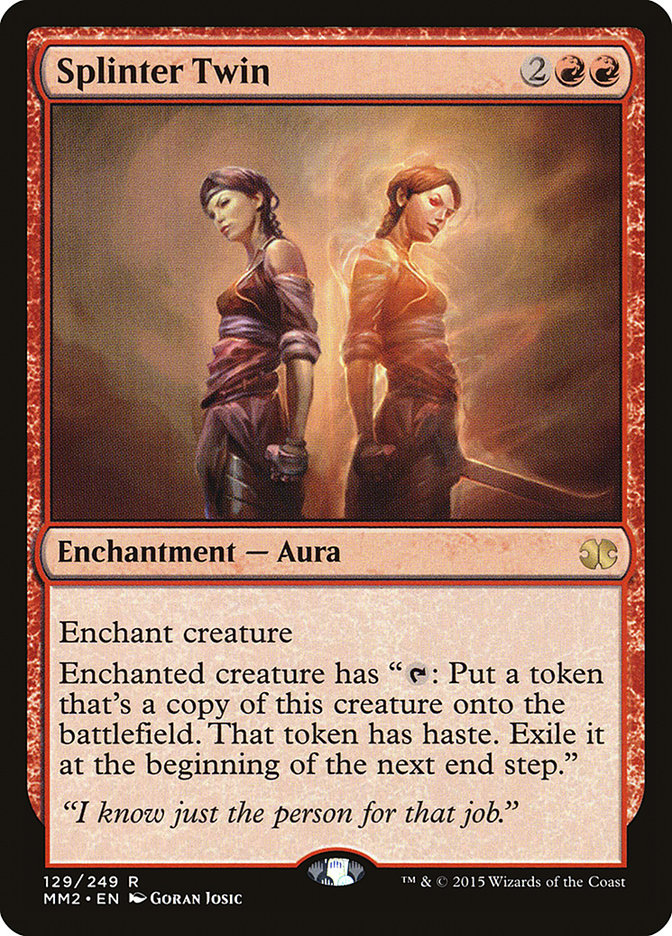
Today I’ll break down two matches I played featuring a blue-on-blue matchup. In both, from my side, I’ll be playing Temur Twin. Not exactly ideal, since Splinter Twin is banned, but I was always on the side of siding out Splinter Twin and Deceiver Exarch against other fair decks anyway. The Splinter Twin portion of the deck was mostly a backup plan for other combo decks, while Tarmogoyf and Snapcaster Mage were generally my route to victory, so regardless, this should provide some great insight into #GPCharlotte.

Playing blue “mirrors” can be tough, and finding all the small details to analyze could prove difficult. But the details in these matchups are significant, and even missing one or two minor things can result in a loss instead of a win. I had two very interesting and solid matches on camera that I think would be perfect to showcase a lot of these minor decisions. In these matches, I’ve posted timestamps to help you follow along with the action. If you want to watch the whole video for both, I don’t think you’ll be disappointed.
Now, there are two very important aspects of any blue mirror: patience and pressure. These two points are showcased here, both in execution and lack thereof. In both scenarios, finding which role you are is important, but you also have to understand the logic behind every decision being made. If you’re trading creatures, why? If you point Lightning Bolt at your opponent’s head on the second turn, why?
Understanding your position and leveraging that position to give yourself the best chance to win the game is key in any blue-on-blue matchup. Understandably, this is also my favorite type of Magic. It can be a bit dense at times, but I’ll do my best to break each point down and to note potential mistakes from either side.
Patience
Game 1
In the opening statements from Patrick Sullivan, you hear one thing that rings true for most blue-on-blue matchups. Whoever can leverage their mana will usually be at an advantage, but that isn’t always the case. Using your mana “when you can” is not nearly as valuable in this kind of a matchup as “using your mana when it will benefit you the most.” Finding spots to resolve spells, or force your opponent to do something against their best interest is key.
1:00
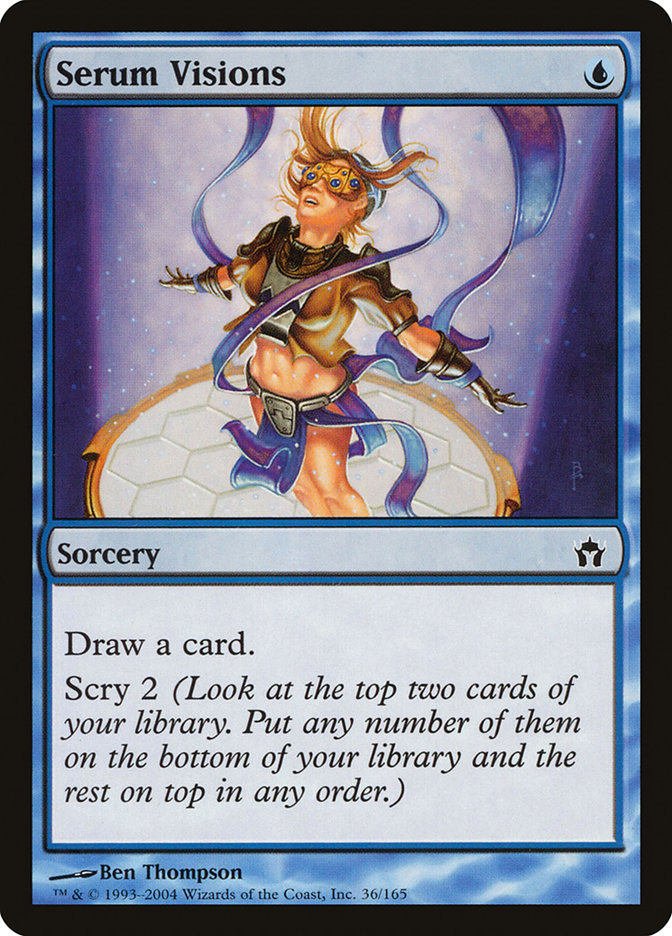
I miss my third land drop. This is pretty awkward for any blue-on-blue fight, as hitting your land drops is key. Throughout the match, and other matches you might have watched of mine, you’ll notice I tend to keep excess lands on top of my deck with Serum Visions so that I’m never strangled on mana. This is especially true when my hand is full of powerful spells.
2:00
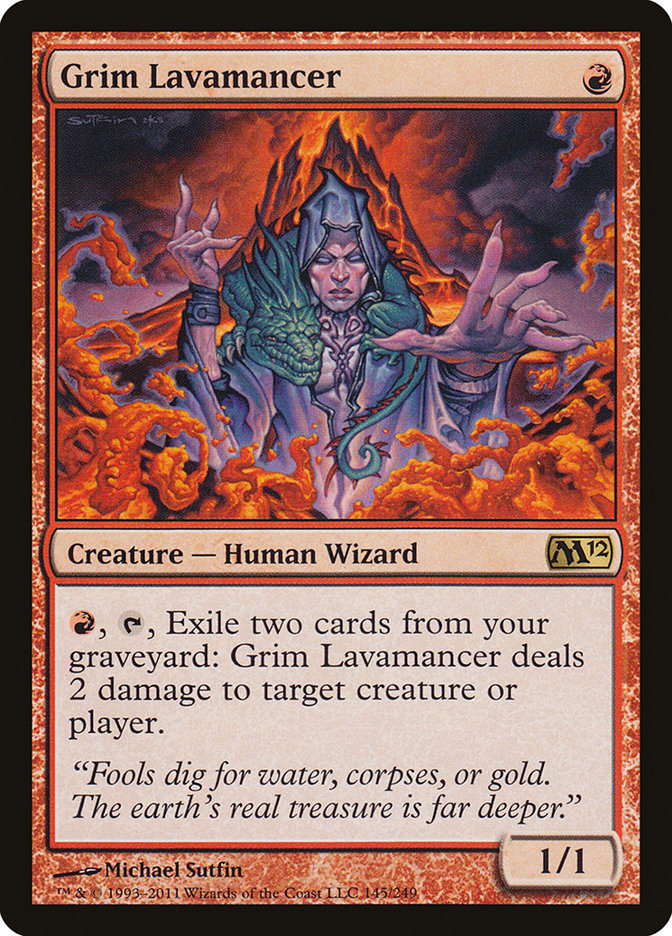
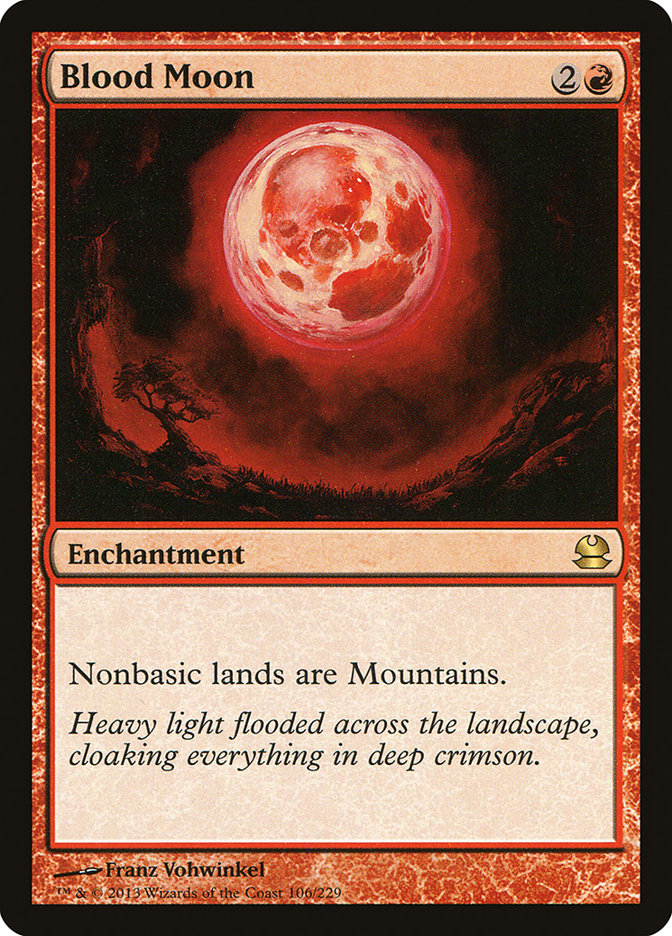
You’ll notice I didn’t fight over the Grim Lavamancer with my own Remand on the previous turn. This is mostly due to the fact that I had information that Jeff was playing Blood Moon. I wanted to make sure I could develop my mana a bit better in the eventuality that Jeff might resolve one later. Fighting over a mostly useless Grim Lavamancer, even while drawing a card by Remanding my own spell in response to his Remand, is not as valuable is making sure he doesn’t resolve his marquee card. On this turn, I fetch up a Forest to cast Tarmogoyf, making sure I have a Forest later in the game, and also an Island to try to Remand my own Tarmogoyf to try to get an extra card out of the situation.
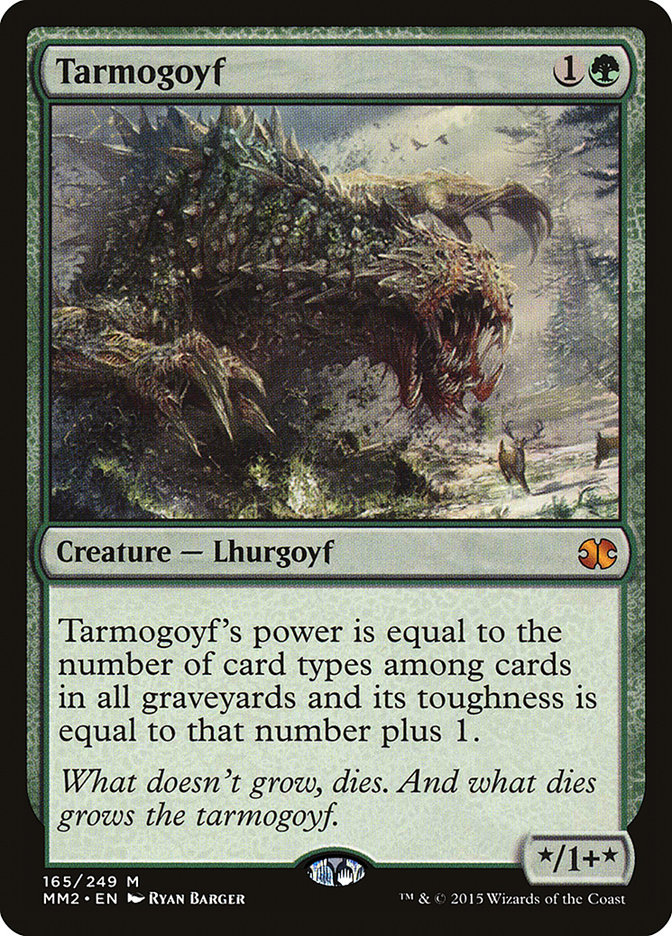
I know that I’m likely going to lose this game, since I’m stuck with two dead Splinter Twins in hand, which is why I chose to play the Tarmogoyf into a potential losing counterspell battle. Normally, I’d play a Tarmogoyf a bit earlier, but I chose not to let him get value from his early Remands. And since I didn’t want to let Blood Moon resolve, I couldn’t afford to tap out.
The rest of the game is just showcasing how the person who has an overall mana advantage can easily pick apart the opponent. Drawing three copies of Splinter Twin also doesn’t help. Vedalken Shackles cleaned up pretty easily.
Game 2
As in most of the blue matchups, I side out the Splinter Twin package in favor of more controlling and tempo cards.
13:20
After using Gitaxian Probe to gain information about Jeff’s hand, my plan is to put some pressure on the battlefield with Snapcaster Mage, drawing an extra card from the Gitaxian Probe. This plan is quickly changed to casting Tarmogoyf after finding a source of green mana. While it is important to get value from Snapcaster Mage in these matchups, Tarmogoyf is a threat I knew he’d have trouble answering, and the clock generated by Tarmogoyf could force Jeff to make some less-than-ideal plays. And that, my friend, is the beauty of Tarmogoyf in a blue deck.
14:10
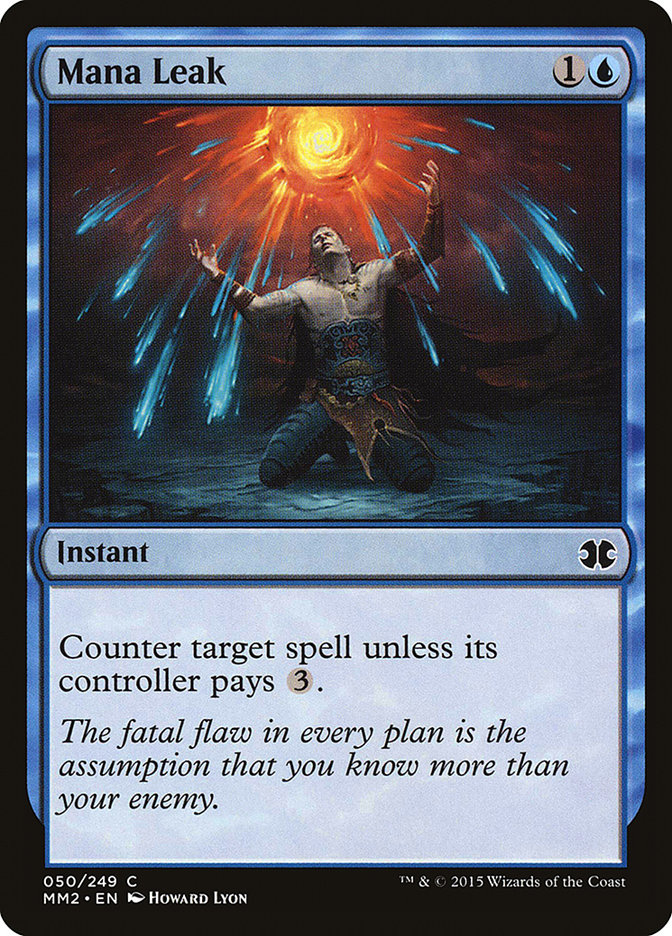
At this juncture, I’m ahead on the battlefield, and casting a Snapcaster Mage into open mana doesn’t seem like a great spot, but the upside is that I’m pumping my Tarmogoyf and ultimately putting more pressure on Jeff. If he uses Mana Leak, my Tarmogoyf gets to grow by two. If he uses Remand, it only grows by one, but I also have the ability to cast Snapcaster Mage later in the game. If he opts to Remand my spell cast from Snapcaster Mage, I’m still getting an extra point in, but also getting more power onto the battlefield.
Using creatures as tools to win fights at various points in the game is a big deal. While it may look like you’re coming out behind on these exchanges, you are still trying to progress the battlefield. Losing Snapcaster Mage to a Mana Leak isn’t that big of a deal when you’re attacking with a 4/5 on the third turn while your opponent has nothing on the battlefield to stop it.
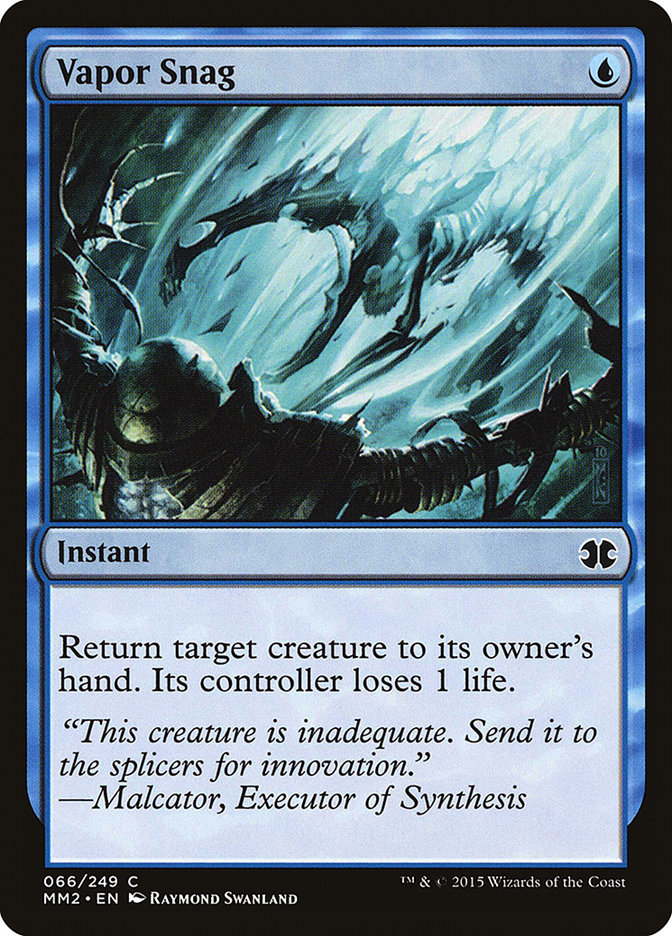
Ultimately, Jeff allows my Snapcaster Mage and Serum Visions to resolve, choosing instead to Vapor Snag the Tarmogoyf and hope his counterspells could stop it on the following turns. Not a bad line of play, but one that still leaves me with complete leverage on how to approach the following turns.
15:30
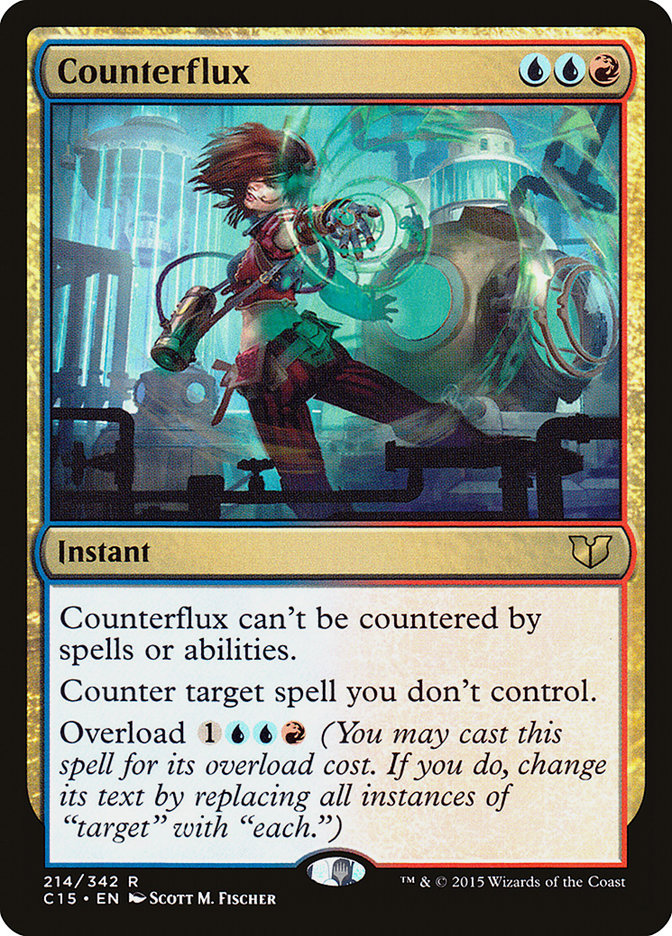
While using a valuable counterspell, Counterflux, on something like Vendilion Clique might seem awkward, I think it is important to note that we’re trading mana at the same rate, and I’m not losing my best card from my hand.
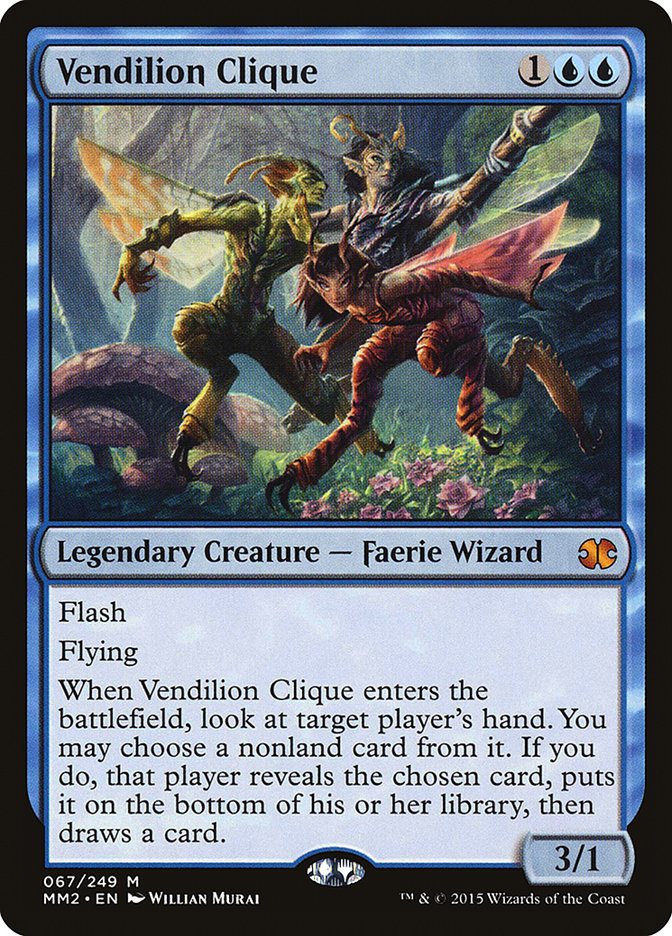
While Vendilion Clique isn’t exactly a fantastic threat when I have Lightning Bolt in hand, it does allow me to use all of my mana right then and there, which could be important for later turns. At the very least, letting Clique resolve means he has the option to take away my Counterflux.
17:20
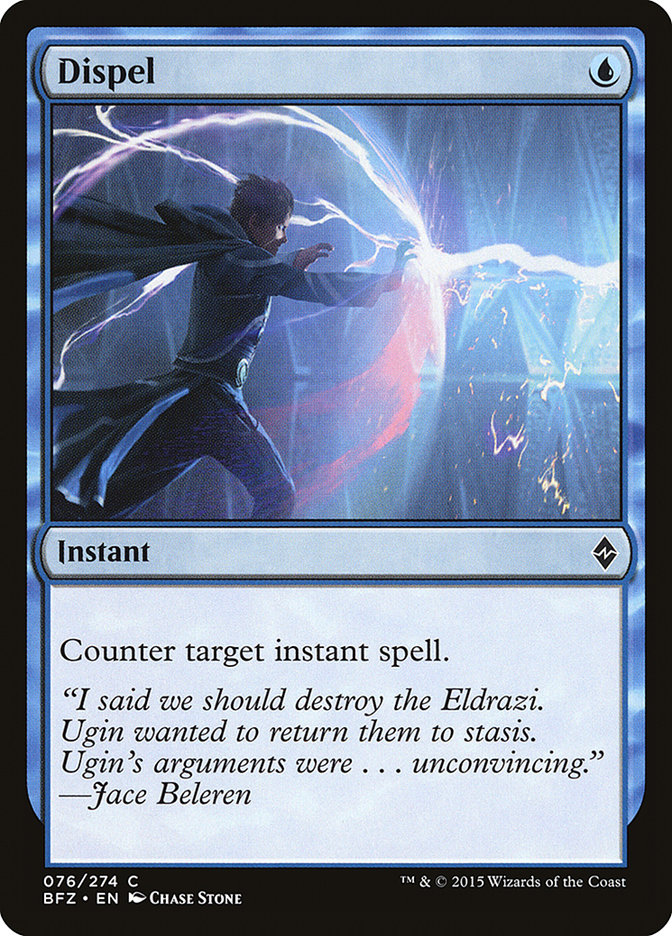
We see Jeff taking an aggressive line here, using Snapcaster Mage on a Vapor Snag and then attacking with Tarmogoyf. He has protection from the block plus Lightning Bolt thanks to Spellskite, but he also has a Flashfreeze in hand for the follow-up Tarmogoyf. While I’m able to Dispel the Flashfreeze, I don’t think it was a bad play to start being aggressive. Jeff is behind on cards, and he needs to find a way to deal some chip damage so he has a chance to steal the game on a later turn.
18:20
I drew the Vendilion Clique that I knew about from Serum Visions and could cast it at basically any time over the next few turns. Jeff’s Remand means I can’t replay the Clique if I want to make the Mana Leak a dead card. Awkwardly, the Electrolyze draw from Jeff makes my Clique on the next turn look pretty embarrassing.

If I wait a turn, I can play Clique and Snapcaster Mage on Dispel without running head-first into a Mana Leak. And with Jeff low on lands, I should have made sure I didn’t play into potential blowout cards.
Now, I could play Snapcaster Mage and try to Counterflux the Electrolyze, but I think that line of play is very bad against his Mana Leak, because he can just cast Mana Leak on the Snapcaster Mage. Not having patience on casting that Vendilion Clique ended up almost costing me the game.
24:50
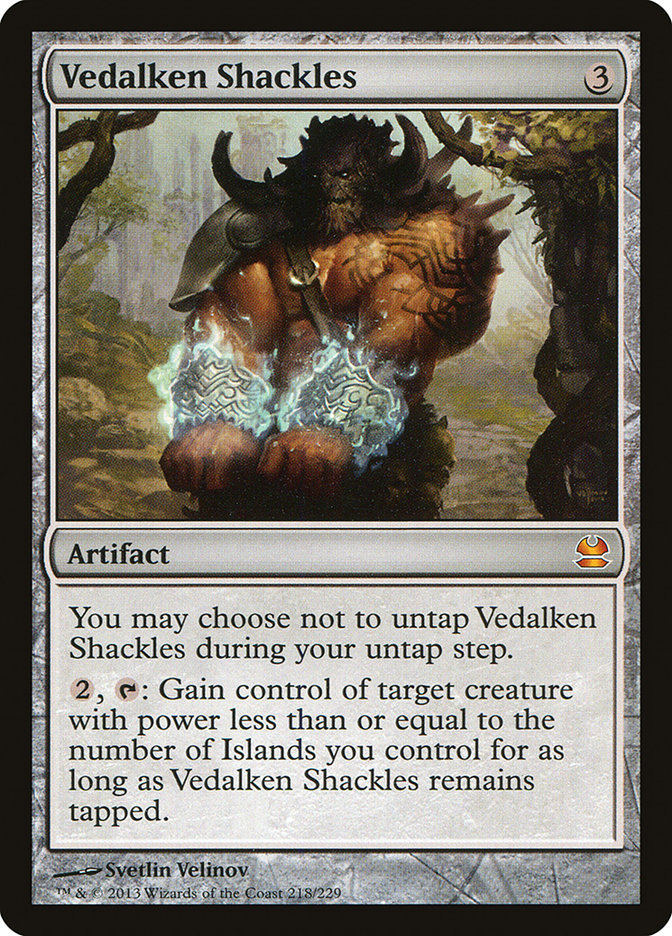
Jeff’s second copy of Vedalken Shackles changes the entire texture of the game. I’m not under a ton of pressure to find an answer (Ancient Grudge) before he takes complete control. My counterspells are no longer good, and that Mana Leak is still looming. While Jeff also has a Negate in hand, Ancient Grudge would be able to get through that quite easily. Now, instead of using Snapcaster Mage when I want to, I’m forced to start using them for Serum Visions to dig through my deck for an answer. Still good, but not as valuable as I want them to be at this stage in the game.
27:50
After combat damage, I have the option to run my Lightning Bolt into Mana Leak, which alleviates a lot of pressure on subsequent turns. I do so, which confuses the commentators, but I knew I was behind and wanted to give myself the best chance of clawing back into the game. If I drew a big card in the next few turns, I couldn’t afford to play around Mana Leak. Unfortunately for me, I still had to beat Negate. Luckily, I’m able to find an Ancient Grudge with Serum Visions on the next turn.
There is an exchange after this where Jeff opts to use Electrolyze to deal me a point of damage instead of killing a Snapcaster Mage. I don’t think this is worth it, as getting me to six does leave me dead to a string of Lightning Bolts, but if I have found an answer to Vedalken Shackles, it means I still have a Snapcaster Mage on the battlefield to either trade with his or apply pressure. The one point dealt to me ultimately ends up killing his Snapcaster Mage when he decides to trade on the next turn.
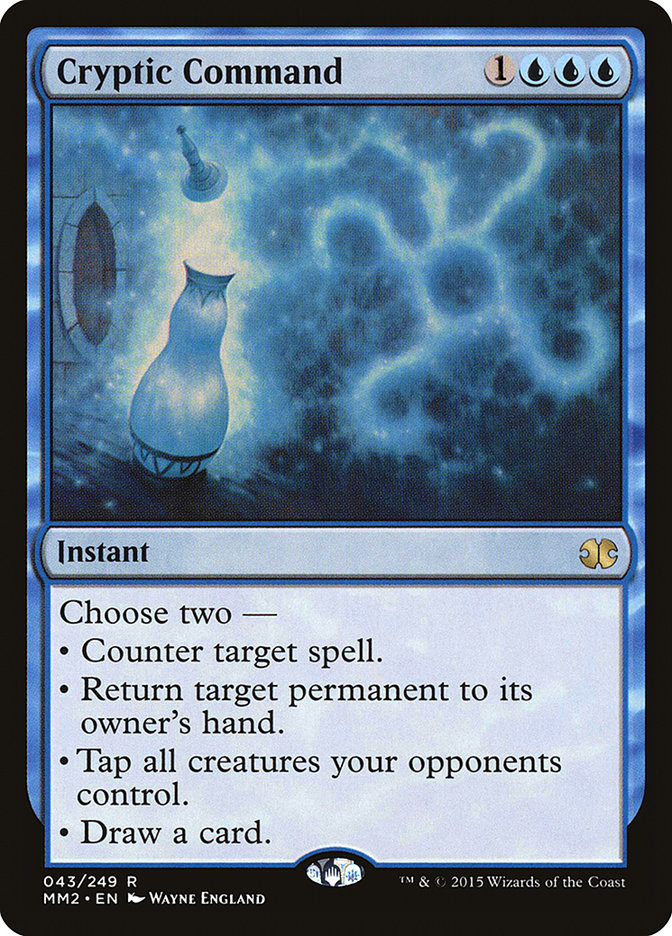
After Grudging the Shackles, the game is virtually over. Even so, the Cryptic Command draw from Hoogland could have prevented five damage. Using it at the end of my turn instead of bouncing my Tarmogoyf before attacks, or even on my upkeep, allowed my Lightning Bolt to kill him in response.
Game 3
34:00
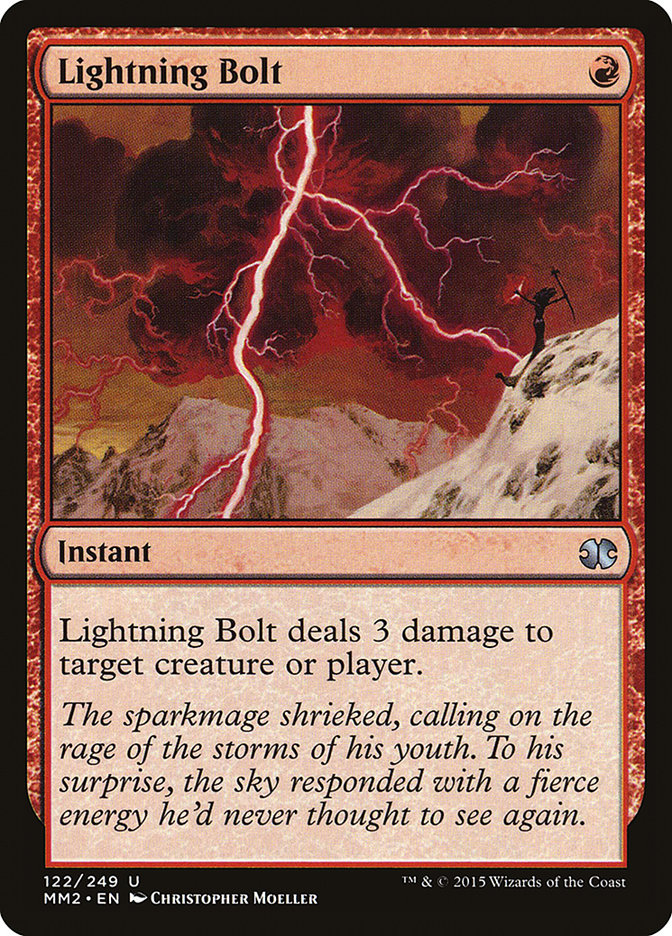
You see me casting a Lightning Bolt at the end of Jeff’s third turn. This allows me to use my mana efficiently on the next turn by giving me the potential to deploy Snapcaster Mage to put some pressure on the battlefield while also getting in a chunk of damage in the process. This isn’t the best use of resources, but I need to put some pressure on Jeff since I’m light on lands. It also allows me to potentially kill a Tarmogoyf with Snapcaster Mage, since it shrinks the Tarmogoyf back down to a 2/3 after I use the Lightning Bolt from the graveyard.
With two Lightning Bolts still in hand, as well as two Remands, I’m able to dictate the pace of the game even though I’m short on lands. While Jeff handily beats me in the counter battle, it allows me a window to kill his Tarmogoyf with the two copies of Lightning Bolt. My shields are down for a turn, which means either Vedalken Shackles, Blood Moon, or another Tarmogoyf could be lights out, but it is a risk I need to take if I want to try to steal this game. Missing land drops puts you into so many tough spots that you have to take some chances. Otherwise, my Remands and other counters get significantly worse as the game goes, since he is the one dictating the pace of the action, since he has a bigger threat.
37:15
Jeff opts to trade Vendilion Clique for Snapcaster Mage. The amount of pressure I applied early in the game forced his hand, as I’m up quite a bit on life totals, and Jeff recognizes this. Even though Clique is inherently more valuable than the body of Snapcaster Mage, trading is advantageous, as it allows him to potentially leverage his mana advantage. My stumbling in the early-game means he has a great chance to win if he can make sure I don’t steal the game away with some beats and Bolts.
Over the next few turns, there is a lot of “draw-go,” which allows me to catch back up. He doesn’t put any pressure on me, and I’m able to find a good number of interactive spells to make sure he can’t stick something like Blood Moon, Tarmogoyf, or Shackles for a few turns.
37:40
I draw Vendilion Clique, and I even have a counterspell to protect it. However, since I know that the first threat I play will likely die, I want to make sure I resolve it. And since it is Vendilion Clique, I know it is vulnerable to the likes of Electrolyze. I can afford to wait a few turns and stick it in a spot where I know it will resolve given my hand. Waiting until I hit seven or eight lands is much better than casting it right now.
38:40
Jeff goes for Snapcaster Mage into Serum Visions. This is a spot where I know that I can fight if I want to, with Remand (to exile it and draw) and Dispel on backup. Even if I lose the fight, I’m okay with that, because I’m losing a fight on his turn and will likely be able to resolve Tarmogoyf on the follow-up turn (that I knew was there from Serum Visions). Jeff realizes this quickly, and opts to let Remand resolve. A fine decision, but if that was the case, then it is awkward to have cast the Snapcaster Mage in the first place. In moments like this in blue-on-blue matchups, you need initiate fights when it is advantageous for you.
Now, on the next turn, I have the option to cast Clique, Tarmogoyf, or nothing. With only six lands on the battlefield, I could very easily lose a fight, or at least get tapped out and get obliterated by a Blood Moon. Neither is something I would like to happen. And with just a Snapcaster Mage on the battlefield on the other side and my life total at eighteen, I’m fine waiting for at least another turn. I bottomed a land on my Serum Visions scry, which could have cost me here, as I should have recognized that all I want to do from this point is draw another two lands or so.
39:10
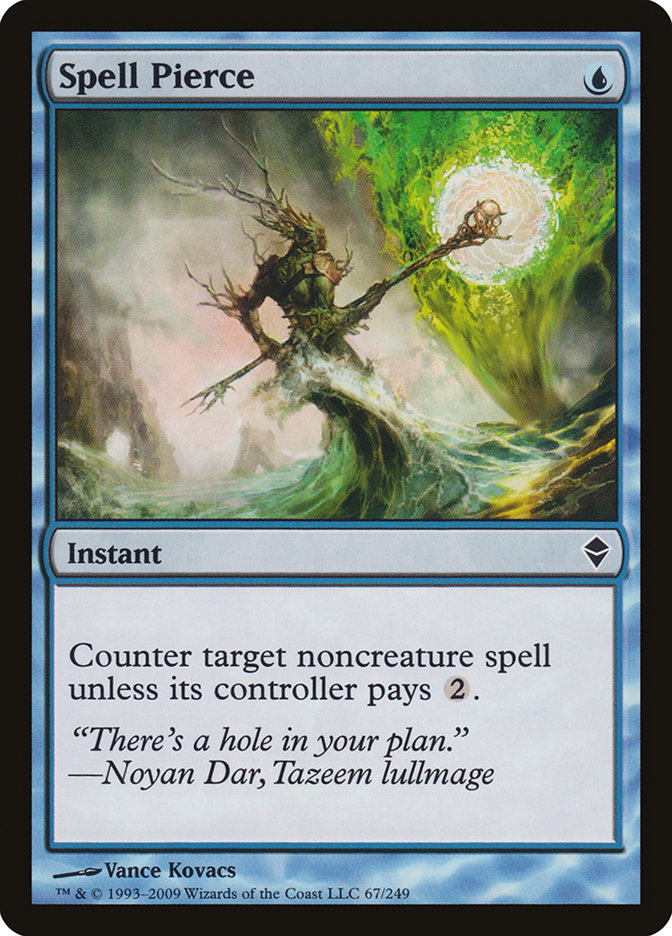
Now this is the spot I was talking about earlier, casting Vendilion Clique when it would have the highest impact. Doing so on Jeff’s end step forces an exchange, and even though I could end up losing a bit on this exchange thanks to Electrolyze, it would still give me a window to resolve Tarmogoyf. Jeff opts to use Vapor Snag on his Snapcaster Mage in order to recast it and Spell Pierce my Negate on Electrolyze. I’m able to easily win the exchange afterwards with Dispel. This also leads me to believe that Jeff’s hand is likely not very good, though I don’t know exactly what that means about the contents. Clique reveals all, and I can see his hand is fairly anemic aside from Tarmogoyf and Cryptic Command.
Unfortunately, he’s able to deploy Tarmogoyf and Blood Moon and get rid of my Vendilion Clique. I could have chosen to not cast Flame Slash, but I was trying to play around Flashfreeze. With Lightning Bolt still in my hand, I think that was a mistake. Holding up Cryptic Command was definitely a better line, but we were also running low on time in the round. I knew I needed to win quickly. Jeff is forced to tap pretty low on that turn, though, and makes it so he can’t cast Flashfreeze on my Bolt on his Tarmogoyf. At this point, I’m locked out of playing almost all of the spells in my deck, but I have a Tarmogoyf that is lethal in two attacks. As long as Jeff bricks for two draw steps, I win. But I win because I put myself in this position through winning a bunch of minor exchanges across the entire game: waiting on Vendilion Clique, waiting on Tarmogoyf, and ultimately almost losing because I was not patient for one more turn.
Pressure
Now, pressure doesn’t mean attacking, though that is generally what I mean when I use the term. There are other forms of pressure in Magic that you can also leverage: the threat of a combo, a planeswalker gaining an insurmountable advantage over a few turns, or assembling a battlefield that the opponent won’t likely be able to deal with (think Lantern Control). Pressure, in all forms, is what puts a player into a defensive mode. When your opponent is on the defensive, it is much easier to leverage cards like Remand to a distinct advantage. Generally speaking, “soft” counterspells, like Remand, Mana Leak, and Spell Pierce get significantly better when you are putting pressure on your opponent.
Let’s take a look at some timestamps in this video and break them down.
Game 1
2:20
Now, I know I tend to beat down with Tarmogoyf in my blue decks, but that’s because it is one of the cheapest forms of pressure, and it just so happens to dodge a lot of the burn-based removal in the format. Deceiver Exarch was also a good form of pressure, not because it deals a lot of damage but because it could threaten to end the game on the spot. Getting it onto the table early was important, because it meant your opponent couldn’t really ever tap out on their own turn without killing it first. The threat of Splinter Twin on Deceiver Exarch was too great.
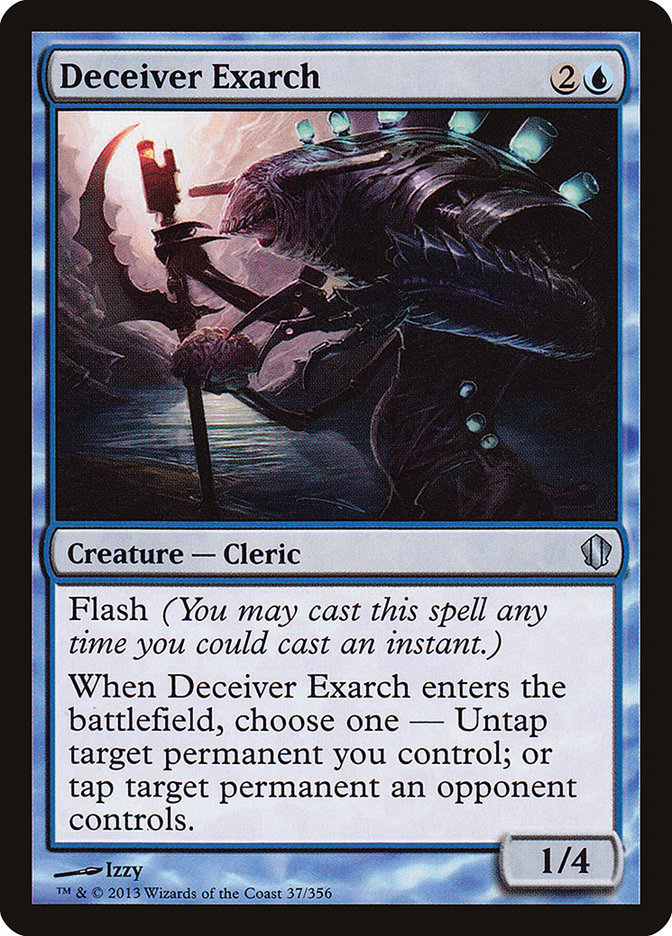
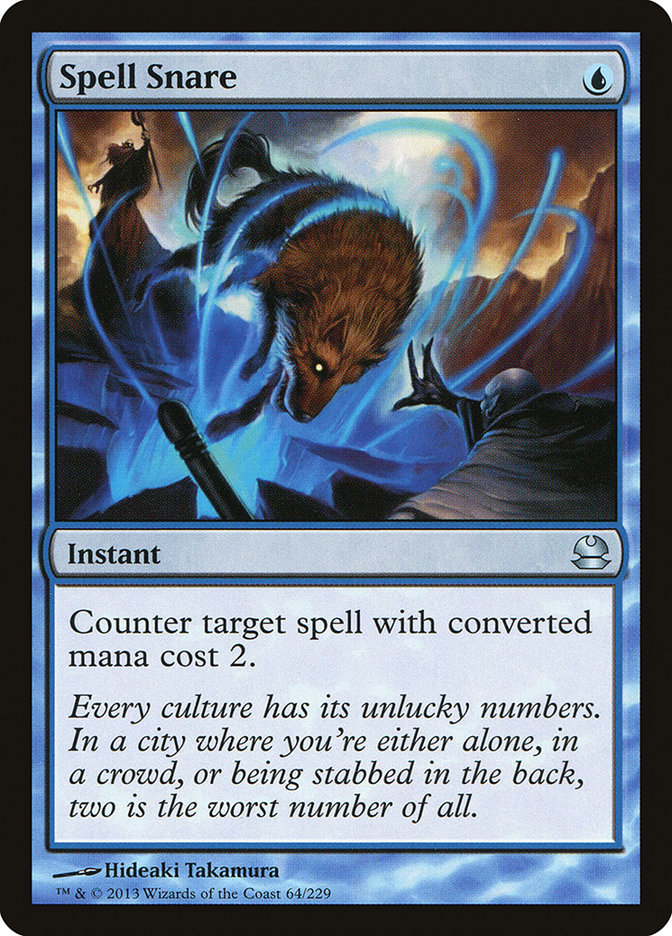
Now, you’ll see in the video that I cast it in my main phase, because there aren’t any one-mana counterspells that can deal with it, while also untapping my own Sulfur Falls. Doing this can signify Lightning Bolt, Spell Pierce, Spell Snare, Dispel, or a bluff. Regardless, I’m getting a threat onto the table, which allows me to dictate the game for the next few turns. The small bits of damage done by attacking with Deceiver Exarch are also important, because they allow my Lightning Bolts and Snapcaster Mages to close the game without having to assemble the combo.
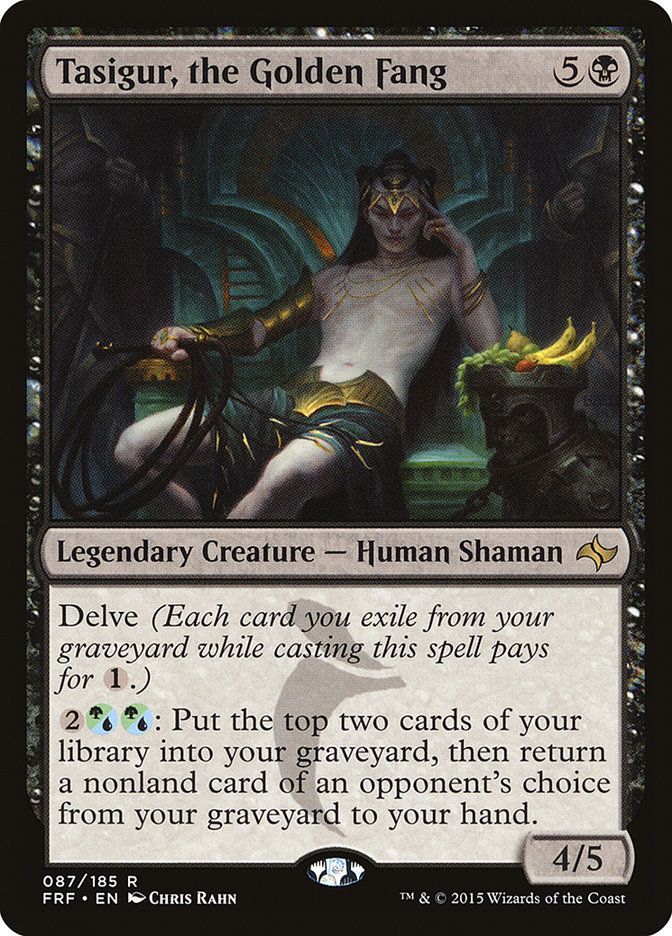
The turn after I main-phase my Deceiver Exarch, you’ll see Danny do the same with a Vendilion Clique. This likely means he doesn’t have a removal spell for my Exarch, but it also puts some pressure on me to find an answer. He is also taking away the potential for me to kill him with Splinter Twin by putting it on the bottom, while leaving himself vulnerable to drawing one out of the next two cards in my deck. In matchups like Grixis vs. Splinter Twin, it was common to leave yourself potentially dead for a draw step or two in order to put something on the battlefield, like a Vendilion Clique or Tasigur, the Golden Fang. The trick here is that the threats I’m presenting with a single Deceiver Exarch influence how he plays through most of the first game.
6:00
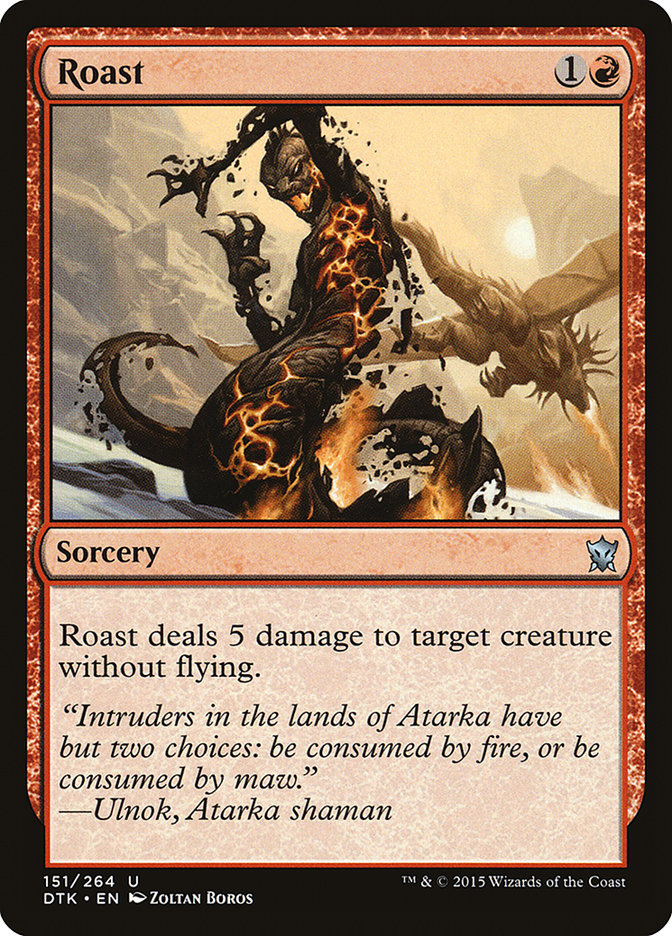
After Danny sticks the Tasigur, the Golden Fang against my battlefield of Tarmogoyf and Exarch, I’m under a bit of pressure to get it off the table so I can put a clock on him. Luckily, I have Roast to take care of it, but I also have Remand in hand to stop whatever answer he’s going to throw at it, assuming he’s going to spend all of his mana.
Unfortunately, what happens here is that he has Spell Snare instead of a Remand of his own, and my Remand can’t afford to target his Spell Snare, because he could just recast it. Instead, I opt for the play of Remand on my own Roast, which is not a play you see too often. Remanding your own spells is an easy way to get ahead in a blue-on-blue matchup, since it allows you to draw a card while saving your spell from an opposing counterspell.
Now we’re in an awkward spot, because I’m letting Danny untap for the turn with a Tasigur while I’m tapped out. I can’t really attack or defend against it, but I’m looking for ways to gain an edge with my spells over the next few turns. Whenever you’re able to trade two cards for one in a blue matchup, you’re doing something right. But if you’ll notice, Matthias makes a great point in the commentary around the 6:30 mark: “Todd has the freedom to tap out on his main phase, where Danny does not.” This is the reason why I’m getting to use Remand to gain an advantage. Since he’s on the back foot, he is ultimately forced to respond when I want him to respond, and I am able to leverage my pressure to gain incremental advantage.
Now, continuing to watch the game from here, you’ll see things seemingly spiral out of control. My cards don’t line up well with his removal, and even though I have some creatures on the battlefield, Danny is able to find a Terminate to kill the Tarmogoyf. So how do we win? We use the resources we have to continually put pressure on Danny. But there are certain points where we must choose how to press, without leaving ourselves vulnerable to burn spells.
At one juncture, around 12:00, we opt to trade Snapcaster Mages, because putting myself at nine life instead of eleven means I can die to a flurry of three-damage spells over subsequent turns. While that two-power creature in Snapcaster Mage might end up being the damage I need to win the game, you could argue that saving myself two points right there is more important. Ultimately, I don’t know if that was the correct play, but it is important to note.
Danny, on the same turn, chose to bluff a counterspell at the cost of two life. Unfortunately for him, I didn’t have the luxury to play around a counterspell and was forced to “go for broke” by bouncing his Tasigur and attacking for two points. Those two points ultimately cost Danny the game, even though he was significantly ahead on cards.
Let me be clear: I don’t think this was a bad play on Danny’s part if it was on any other turn, but it is tough to bluff when you’re ahead. Having cards that threaten to take over the game, like Tasigur, put the opponent in a spot where their hand is forced. Early in the game, this type of play would have changed how I approached the entire situation. However, with Danny so low on life, and me low on resources, it was not a great move to make. Playing his Grim Lavamancer instead would have put him in a dominating position and likely kept me from stealing the game.
It is important to note that playing against any deck having access to Snapcaster Mage and Lightning Bolt means that you must figure out how to change your play constantly. Going from defensive to aggressive, or vice versa, is key to winning in these matchups. This is why I chose to trade Snapcaster Mages earlier, and why Danny should not have made the bluff. Recognizing the spots where you can afford to bluff, or get a little aggressive, can change the texture of the entire game.
Game 2
20:30
You’ll notice that I don’t crack my fetchland in the early turns of the game. The logic behind this is that thinning my deck makes it less likely I draw lands. My hand is stocked up with spells and I don’t want to decrease the chances of me drawing another land or two in the first few turns. My other two lands in hand are also basic Islands, and I am not sure what land I will need later in the game, which is another reason to hold your fetchlands early.
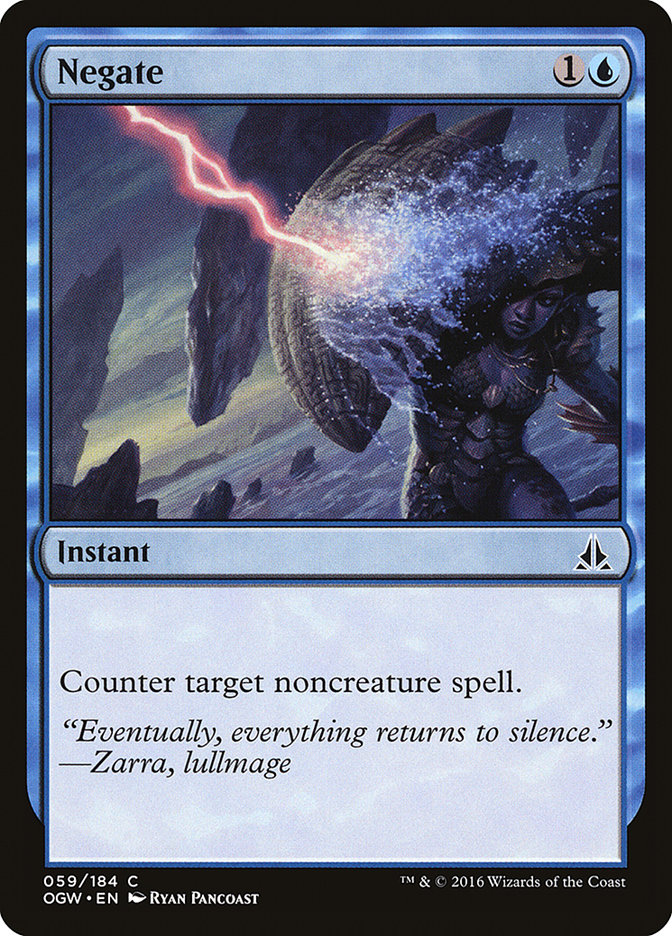
If you’ll notice, neither of us wants to make the first action. I decide to play an early Remand on his Serum Visions on the fourth turn. My hand is a little too reactive, and I really wanted to trade my Remand for a mana from Danny to give me a potential opening to land a big threat on the next turn with Negate backup, effectively winning a counter war. This play seemed odd at the time, but I think it had a lasting impact on the game.
23:50
Casting Gitaxian Probe here was likely a mistake. I couldn’t leverage that information on that particular turn, and I knew the card I was drawing would be a land (from Serum Visions) and wasn’t going to change my plays.
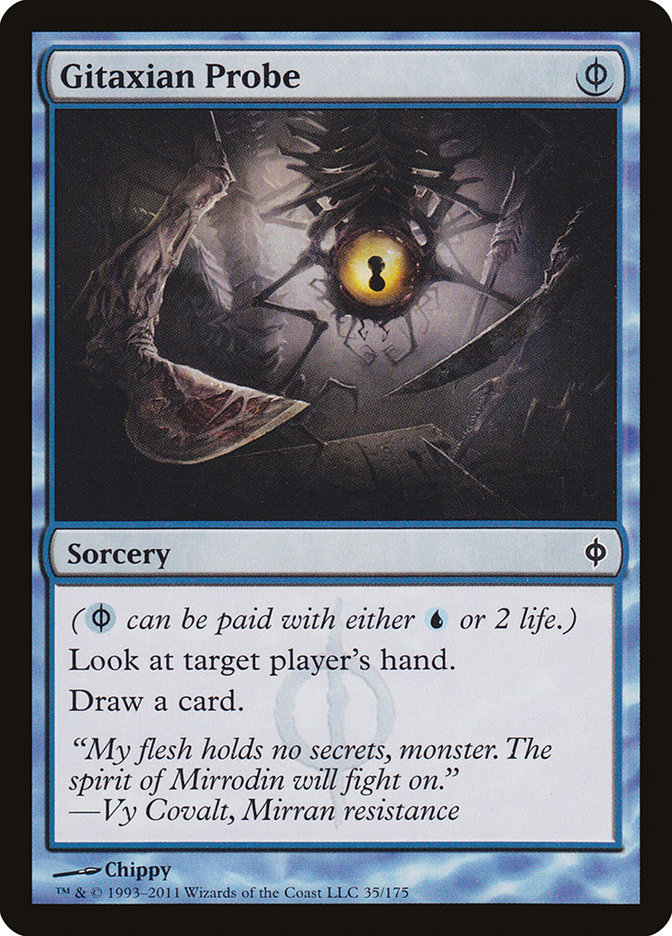
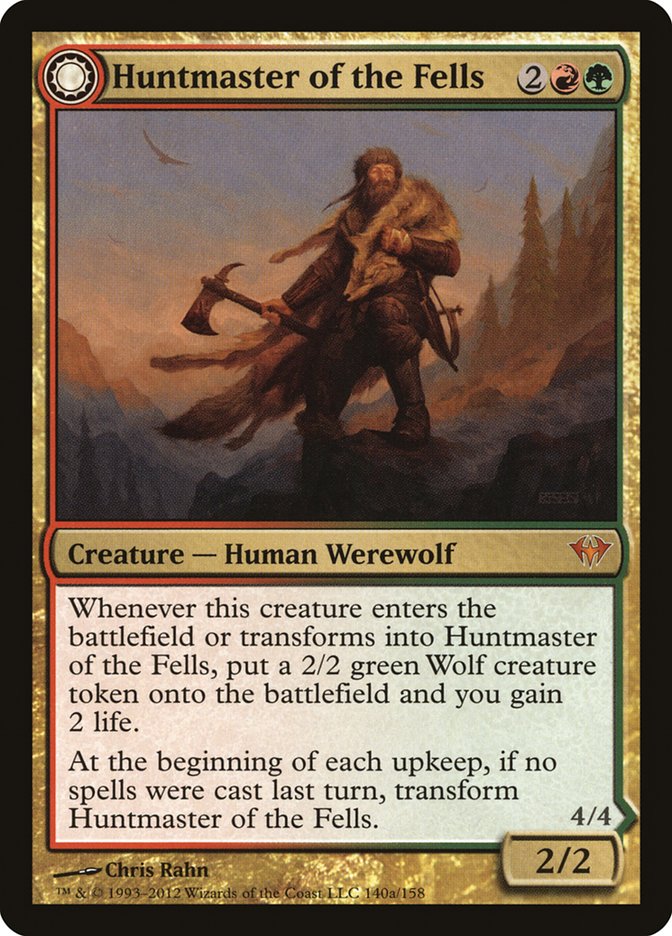
The important part to note, in this situation, is that I get to work from a position of information advantage, since I know most of the cards in Danny’s hand over the next few turns, which is one of the major reasons I like playing Gitaxian Probe in Modern. Knowledge is power and can even allow you to bluff. I mean, how strange would it be for me to cast something like Huntmaster of the Fells into Mana Leak? What does that do to Danny, and how does that change how he’s going to play?
25:50
Danny is the first person to blink when we both have a lot of mana and a lot of tricky spells in our hands. His choice to cast Tasigur signifies to me that he likely has enough stuff to win the fight over it, assuming I don’t have Counterflux (which I do, but he doesn’t know that). I could just hit it with Counterflux, but I wanted him to empty some of his resources first so I could potentially stick a Huntmaster of the Fells on the following turn.

This leads to me casting Remand. Danny, instead of casting Remand on his own spell to try to draw a card, targets my Remand. I believe this to be a mistake, since I can just recast the Remand. He can also use Remand to save his own card from Counterflux, which is why I cast the Counterflux before he got to draw a card from his first copy of Remand.
On the following turn, when I get to stick my Huntmaster of the Fells, I have the option of fighting over a Terminate. I chose to do so, but I think that was also a mistake. This left me unable to win the fight over Kolaghan’s Command on the next turn. Then, correctly, Danny chose to wait on casting Tasigur, as it would leave him tapped out, unable to fight over it.
After attacking with my Wolf on the next turn. I opted to cast a Vendilion Clique while Danny was low on mana. The threat wasn’t exactly a strong one due to Rending Volley, but instead allowed me to interact with Danny while he didn’t have a lot of untapped mana. After seeing his hand, I know I can’t resolve Tarmogoyf through Mana Leak and Dispel, so I pass the turn. I know he’s probably going to cast Vendilion Clique, allowing me to get full value from my Cryptic Command.
35:20
I choose to use Pestermite as both an aggressive card and defensive card. Similarly to trading Snapcaster Mages in the previous game, I felt like giving myself a bit of a life buffer was important.
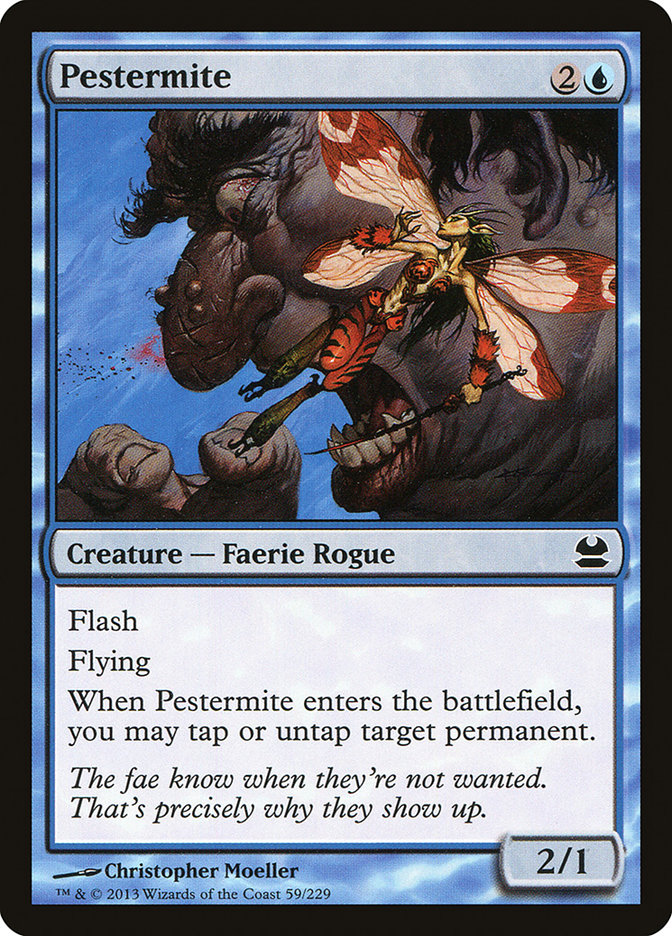
I was also able to tap the Tasigur to get in for six points of damage. With the counterspells in hand, I felt confident I could resolve my Pestermite and ultimately drew another Tarmogoyf to really put the pressure on Danny. He’s gaining a lot of raw card advantage, but his spells are a bit more expensive than he would have liked, meaning my Remands are fairly backbreaking. Unfortunately, we have a pretty big counterspell war on the next turn, and I think I’m going to come out ahead, but Danny hsd three one-mana answers to win the war.
And that’s another thing that is important for blue-on-blue matchups: having access to a healthy number of one-mana counterspells. Dispel and Spell Snare are great for winning battles over more expensive spells. They allow you to tap low on important turns and force through your game-winning threats. Danny should have been able to leverage the turn where he was able to win the counterspell war into a victory, but he chose an incorrect role. His should have been the role of control, and instead he spent at least one turn each game attacking when it should have been clear that his life total was more precious than mine.
Important note: his choice to attack on certain turns also changed how I played the game. I actively traded twice in spots where I normally wouldn’t, because Danny’s attacks gave me the impression that his hand contained at least one Lightning Bolt. While they did not, he could have drawn one or two at various points to potentially win the game.
41:15
As you can see, Danny’s attempt to be the aggressor in some spots, attacking with Tasigur while I had a Tarmogoyf on the battlefield, ultimately costs him the game (and match). While he is ahead on cards and on the battlefield, I am able to steal the game away with a few copies of Lightning Bolt. This is what applying pressure to the opponent does in a blue-on-blue matchup, and why figuring out the correct role in each blue-on-blue matchup is so important. You can find spots to turn the corner, but usually it is a mistake to do so when you’re leaving yourself vulnerable. If you think you’ll ultimately win a longer game, you should do everything in your power to make sure you get to that point.
Practical Use
It may be a while before you start to see everything between the lines in a blue-on-blue matchup in Modern. It may take you no time at all. Either way, I hope that this exercise helped you understand the important aspects. Figuring out your role, finding the right spots to cast your spells, playing around certain cards, and even when to run your cards into theirs, all of these things are about positioning. And when both players are equipped with similar tools, leveraging every small advantage is how you win matches.
Now, I’m not saying that you emulate everything I did in these matches. I just wanted you to know why I was doing what I was doing. Understanding the logic behind an action is often better than emulating the action, because it isn’t always going to be correct to emulate a play. Magic is a fluid game with a lot of moving pieces, and one of the worst traps you can set for yourself is setting up to make the same plays time and time again. Remanding your own spell is a great way to gain card advantage, but you may also want to stick your threat that turn. Understanding the benefits of both sides is important, and even knowing you have the option to do one or the other will give you a leg up on the competition.
With #GPCharlotte in just a few days, I can’t help but wonder how the landscape has changed after Pete Ingram took down the Modern Open last weekend with Jeskai Control. But what I do know is that it is possible that I get to play some blue mirrors again. I’m excited about that, and I’m excited to play with some Temur Box concoction. I don’t know the exactly list I’ll be playing just yet, but hopefully I can tie up all the loose ends before Saturday. Wish me luck! And happy Remanding.