
Standard these days looks a lot more like Modern in terms of metagame
spread. There are many decks that are all close to each other in terms of
success against the metagame at large, which is a breath of fresh air
compared to the last years of single deck dominance.
Given the wide spread, there’s a lot of matchups you need to know. These
are the six top decks in the format, and this is how each of those
head-to-head matchups breaks down.
Creatures (24)
- 4 Llanowar Elves
- 4 Druid of the Cowl
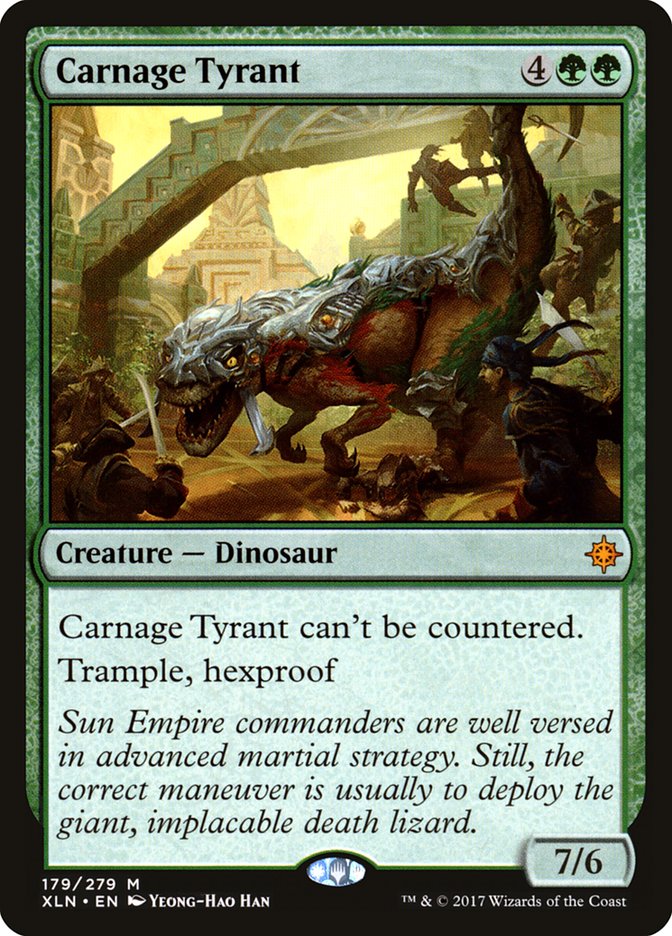
- 4 Carnage Tyrant
- 4 Merfolk Branchwalker
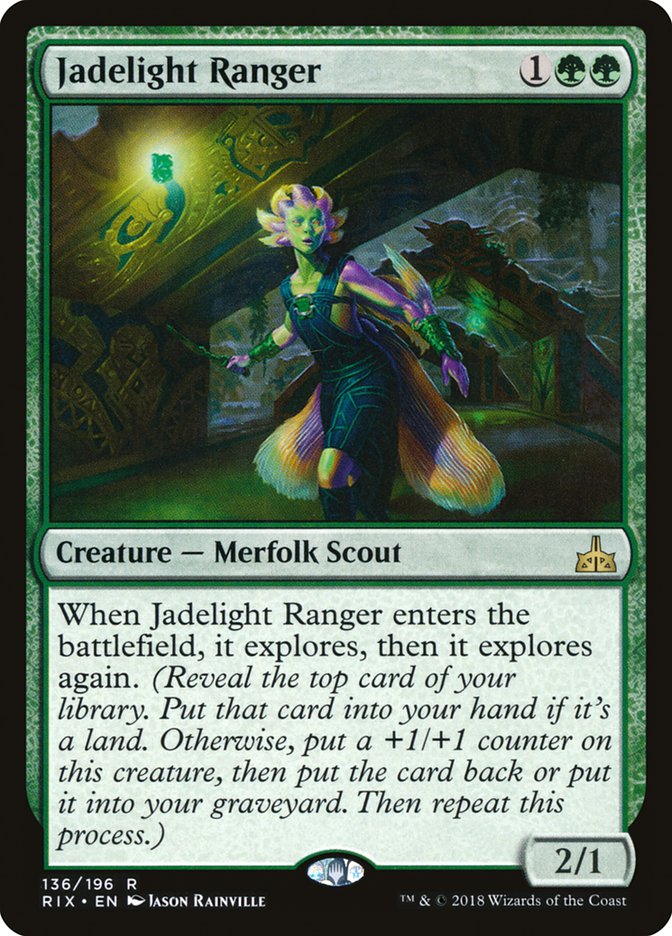
- 4 Jadelight Ranger
- 3 Ravenous Chupacabra
- 1 Golgari Findbroker
Planeswalkers (5)
Lands (23)
Spells (8)

Creatures (26)
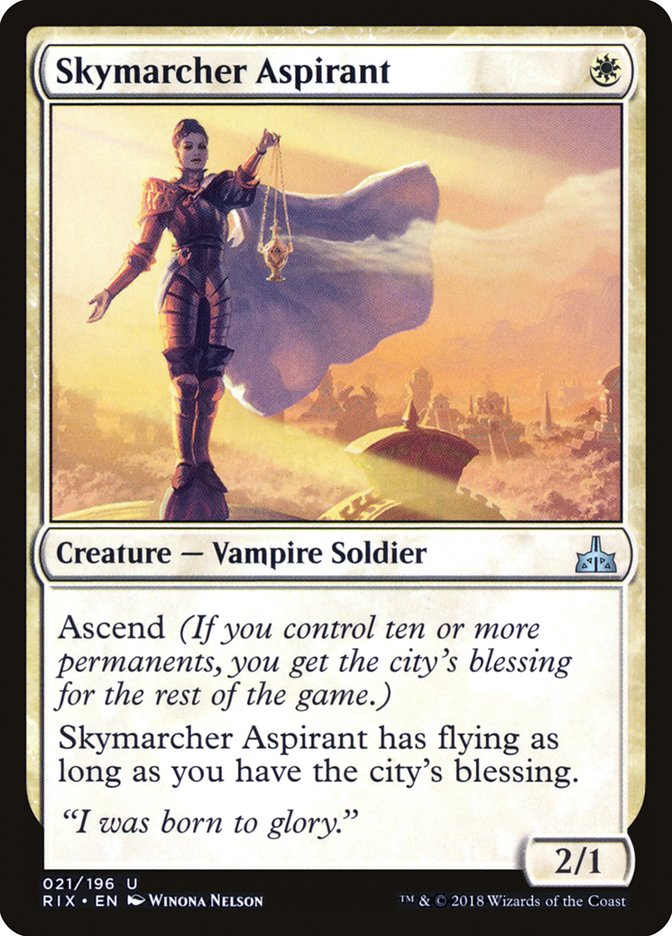
- 4 Adanto Vanguard
- 4 Skymarcher Aspirant
- 4 Snubhorn Sentry
- 4 Benalish Marshal
- 4 Dauntless Bodyguard
- 2 Healer's Hawk
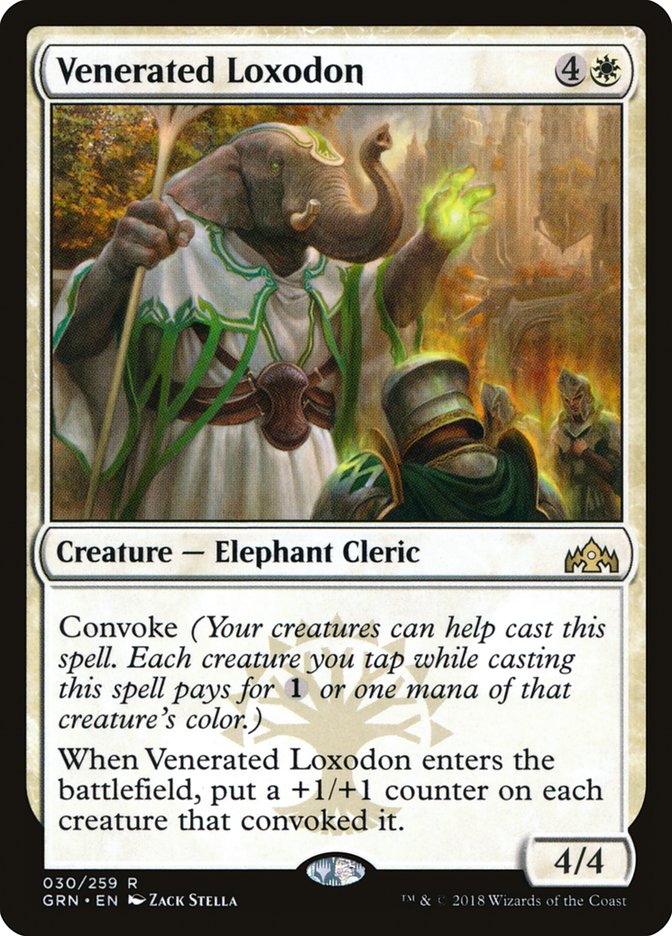
- 4 Venerated Loxodon
Lands (20)
Spells (14)
Creatures (15)
Lands (21)
Spells (24)
Creatures (3)
Planeswalkers (4)
Lands (26)
Spells (27)
Creatures (21)
- 2 Rekindling Phoenix
- 3 Fanatical Firebrand
- 4 Ghitu Lavarunner
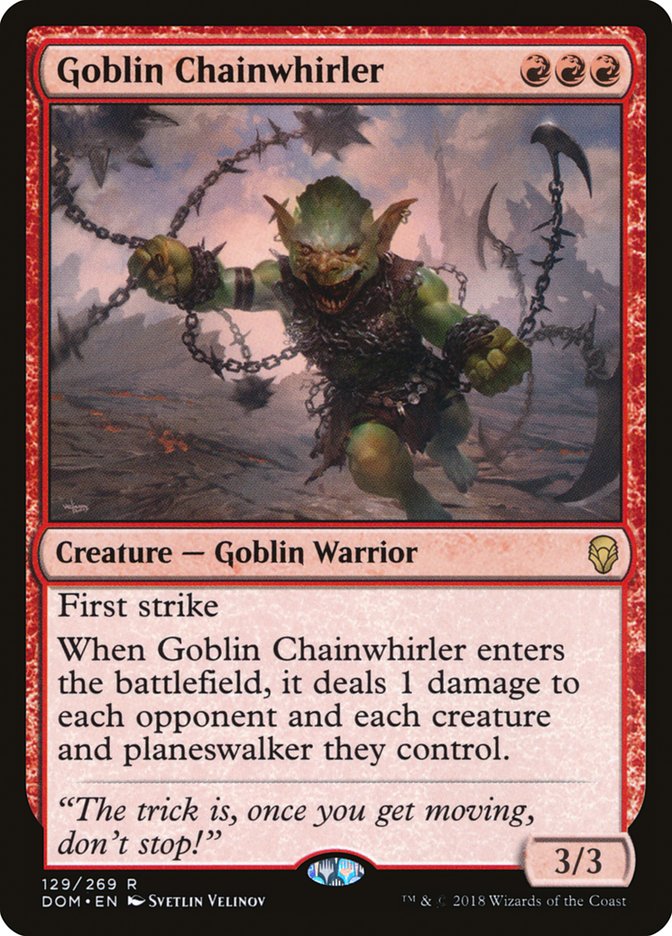
- 4 Goblin Chainwhirler
- 4 Viashino Pyromancer
- 4 Runaway Steam-Kin
Lands (22)
- 22 Mountain
Spells (17)
Sideboard
Creatures (16)
- 2 Shalai, Voice of Plenty
- 4 Thorn Lieutenant
- 3 Emmara, Soul of the Accord
- 4 Venerated Loxodon
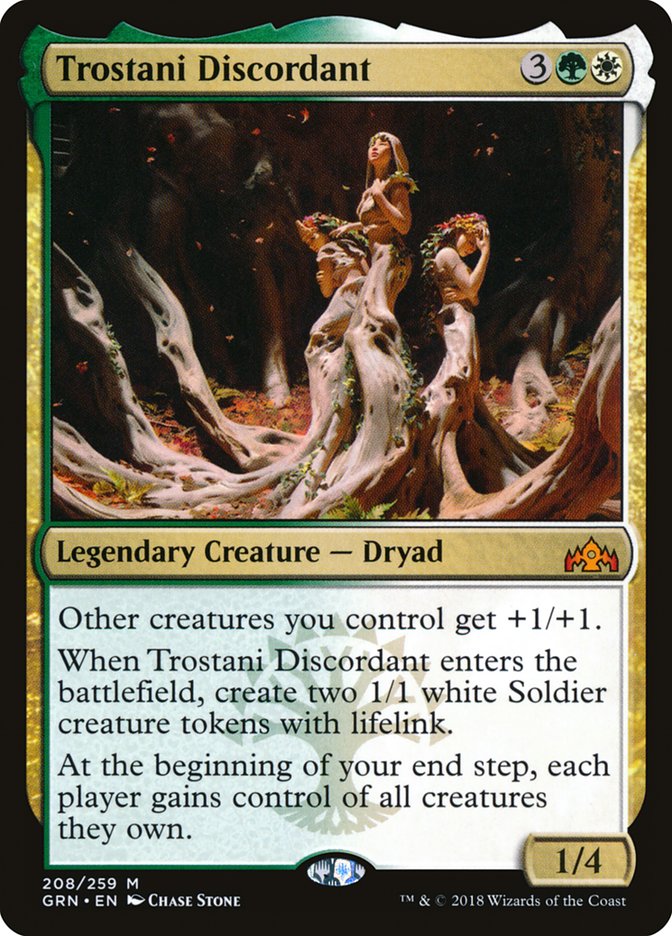
- 3 Trostani Discordant
Lands (21)
Spells (23)
- 3 Legion's Landing
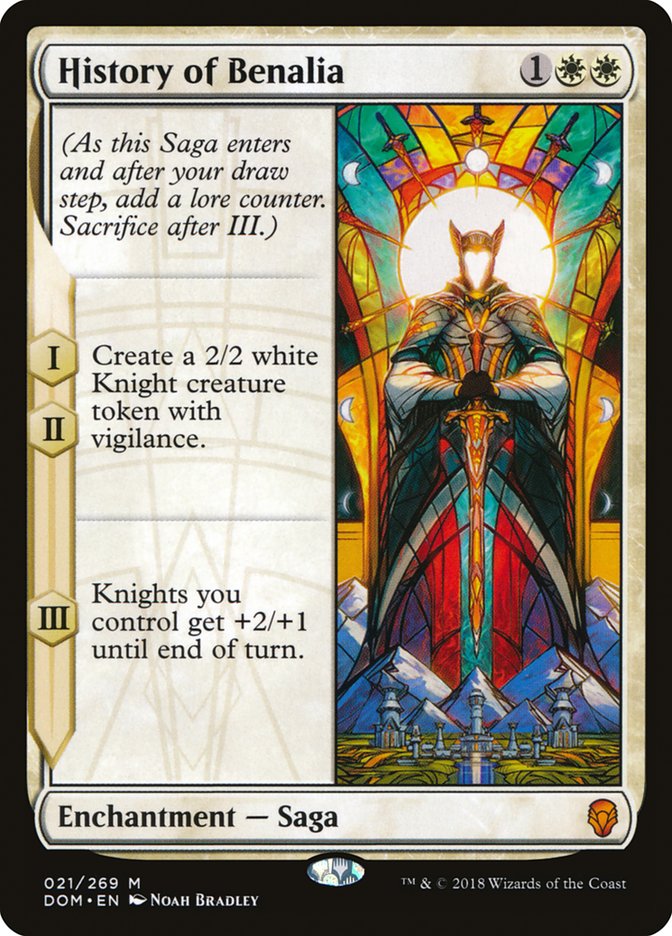
- 4 History of Benalia
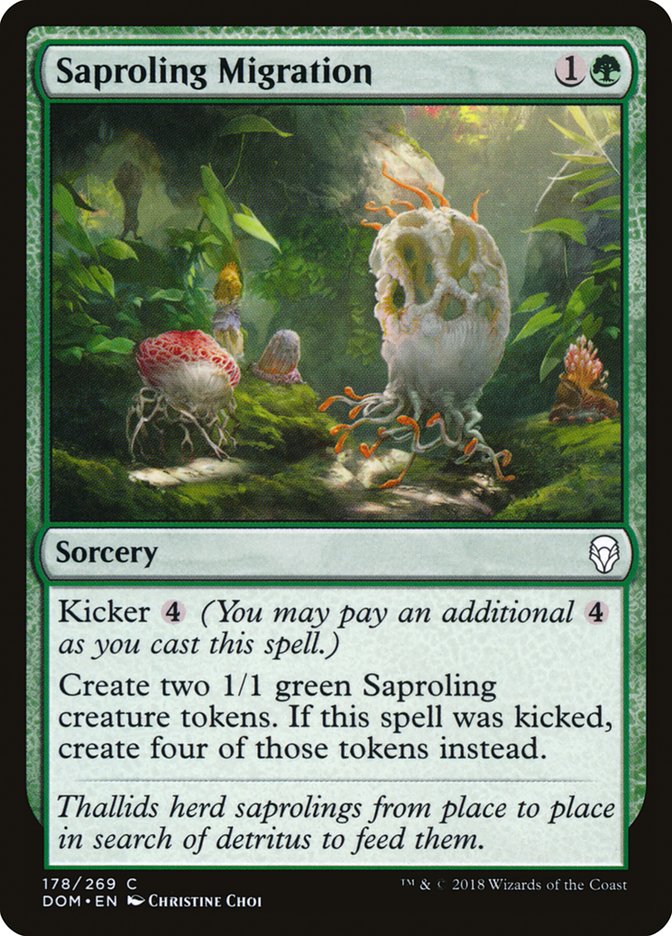
- 4 Saproling Migration
- 4 Conclave Tribunal
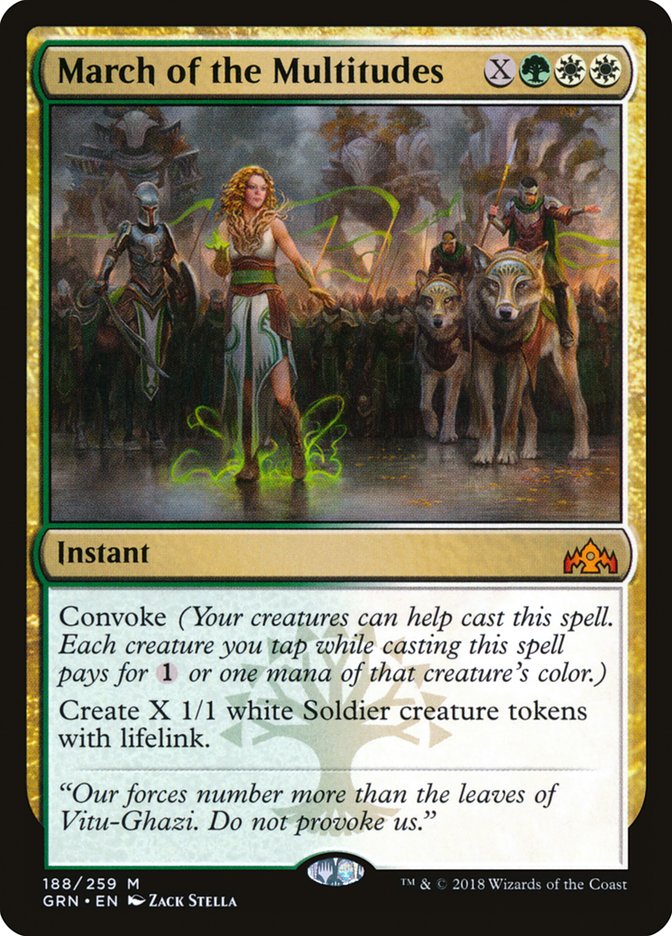
- 4 March of the Multitudes
- 4 Flower
Sideboard
Credit goes to
Grand Prix New Jersey Top 8 Competitor Zac Turgeon
for this exact list of Selesnya Tokens I played, which was delightful even
if I didn’t have a great weekend.
Golgari Midrange versus Boros Aggro
Early:
Boros Aggro is going to get ahead by virtue of its cards costing less. If
it isn’t ahead on the battlefield by turn 3, it needs to be because it has
a handful of its more powerful three-drop spells like History of Benalia to
deploy.
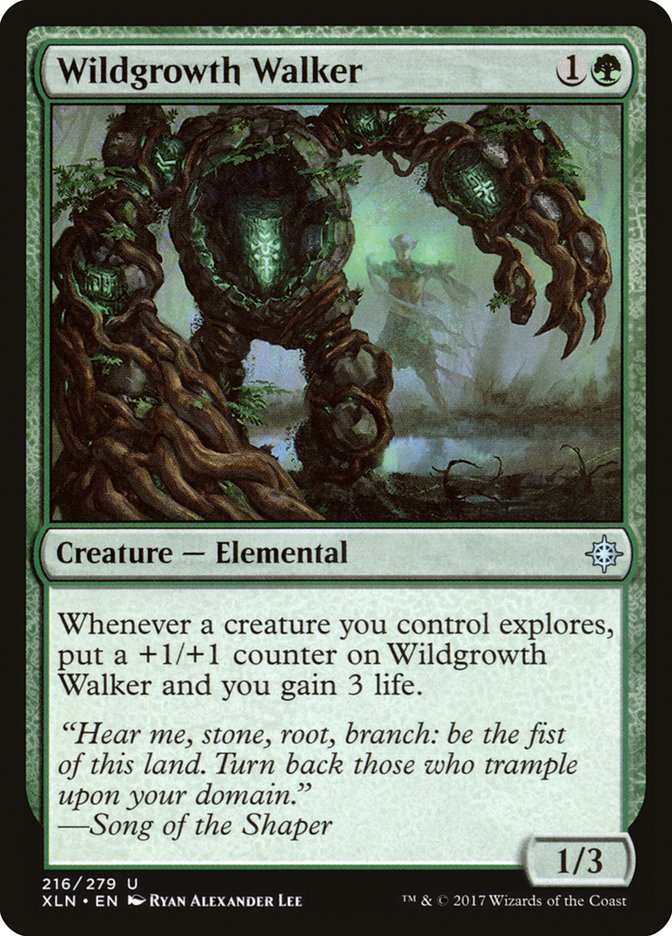
Golgari Midrange can lock up a game early with Wildgrowth Walker, a card
that almost immediately demands a Conclave Tribunal. The incremental size
and life buffer means Boros Aggro has no route to quick victory and dies.
If Golgari doesn’t have a Wildgrowth Walker, their early plays are largely
interchangeable as long as something happens. If Golgari misses a turn,
Boros will just overrun them.
Mid:

Boros is concerned with math. It wants to make profitable attacks, which
means min-maxing how the Golgari deck is going to block.

Golgari needs to start accumulating value, or it will just end up a bit
behind on every turn and eventually die.
Golgari wants value that plays to the battlefield. Ravenous Chupacabra is
the obvious one, but Vraska, Golgari Queen can eventually run away with a
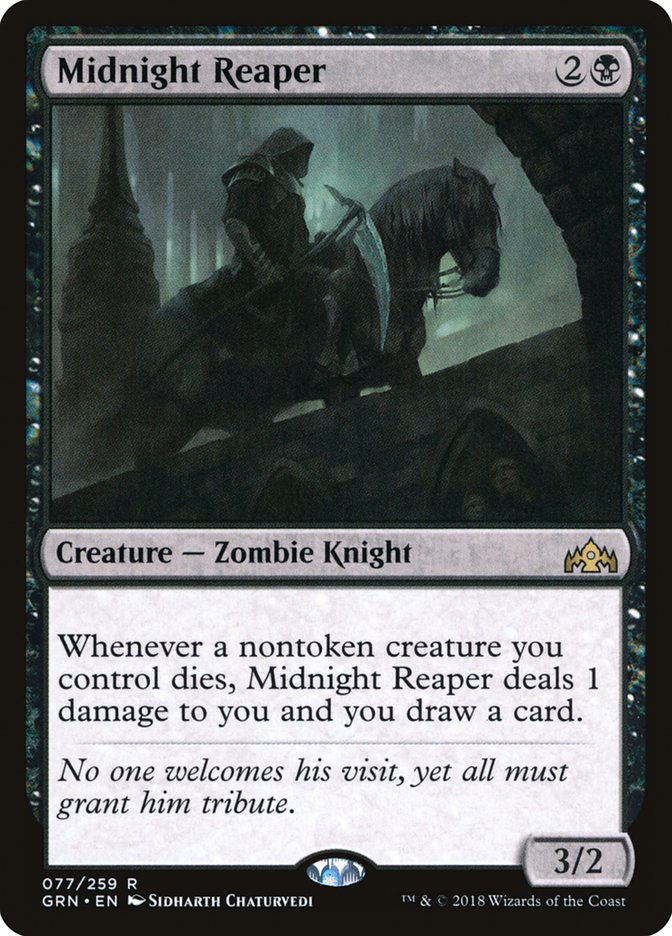
game and even Midnight Reaper making trades all profit is great. The other
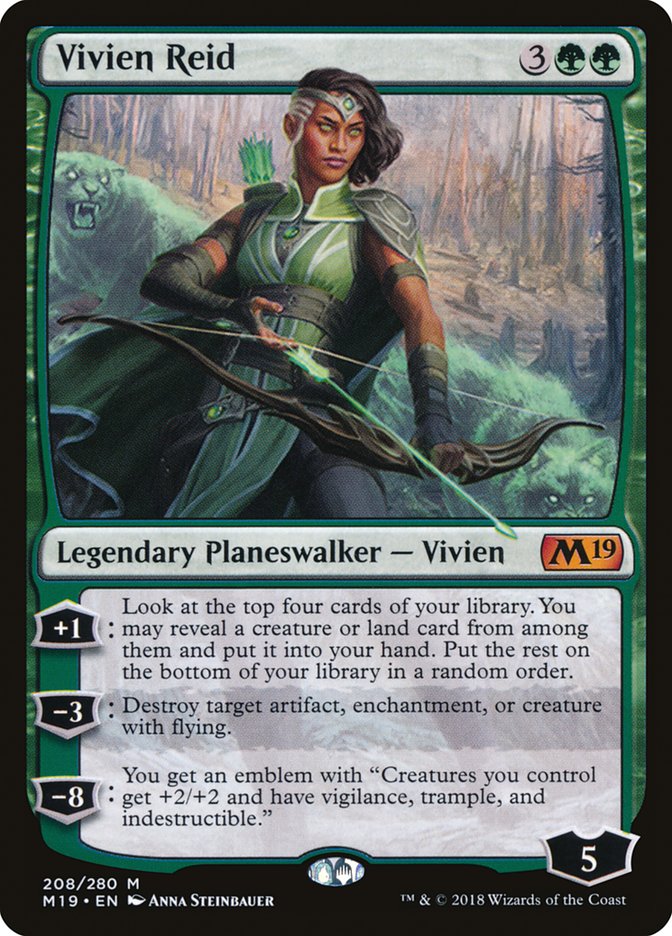
planeswalkers like Vivien Reid that just draw cards are difficult to
establish without getting overun.
Late:
At some point Finality comes online and things change. The Boros deck must
win before that card is cast or have a plan to win with the leftover
scraps.
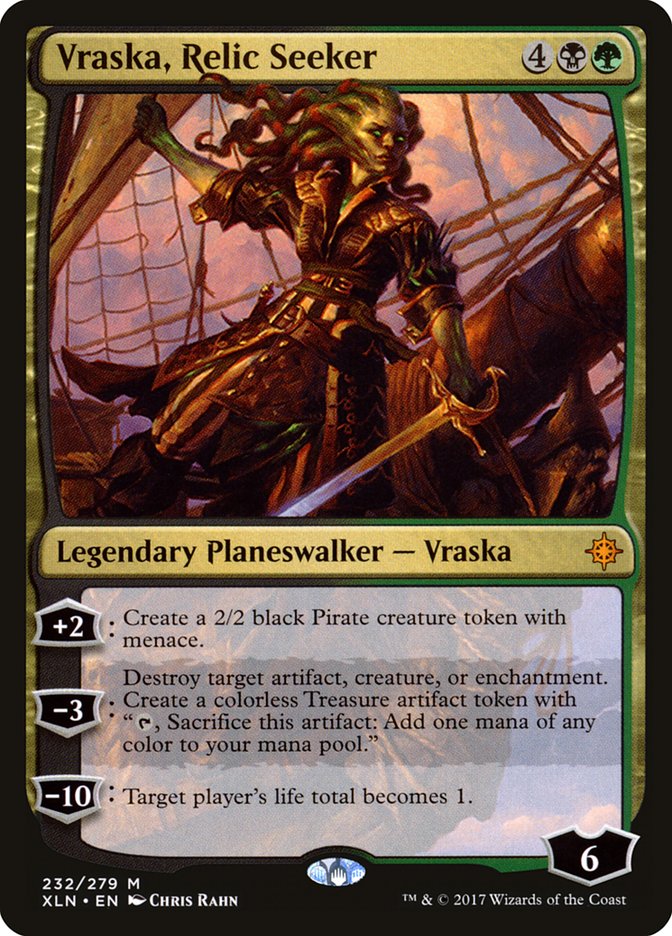
Vraska, Relic Seeker is almost always a clean win for Golgari. If the game
doesn’t end immediately, Golgari getting an extra 2/2 a turn is almost
insurmountable even if the ultimate doesn’t end up winning the game.
Sideboarding:
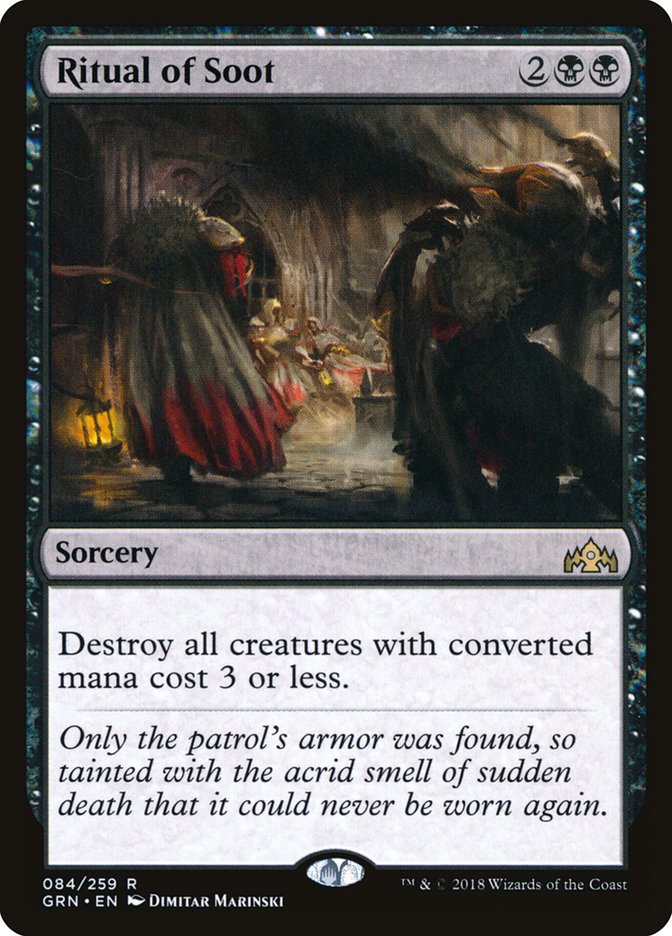
Golgari’s big gain is sweepers, but sweepers alone aren’t a plan. If
Golgari doesn’t play low drops first Boros doesn’t need to overextend into
them, and if Golgari does play less expensive cards first it doesn’t get a
lot of advantage from each sweep. Boros also has several threats that
sidestep sweepers. Ritual of Soot is good, but it’s still just at tool to
get Golgari to some big engine.

Boros Aggro’s big gain is Tocatli Honor Guard. This card is why I like
cards like Vraska, Golgari Queen and Midnight Reaper out of Golgari as they
just ignore the 1/3 and overpower Boros.
Tips and Tricks
:
-
If not massively ahead, Boros should consider attacks to conserve
better creatures for better later attacks. An example would be
sending smaller tokens into 3/2 Merfolk Branchwalkers and waiting
for History of Benalia Chapter III to make your Knights bigger than
their blockers. -
As games reach the lategame, Boros should see if Venerated Loxodon
can make five toughness creatures to dodge Finality.
Overall:
Despite this being a dynamic discussion and (on paper) seeming close,
Boros is significantly ahead here. Golgari really must try and skew
their deck to close the gap.
Golgari Midrange versus Izzet Drakes
Early:

This matchup has changed a lot over the format, but it’s back to Golgari
being the aggressor. Golgari needs to deploy something it can attack with
in the early turns.
Most of those cards are things Izzet can Shock, and it should be doing
that. The only other early action from Izzet is Goblin Electromancer, and I
don’t have a great answer for how Golgari should handle it. My current
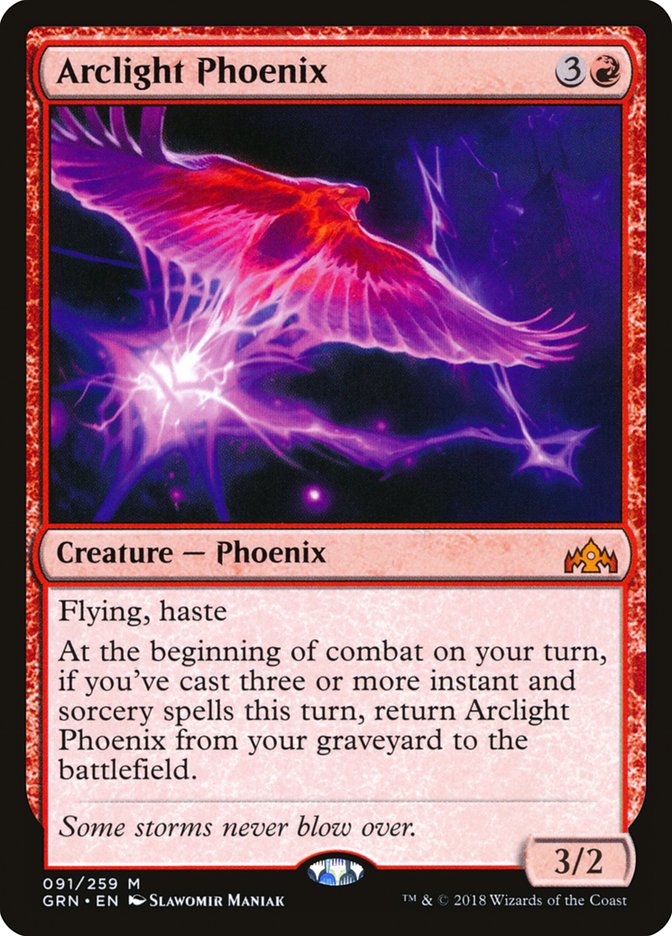
guess is if there isn’t a clean answer to an early Arclight Phoenix.
Golgari needs to kill it before one mana Chart a Course happens, but if
Golgari can manage that, it is better off pushing ahead. Maybe they don’t
have an Arclight Phoenix and you just get to bury them.
Mid:
Why does it matter that Golgari gets so far ahead early? Because you just
can’t let Izzet have uncontested Drakes. The math gets way out of hand too
fast, and you die to ten-power fliers. Golgari is going to have to spend a
lot of time in the mid-game tapping out for answers to these threats.
Late
:
This is where the latest updates to Izzet Drakes have really changed the
game.
Previously, Golgari could afford to wait and just kill all the relevant
threats. The first Izzet decks just had Crackling Drake and Arclight
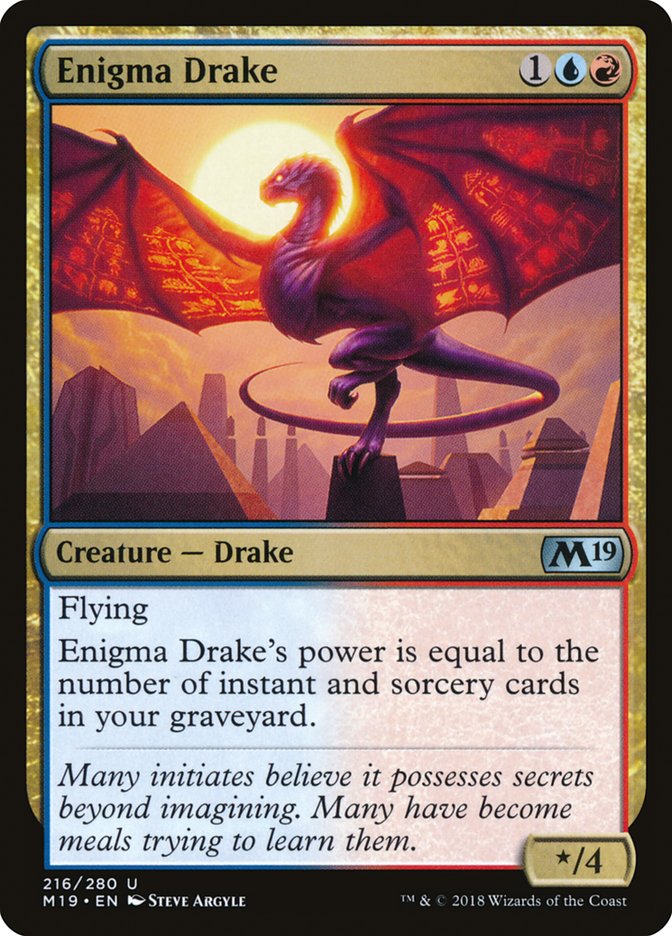
Phoenix. The second iteration added Enigma Drake but switched to Warlord’s
Fury and would eventually run out of steam if you just traded and got in
chip shots.
The current list that integrates extra Drakes, Goblin Electromancer, and
more selective cantrips like Radical Idea is just not going to run out. It
just turns lands into more cards, surveils into action with Discovery, and
keeps finding Enigma Drakes until they die.
If the game goes late, Golgari must close. It needs to have Carnage Tyrant
and jam away. It can’t sit around and let the Izzet deck churn through its
entire library.
Sideboarding:
Oddly, neither deck changes much in sideboarding. Golgari can’t sideboard
in too many answers because any one-for-one eventually gets overloaded by
card filtering, and Izzet can’t sideboard much as its power comes from that
same linear cantrip card filtering.
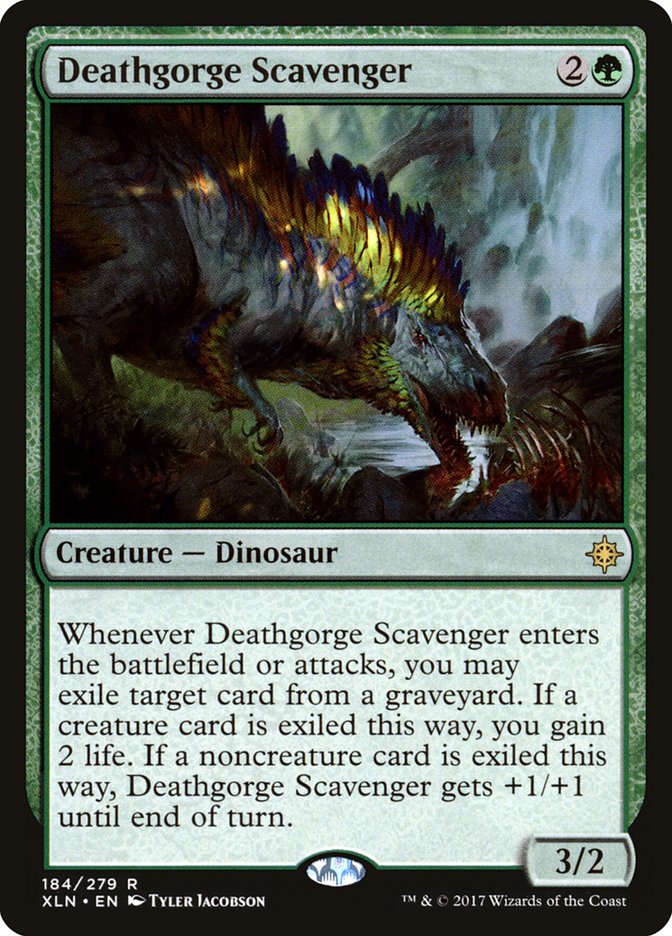
The only real gain is Deathgorge Scavenger from Golgari, which while
fragile, can shut down Arclight Phoenix.
Tips and Tricks:
-
In sideboarded games, Izzet should consider playing around
Deathgorge Scavenger by only discarding Arclight Phoenix on a turn
they are recurring it. It’s usually hard for Golgari to get the
mana to both destroy Phoenix and cast Scavenger to exile it, so
they are forced to expose Scavenger into a Shock first. -
Vivien Reid is a removal spell with upside. It’s hard to protect it
as a planeswalker engine against hasty, recursive fliers, and the
cards it draws are less relevant creatures. -
Finality should be considered before committing multiple Drakes to
the battlefield. In sideboarded games, that card is a bit clunky
and less of a consideration. -
Izzet, in midgames, is very happy to use the “raid” mode on Chart a
Course to go up cards after an Arclight Phoenix attack.
Overall:
I think Golgari as it exists now is a bit behind, but only because it
hasn’t re-level’ed the Drakes deck. Someone will figure it out for next
weekend.
Golgari Midrange versus Jeskai Control
Early:
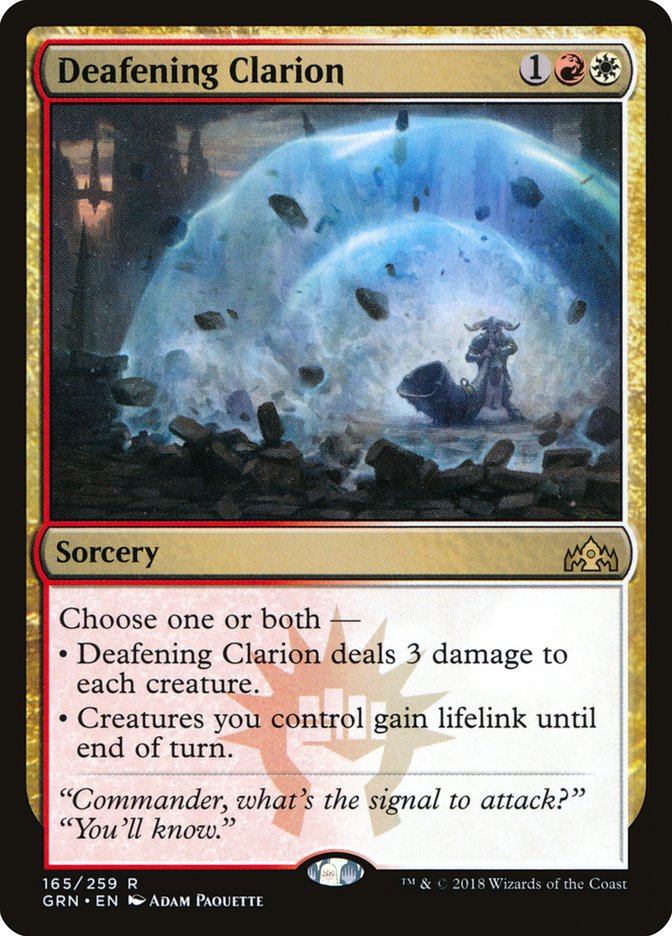
The early game is totally defined by the power of Deafening Clarion. All
Golgari’s early threats die to it, and any attempts at early pressure are
just wiped out by that card. Midnight Reaper is the only card that
exchanges at considerable profit.
If Jeskai lacks that card in their hand, Golgari can get into some of the
classic pressure forcing bad reactions lines that cause control to crumble,
but otherwise Jeskai just gets right into stable position.
Mid:
Golgari must reapply pressure, and the only card that effectively does that
is Carnage Tyrant. Vivien Reid just loses too badly to Teferi, Hero of
Dominaria. Jeskai must ensure it saves an answer to the Dinosaur, either a
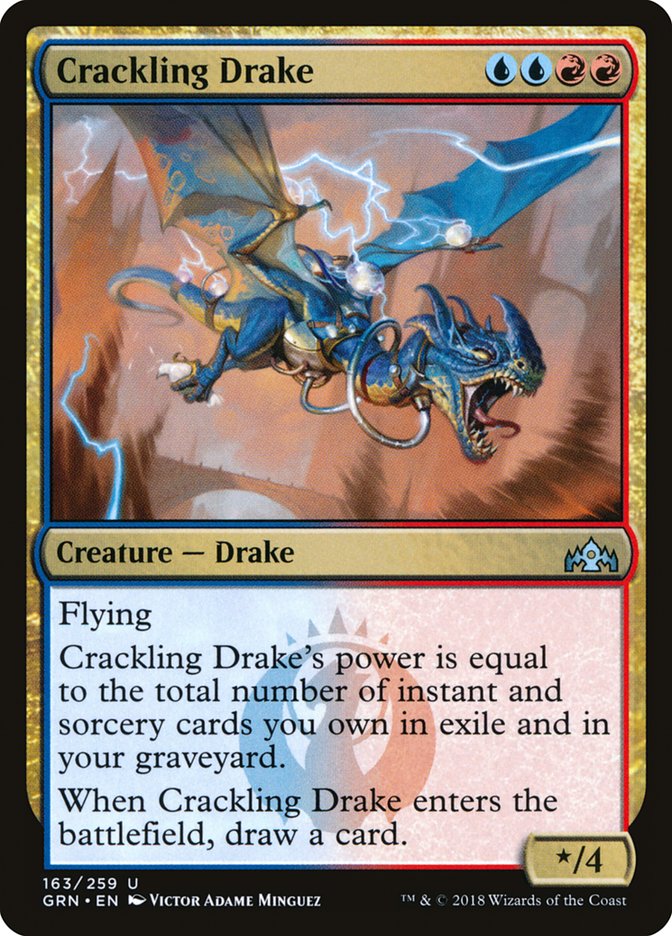
six-power Crackling Drake or a sweeper.
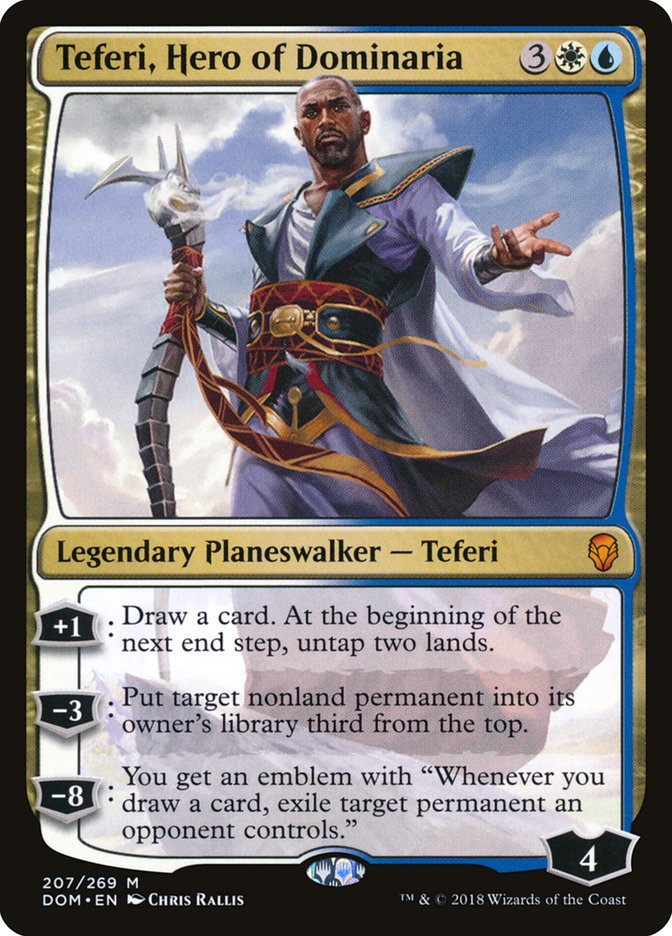
On the flip side, Jeskai has Teferi, Hero of Dominaria but must acknowledge
it’s fragile in the face of Vraska’s Contempt and Assassin’s Trophy. Teferi
is just a tool to force Golgari into some clunky plays and buy time at
value that sometimes happens to just run away with a game.
Late:
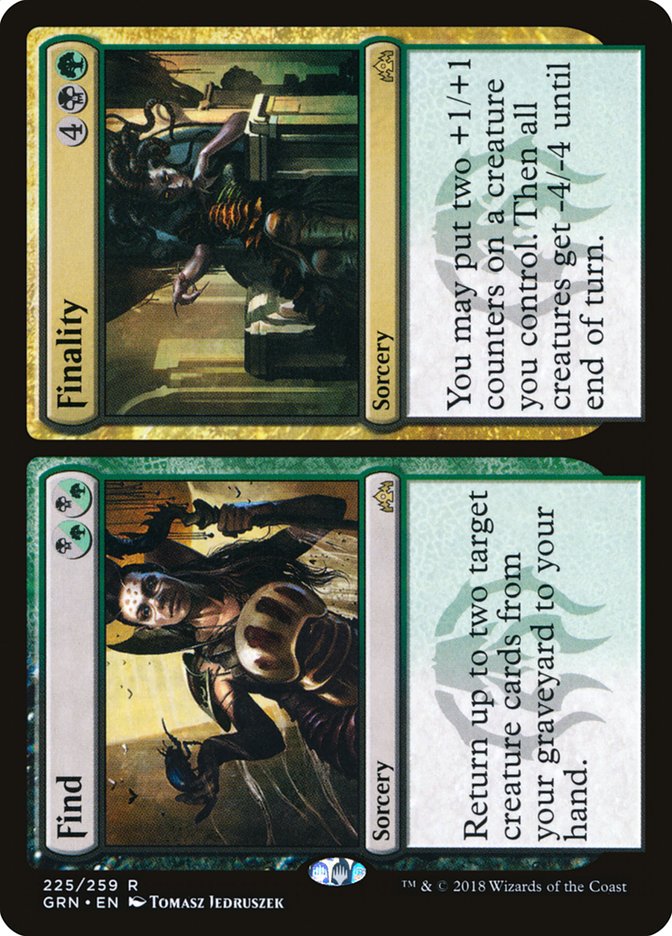
Going late, all Golgari is trying to do is make more Carnage Tyrants with
Find and Memorial to Folly. Don’t recur anything else, and hope they run
out of answers.
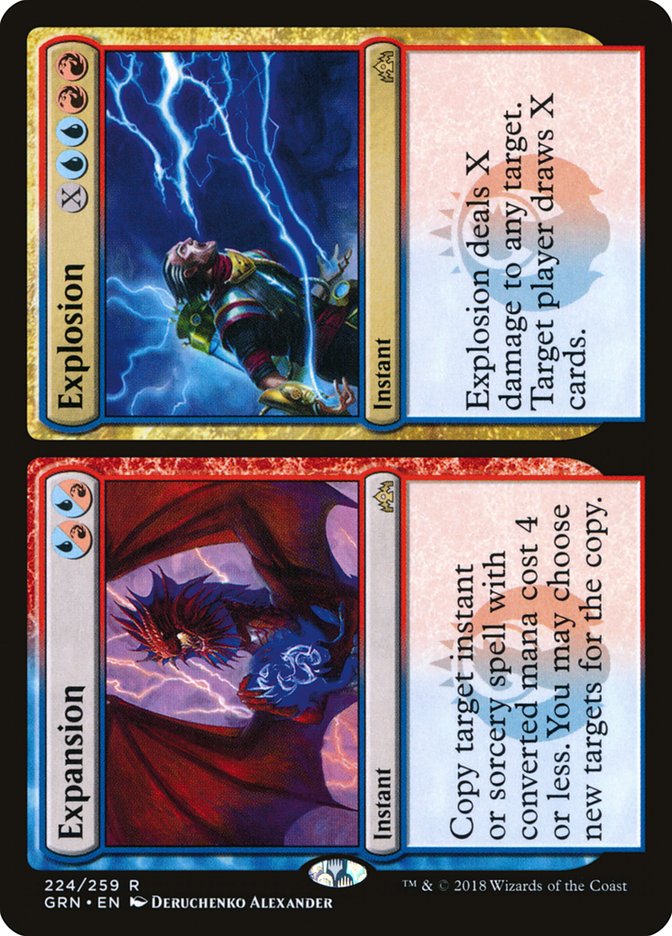
Jeskai is reaching for its big effect of Explosion to finish Golgari. If
that isn’t found, Chemister’s Insight does an okay job of the same effect.
Bury them in cardboard, even if their removal is still effective it just
trades.
Sideboarding:
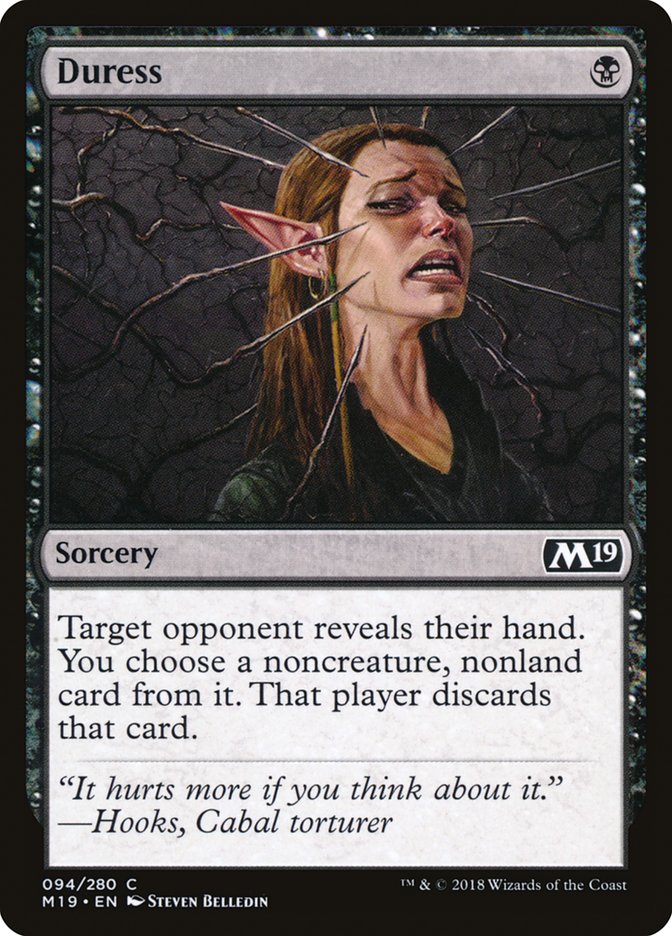
Duress matters less than you would expect from Golgari due to Chemister’s
Insight. It needs to be used tactically to take their answer to a big
threat right before you deploy it.
Jeskai gets two additions: alternate threats and more sweepers for Carnage
Tyrant. Neither of these changes a lot as Golgari had to keep answers for
Teferi, Hero of Dominaria, but it just makes shaving Vraska’s Contempt
dicey.
Tips and Tricks:
- Expansion can copy Deafening Clarion to kill Carnage Tyrant.
-
Vivien Reid is often best served as a removal spell for Seal Away
or Crackling Drake, or after Teferi in a spot where you can also
attack the first few loyalty off it and hamper the -3 that will
handle Vivien.
Overall:
Again, I think Golgari is slightly behind, but the games are extremely
lopsided. If Jeskai has clean answers, Golgari feels like they are
never in it; and when they don’t kill Carnage Tyrant, it’s a total
joke.
Golgari Midrange versus Mono-Red Aggro
Early:
This is just like Boros Aggro from the Golgari side. Mono-Red plays cards
that are cheaper, and Golgari needs to not get bowled over. You must do
something, but if it isn’t Wildgrowth Walker it doesn’t matter much.
Mid:
Mono-Red’s midgame is presenting a lot of difficult to answer threats that
Golgari absolutely must answer. Do you have a Vraska’s Contempt? If no, you
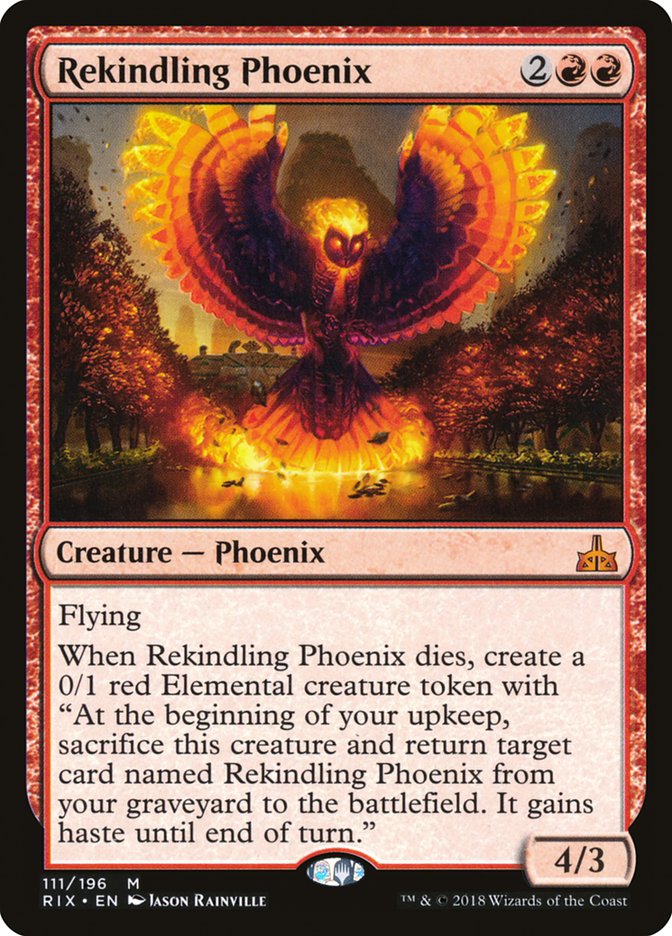
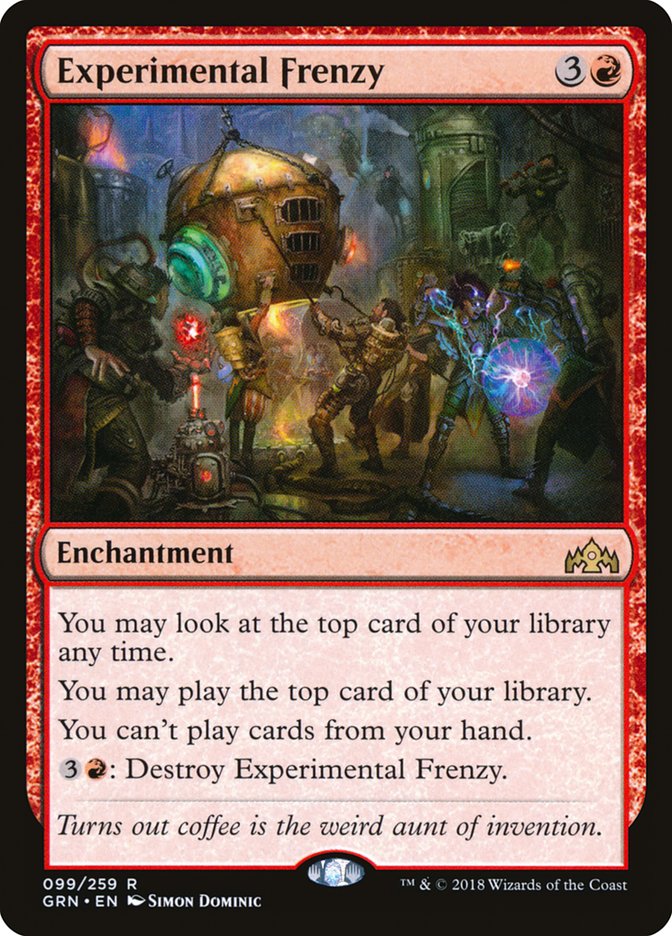
die to Rekindling Phoenix. Do you have a way to kill Experimental Frenzy?
If no, you die to the entire Mono-Red library.
Golgari does have enough answers to not always die, but its other plan is
to slam back its own dominating threat: Carnage Tyrant. Experimental Frenzy
takes time and if Rekindling Phoenix blocks, the Elemental token can die to
removal.
Late
:
The lategame is the turn Mono-Red checks if its top card is another
Wizard’s Lightning for lethal or if they’re dead.
Sideboarding:
Any extra Wildgrowth Walkers are even more of a must-kill Golgari threat.
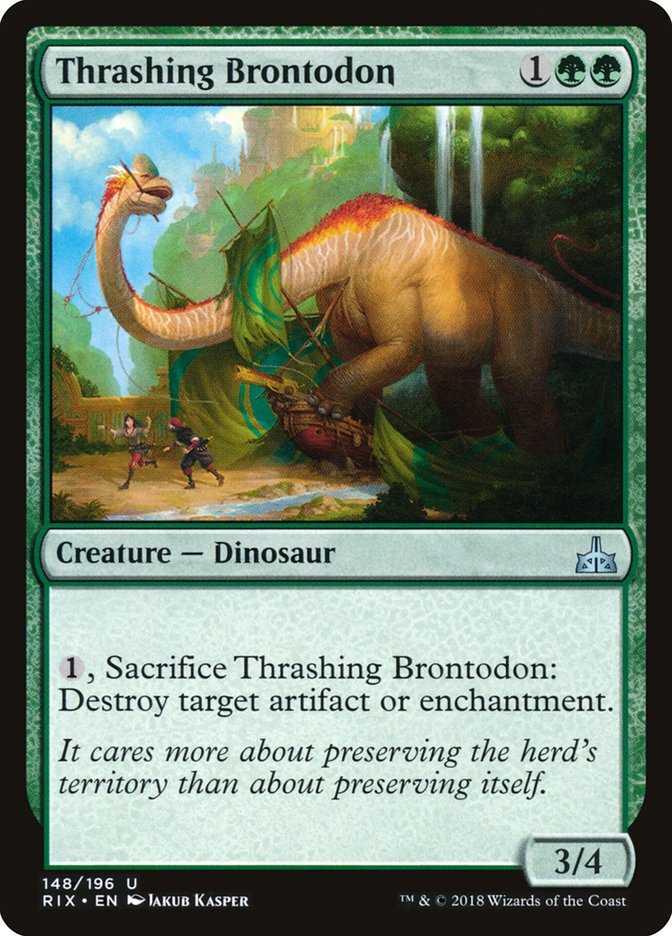
Thrashing Brontodon is another key answer to Experimental Frenzy that halts
the early aggression. Anything else is marginal changes towards more
efficient answers and plays.

Mono-Red sideboards to scale up a bit. Large Fight with Fires branched off
Treasure Map give it a little more time to handle Wildgrowth Walker and a
little more ability to rectify a game it’s behind but not horribly dead.
Tips and Tricks:
-
Mono-Red does damage in chunks of two a lot better than chunks of
three due to Shock and Viashino Pyromancer. Think about this when
playing to your outs. -
Golgari shouldn’t waste Vraska’s Contempt on smaller threats if it
can help it due to Rekindling Phoenix. -
Fanatical Firebrand kills Jadelight Ranger with the explore trigger
on the stack.
Overall:
As long as the Golgari deck is loaded with Vraska’s Contempt, I would
rather be on the Golgari side here. The baseline configuration of the
deck is fairly close against Mono-Red, and it only gets smoothed out in
sideboarding.
Golgari Midrange versus Selesnya Tokens
Early:
The early game is about Golgari trying to whittle away Selesnya’s life
total, while Selesnya is using it as a resource to build an overwhelming
battlefield. If that life total gets too close to zero, Golgari can use a
well-timed removal spell or one bad turn to force Selesnya to start losing
ground. If given room to expand, Selesnya just goes bigger.
Mid:
The mid-game once both players have a battlefield is about Selesnya
figuring out how to not lose to Finality. How much does it extend or hold
back, what does it take to have a lethal Flourish turn, and has it reached
the point where throwing lifelink Soldiers into the red zone to buffer life
totals makes sense.
The other half of this is Selesnya trying to stay far enough ahead on
creature counts that Golgari can’t safely establish a planeswalker. The raw
card advantage isn’t a huge deal, but the eventual ultimate is the clock it
must race if they go uncontested.
Late:
Lategames occur when Wildgrowth Walker got involved and Selesnya must
figure out how to close out someone on 35 life. This usually involves
clearing the first Finality and extending into a second one off the top or
March of the Multitudes making a large number of tokens that get pumped. I
had to attack with 61 Soldiers in one game of this matchup in Atlanta, so
get used to big numbers.
Sideboarding:

Sideboarding is about sweepers and counterplay to them. Similar to the
Boros matchup, sweepers won’t actually kill Selesnya as they don’t have to
really extend until Golgari has another way to win pressuring them, but
they help.
The Selesnya side provides threats like The Immortal Sun or Carnage Tyrant
that ignore Golgari’s sweepers and force them to fight both big and wide
angles of attack. Thrashing Brontodon is an extremely important hedge
answer for The Immortal Sun that holds off Knight tokens.
Wildgrowth Walker is the only reason Selesnya needs removal, but it does
need an answer at some point to win most games.
Tips and Tricks:
-
Learn how to do Selesnya combat math over multiple attacks with
double digit tokens. I’ve played enough Empty the Warrens before to
do this, but I’m not sure most people have. -
Don’t die to an instant speed removal spell on Trostani Discordant
making blocks or attacks horrible. -
Selesnya can stack extra lifelink tokens on a block to gain more
life, like putting all twelve Soldiers from a March of the
Multitudes in front of a Carnage Tyrant. -
If Golgari has a Midnight Reaper, try to minimize killing their
creatures to prevent them from drawing a sweeper.
Overall:
Selesnya Tokens is solidly ahead, but again, Golgari can select
specific cards to really turn things around. For example, I got crushed
by Underrealm Lich last weekend.
Boros Aggro versus Izzet Drakes
Early:
Boros is doing Boros, so Izzet must find a way to slow them down or it
dies. That means Shock, then an early blocker in Enigma Drake or a Goblin
Electromancer powered Arclight Phoenix on defense.
Mid:
Once it starts slowing down the damage output, Izzet is trying to close in
a couple huge Drake attacks. It doesn’t have enough cards that matter to
stop everything.
Yuuya’s sequence in the quarterfinals game he won is a perfect example
of this
, where one small Drake attack lead to a flurry of spells and an attack
with two Drakes for clean lethal.
Boros is just hoping it can push creatures around these Drakes, or best
case, make four-power attackers that the Drakes are forced to block and
trade with.
Late:
Doesn’t exist.
Sideboarding:
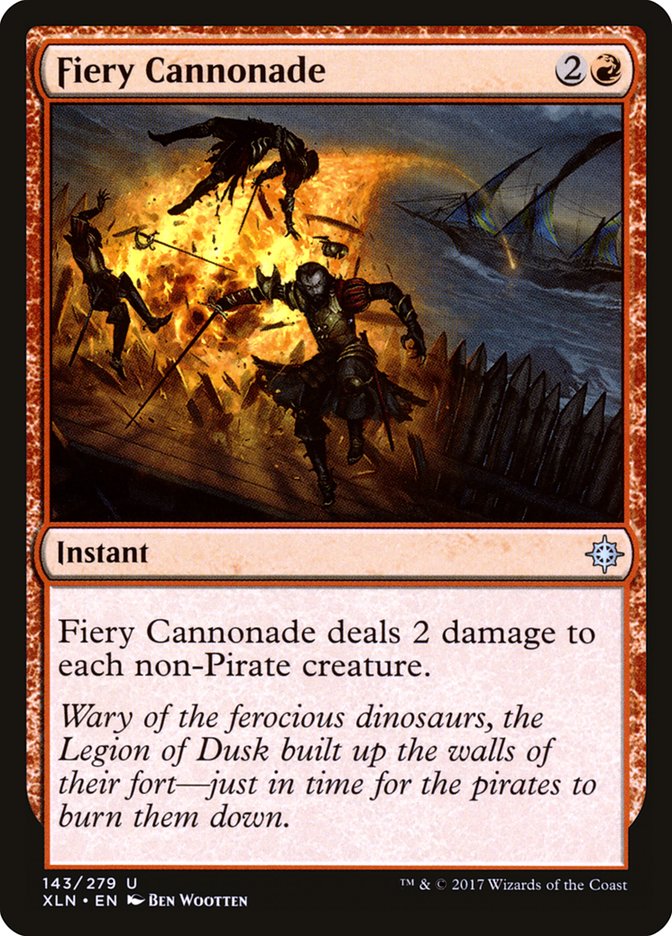
Fiery Cannonade is basically the only new card that matters. It still isn’t
enough to let Drakes go full control and handle everything, but it does let
it steal games where the way Boros’ cards are deployed let it mop up most
of everything.
Tips and Tricks:
-
Shock to the face is often a way to boost into a kill turn, as the
spell in the graveyard is worth an extra damage per Drake. - Arclight Phoenix is not forced to attack.
Overall:
Boros Aggro is very ahead, and solving this matchup is the immediate
key to keeping Drakes at the top of the metagame.
Boros Aggro versus Jeskai Control
Early:
Does Jeskai get to the Deafening Clarion before it dies? It’s a simple yes
or no question.
Mid:
Does Jeskai get to the second Deafening Clarion before it dies? If Boros
Aggro drew Adanto Vanguard, it often doesn’t lose enough to the first one
to seal the deal.
Crackling Drake is often key here, both holding off their second wave and
digging you closer to that second mass answer.
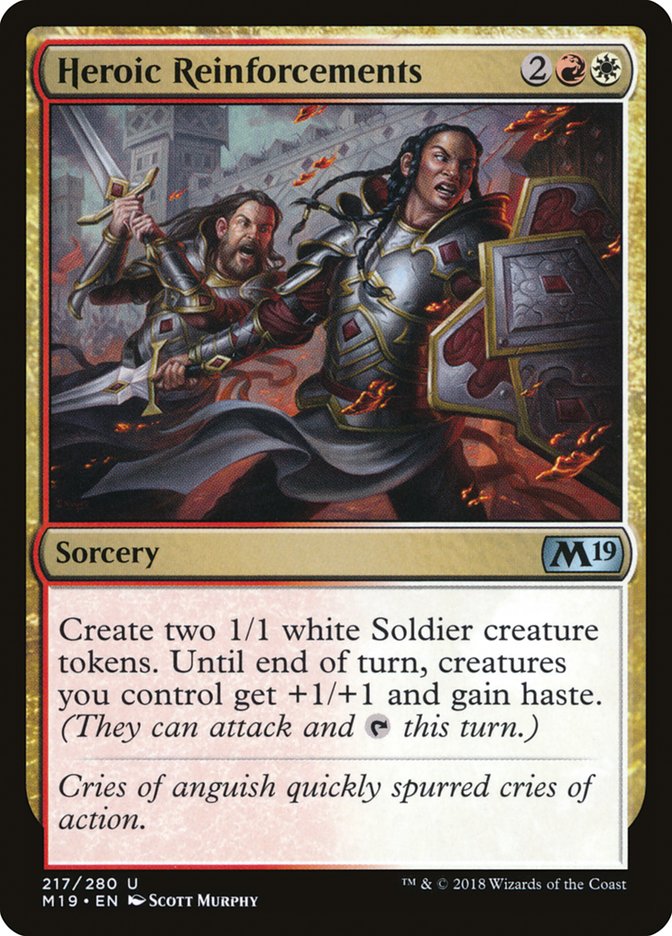
If the Boros deck is playing Heroic Reinforcements, often Jeskai just must
hope there isn’t one in their hand after the first or second sweeper. This
is especially true if multiple copies of History of Benalia force the
sweeper before both Sagas finish, so a fresh Knight token also attacks.
Late:
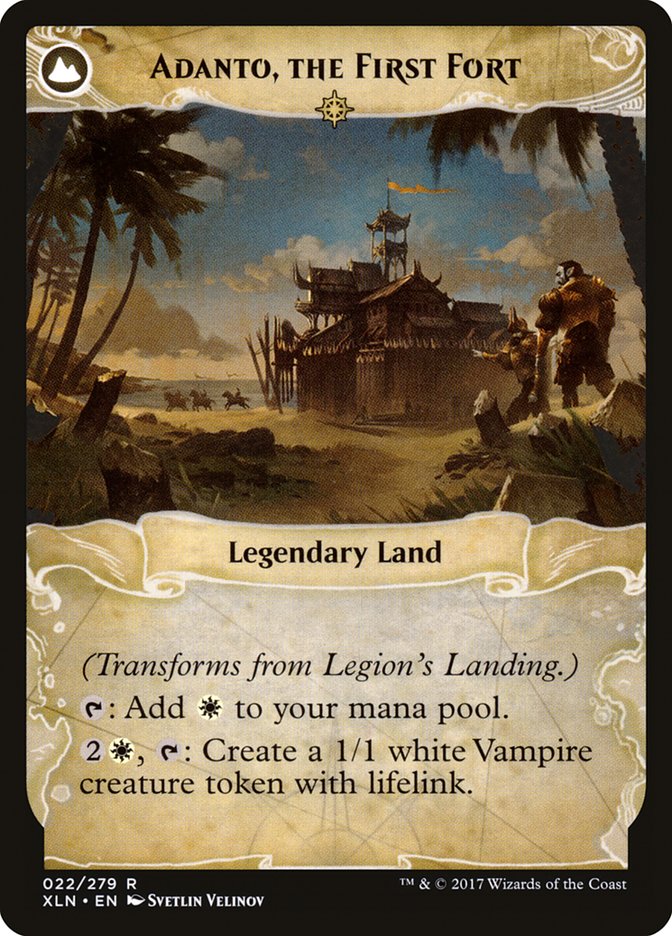
Boros Aggro only really has one long game of Adanto, the First Fort. Jeskai
usually defeats this, but if they’re low enough on life without a blocker,
they can die. Again, Crackling Drake is really good.
Sideboarding:
The sideboard threats from Boros change things a little, but not a ton. It
just gives them more lines to follow up a sweeper and punish Jeskai, or in
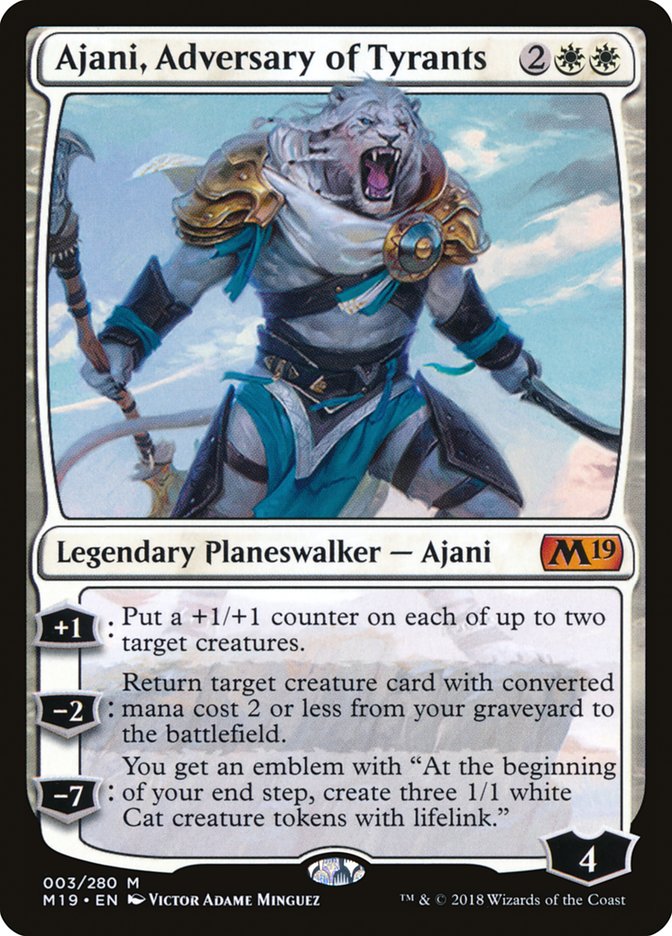
the case of Ajani, Adversary of Tyrants lets you extend further without
worrying about a cleanup spell. Boros can’t overload on these because
turning into a pile of four-drops breaks its tempo advantage, but they’re
all powerful.
Tips and Tricks:
-
Find ways to make your Boros three-toughness creatures into
four-toughness ones. -
Deafening Clarion should be saved to maximize value, like taking a
hit to clear both Knights from History of Benalia. -
Waiting until end of turn to Seal Away so you can counter a second
Adanto Vanguard wins games.
Overall:
Boros is ahead but loses ground the more red spells it cuts from its
deck. Those are the ones that really steal games when pressure is
applied.
Boros Aggro versus Mono-Red Aggro
Early:
The early game is about Mono-Red’s ability to absolutely crush Mono-White’s
aggression with Goblin Chainwhirler and a glut of cheap answers. Mono-White
needs to have a plan to produce threats that outsize Goblin Chainwhirler or
it will lose to that card. It also must beat the 3/3 first strike, which is
easier said than done.
Mid:
If Mono-Red can get to the mid-game without being buried, it has the most
powerful cards in the matchup. Boros Aggro must get ahead and stay ahead.
Late:
You play these decks for the lunch breaks.
Sideboarding:
After sideboarding, Boros gets some of the same midrange tools Mono-Red
has, but Mono-Red gets even better at blanking the early game of Boros. It
changes to a game where Mono-Red has the early game on lock and the same or
better mid-game with the same cards.
Tips and Tricks:
-
Don’t rely on Benalish Marshal surviving in a combat. The math gets
bad if they have Lightning Strike. - Adanto Vanguard does not win any fights or awards here.
Overall:
Mono-Red is very ahead, with only a few clear ways for a Boros victory.
Boros Aggro versus Selesnya Tokens
Early:
Yet again Selesnya Tokens is using its life total to buffer building a
battlefield. Boros is trying to maximize the damage it deals before the
profitable blocks stage begins.
Mid:
Boros staying in the game all leans on whether it can produce mass pump
effects to keep pace with Selesnya. If it can layer two more of these
effects than Selesnya, it’s pretty ahead. Multiple History of Benalia can
also qualify as this. On the flip side, there’s often a window where if
Selesnya plays Venerated Loxodon, a Heroic Reinforcements can close the
game.
Boros basically never beats Trostani Discordant. It’s the Selesnya easy
button.
Late:
Selesnya is going to attack with 50 or so power worth of lifelink and the
game is going to end.
Sideboarding:
Selesnya is going to use a sweeper. Boros is going to have to lose to it
some amount of the time. Even Cleansing Nova on a clogged battlefield finds
a spot to clear enchantments profitably.
Boros gets bigger threats, but Selesnya is reasonably equipped to deal with
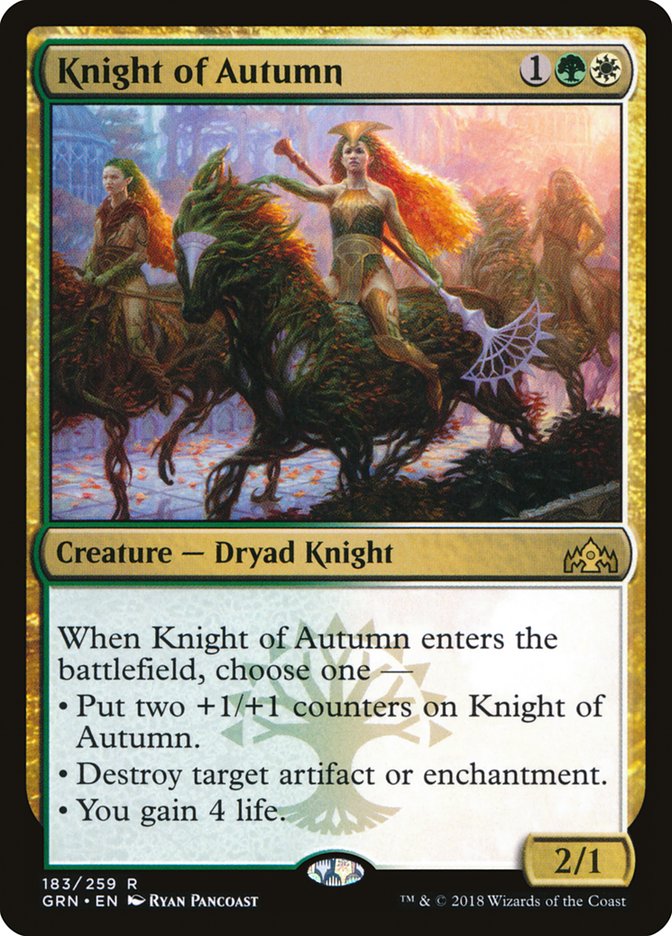
them. Knight of Autumn is really good at managing Experimental Frenzy, and
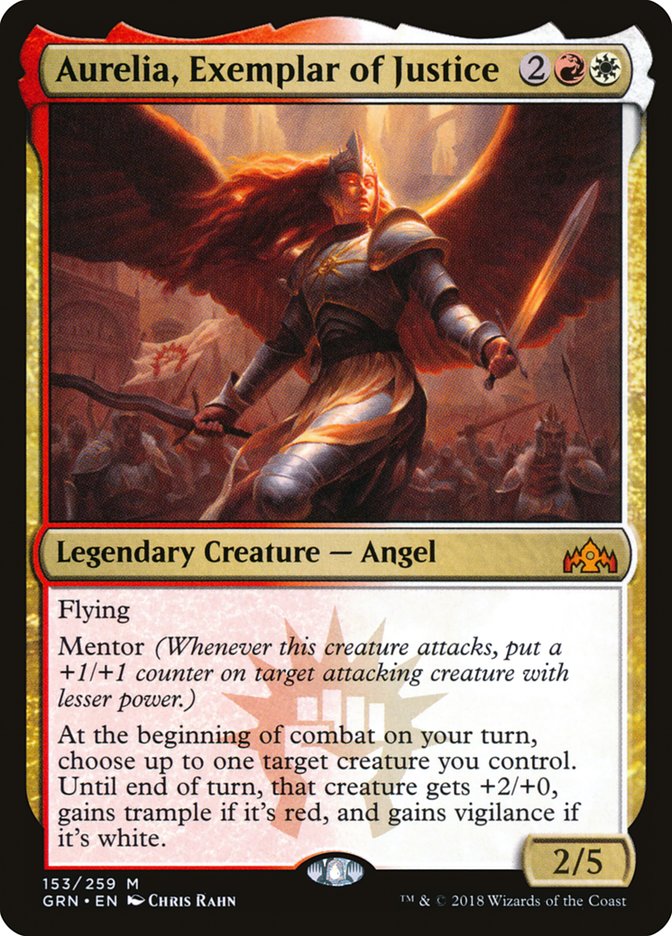
Aurelia, Exemplar of Justice is just a creature. Even an Ajani, Adversary
of Tyrants emblem can be bowled over with multiple March of the Multitudes.
Tips and Tricks:
- Mass blocking with lifelinkers comes up a lot in this matchup.
-
Emmara, Soul of the Accord is often just Safehold Elite, attacking
and leaving a 1/1 behind on a trade.
Overall:
Selesnya is very ahead. It does the same thing as Boros but bigger.
Izzet Drakes versus Jeskai Control
Early:
Not a lot happens here. People spin their wheels and Goblin Electromancer
should probably die.
Mid:
The mid-game of Jeskai versus Izzet Drakes is defined by Izzet producing
threats and playing to force Jeskai to handle them one by one. Any time a
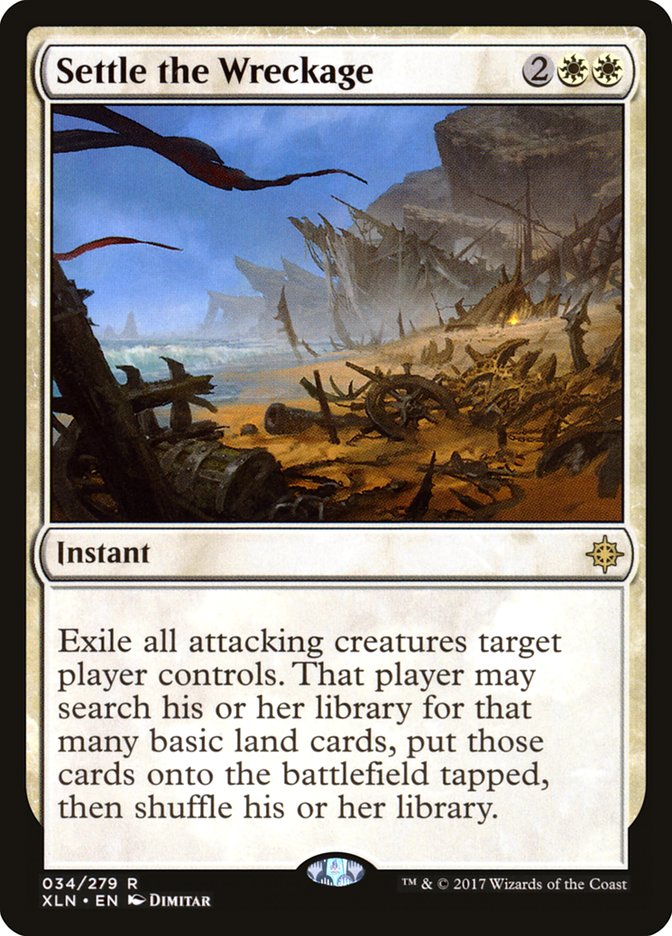
Settle the Wreckage tags multiple creatures or Jeskai gets to double
Deafening Clarion to handle two Drakes, Izzet has probably lost that
exchange. This eventually runs Jeskai out of answers and any individual
Izzet threat can easily win a game.
Late:
Jeskai can’t spend the late game at parity for the same reasons Golgari
can’t. The cantrip-heavy Izzet deck will eventually find all its threats
and win. The answer is the same as in the Golgari matchup, where you use
your card advantage spells to bury them in cardboard.
This is where Jeskai should be leveraging Teferi, Hero of Dominaria. It
isn’t a good way to buy time early game, but if you set it up with removal
backup, later on you can ride it into the sunset.
Sideboarding:
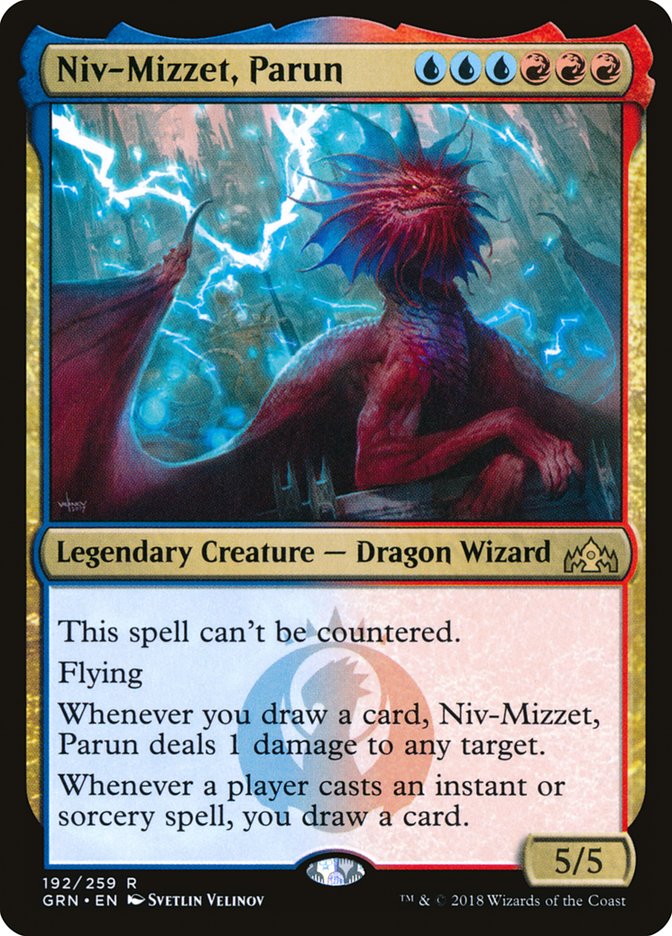
Niv-Mizzet, Parun messes everything up. All the long intricate counterplay
crumbles because if someone casts Niv unanswered, they win. Jeskai happens
to have more and better answers, so it’s ahead on this war.
Jeskai’s backup threats are also a nightmare for Izzet. Each piece of
removal it adds or keeps clunks up its draws, but it can’t win the heads-up
fight against these cards. Again, Izzet loses the exchange.
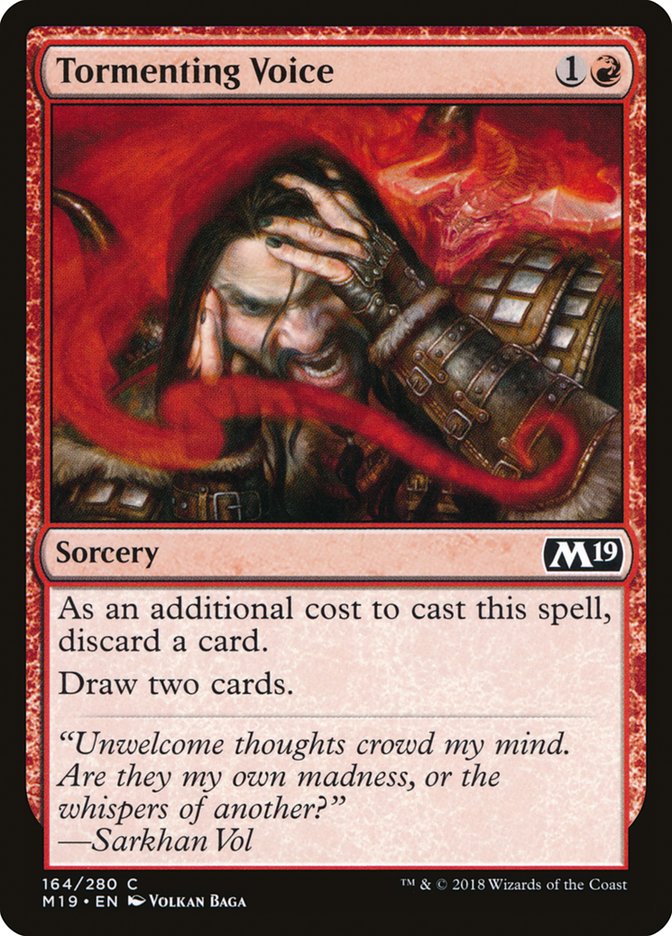
Tips and Tricks:
-
Shock can save an Arclight Phoenix from an exile effect. Use it
wisely. -
Tormenting Voice can be countered for card advantage to stymie a
cantrip chain. -
Expansion can copy Izzet cantrips if Jeskai needs to get some
action going.
Overall:
Jeskai is ahead, but this is definitely a matchup where tricky play can
put the better player ahead regardless of which side they sit on.
Izzet Drakes versus Mono-Red Aggro
Early:
Izzet is trying to defend itself from an aggressor, but it’s different than
Boros. Shock holds the line rather well against the less threat dense
Mono-Red deck, but Izzet’s blockers matter less; an Enigma Drake blocking
often dies to a removal spell. Even if Mono-Red loses a card on the
exchange, Izzet isn’t killing it the next turn with a flier.
Mid:
Both of the Mono-Red four-drops are huge issues for Izzet, and neither is a
card it’s well equipped to handle. Again, we see the plan of attack with
big Drakes and hope to win first coming up.
Late:
As is the trend for Izzet against proactive decks, there isn’t one.
Sideboarding:
Both sides get more effective removal in sideboarding. I honestly don’t
know who this favors.
Tips and Tricks:
-
Goblin Chainwhirler is mostly slow and unexciting. It isn’t a card
Mono-Red really wants to see. -
Trading off a Drake for Rekindling Phoenix and Shock on the
Elemental token is a good enough answer.
Overall:
I don’t have as great of a background for this matchup as others, but I
think Mono-Red is ahead. The Drakes deck usually wins when Mono-Red’s
draws fall apart for some minor reason, but has issues when things go
right for them.
Izzet Drakes versus Selesnya Tokens
Early:
Selesnya is trying to do the same thing Boros is to Izzet Drakes, but it
isn’t starting the beatdown off quite as early. It’s just trying to build
into big Convoke turns that amplify whatever it’s building.
Mid:
Selesnya must get to combat fast. Izzet is performing the same quick close
plan it had against Boros, but Selesnya must deal all its damage in less
combat steps due to the setup costs it has. Keep doing the math on how fast
Izzet dies if everything starts entering the red zone right now.
Late:
Shuffling for the next one.
Sideboarding:
Fiery Cannonade shows up again, so Selesnya should sideboard with that in
mind. March of the Multitudes is too slow and vulnerable. Even just Knight
of Autumn is fine as a more efficient threat that happens to pick up four
power.
Selesnya really must push hard, as evidenced by its six-drops being
terrible and slow. Don’t try to Carnage Tyrant. Izzet Drakes can have
Niv-Mizzet, Parun as it isn’t quite under the same pressure to spend actual
cardboard to produce pressure.
Tips and Tricks:
- Four-power attackers strike again.
-
Both sides just need to do lots of math. I have no short cuts
besides practice.
Overall:
Selesnya is behind, but its raw power is high enough that it keeps
things close.
Jeskai Control versus Mono-Red Aggro
Early:
The Deafening Clarion dynamic pops up again, only this time if Jeskai fails
to produce it at the right time, the loss of life is heavily punished by
burn spells.
Mid:
Again, we see Mono-Red’s four-drops making the difference, but it’s trying
to force Jeskai into positions where it reacts to an attack to save life
and opens a window to resolve one of them. Experimental Frenzy suffers a
bit from being answered by Teferi, Hero of Dominaria, but it’s absolutely
backbreaking if they can’t handle it.
Late:

Jeskai drives the end game, and it’s just trying to close out or gain life
before Mono-Red draws enough burn to win the game. Azor’s Gateway played a
huge role here, but Deafening Clarion with the now popular Crackling Drake
does much of the same. Once Jeskai has a buffer for a couple burn spells,
the game is largely over due to the improbability of Mono-Red drawing that
much burn before Jeskai formally ends things.
Sideboarding:
Jeskai gets more efficient removal to get into the end game at a more
reasonable life total, but it must really end the game or buffer its life
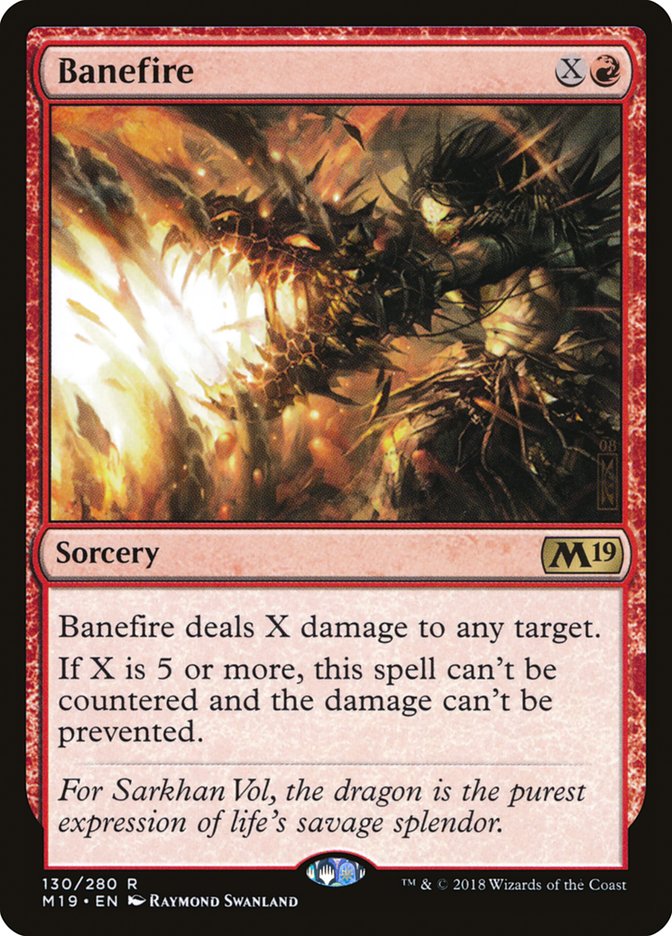
total high due to Banefire eventually coming down. Mono-Red is definitely
trying to steal the game without a lot of turn-by-turn success, but it has
a really powerful way to do so.
Tips and Tricks:
-
Rekindling Phoenix is rather unimpressive for Mono-Red. Jeskai is
just trying to exile or tuck things in too many other ways to make
it reliable. -
Mono-Red is not required to cast burn spells into open mana. Basic
Lightning Bolt versus Counterspell skills still apply.
Overall:
Jeskai is solidly ahead. Mono-Red has a lot of failure modes where it
doesn’t draw the cards it needs to deploy them at exactly the right
time.
Jeskai Control versus Selesnya Tokens
Early:
Unlike other matchups, Selesnya is way more interested in attacking with
its early plays than using them to convoke out more stuff. Sweepers are
annoying to handle. It’s a matter of deploying just enough to be
threatening if they don’t have the sweeper, but not too much so you can’t
rebuild after one.
Mid:
Phase two is Selesnya changing what sweepers it plays around as its threats
get better against Deafening Clarion. The goal is to pressure through a
Settle the Wreckage too, especially considering what you need on the
battlefield to properly hassle a follow-up Teferi, Hero of Dominaria.
A large enough Crackling Drake in this phase of the game can force Selesnya
into some really tough spots, but at the same time, tapping down leaves
Jeskai vulnerable to a big March of the Multitudes turn.
Late:
If Jeskai hasn’t eliminated Selesnya’s battlefield and buried it with
Chemister’s Insight, the game changes to applying pressure to force an
opening for a lethal March of the Multitudes. All the early damage adds up
to force Jeskai’s hand.
Sideboarding:
The sideboarded games are a story of alternative threats. Selesnya is
forcing Jeskai to handle go wide tokens and big hexproof threats. Jeskai is
forcing Selesnya to stay streamlined to beat a big end game, play careful
to beat sweepers, but have answers for tap out threats in the middle turns.
The games are really variable depending on which subsection of cards each
person draws, and it’s hard to really determine what you should do when
each single card forces such unique gameplay.

Again, these alternate threats force the midrange deck to keep all its
answers in the deck.
Tips and Tricks:
-
In the lategame, saving extra mana to keep Thorn Lieutenant safe
from Deafening Clarion might be correct if Selesnya is light on
follow-up threats. - Transform Legion’s Landing if possible.
-
Adding a counter to Thorn Lieutenant with Venerated Loxodon to make
it a 3/4 is huge. -
If Selesnya sticks an early Emmara, Soul of the Accord, it should
consider if that alone is enough action to force a sweeper.
Overall:
Jeskai is fundamentally ahead, but it’s a narrower margin than you
would think. Selesnya is really more powerful than people estimate.
Mono-Red Aggro versus Selesnya Tokens
Early:
Similar to the Boros matchup, Mono-Red is trying to attack while keeping
Selesnya’s battlefield stifled. Selesnya is just trying to gain the first
bit of traction where it establishes threats in a way Goblin Chainwhirler
can’t stop them, after which things spiral out of control.
Mid:
Selesnya is pressured to turn the corner before the big red threats take
over the game. It’s reasonably good at doing this, but you have to really
start attacking and regaining life. The issue isn’t burn, but the
four-drops both rapidly winning the game if not stopped.
Late:
If Mono-Red draws enough Goblin Chainwhirlers, this phase technically might
happen.
Sideboarding:
Selesnya gets a couple of nice tricks, but the general premise remains the
same. Hit the point where your deck starts getting really additive, and
from there just pile on and overwhelm Mono-Red.
Tips and Tricks:
-
Thorn Lieutenant is the best two-drop out of Selesnya. Emmara, Soul
of the Accord and Saproling Migration are better on later turns
where they are immediately used to convoke. - Use Conclave Tribunal wisely.
-
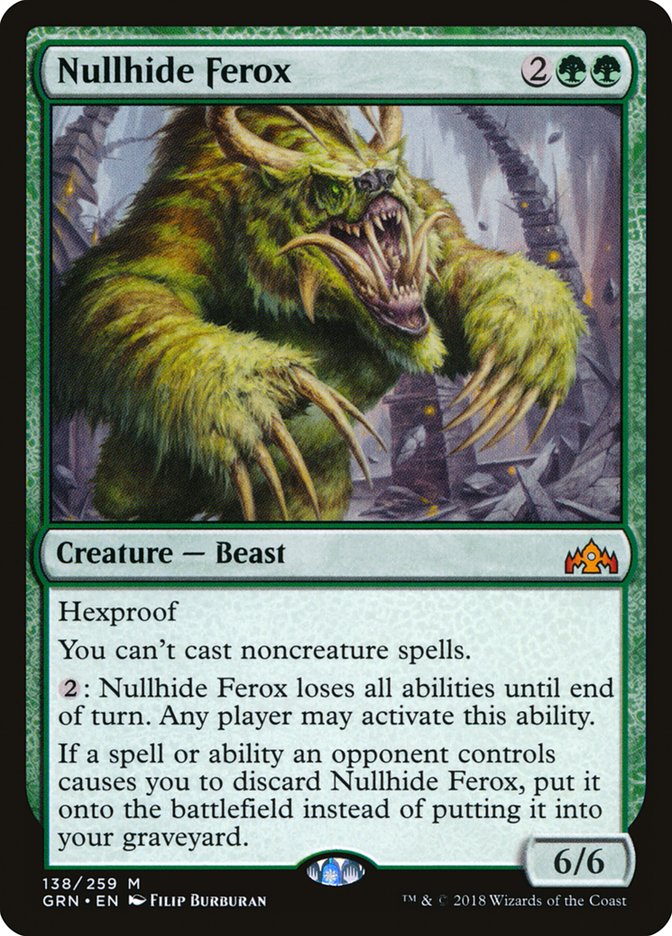
Nullhide Ferox can get stuck behind two Goblin Chainwhirlers. Also,
if you give Nullhide Ferox lifelink somehow, they can pay mana to
make it lose that ability. - Play your spells, then play Nullhide Ferox.
Overall:
Selesnya is ahead, but not by as much as you would think. It’s still a
scary matchup.
What About My Other Deck?
Mono-Blue is the same everywhere. Never tap out unless you must. If you do,
hope they don’t have it and if you play against it, try to kill their
things at instant speed then again on your turn.
All the Resplendent Angel decks are terrible. They are probably just normal
bad if you cut that card but still build a deck that could play it.
If Golgari is 45% against the field, Dimir and Grixis decks are 40% against
the field.
That’s about where the known metagame stops from my point of view. I’m
certainly willing to entertain a new contender as there’s a lot of nonsense
out there, but these six or so good decks form a tough set of competition.
There’s play and counter play in every matchup, so anything trying to break
into the inner circle of Standard is going to have to put up at least as
much effort across the board.