
With Grand Prix Orlando coming up this weekend and a Sealed PTQ season in effect, a lot of players are going to be rushing to get an edge in Khans of
Tarkir Limited. Fortunately, I’ve already played four Sealed events and over a dozen Drafts, and I’ve learned some things I’d like to share about how the
games tend to play. The most fundamental resource in Magic is mana, and in Khans of Tarkir, mana is important in ways one may not expect.
Mana is going to be an interesting question in any gold set, but mana in Khans of Tarkir is exceptional even beyond color. Morph is the arguably the most
mana intensive Limited mechanic ever printed. It both allows decks to play more expensive cards, because they have the low (not that low) buyout price of
three mana, and allows decks to spend more mana over the course of the game, because one ends up spending even more mana on a morph than the high casting
cost of the card would indicate.
The multicolored nature of the format means that it can sometimes be difficult to get enough colored mana to cast all of your spells, but this is
alleviated substantially by the fact that morphs cost colorless mana and that the mana intensive nature of morph asks that you play more lands.
In most Limited formats, you can miss your third land drop for a turn and still be in the game, and missing your fourth of fifth land drop is often
desirable. In Khans of Tarkir, missing your fourth of fifth land drop is often going to be problematic, and you’ll often be happy to have your sixth land
on turn 6. I’ll play eighteen lands a substantial majority of the time, but I’ve seen decks with twenty lands and multiple banners ending Drafts with
winning records (though that is substantially exceptional).
Playing eighteen lands doesn’t mean you don’t need nonbasic lands and other mana fixing. You won’t win many games with a 6/6/6 manabase. In Sealed, you
need to pay a lot of attention to which nonbasic lands you open, as they’ll have a strong impact on which spells you can put in your decks together. Having
your colored mana work most of the time might be a lot more important than getting an extra bomb in your deck.
AJ Sacher has been mocked a lot for a theory he’s written about a few times that he calls ” stock mana theory” that tries to boil all exchanges down to mana.
Without getting into the details of that theory, I will say that it is often true in a game of Magic that the player who spends the most mana over the
course of a game is likely to win. When aggro decks win, it’s because they curve out and spend 1+2+3+3 mana over the first four turns, while their control
opponent maybe didn’t do anything until turn 3, so their down four mana spent in the first four turns. When the control deck wins it’s because the game
went longer, and the aggressive deck only drew cards that cost a few mana each turn later in the game, so while they may have started out ahead due to
curving out, the control deck caught up and passed them by playing more expensive spells later on.
Khans of Tarkir Limited is exceptional in that it’s rare for players to run out of things to do with their mana even in fairly long games because of how
much mana morphs use. More often than not, when a game ends, both players will have spells left in their hand. What this means is that the best way to
spend more mana over the course of game is just to make more land drops, since you’re almost always spending all available mana.
This is true in stark contrast to most Limited formats where the player who spent the most mana will be the player whose curve is correct for the length of
game played (the longer the game, the more likely the player with the higher total converted mana cost in their deck is to win).
This first and most obvious lesson here is that playing more lands is good, but it has a lot of other implications in actual gameplay.
First off, tempo plays are frequently enormous. Bounce spells like Force Away are even better than they would be otherwise be because how important a
favorable mana exchange is, especially if you can punish  someone who attempted to blow you out in combat by flipping a morph. The same applies to removal
in general, but is particularly true of cheap hard removal like Kill Shot rather than more expensive narrow removal like Bring Low, which you can’t really
use to punish morphs, as they’ll often be too big after they flip. Instead, you need to kill them preemptively, which means you’re trading four mana for
three mana, making Bring Low relatively less valuable. Mardu Warshieker is another card that’s often even better than it looks due to how important getting
some extra mana is (it also has nice upside as a mana fixer for when you haven’t drawn one of your colors).
The other important set of cards to understand when evaluating the way that mana works in this format is the banners. Most decks will have plenty of morphs
to play on turn 3, which means they’re not really looking to play a mana artifact. However, playing the mana artifact instead isn’t as bad as it looks. The
morph might get an extra attack in, or maybe stop an attack, but two life is much less important in this format than most others. Players basically start
at around 22 life anyway because of the common cycle of lands, and all of this mana is getting spent on big plays, so the games are less likely to be won
by inches (or a few life points). If we assume that the morph is unlikely to matter in any particular way, and it’s one of the ten or so commons that cost
five to flip and five or six to cast, the three mana down payment you put into the card to morph it is saving you 0-1 mana on ultimately having the face up
creature in play. Meanwhile, if you play the artifact, it’s generating an extra mana each turn, which we’re assuming you’ll likely be able to turn into
real value, and it lets you cast the face up morph earlier–turn 4 if it cost five mana, earlier than you could have done it if you had morphed it, and
turn 5 for the six mana morphs, which is the same time you’d be flipping it anyway. Obviously, the morph will have summoning sickness at that point, so how
important that attack is will factor significantly into how much playing the banner really cost you. That means that decks that are looking to block are
much more likely to want to play banners than decks that are looking to attack.
The other big concern with banners, of course, is how much colored mana they give you. When calculating your mana, you’ll often count how many cards you
have that can tap for each color of mana. If you have a solid three color deck, you’ll likely want around eight cards that can tap for each color of mana
you’re playing. That means you need 24 different colored symbols on mana sources in your deck. Each basic land offers one, each dual offers two, and each
banner or three color land offers three. If you have eighteen lands, and they’re all basic, you have eighteen, of course. Since each dual land offers one
extra total colored source, you’d need six dual lands in your deck to get up to 24. Six is a reasonable number to have, but it’s definitely on the high end
up expectation. If you play a banner, you only need three dual lands, which is much easier to get.
If you’re playing an aggressive deck, you won’t want a banner and you might not have a lot of dual lands, plus the drawback of entering the battlefield
tapped is more likely to be a problem. This means it will be hard for you to get to 24 colored symbols of mana production. Instead, you should look to
minimize one of your colors (making it a splash) so that you can play eight of each of your main colors, and maybe only 4-6 sources for your third color,
dropping you to 20-22 colored sources needed, which you can reach with only a few dual lands.
Regardless of how aggressive you are, I’d recommend always playing as many dual lands in your colors as you can get. Sometimes the tapped land might slow
you down, but it’s nowhere near as bad as just not being able to cast your spells sometimes.
Understanding the mana hungry nature of this format and the way that morphs play offers substantial insight on how to build and play aggro and control
decks. The fact that both strategies have plenty of mana to spend most of the time doesn’t mean the lines are just more blurred, but it might mean you have
to work harder to differentiate yourself and define your gameplan. Morphs are powerful and flexible cards. They’re mana hungry enough that they warp the
format, and that fact is exploitable, but the fact that it can be exploited doesn’t mean that morphs are bad. Their power level is just too high.
If you’re a control deck you should look to have a lot of interactive spells that will stop you from falling behind so that you can make it to the late
game, when you can take over with big creatures, most of which are morphs, card draw spells, and delve cards.
If you’re an aggressive deck, your defining plays will be making a two drop to get ahead, since a lot of decks will plan to start their curve tap land, tap
land, morph, and then playing a creature that’s better than a morph on turn 3. Most decks don’t need to play creatures with a printed cost of three,
because they’ll always have something to do that turn. As a result, most of the creatures in the set that actually cost three mana are very good, and if
you cast a three mana creature while your opponent casts a morph, you’re ahead until they can invest more mana in that morph. 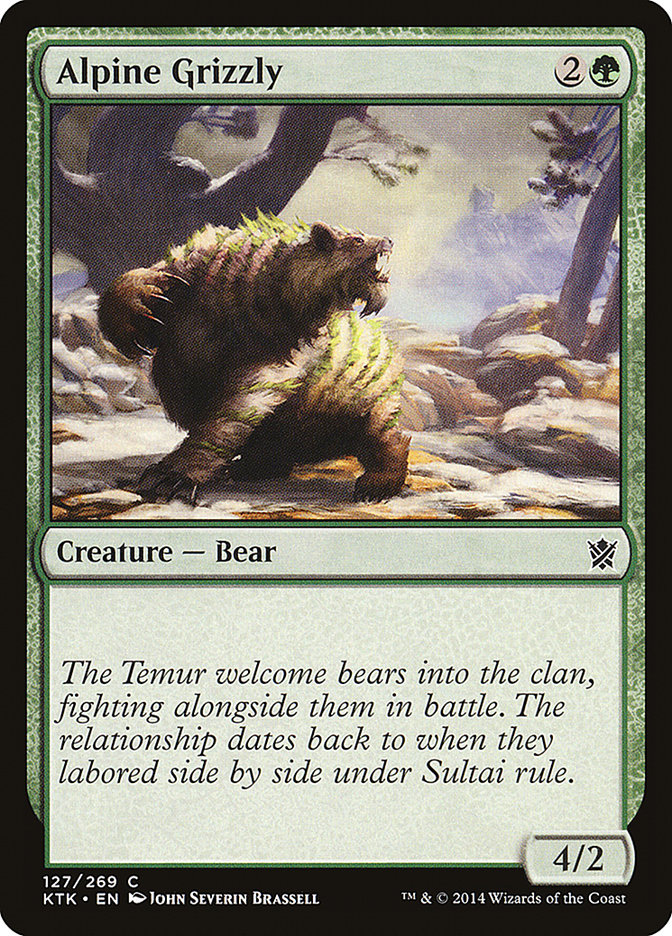 Unfortunately, a lot of the
three mana creatures, like Alpine Grizzly, which is quite a bit bigger than a morph still just trade with a morph. This is where removal and tricks come
in. When you play one of these better creatures, you’re in a position to use a removal spell or trick to get over their morph and get some damage in, and
then your high power creature might be in a position to trade up for a more expensive play from your opponent. Aggressive decks will often look to do as
much as they can to avoid the natural trends of this format in favor of spending their mana on cards that have less flexibility in exchange for a higher
immediate impact per mana spent. It’s important, when you’re going this way, to be sure that you’re not giving up too much–it’s very powerful to be able
to spend all of your mana every turn, and if you don’t play any of the morphs or card draw spells that make that possible, you might find yourself deeply
outmatched when you run out of plays to make.
As a final note, I’d caution against listening to anyone who tells you they’ve ranked the power level of various cards or come up with a set of pick
orders. As is always the case, but particularly in this set, card rankings are going to change wildly based on what you’re trying to do, and the best cards
for one archetype will often be almost unplayable in another archetype of the same color. Any serious card by card analysis in this format should be framed
in the context of discussing a particular strategic archetype if it’s going to have any real value, and even then, some cards will hinge strongly on the
presence of specific other cards.
I’ve loved the format so far, and I’ve learned a lot as I’ve played. I’ve seen other people learn and reevaluate their starting positions very quickly
after playing a few matches. There’s no substitute for experience, so you’ll definitely need to practice, but I’ve found the format to be very fun and
interesting to play, largely because there are always so many ways you can spend your mana.