Over the past two weekends, I have enjoyed a lot of success playing G/R Land Destruction. In Dallas, I was able to take it to my first-ever SCG Open Top 8…and my first title! This past weekend at GP Phoenix, I was able to bring the same deck to a strong 12-3 finish for 23rd place. Between these two tournaments, I have a combined record of 26-4 in actual matches.
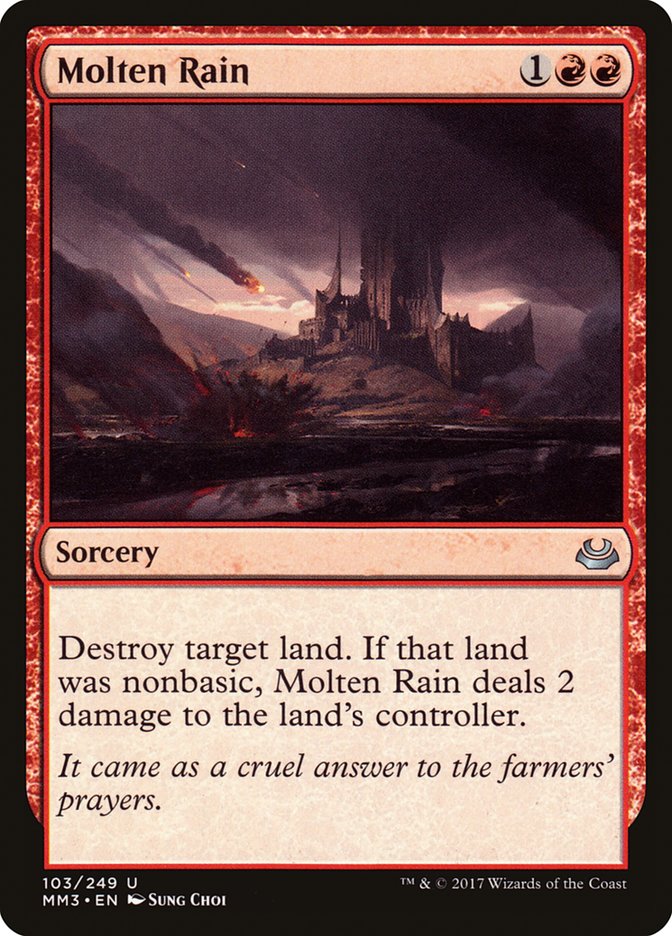
There have been a lot of different G/R Land Destruction lists in the past, but nothing has ever really put up consistent results on a big stage. However, the recent unbanning of Bloodbraid Elf gave the deck a different tool to make it a little more consistent.
Creatures (20)
- 2 Birds of Paradise
- 4 Bloodbraid Elf
- 4 Arbor Elf
- 3 Inferno Titan
- 1 Courser of Kruphix
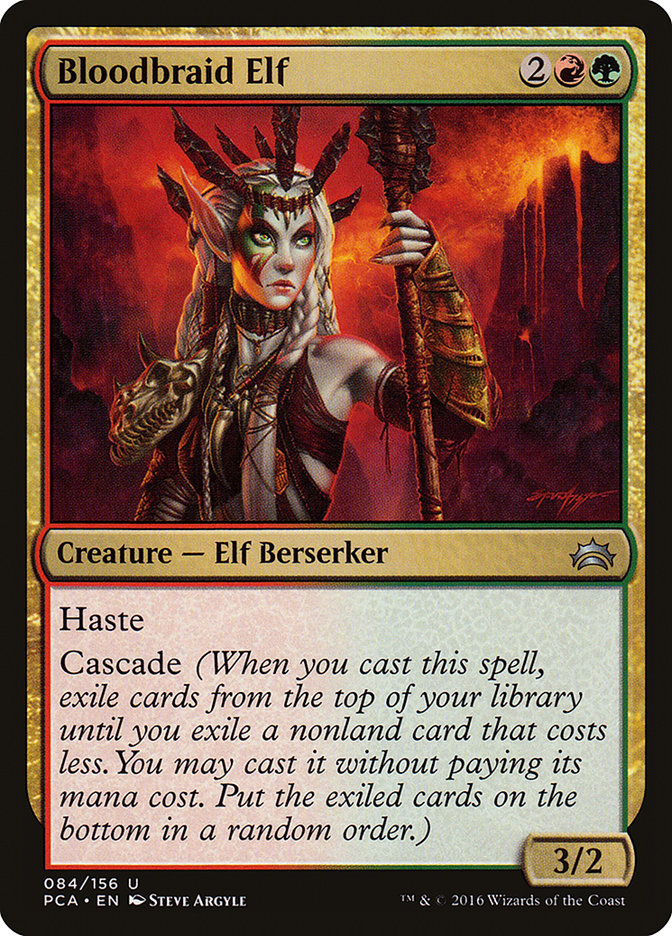
- 2 Pia and Kiran Nalaar
- 4 Tireless Tracker
Planeswalkers (2)
Lands (21)
Spells (17)

Creatures (19)
- 2 Birds of Paradise
- 4 Bloodbraid Elf
- 4 Arbor Elf
- 2 Inferno Titan
- 1 Courser of Kruphix
- 2 Pia and Kiran Nalaar
- 4 Tireless Tracker
Planeswalkers (2)
Lands (13)
Spells (26)
What Makes Up a Land Destruction Deck?
All Land Destruction decks are broken down into three main parts: ramp, land disruption, and threats. Unfortunately, this is one of the problems that has plagued the deck in the past. Draw too much or not enough of any one part and the deck can flounder.
Luckily, the recent unbanning of Bloodbraid Elf fixed some of these problems. This card digs us deeper into our deck to find more land disruption while also being an efficient attacker. By building around Bloodbraid Elf with more three-drops than a traditional Land Destruction list, the deck can more consistently enact its gameplan if it doesn’t draw enough ramp or if the ramp is disrupted. At the same time, playing more three- and four-mana spells that can act as mana sinks prevents the deck from flooding out too hard when you cascade into mana accelerants and/or Utopia Sprawls.
Part One: The Ramp
The ten Turn 1 ramp spells are key. They allow us to skip the two-drop slot and focus on powerful three-mana spells that we can play ahead of curve. Utopia Sprawl is the most consistent of the ramp spells, as it cannot be disrupted by Lightning Bolt or Fatal Push. The combination of Arbor Elf and Utopia Sprawl allow for our most broken starts, including the ability to cast a four-drop as early as Turn 2. Two copies of Birds of Paradise fill out the rest of the ramp spells.

Part Two: The Land Disruption
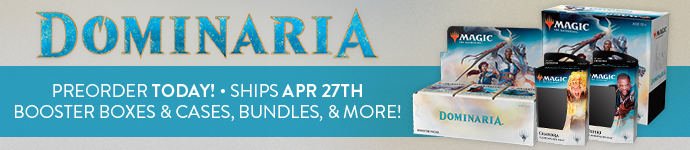
All of the land disruption spells in this version of the deck are three mana: Blood Moon, Molten Rain, and Stone Rain. Past versions of Land Destruction ran Mwonvuli Acid-Moss, which also acted as a ramp spell to more expensive threats, but cutting it in favor of Molten Rain maximizes our chances of hitting land disruption off the cascade from Bloodbraid Elf.
Part Three: The Threats
Each one needs a bit of a breakdown, but let’s start with the newest of the bunch:
Bloodbraid Elf is an obvious inclusion, as it fits perfectly with the strategy of presenting a clock while disrupting our opponent, since we will often cascade into a land destruction spell. Casting this on Turn 4, like most other decks normally do, is good value, but casting it on Turn 2 or 3 with our ramp will make it hard for our opponent to keep up.
Most of our sideboard is at or under three mana, which means the cascade will also make us more likely to find our sideboard cards when we need them. Bloodbraid Elf will cascade into a ramp spell about a third of the time, but that’s not a huge problem, as the deck has plenty of things to do with the extra mana.
Tireless Tracker is the best source of card advantage available in red or green. Running a full playset gives us more things to do with our mana when we start to flood out. Managing your land drops can get tricky, as it’s often correct to sandbag some lands or leave some fetchlands uncracked to maximize Tireless Tracker when it’s drawn or cascaded into.
Pia and Kiran Nalaar was one of the strongest performers for me in my win in Dallas, as it’s a resilient threat over three creatures that punishes players trying to rely on one-for-one removal. When you’re behind, which can often happen against more aggressive decks, Pia and Kiran Nalaar provides several turns of chump blockers that can easily buy you enough time to land another threat and try to stabilize the battlefield. There’s also a lot of synergy with the Clues from Tireless Tracker and with Nissa, Voice of Zendikar.
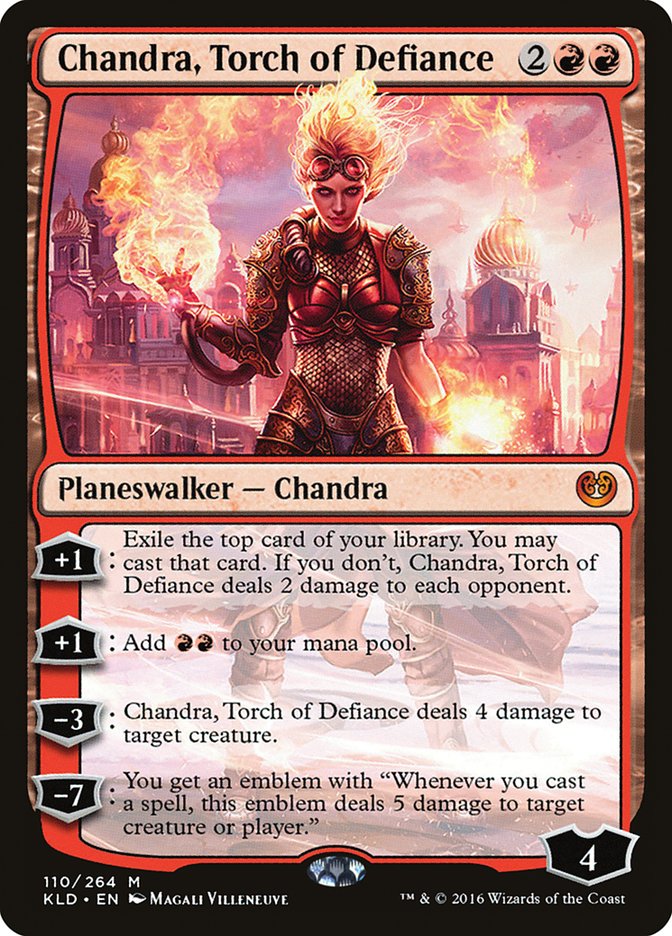
Chandra, Torch of Defiance is the most versatile planeswalker we have access to. It’s a virtual card draw engine when we’re looking for more gas, it’s a mana ramp spell when we need to drop an Inferno Titan or cast two spells in one turn, and it’s even a removal spell that has the potential to stick around.
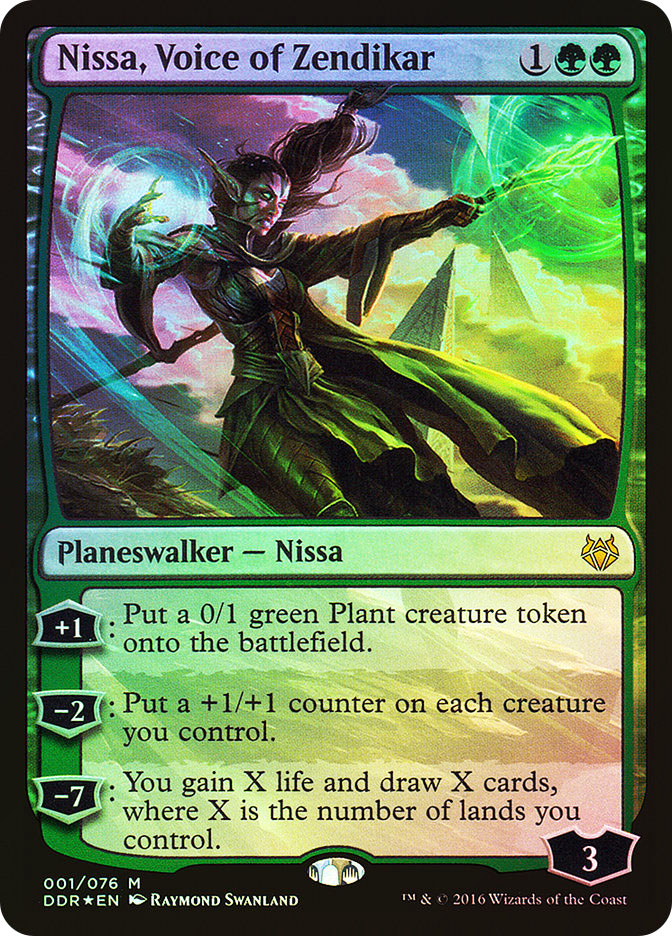
I like Nissa, Voice of Zendikar as a one-of because it interacts well with Pia and Kiran Nalaar as well as potentially turning our mana accelerants into actual threats. Providing a chump blocker a turn is also very powerful against a lot of decks.
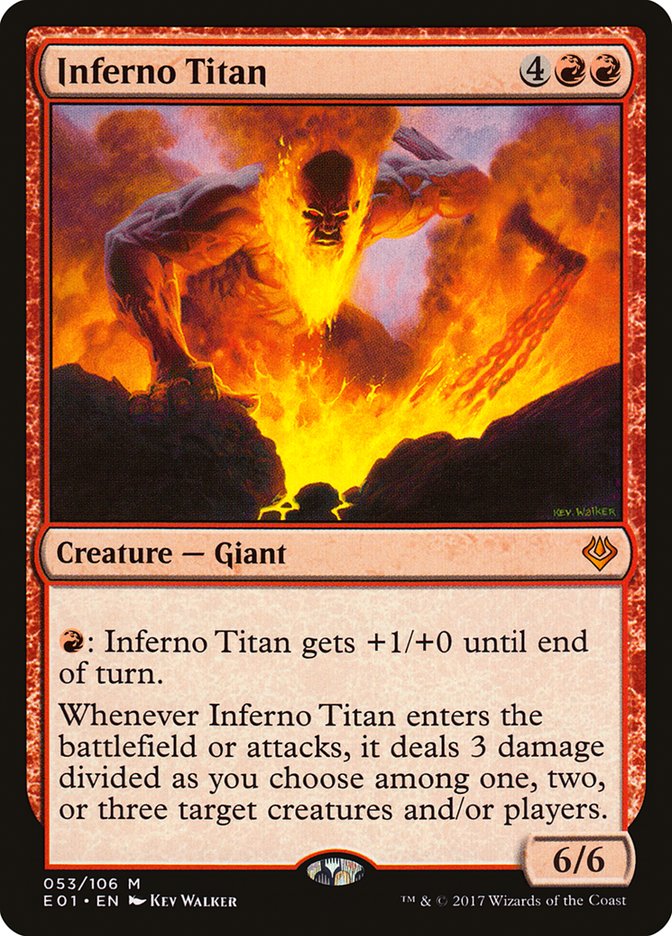
Inferno Titan is bigger than almost every other creature in the format and the enters-the-battlefield and attack triggers wreak havoc on our opponent’s battlefield. Inferno Titan’s biggest selling point is that it excels at closing out the game as quickly as possible, often in only one attack. I ran three of these at SCG Dallas but cut one for GP Phoenix for a third Lightning Bolt, as I felt the curve was a little too high and sometimes left a Titan to rot in my hand. The card definitely has a place in the deck, but probably just as a two-of.
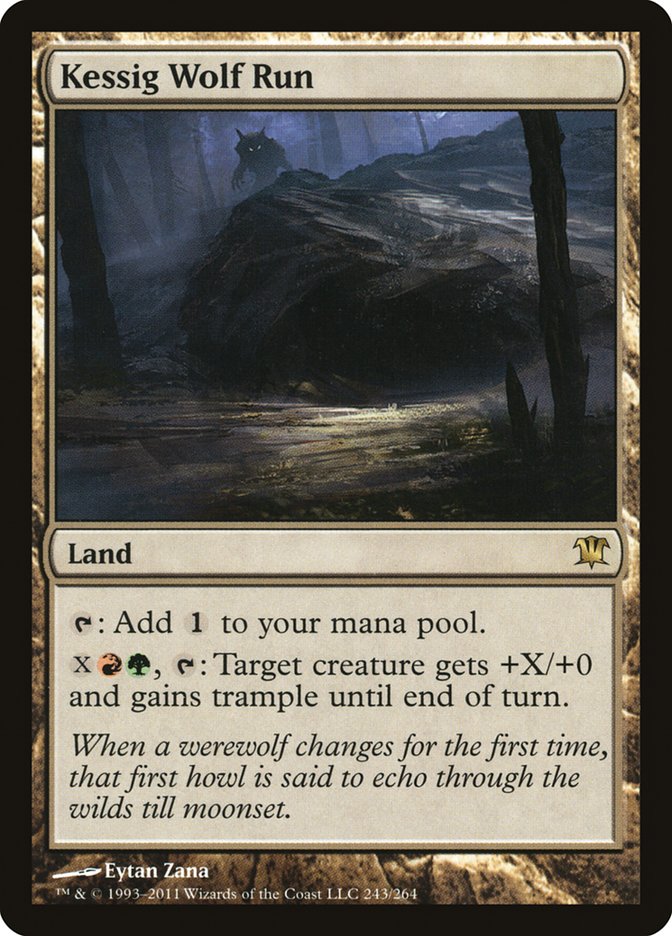
This may seem like an odd inclusion in a deck that is trying to stick a Blood Moon as early as possible, and many Land Destruction players might debate against its inclusion, but you won’t always have a Blood Moon on the battlefield. In those games, Kessig Wolf Run has the potential to singlehandedly steal the game. The cost of running one isn’t high, as our manabase isn’t super-demanding. Yes, it does sometimes lead to awkward starting hands that we might have to mulligan, but I would sooner cut the basic Mountain than Kessig Wolf Run.
The Sideboard
A few explanations here as well:
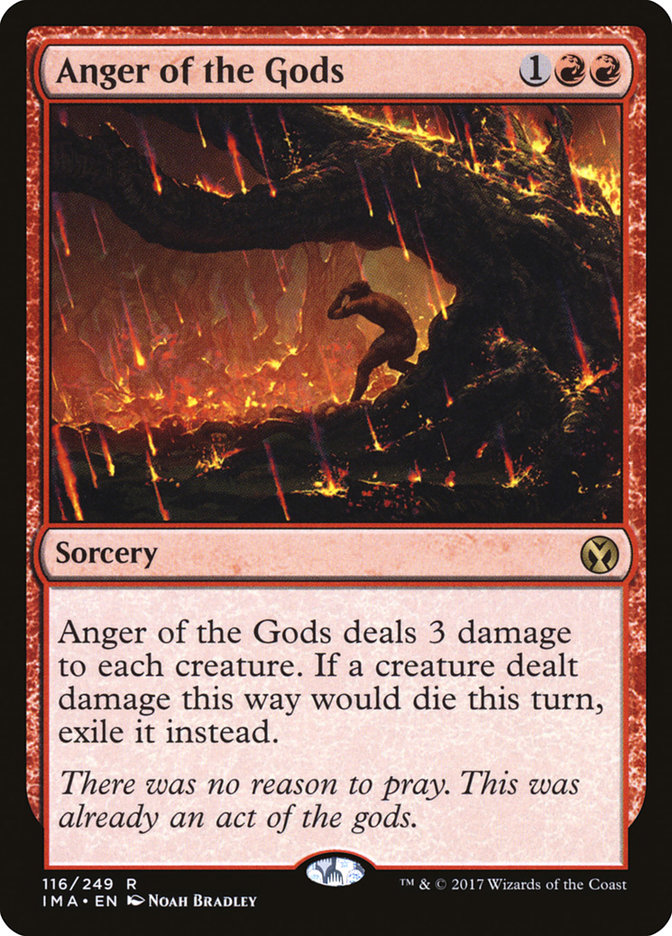
While this does hit a lot of our own creatures, against the decks where you bring it in, Anger of the Gods is even more backbreaking. I will often trim on the mana accelerants and cut the two copies of Birds of Paradise whenever I’m bringing this in to lessen the impact on my own battlefield a bit.
Chandra is a good flex card that can be good against a lot of different matchups. I like the second one in the sideboard as a card that I can bring in in a lot of matchups. Games tend to slow down after sideboarding, so Chandra gets even better here.
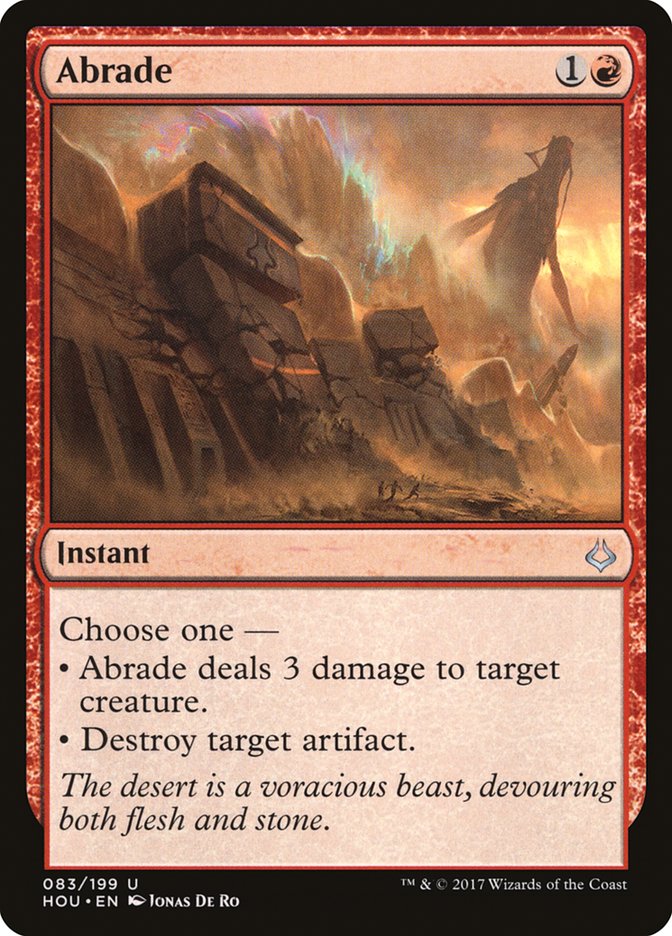
I didn’t actually run one of these in my SCG Dallas list, but I ended up cutting the Shatterstorm to add one for GP Phoenix. This card really excels in matchups where Aether Vial can completely undermine our mana denial strategy all by itself. Dedicated artifact hate is too narrow for these matchups, since Vial will usually be the only target, but Abrade can deal with the Aether Vial while also being a great kill spell for their non-Vial hands.
It’s also decent against Hollow One decks, since it can Shatter the Hollow One itself or take out other targets like Flameblade Adept. Don’t be afraid to sideboard this in when all you need is another kill spell for small creatures.
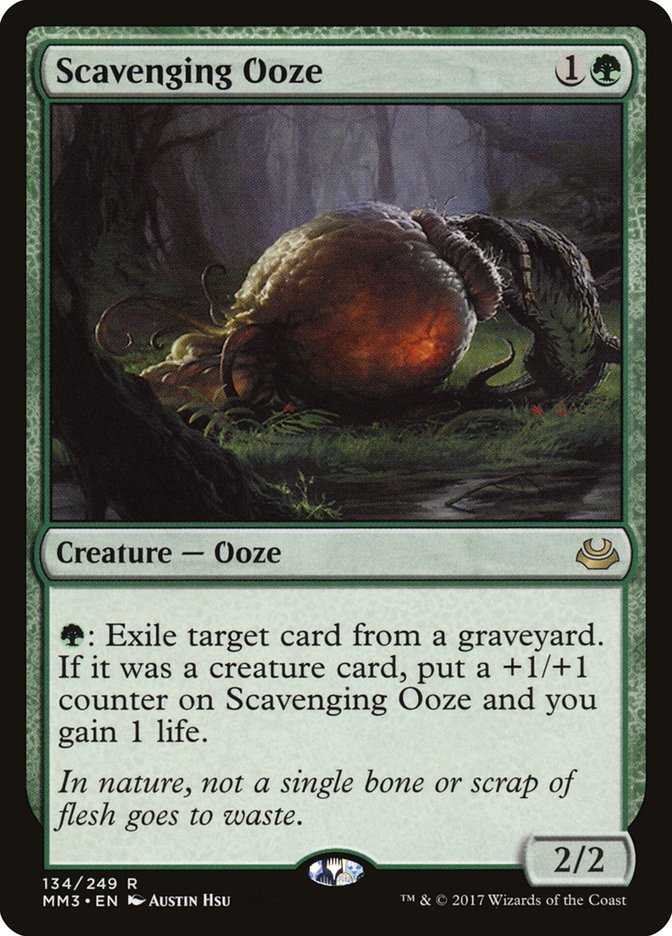
I went light on my graveyard hate for both of these tournaments, since I wasn’t expecting too many dedicated graveyard decks. I like Scavenging Ooze here because it doubles as a threat and a source of incremental lifegain. I did actually play one match (against U/R Gifts Storm) where I really missed having true graveyard hate like Relic of Progenitus or Grafdigger’s Cage.
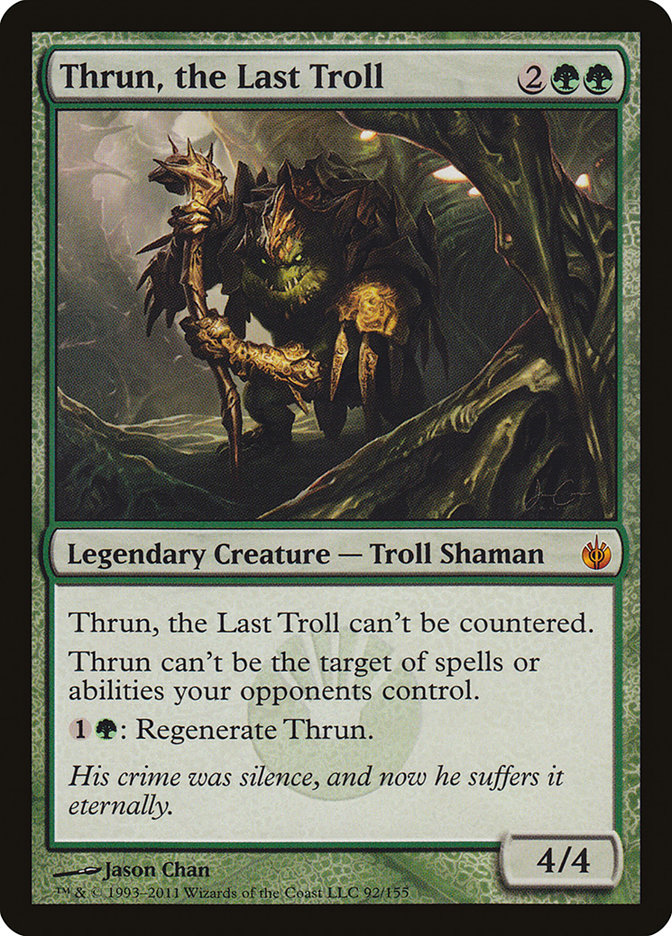
Thrun, the Last Troll is sort of a pet card for me, and I might include it in more sideboards than I should, but it’s one of the most resilient threats in Modern. It’s always going to resolve and it’s almost always going to stay on the battlefield and have an effect on the game.
This is mostly here to hose U/R Gifts Storm, since they can’t really win without answering it. It also hoses some less common strategies such as Living End, Grishoalbrand, and Ironworks Combo.
The Matchups
VS. Jund
Out:

In:
This is a pretty favorable matchup, since their manabase is pretty greedy and hurt hard by Blood Moon. After sideboarding, I like to trim on mana accelerants so that a higher percentage of my cards have some sort of impact on the battlefield and allow me to grind.
VS. Tron
Out:
In:
Obviously this is a heavily favorable matchup, but it’s not unloseable if you spend too much time spinning your wheels. If they end up resolving one of their big threats, we usually will have no answer, so mulligan aggressively for a hand that can disrupt them. Bring in Ancient Grudge to hit Expedition Maps and Oblivion Stone, and also Chandra, Torch of Defiance to keep the cards flowing once you make them stumble.
VS. U/R Gifts Storm
Out:
In:
This is a very difficult match to win Game 1, as our only real interaction is three copies of Lightning Bolt to hit their cost reducers and they’re not very susceptible to Blood Moon. The matchup gets a bit better after sideboarding, but it’s still an uphill battle.
VS. Infect
Out:
In:
Another hard Game 1 matchup, but this time Blood Moon actually does some work. Bring in everything that kills creatures.
VS. Humans
Out:
In:
This matchup can be very swingy. Sometimes Blood Moon will lock them out of the game, but other times they will have an Aether Vial or Noble Hierarch and ignore it entirely.
VS. TitanShift
Out:
In:
This is a favorable matchup because Blood Moon shuts off their important lands. Not a huge amount to sideboard here.
VS. B/R Hollow One
Out:
In:
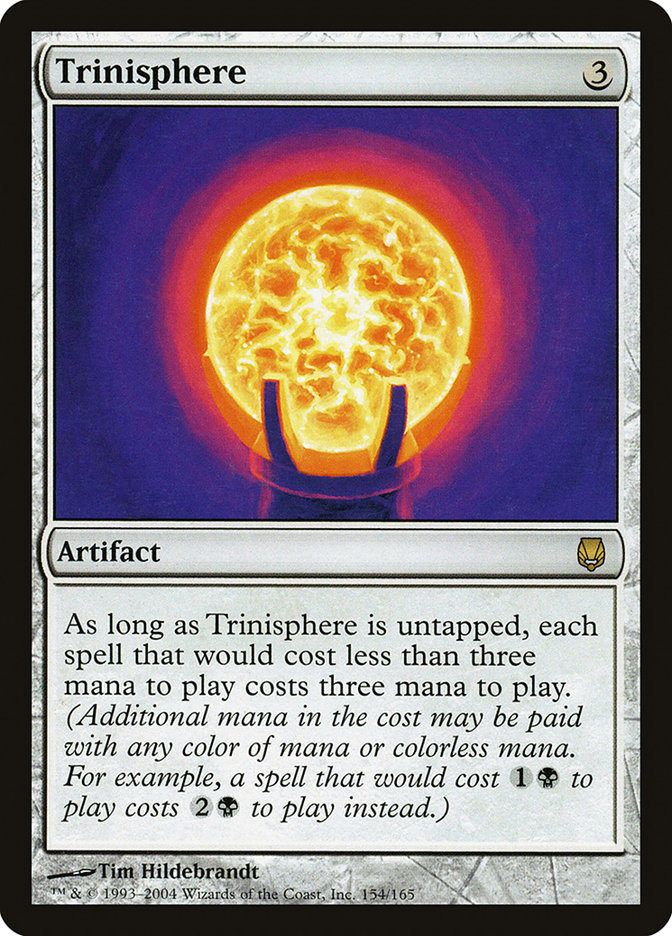
Another rough matchup, as most of their good draws are simply too fast for us to meaningfully interact with. They often run Blood Moon themselves and can operate pretty well on just red mana, so that’s the first cut when sideboarding. Trinisphere is nice because it slows them down from digging through their deck and makes Hollow One always cost at least three mana. I like Abrade here, but not Ancient Grudge, as I feel that’s a little too narrow.
VS. Burn
Out:
In:
This is a hard matchup, as they’re much faster than we are and all of their spells cost one or two mana, so Stone Rain and Molten Rain don’t usually slow them down that much. Fortunately, Blood Moon can actually lock them out of all of their nonred spells, since the only basics they typically run are Mountains. After sideboarding we bring in as much lifegain as we can. An argument could be made for only bringing in Trinisphere on the play.
VS. Affinity
Out:
In:
Game 1 can be pretty hard without having access to any sweepers, but gets better after sideboarding once we have access to Anger of the Gods. I actually haven’t played this matchup enough recently to know if I want to bring Trinisphere in on the play, but it’s probably too slow most of the time.
VS. Jeskai Control
Out:
In:
I find most control matchups generally favorable, as there are a lot of cards in our deck like Tireless Tracker and Bloodbraid Elf that can generate a lot of extra value. The three-color lists can also be prone to getting heavily disrupted by Blood Moon, especially if we can pick off some basics with Stone Rain or Molten Rain.
If you’ve got any questions about any matchups I didn’t cover or cards that could fit into the deck, post a comment below and I’ll do my best to get to it. G/R Land Destruction is back and better than ever, and we’ve got one magical card to thank!