Modern is in a very stable place. A huge number of decks are known, and for any given deck, it’s easy to find a variety of lists that basically cover all the options you should consider when building yours.
Decklists are easy to come by in Modern, but what’s much harder is learning how to play all the different decks. It’s hard to offer specific play advice to a general audience because everyone’s at a different point, and unless I’m doing a deep dive on a specific deck, it’s hard to bring up anything too narrow. Today, I want to go through a bit of a whirlwind tour of random tips about things people might be doing wrong with a variety of major Modern archetypes.
Lands (18)
Spells (42)

Let’s start with what I know best. Lantern is one of the hardest decks to learn to play in Modern because so much of it requires knowing everyone else’s deck, not just your own. You need to know every card your opponent might have that could matter to evaluate the risk of letting them draw their next card, what you need to name with Pithing Needle, when to cast your discard, and so on. Getting into playing against a specific archetype is a little outside the scope of what I’m looking at here, but most of what matters with Lantern is really your sequencing in the first three or so turns. Lantern kind of plays like a fast combo deck in that you’re trying to functionally end the game by locking your opponent out extremely quickly, and most of what matters is sequencing to establish the lock as solidly as possible.
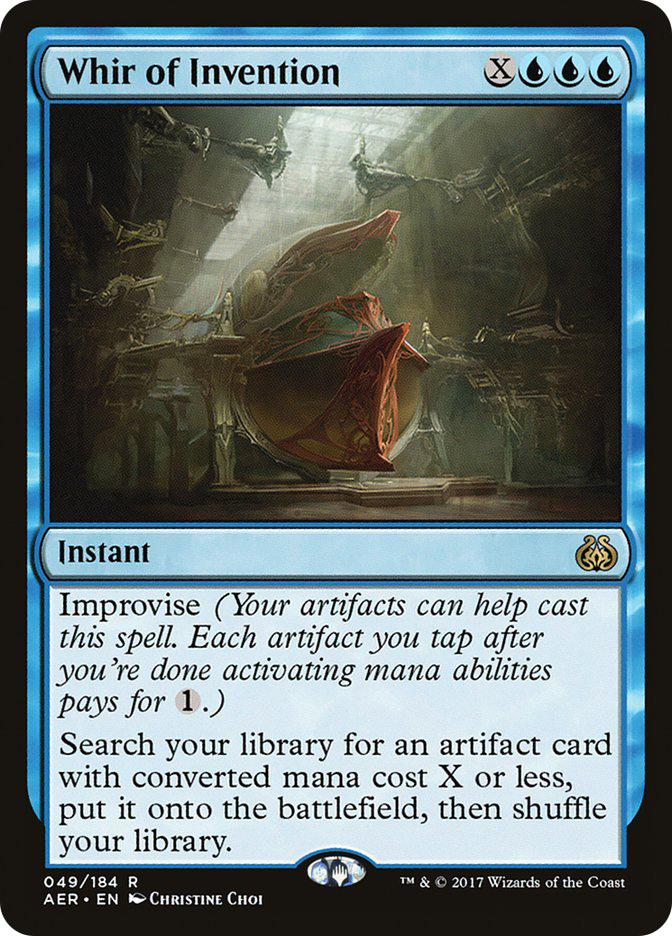
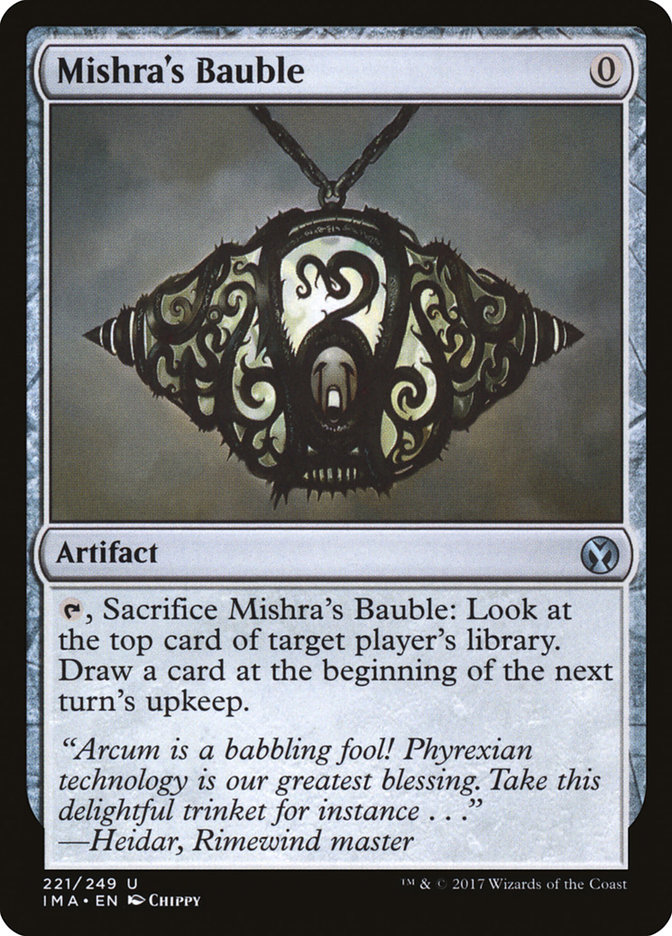
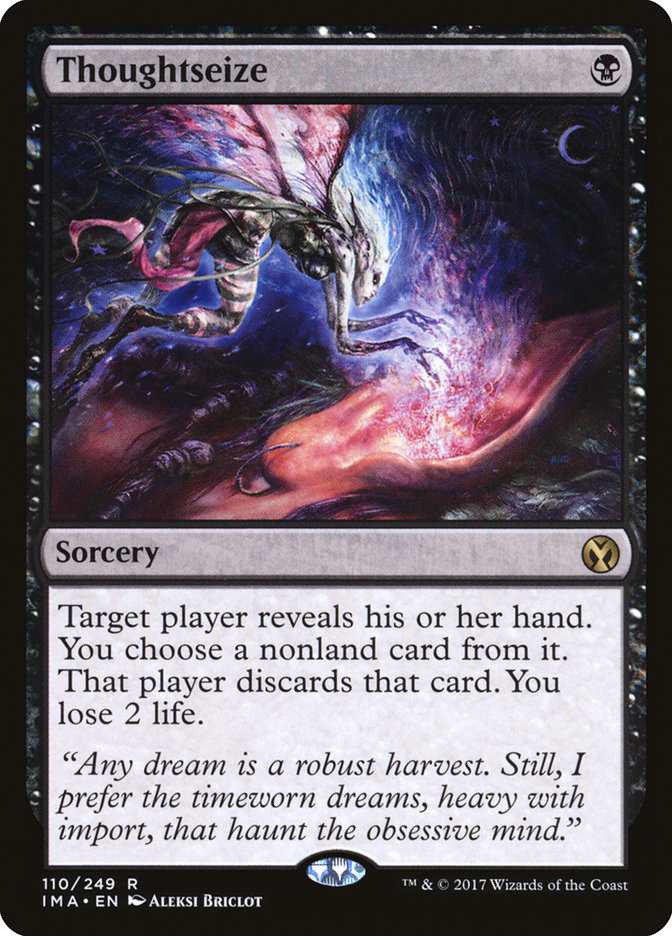
The reason sequencing is tricky is that most of your cards cost one mana, so you usually have a lot of options on the first two turns. Between Inquisition of Kozilek, Thoughtseize, Codex Shredder, Lantern of Insight, Ancient Stirrings, Pyxis of Pandemonium, Pyrite Spellbomb, and Pithing Needle, which should you cast first? Which have priority over which others and why? How much does it matter if your lands are Botanical Sanctum and Glimmervoid and you’re debating whether you should play a Mox Opal to keep Glimmervoid on the battlefield to play Thoughtseize or whether you should just play Botanical Sanctum and an artifact?
If you have Mox Opal and Mishra’s Bauble but no one-mana artifact, should you sacrifice Mishra’s Bauble to try to find one, or keep it to try to turn on Mox Opal? If you have Whir of Invention, or even if you just might draw it, should you hold onto your Mishra’s Bauble, or is it better to get the card right away?
These are the kinds of questions you’re asked early in the game with Lantern.
One thing I value fairly highly is establishing perfect information. If I have a discard spell and Lantern of Insight, I like to avoid giving them a draw step after the discard spell before I cast the Lantern if I don’t have another discard spell, because then my opponent will have an unknown card, and it’s much easier to know what I can let them draw if I know exactly what they have.
Also, in general, when you’re on the play, there’s usually not too much you need to be afraid of letting your opponent do on their first turn, so waiting on a discard spell to get an artifact onto the battlefield is generally pretty safe.
If my opponent has taken a mulligan and scried to the top and I’m on the play, I’ll almost always lead with Codex Shredder or Pyxis of Pandemonium and activate it right away if I have the option. I’ll also try to avoid leading with my only discard spell in this spot, since I know the top card of their deck is good and I might want to make them discard it.
If my opening is Mishra’s Bauble and Codex Shredder, I’ll generally Bauble myself on my turn. I’m targeting myself because I have a lot more information about what I need than what they need at this point, so I can make a more informed choice about whether I want to mill the card I see, and I’m doing it on my turn so that I can draw the card on my opponent’s turn, which will allow me to shred an unknown card at the end of their turn if I like my top card, while if I wait until their turn, I have to skip using my Codex Shredder on myself to get the card.
You almost always want to try to build your graveyard as much as you can by milling yourself so that you have more options with Codex Shredder’s ability to return cards from your graveyard to your hand, unless you’re specifically worried about milling a bullet that you need to Whir for or your graveyard already has everything you might want to return. If I don’t have a Codex Shredder or Pyxis of Pandemonium (I generally like to activate Pyxis of Pandemonium blind as well; against most decks, activating its seven mana ability with a lot of cards under it is beneficial to you), then I’ll generally wait until my opponent’s turn to use Mishra’s Bauble so that I don’t draw the card until my turn to protect it from a possible Inquisition of Kozilek or Thoughtseize from my opponent.
This is still a consideration when you have Codex Shredder, and you need to consider how likely your opponent is to have a discard spell and how likely they are to want to take the top card of your deck. If you already have your best card, you’re not really losing anything by drawing the card sooner even if they cast it, but if your hand is pretty bad, you get more value out of waiting to draw.
You almost always want to wait as long as possible to cast Ancient Stirrings unless you need something specific (usually a land) right away. It’s almost always better to play something to the battlefield and occasionally better to do nothing, because the more cards you can draw before using it, the more information you have about what you need. This is especially true because your three best cards, Ensnaring Bridge, Lantern of Insight, and Mox Opal, are all worse in multiples, so each of them will often go from the best card to take to the worst card to take depending on whether you have another, so you want as much information about what your natural draw steps will give you as possible before selecting specific cards.
All right, let me move on before this becomes another article about Lantern.
Creatures (12)
Lands (20)
Spells (28)

Burn is generally considered one of the easiest decks to play. You can pick it up and “goldfish” it (play a test draw against no opponent to see how the deck plays out andhow quickly you can deal twenty damage) fairly naturally, but that can build some bad habits.
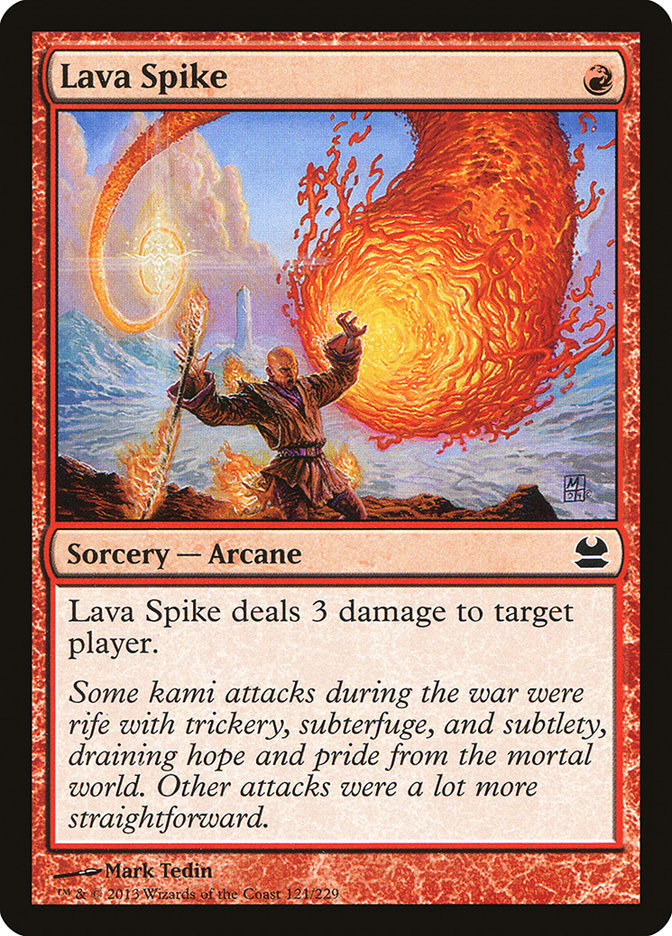
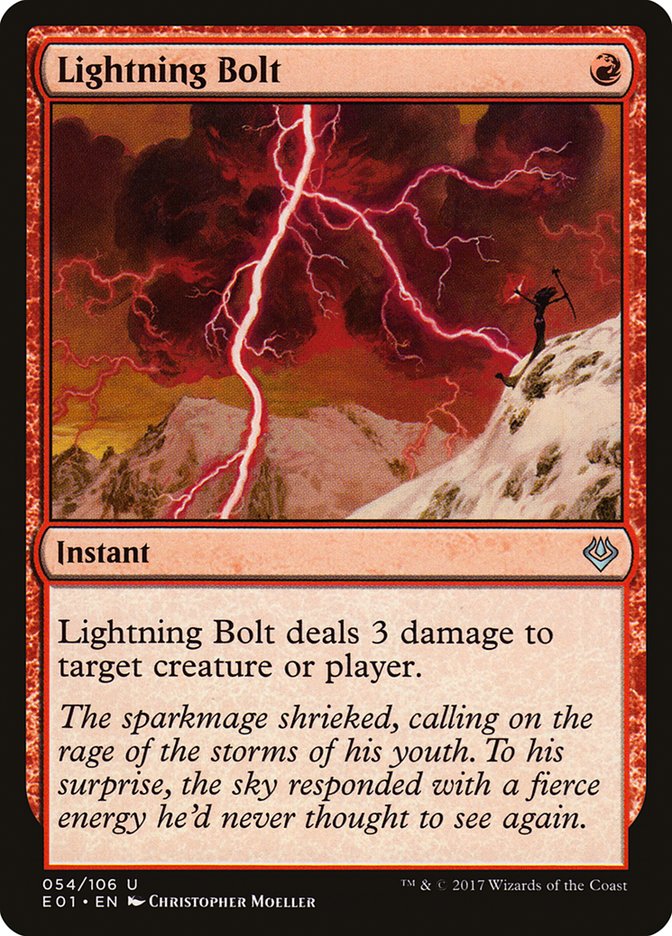
It’s easy to get into the mindset that you just want to spend all your mana as quickly as possible to deal twenty as soon as you can, and honestly, playing that way won’t lead you astray often, but there’s one big exception: unless your hand is extremely mana-light, you almost certainly don’t want to cast Lava Spike or Lightning Bolt on your opponent on the first turn when you don’t have a creature.
Ideally, you’ll spend this turn fetching a tapped land to preserve your life total, but even if your lands are all Inspiring Vantage, it can still be best to just do nothing with your mana. Monastery Swiftspear is a card you could draw and it has prowess and you’re more likely to end up one damage short than one mana short. More to the point, you often don’t want your opponent to know exactly how much burn you have or how much life they have to work with, and emptying your hand quickly gives your opponent better information to plan their game.
Creatures (24)
- 4 Arcbound Ravager
- 4 Ornithopter
- 4 Master of Etherium
- 2 Steel Overseer
- 2 Memnite
- 4 Signal Pest
- 3 Vault Skirge
- 1 Hope of Ghirapur
Lands (16)
Spells (20)

The big thing I learned when I started playing Affinity was how to sideboard. After thinking about it, it seems pretty obvious, but when you first pick up a deck, it can always be hard to figure out what you should be sideboarding out. The vast majority of the time, you’re looking to cut some number of zero-mana creatures. Yes, they’re part of your most explosive draws, but those are Game 1 considerations. After sideboarding, your opponent is almost always bringing in removal of some sort and their easiest path to victory is going to involve stranding you with cards that don’t do enough on their own.
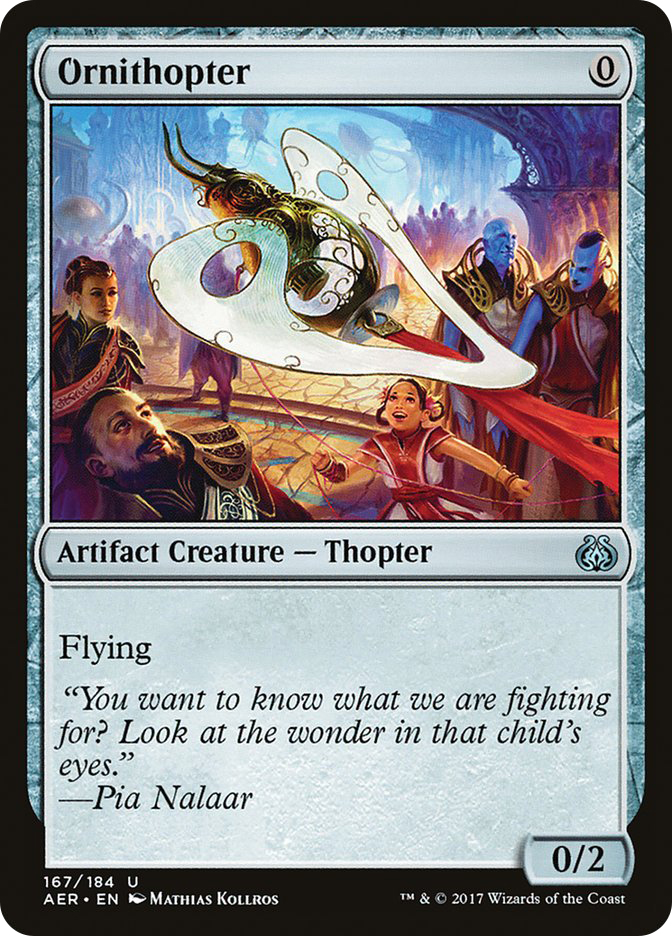
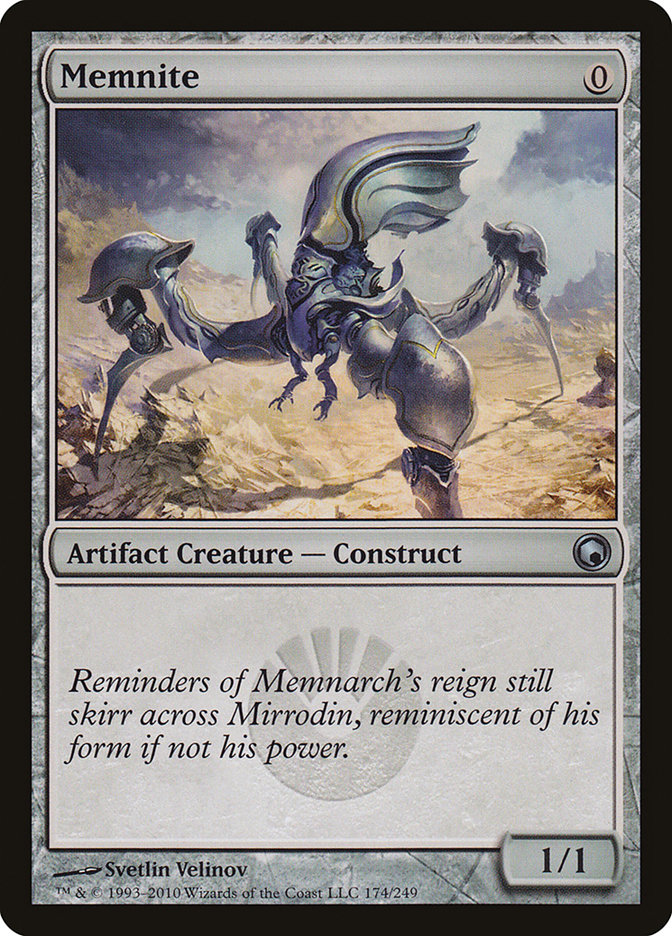
If your opponent has creatures without flying, you probably want to cut Memnite; if they don’t, you probably want to cut Ornithopter. You generally can’t cut all of them because they’re an important part of your manabase, but you definitely want fewer of them as the games get slower and more interactive.
Beyond that, just remember that your deck is hard to play. It’s easy to think of it as a mindless fast aggro deck, but remember that you have a lot of different ways to use your mana. Sequencing your threats to draw out their answers before playing your more important threats or otherwise maximizing your important cards can be tricky, and you need to plan out exactly how much damage you can do over the next few turns to figure out things like whether you need to sacrifice a Springleaf Drum for an extra damage with an Arcbound Ravager when you attack on Turn 3. I’m not sure what to say beyond “take it slowly and really think through all of your options.”
Creatures (16)
Lands (18)
Spells (26)

Given that your deck has a ton of “air” in it (cards that just draw more cards), trying to save some of that to maximize card selection rather than just chaining through it as quickly as possible is generally a mistake. Holding onto a Street Wraith to pump Death’s Shadow for free is sweet when you can get away with it but almost never actually worthwhile. Especially when delve threats are a big part of your early pressure, you really just want to spend all of your mana and chain through your card draw as quickly as possible. This is the intuitive way to play the deck, but for players who play a lot of Legacy or who were around during Preordain Standard, it might seem like a good idea to wait on some of your card selection. Do that very sparingly here.
Creatures (9)
- 3 Wurmcoil Engine
- 2 Ulamog, the Ceaseless Hunger
- 1 World Breaker
- 1 Emrakul, the Promised End
- 2 Walking Ballista
Planeswalkers (6)
Lands (19)
Spells (26)

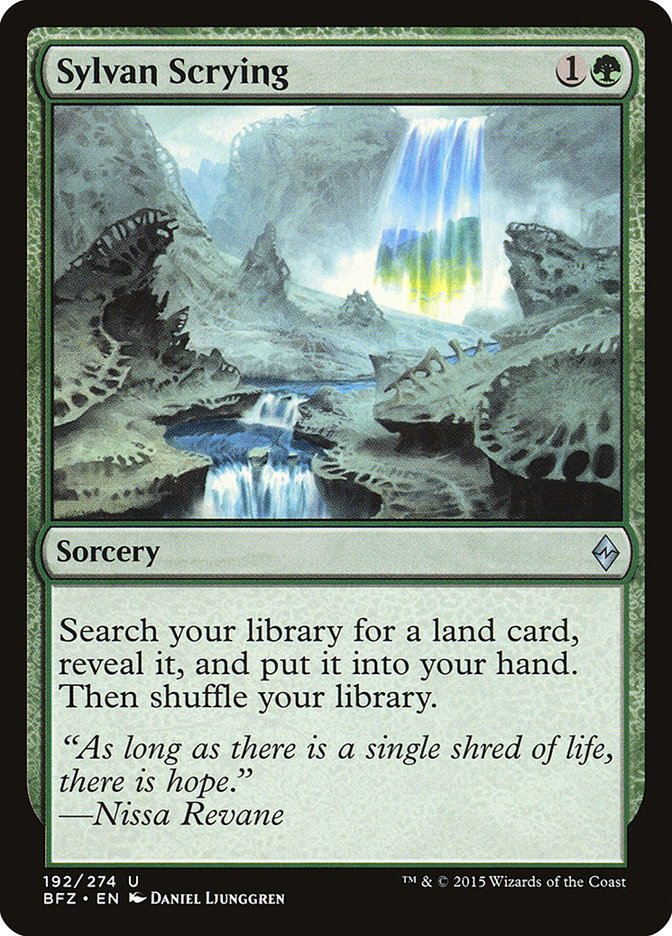
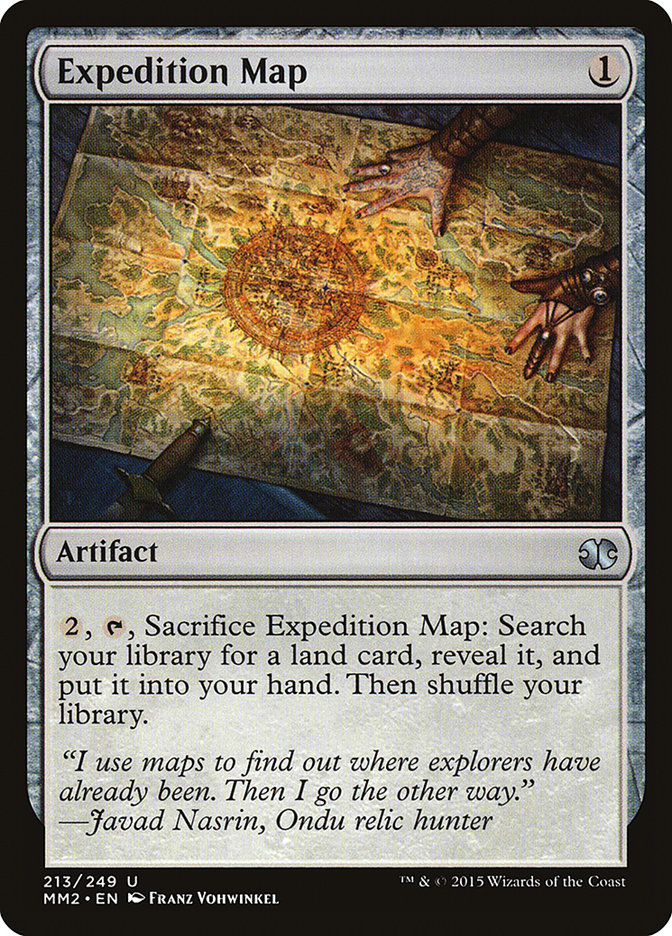
The major decision here is sequencing your card draw and card selection. The fundamental gameplan of “assemble the Urzatron and then cast the best finisher until they die” is very simple, so the question is basically one of sequencing between Chromatic cards, Sylvan Scrying, Ancient Stirrings, and Expedition Map. Mostly, you’re answering questions like, “Should I cast Chromatic Star on Turn 1 so that I can cast Sylvan Scrying on Turn 2, or should I cast Expedition Map on Turn 1 so that I can activate it on Turn 2?”
These questions are contextual, depending on the rest of your hand. If you have two Tron pieces and you’re missing the third, you should lead with Expedition Map, since you know exactly what you want and that lets you keep the colored mana source…unless you have two Tron pieces and all of your colored mana covered but you don’t have a big spell to cast on Turn 3. Then you might want to lead with Chromatic Star into Sylvan Scrying to give yourself another draw at a game-ending Turn 3.
With the above hand, should you lead Forest, Ancient Stirrings or Urza’s Mine, Chromatic Sphere? I think you generally want to give yourself outs to a Turn 3 Tron, even if you’re not very close to it. Here, I’d cast the Chromatic Sphere and plan to activate it on Turn 2 and cast Ancient Stirrings to try to find Urza’s Tower or Urza’s Power Plant, which would let me use the Sylvan Scrying later (ideally off another Chromatic piece that I’ll draw, or maybe I’ll draw an Expedition Map and use that) to hit Tron. On the other hand, if my draw had Urza’s Mine and Urza’s Tower, I’d be casing Sylvan Scrying on Turn 2 to find Urza’s Power Plant, because I want to both make sure that I can get all three on the battlefield on Turn 3 and I now know that I’m looking for a threat rather than a land with Ancient Stirrings.
If Ancient Stirrings is probably looking for a land, you generally want to cast it before Sylvan Scrying, but if it’s looking for a threat, you likely want to cast it later. Or the sequencing might not matter because they’re doing totally different things at that point and you just want to cast them as other considerations dictate.
These are a few of the more common mistakes I’ve seen, or things I’ve thought about more recently when playing games. If you’re interested in this kind of article, I’d love to hear other decks you’d like tips on or anything you know you’re doing right where you often see other players make mistakes.


