
I’m Alex Majlaton, and I love Affinity. It’s by far my favorite deck in Magic. The first time I played it in 2004, when it was legal in Standard, I managed to make Top 8 of Mid-Atlantic Regionals, earning me an invite to US Nationals, which was my first premier event. Since then I’ve had a very hard time playing anything else in a format where some version of the deck is both legal and competitive (and not even necessarily the latter sometimes).
I’ve cashed six Modern Grand Prix with the deck, making Top 8 of three of them. The content coordinator of this website likes to refer to me as “the best Affinity player in the world.” Whether or not that’s actually true, I have a ton of experience and a considerable amount of success with the deck in Modern, and this is my attempt to share as much of it with you as I can.
How To Build Affinity In Modern
First let’s go over how to build an Affinity deck in Modern.
Core Cards
The core of every Affinity deck in Modern should consist of these cards:

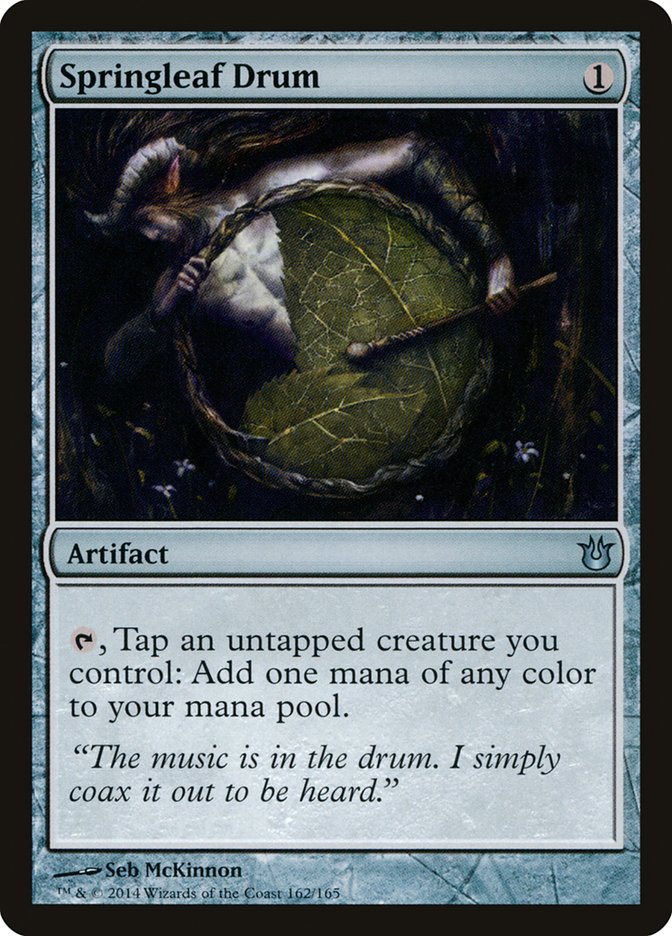

These cards offer the most synergy and in my opinion should not be cut from any standard Affinity deck. I’ve occasionally seen some lists that trim a Springleaf Drum. Resist the urge to do this! Drum is the closest thing there is to another artifact land, and this deck rewards you for having as many artifacts in play as you can. Think of it as a Birds of Paradise—I’ve rarely seen a deck that wants that card only play three of it.
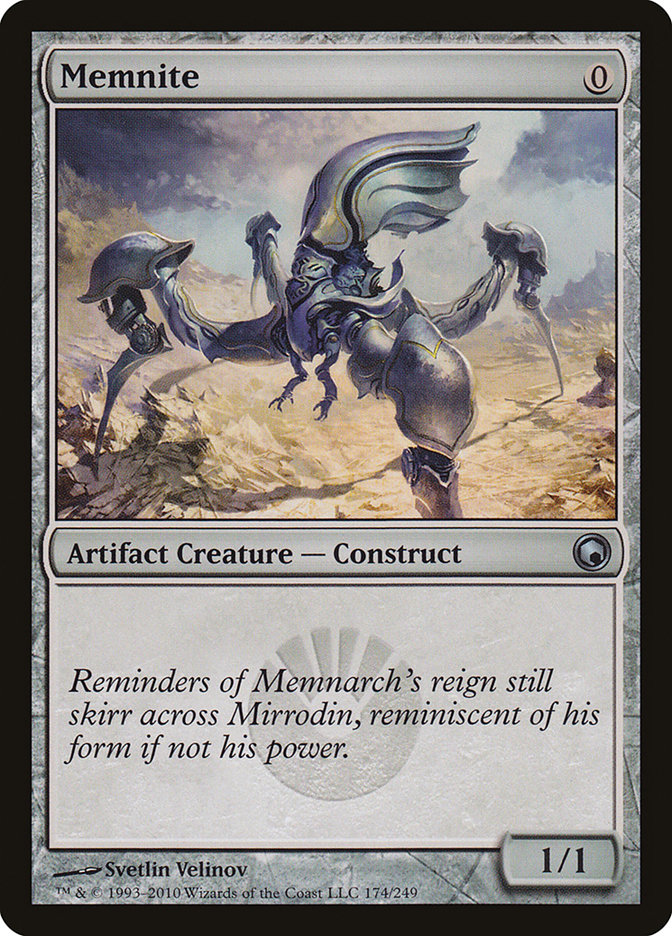
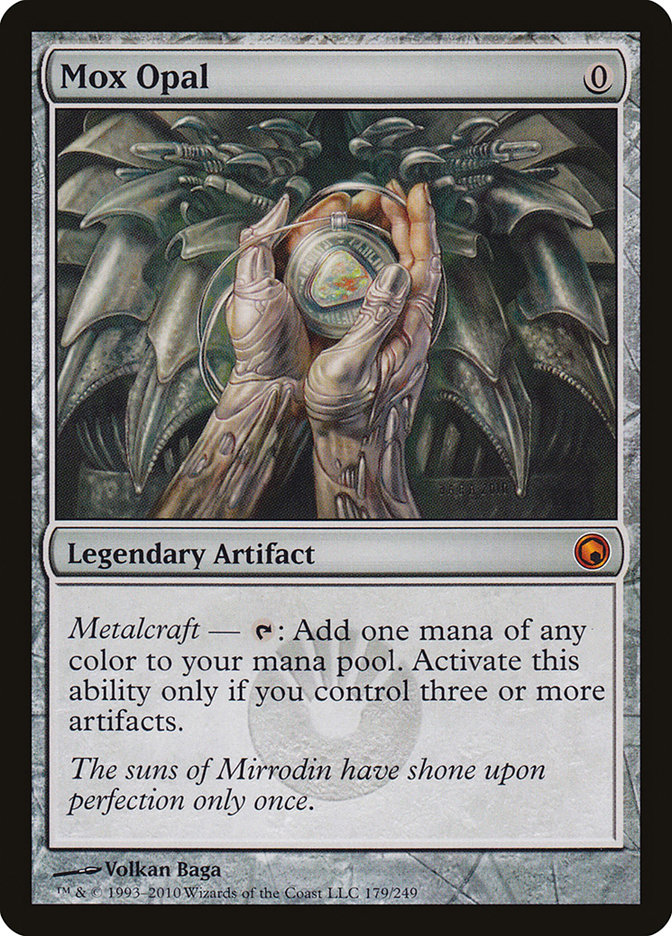
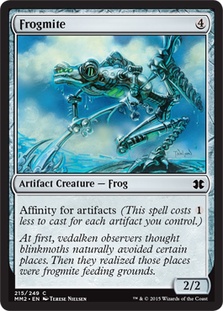
This little guy gets his own section. Since Modern began, I’ve seen most Affinity players just jam four copies of Memnite in without much thought. After all, it’s a free artifact creature that does a lot of other things you’re interested in (like turning on Mox Opal and giving mana for Springleaf Drum). After playing with the deck a lot, I found that Memnite was running into Tarmogoyf and other various ground creatures more than I wanted it to, and it generally wasn’t pulling its weight.
I made the decision to cut it down to two for Pro Tour Return to Ravnica, and I haven’t looked back. I think it’s good to play three sometimes, mostly when your artifact count is looking low because of various colored cards in your deck, but I don’t think I’d ever play four again unless I was looking to build a dedicated swarm version.
Mana Base
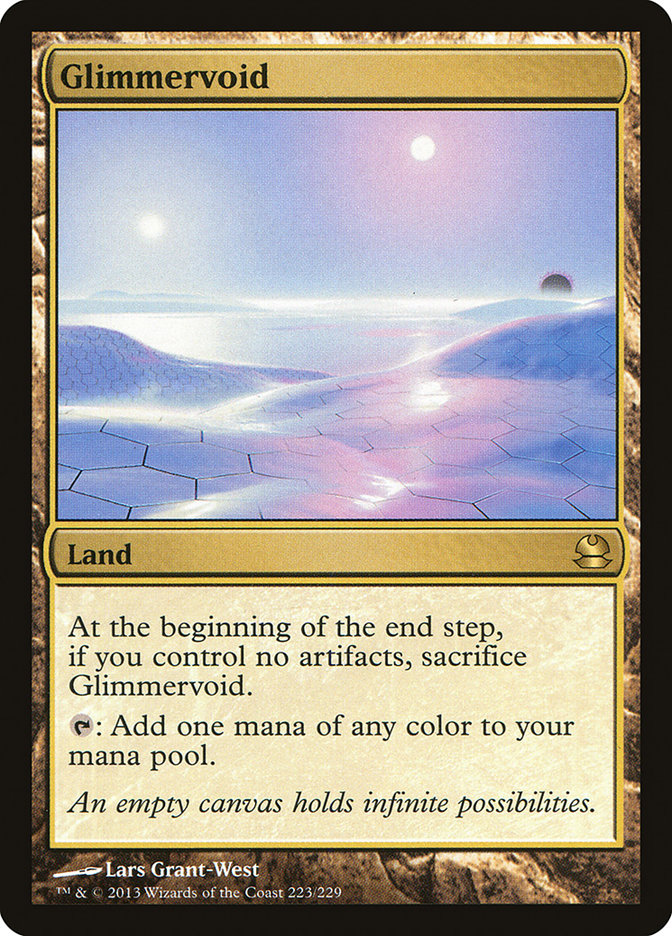
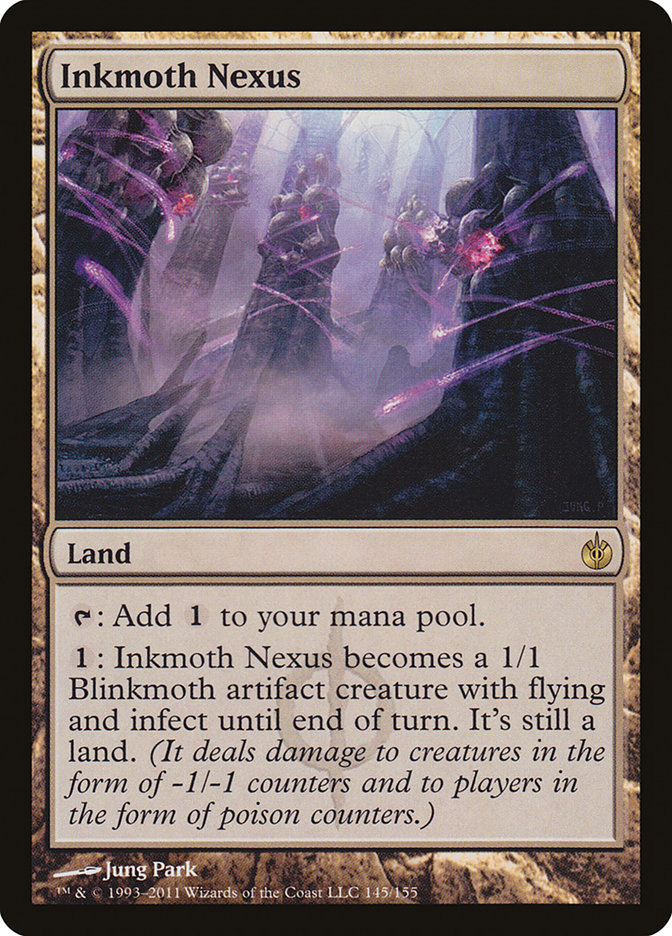
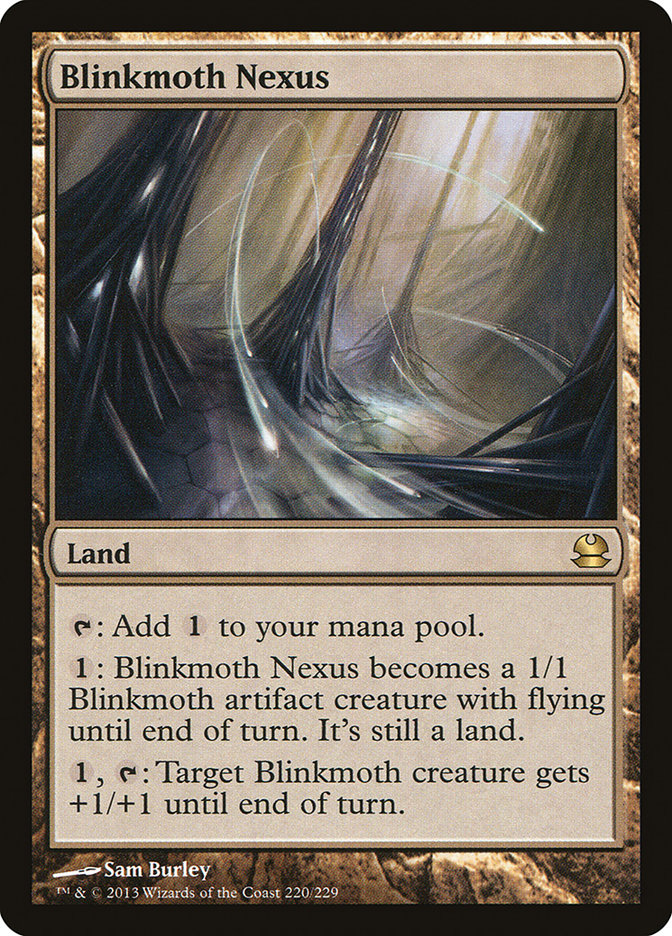
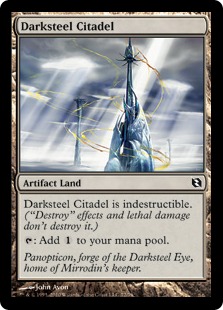
Sixteen lands is generally the sweet spot for Affinity. Back when Modern first started, a lot of Affinity lists had land counts as low as fourteen, but those decks were relying mostly on swarm strategies and Atog + Fling. Affinity decks these days lean on the creature lands quite a bit, which are hard to activate if you don’t have spare mana lying around. I’d always play four copies of each Nexus for this reason. I’d also never go below four copies of Darksteel Citadel because it plays a big role in some of your nut draws. Glimmervoid is usually the one you can shave comfortably, mostly because it does the least (although it still does a lot!) and it’s also occasionally a liability.
Playing seventeen lands is also fine and preferable sometimes—it depends on how many three-drops and colored spells you have in your deck. The more of those you have in your deck, the more likely you are to want an extra land. Your sideboard matters a lot too. The more colored cards you’re using in your sideboard, the more likely you are to want seventeen lands since it usually means four of them are Glimmervoid.
I usually like playing a basic land to squeeze a little bit of value out of Path to Exile and Ghost Quarter. The land you play depends on how you build your deck—you play an Island if you have lots of Thoughtcast and Master of Etherium and a Mountain if you’re playing lots of Galvanic Blast. I’ve even played a Swamp before when I had lots of black cards in my sideboard (and having another black mana to use Cranial Plating’s ability didn’t hurt). If you can’t decide which basic land to use and you have Thoughtcast in your deck, I’d always choose Island because if Path to Exile is being cast against you, you probably want to draw more cards.
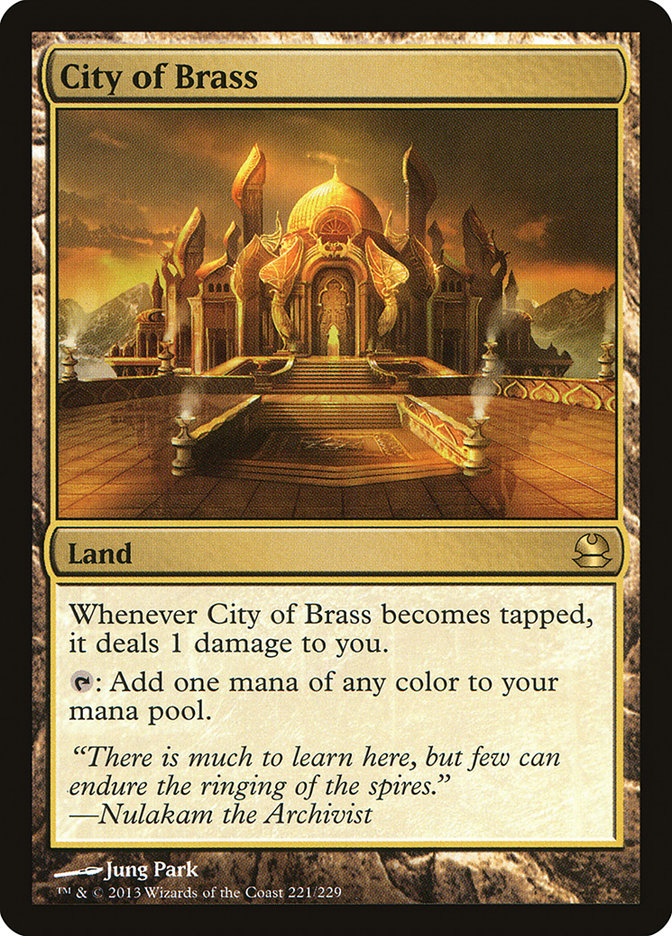
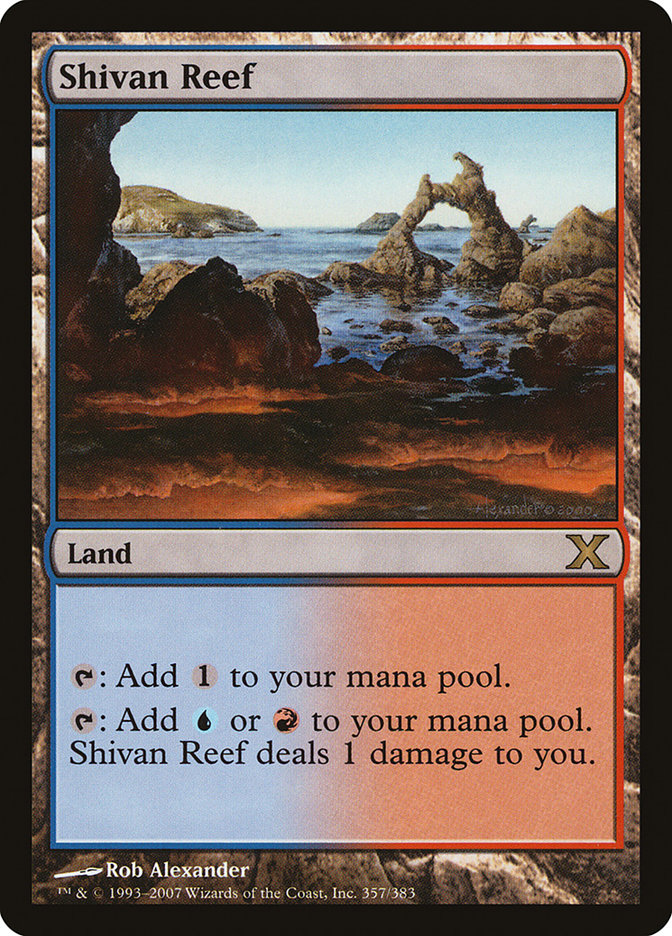
City of Brass is a decent replacement for Glimmervoid if you can’t find any or if you expect to play against a lot of removal and not a lot of aggressive decks, although I wouldn’t recommend playing more than two. Shivan Reef is also fine if you have a mostly red and blue sideboard since it accomplishes a lot of what Glimmervoid does without the risk of dying.
Maindeck Choices


Choosing which of these cards to play and in what number is generally the hardest part of building an Affinity deck. Some of these cards are very good in certain metagames and not very good in others, and it’s not always clear which ones to play and when (since they’re all just so good!).
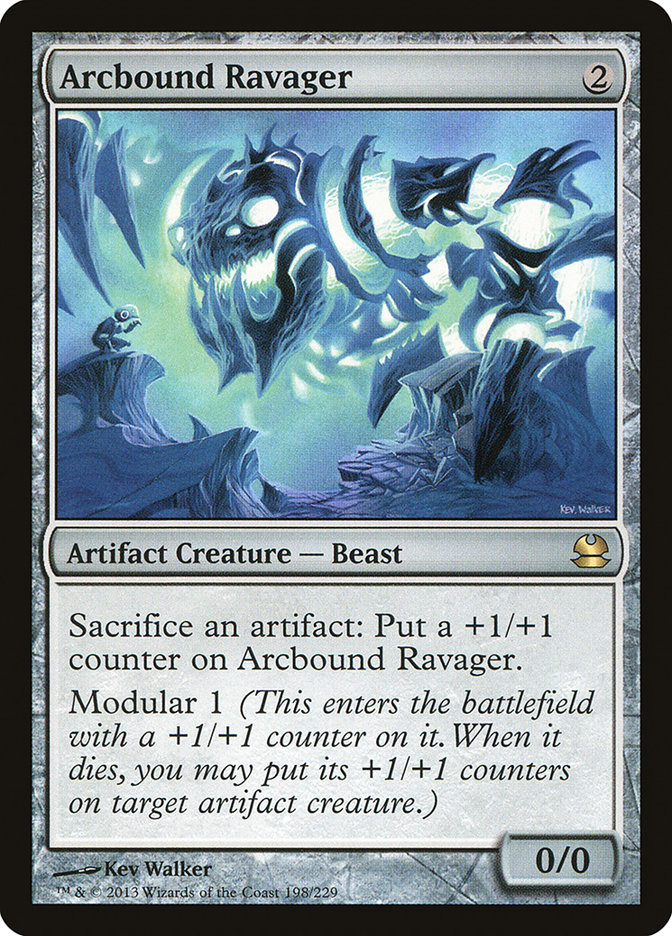
I usually like playing four copies of Steel Overseer. It’s the next best “gas card” (card that if unanswered will win you the game very rapidly) after Cranial Plating and Arcbound Ravager. Depending on your board, one activation can be enough to win. It’s also an artifact that isn’t hard to cast, so it promotes the synergy of the deck. Most of the time it functions as a strange Duress though since your opponents often kill it before you get a chance to activate it. I’d shave if there are other gas cards that are more effective against the decks you expect to face or if there is an unusually large amount of spot removal going around.
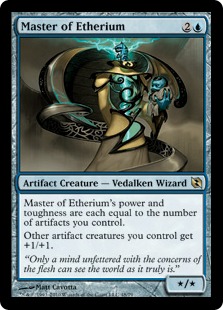
Master of Etherium has been making a comeback lately. It’s strange that it’s not an auto-include in every Affinity deck since it’s a creature that comes pre-equipped with Cranial Plating and doesn’t usually die to a single Lightning Bolt. However, it’s not always easy to cast since it’s not trivial to assemble 2U, especially in the early turns. Master goes way up in value the more Lingering Souls, Spectral Procession, and Bitterblossom you expect to face. It goes down in value the more likely it is to get blocked, removed, or even worse traded off in a double block for a single Tarmogoyf or something.
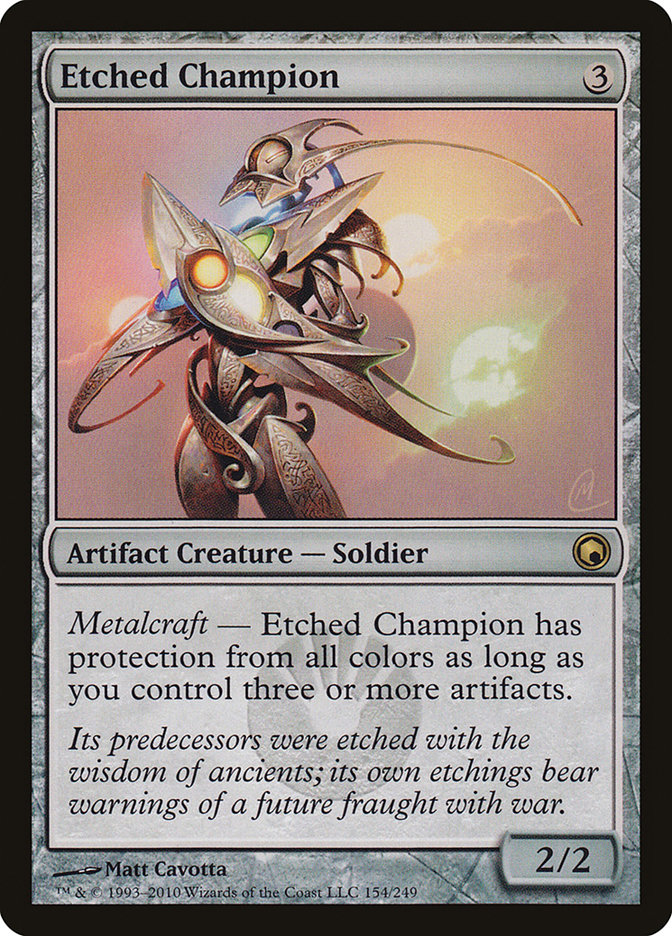
Etched Champion is at its best when there are lots of spot removal spells going around. I had four copies of Etched Champion maindeck for basically all of 2013 simply because of how popular and strong Jund was. Since Jund was loaded with various spot removal spells, I wanted as many Champs as I could get all the time, so I chose to play it over Master. There are plenty of matchups where it’s just a Gray Ogre, so think carefully about whether you want it in your maindeck or your sideboard. It is however one of the best ways to win in a lot of matchups, so you probably want at least three somewhere in your 75.
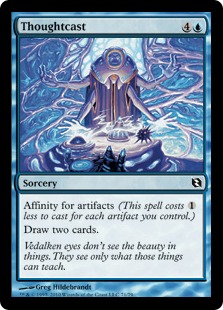
Thoughtcast, the only card with the actual affinity mechanic that still sees regular play, is kind of like the glue that holds the deck together. It’s been a while since I’ve played Affinity without it, although it can certainly be right to cut it altogether. It’s at its best when there are lots of grindy matchups floating around, such as Jund and U/W/R Control. It’s at its worst when there are lots of fast race matchups, like combo decks, burn decks, and very linear aggressive decks that aren’t usually removing your permanents (Goblins and Merfolk).
Galvanic Blast plays two main roles in Affinity. I think it’s most often seen as a finisher since it offers a very good price for a lot of damage. However, when I put it in my deck, I usually include it more for its utility. It’s incredibly useful for preventing creature-based combo decks from beating you with very unfair things, like Splinter Twin going off or Birthing Pod gaining infinite life or dealing infinite damage. These decks tend to focus so much on their combo versus you that if you can spend one mana and one card preventing them from doing that, your other cards will be more than enough to win the game.
One quick note on colored spells is you want to avoid having too many of them in your deck because it will be too stressful on your mana base. I’ve found that after six or seven it becomes pretty hard to cast them consistently (without a mana base overhaul).
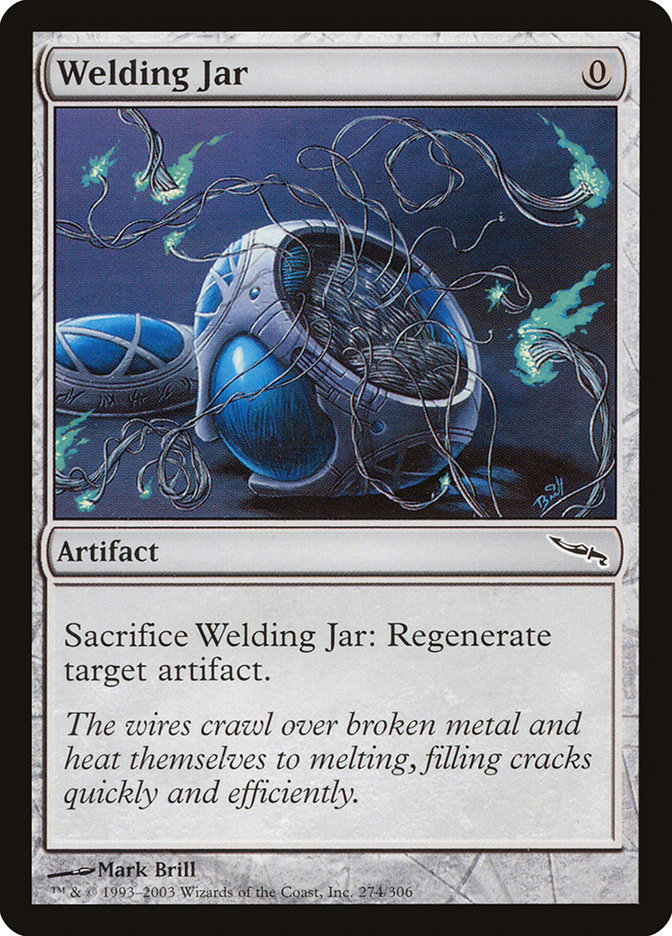
A few months ago Welding Jar wouldn’t have made this section, but it has been overperforming for me lately. Not only does it help to power out fast Mox Opal starts and defend Steel Overseer so that you can actually activate it, but it does extra work after sideboard so that you can keep your hate artifacts (like Torpor Orb and Grafdigger’s Cage) around. It’s not proactive so I wouldn’t play more than two, but I’ve found it to be extremely useful in a lot of metagames. When trying to find room for it in my list, I like to think of it as Memnite number three and four.
There are lots of other quirky card choices you can make when building an Affinity deck. Some of them have seen lots of play in Modern before, while others are just cards I’ve had on my mind. I feel like they all deserve to be mentioned, but they’re definitely not standard choices so try them at your own risk.
Sample Maindecks
Here are a few sample maindecks that I’ve played in the past with explanations for how I arrived at them. Each of them contained sixteen lands plus the 28 core cards listed above and two copies of Memnite, so I’ll just list the other fourteen cards that made them unique.
4 Etched Champion, 4 Galvanic Blast, 4 Thoughtcast, 2 Steel Overseer
I played this deck in the last Modern PTQ season (for Pro Tour Dragon’s Maze). Jund was very popular, and I felt like the colored spells were at their best during this time so I wanted as many as possible. I went down to two copies of Steel Overseer because Lingering Souls decks were losing a bit of popularity. I liked this list. but it was a bit stressful on my colored mana sources.
4 Etched Champion, 2 Galvanic Blast, 2 Thoughtcast, 4 Steel Overseer, 1 extra land, 1 extra Memnite
I used this list for a Modern side event at Grand Prix Washington DC in 2013. After reading about some other ideas for Affinity, I wanted to try out seventeen lands and the third Memnite. I really enjoyed how consistent this list was, and I didn’t feel like I was getting mana flooded (or Memnite flooded). Lists like this tend to have better opening hands since you have fewer zero-and one-land hands that you’re forced to mulligan and tend to have more action and fewer cards like Galvanic Blast that you aren’t always happy to see in your opener.
3 Master of Etherium, 1 Etched Champion, 2 Thoughtcast, 4 Steel Overseer, 1 Spellskite, 1 extra land, 2 Welding Jar
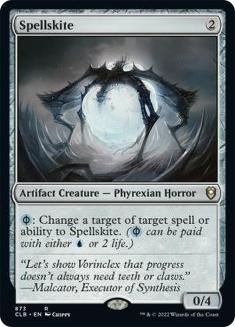
This is the list I used at Pro Tour Born of the Gods. I moved most of the Etched Champion back to the board in favor of Master of Etherium since I expected a lot less Jund (due to Deathrite Shaman’s banning) and a lot more Bitterblossom. I also went with the Spellskite maindeck since it’s good at blocking Wild Nacatl and diverting spells away from Steel Overseer and is incidentally very good against decks like Splinter Twin and Auras. My record in Constructed at the Pro Tour wasn’t as good as I’d have liked (4-5-1) since I played a lot of matchups that I’d rather not have played against, but my teammate Jon Stern played the same exact decklist and went 7-3 with it.
Sideboard Options
In Modern, you want to play versatile sideboard cards and avoid narrow ones. There are so many decks to prepare for that your sideboard needs to work overtime. One of the worst feelings in Modern is playing a matchup that you have no sideboard cards for because you played too many cards for another matchup.
A good example of sideboard versatility is Whipflare. Toward the end of 2012, right around Grand Prix Toronto, Lingering Souls decks were very popular, and I was using Whipflare to combat them. Whipflare was also useful against U/W/R Delver with Geist of Saint Traft, so I felt good about filling slots with it. A few weeks after that Illness in the Ranks was printed, and the U/W/R Delver started to become less popular.
I didn’t want to play Whipflare just to beat one deck, so I started playing Illness in the Ranks in that slot instead mostly because Illness is also effective versus Splinter Twin (the copies are tokens, so Deceiver Exarch has zero power and Pestermite simply dies). The moral of the story is that if a card is effective against two or more decks you expect to play against, it’s probably a good inclusion and worthy of a slot in your sideboard.
The potential sideboard choices are so numerous that I have no idea how to discuss them, so I’ll just give a list of every sideboard card I’ve played or thought about playing in the past two years as well as the deck(s) they’re useful against.
- Etched Champion – Good versus creature decks and heavy spot removal decks.
- Spellskite – Good against creature decks and heavy spot removal decks as well as decks that rely on targeting to win, such as Auras, Splinter Twin, and Infect.
- Artifact/enchantment removal – Ancient Grudge is for the mirror and also comes in against G/R Tron. Ray of Revelation is mostly a reaction to Stony Silence but also comes in handy versus Auras and token decks with lots of enchantments. It can also be used against Splinter Twin if you don’t’ have enough sideboard cards somehow. Wear // Tear and Nature’s Claim are for all of the above, and Nature’s Claim has the added bonus of coming in versus hyperaggressive decks like Burn and R/G Aggro since you can target your own artifact to gain four life.
- Removal spells – Dismember is mostly for creature-based combo decks like Twin and Pod, but it’s also useful in the mirror, in matchups like Merfolk, and against any random decks that have creatures that will otherwise dominate the board (I’m thinking decks that have a couple Baneslayer Angel or something). Whipflare is useful against token decks, Bitterblossom decks like Faeries, and Melira Pod (but not Kiki Pod!). Illness in the Ranks is useful against those same token decks, but it also comes in against Splinter Twin since it stops them from combo killing you.
- Graveyard hate – Tormod’s Crypt is the weakest of your options, but it has some advantages over Relic of Progenitus, most notably that it’s free to cast and use when all you care about is getting rid of the graveyard at one key moment (think Past in Flames or Unburial Rites). Rest in Peace is the strongest of your options but also the most stressful on your mana since it requires white mana to cast. (It’s also bad to use with Arcbound Ravager since it stops modular.) Use it only if you expect graveyard decks to be overwhelmingly popular. Grafdigger’s Cage is unique in that it does a few things that the other cards can’t, like stop creatures from coming into play via Birthing Pod / Chord of Calling. Its major limitation is that it’s not useful at all versus Living End. I also bring Cage in against U/W/R Control—to me it’s worth one slot to stop Snapcaster Mage (as well as Think Twice sometimes).
- Counters and discard– These are all great against combo and control decks. Thoughtseize is preferable to Duress since you can bring it in against white-based creature matchups in an attempt to get rid of their Stony Silence, but I’ve used Duress before without too much regret. (Duress also has the advantage of being much better against Burn than Thoughtseize.) Spell Pierce is generally better than Unified Will, but it gets worse the longer the game goes on, whereas it’s pretty easy to turn on Unified Will in the late game with a Nexus or whatever lying around. I’d also bring these in against any deck you suspect might have Shatterstorm or something similar—it can be backbreaking for the opponent to rely on a Shatterstorm to win only to have it Spell Pierced.
- Hoser cards – Ethersworn Canonist is obviously great versus Storm decks, but it’s also useful against decks that want to play a ton of cheap spells in the early game (think things like Infect and Burn). These decks have a much harder time winning if they can’t blast away at you with cheap spells in the first few turns. Thorn of Amethyst is similar—it’s harder for those decks to combo off if their spells are suddenly more expensive. Torpor Orb is primarily for Splinter Twin and Birthing Pod decks, but it’s also useful against a lot of other decks if you keep your eyes open. It’s great against Soul Sisters (since it shuts off all of the Soul Warden, which in turn shuts off Ajani Pridemate), and it’s good against the Mono-Green Devotion deck that popped up recently.
- Blood Moon – This is kind of a controversial card to me. I never use it because I don’t think it’s very good. In almost every matchup where I’d want it, I also want to use my creature lands, which this gets in the way of. The only matchup I can think of where the benefits of shutting the opponent’s mana off potentially outweigh shutting off my creature lands is U/W/R Control, and even then this lets them use the Tear side of the Wear // Tear they usually bring in (assuming they are smart enough to fetch out their basics early on). I’d only use Blood Moon if I were expecting an unusually high number of U/W/R Control decks (at which point I’d consider playing another deck since it’s not usually a very good matchup). It’s also a card that’s on a lot of people’s radar now because of Blue Moon emerging at Pro Tour Born of the Gods, so it’s not necessarily the auto-win it normally is. Think carefully about whether you want to play it or not.
A Brief Guide On How To Sideboard
The question I get asked the most is “how do I sideboard?”
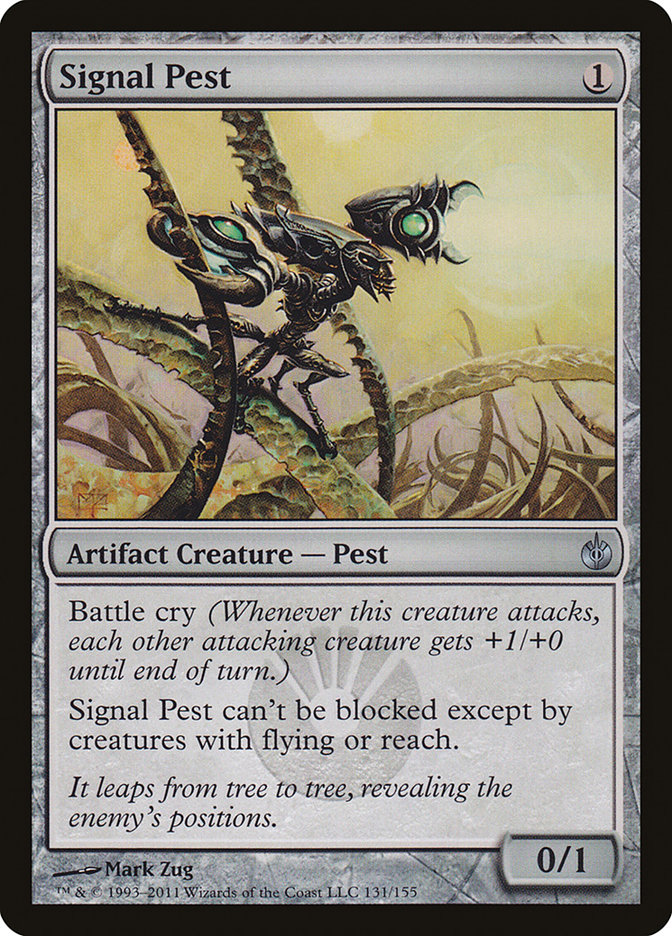
Put simply, the only “core cards” listed above that I’m willing to board out are Memnite and Signal Pest. That’s 40 cards that should remain untouched: 16 lands, 8 artifact mana pieces, 4 Cranial Plating and 12 creatures. After that it’s not hard to decide which of the remaining 20 cards are not so effective in the matchup you’re trying to board for.
For example:
Playing against a fast combo deck? Probably don’t have time to Thoughtcast. It’s likely that there’s not much to target with Galvanic Blast either.
Playing versus Melira Pod? It’ll probably be hard to get Master of Etherium to connect.
Facing a deck with Lingering Souls? Signal Pest is underwhelming.
Playing against a deck that might bring in Stony Silence? Drawing Steel Overseer after it’s in play would be awful.
Don’t know what else to cut? Cut Memnite.
Since your sideboard plan depends entirely on your exact configuration, it’s best to just play as many games as you can and get a feel for which of the twenty “cuttables” you like the least in the specific matchup you’re trying to board for. As long as you aren’t putting too much stress on your colored mana sources or harming the engine of the deck, any plan you come up with should be reasonable at least.
When To Play Affinity
By far the best time to play Affinity is when you think people have forgotten about it. That means fewer sideboard slots will be devoted to beating it and the ones that are will be less hateful (would you rather play against Rakdos Charm or Shatterstorm?).
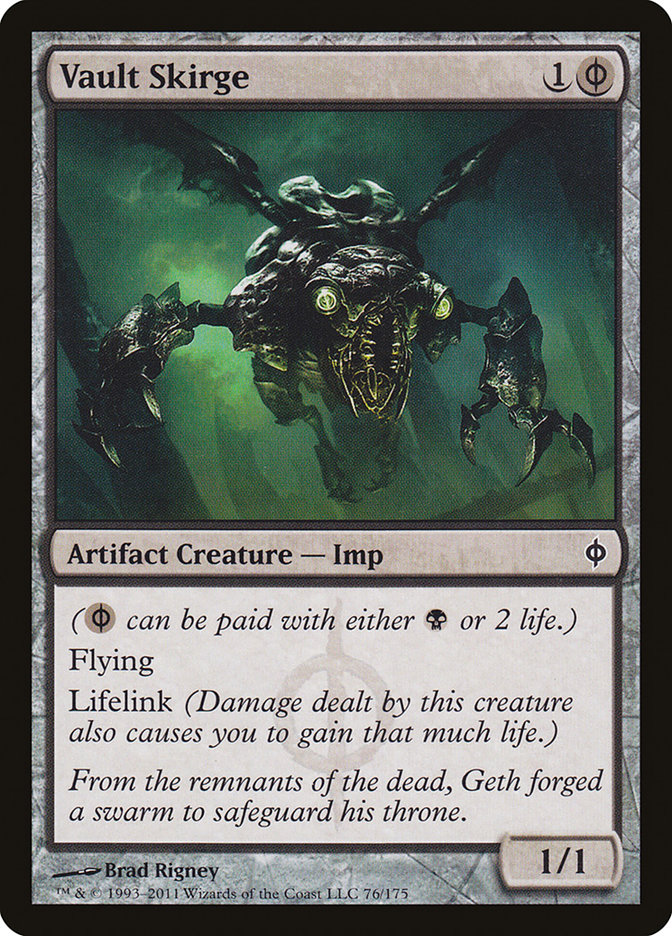
Beyond that Affinity is at its best against other creature decks since it tends to be faster and fights mostly in the air. Vault Skirge also helps to win the race more often than you’d think, even if you can’t seem to draw a Cranial Plating. There are also a few decks that don’t have much ability to interact with the opponent, and I’d rather be on the Affinity side of these matchups.
Affinity is not such a great choice if there are a ton of control decks running around. These decks usually have all the tools they need to stop all of your power cards, leaving you to win the game with a bunch of Memnite and Vault Skirge—not really where you want to be. I’d also reconsider playing it if you expect a lot of Splinter Twin decks. It’s true what people say about Affinity. It’s a very good game 1 deck, and Splinter Twin is one of the matchups where it’s not as easy to win game 1.
How To Play Affinity
There are two aggressive modes Affinity can operate in: swarm and pierce. To win more games with the deck, you have to recognize when to use each of them and be able to transition between them seamlessly.
Swarm is exactly what it sounds like: play a bunch of cheap artifact creatures, hopefully one of which is Signal Pest or Steel Overseer, and attack until you win. Pierce is more like something you’d find in an Auras deck: make one of your evasive creatures unstoppable and win in a couple hard hits while trying to manage the board. Most of the time your opening hand will dictate which mode you’ll be playing in (Signal Pest and three other creatures vs. one creature and a Cranial Plating), but sometimes games will develop in such a way that you’ll want to swarm early and then switch to one creature in the air once the board starts to clog up. Or maybe you’ll want to start swarming after you’ve been getting in for one or two chip damage per turn in the early game.
Arcbound Ravager is the most useful card for transitioning between the two modes since you can sacrifice blocked creatures to it when you’re swarming and then use the counters later to build a big creature with which to pierce through. Opponents tend to assume you always want to start out with swarm and prepare for you with cards like Pyroclasm and Anger of the Gods, so it’s important to recognize their preparation and avoid spilling your hand into their sweeper.
Be patient! It’s tempting to stay on curve and slam down Arcbound Ravager or Cranial Plating on turn 2, but often it just gives the opponent more time to react to it. It’s always a bad feeling when my turn 2 Ravager gets killed by Lightning Bolt and I didn’t even come close to having enough artifacts to keep it around (and even if I did, I’d probably lose my entire board). Your opponent is less likely to use their one mana on turn 1 to Bolt your Vault Skirge if you spent turn 2 playing Springleaf Drum and Signal Pest, which gives you a good opportunity to play Plating and equip in the same turn after they tap out for Tarmogoyf. Getting big sneaky hits like that in as early as you can makes it easier to chip your opponent to death after they’ve had a chance to remove your scary cards.
Holding Arcbound Ravager as long as you can is an especially good tactic since lots of opponents assume that the one or two cards you’re holding are extra lands or Galvanic Blast. Your opponent is more likely to count your artifacts in play to see how much damage you can do if you already have Ravager or Plating in play, so by holding it when it’s not too useful on the board (say, if there are some blockers on the ground), you get to surprise your opponent with it when they use their mana on something else.
It’s not always right or wrong to hold your threats as long as possible or to play them out. It mostly depends on the board, how much mana you have access to, and how you think the next few turns of the game will go. The point is that although Affinity has a reputation as a very aggressive deck that wants to dump its hand as soon as it can, it’s best to think critically about each spot you’re in so that you can make each of your cards as effective as possible.
It’s also crucial to get in every point of damage (and poison) that you reasonably can. Don’t leave yourself open unnecessarily, of course, but there are plenty of games where your position will look pretty bad and you’ll suddenly draw Arcbound Ravager and need to sacrifice every artifact you have in play to have a shot at winning.
Don’t be afraid to take risks! It feels bad to move all in on a creature only to have it Lightning Bolted or Path to Exiled in response, but it feels even worse to give your opponent plenty of extra turns to draw removal spells while you sit back and chump block until you die. It’s often a better percentage play to make a medium-sized creature that’s lethal in two turns while hoping to dodge a removal spell for one turn. The key is to look at the board state and decide what gives you the best chance of winning, not what would feel the worst.
How To Beat Hate Cards
The most common hate card you’ll play against is Ancient Grudge. Luckily, it’s also the easiest one to beat. For your opponent, Ancient Grudge will take out two of your best artifacts, so beating it is all about diversion. You have to either convince your opponent that the artifacts you have in play are your best ones (by holding the ones you really want) or force them to destroy ones they probably don’t want to kill (with cards like Spellskite and Welding Jar).
For example, if you suspect your opponent has Ancient Grudge and you have a Cranial Plating and a Steel Overseer, I’d lead with Overseer. Your opponent will probably want to kill it before you can activate it, which lets you play Plating and equip it for a ton of damage before it gets removed with the other half of the Grudge. Getting in that extra damage can be the difference between winning and losing a game.
The next most common hate card is probably Stony Silence. This one is the hardest to beat since it comes down as early as turn 2 and shuts off lots of your mana and most of your relevant threats. Nevertheless, you can still beat it sometimes. Before it comes down, try as hard as you can to already have a creature (preferably an evasive one) equipped with Cranial Plating. I won a game at Grand Prix Detroit where my opponent had Stony Silence on turn 2 on the draw; it wasn’t fast enough since I already had an Ornithopter equipped with Cranial Plating on my turn 2. I was able to get enough damage in with it before it got removed that it was a lot easier to close out the game with 1/1s.
Once Stony Silence comes down, if you have no way of removing it (you often won’t), make sure to sacrifice all of your artifacts that will be useless to Arcbound Ravager and perhaps even sacrifice the Ravager to itself to modular onto an evasive creature. After Stony Silence is in play, your best chances to win are either to swarm with many creatures and a Signal Pest or to establish a decent defense and attack for two every turn with an Etched Champion.
One of the things you’ll often want to do after Stony Silence is in play is cast Etched Champion, so Inkmoth Nexus and Blinkmoth Nexus have a lot more value. Try not to jeopardize them unless you have to. Also keep in mind that Master of Etherium is an awesome threat under a Stony Silence, so you’ll want to play some in your deck if you feel like some are floating around.
After Grudge and Stony, you’ll most often play against Shatterstorm and Creeping Corrosion. Without the help of any sideboard cards (most notably Thoughtseize and Spell Pierce), beating these cards is all about anticipation. If you sense it coming, try not to deploy all of your threats. It’s worth cutting your clock from two turns to three turns just to have some more action after most of your cards get destroyed. That said, if a two-turn clock will win the game before your opponent gets a chance to cast Shatterstorm or Creeping Corrosion, you should opt for that instead.
If you’re feeling extra gutsy, one play you can make if you sense a Shatterstorm coming is to load a bunch of modular counters onto a Nexus. A Nexus will always be safe from the sorcery speed Shatterstorm, so you can have a giant threat hanging around after your opponent casts it (or it might discourage your opponent from casting it at all). Also remember that you can’t use Welding Jar to regenerate from Shatterstorm but can use it to regenerate under Creeping Corrosion. Shattering Spree and Vandalblast play out very similar to Shatterstorm, except you get to keep a couple artifacts sometimes (or you only lose one or two early, in which case it’s basically a sorcery speed Ancient Grudge).
The last big hate card is Kataki, War’s Wage. Beating this one is tricky. The easiest way to do so is to remove it. You’ll most often see it out of decks like Birthing Pod and Hate Bears, and you should be looking to keep hands with removal versus those decks anyway. If you can’t remove it, it’s all about nonartifact mana sources and Arcbound Ravager. The more nonartifact mana you have, the more permanents you get to keep, and if you have Ravager in play, you can sacrifice artifacts that you can’t pay for and get a little extra value out of them.
You can also use your artifact mana sources to “float” some permanents through a turn—you don’t have to tap all your lands to pay for all your permanents. For example, if you have two Inkmoth Nexus, a Darksteel Citadel, and two artifacts you want to keep around, you can tap Citadel and one Inkmoth to pay for both of them and just lose the Citadel. This frees up the other Inkmoth to play your spells (hopefully a removal spell or an Arcbound Ravager following another land drop).
Some Tips & Tricks
Arcbound Ravager is a tricky card. When going all in on it, make sure that you resolve each activation individually. If you have two 1/1 Arcbound Ravager in play, remember that sacrificing one to the other yields two counters: one from the one you activated and the modular trigger from the one you sacrificed. You also aren’t obligated to put that modular trigger on the other Ravager —you can move it to one of your other creatures. This is very useful for coming out ahead in messy combat situations.
You can also grow one Ravager to a 3/3 and then sacrifice it to the other one and target another one-toughness creature with its modular trigger to let it survive a Lightning Bolt. If you don’t have another Ravager, you can always sacrifice a Ravager to itself just to move the modular counters onto another creature.
When you have Arcbound Ravager and Steel Overseer, the damage really adds up quickly. Ravager doesn’t care whether the +1/+1 counters on it are from Overseer or from its own ability, so they can all modular onto another creature just the same. Add Inkmoth Nexus to the mix and you only need five other artifacts to give your opponent ten poison counters (keeping in mind that you can sacrifice the Overseer to the Ravager once you’ve activated it), four if one of them is an attacking Signal Pest.
When you put counters on an active Nexus via modular, the counters stay on even when the Nexus stops being a creature and will still pump that Nexus the next time you activate it. This is especially useful for when you can’t deal lethal poison damage via Inkmoth in one turn —you can still make Inkmoth a 5/5 and kill them in two attacks. You can also put counters on an active Nexus via Steel Overseer. Make sure that you activate as many as you can before you activate the Overseer with as much mana as you’re willing to spend, even if they aren’t attacking. A Nexus with one or two counters becomes a sizable threat if all your other creatures get swept away by some mass removal spell.
Both Blinkmoth Nexus and Inkmoth Nexus have the creature type “Blinkmoth” when active, so you can pump either of them with Blinkmoth’s other activated ability. You can block an attacking 1/1 with a Blinkmoth Nexus and two other mana as long as that Nexus doesn’t have summoning sickness. I’ve found this to be really useful in racing situations. If your opponent is attacking with a 5/5, you can shrink it to a 3/3 by blocking with an Inkmoth Nexus and pumping it with a Blinkmoth to give it two total -1/-1 counters via Infect. This can provide you with one or potentially more valuable extra turns to win the damage race as long as you block and shrink the attacking creature early on.
It’s also useful as a threat—a Blinkmoth and an Inkmoth with two other mana represents a five-turn clock. If you have a lot of mana lying around and an Arcbound Ravager or Cranial Plating, you can squeeze an extra damage/poison counter out of a Blinkmoth Nexus by pumping the attacking Nexus with it and then activating it for an extra Plating power/another artifact to sacrifice to Ravager.
Speaking of activated abilities, Cranial Plating has one besides 1: Equip, and it’s incredibly useful. Oftentimes your opponent can only remove one attacking creature, and that creature is likely to be the one with the Plating equipped, so having two black mana lying around via Glimmervoid, Mox Opal, or Springleaf Drum to move the Plating to another unblocked creature helps you keep the pressure on. If you don’t have BB available but still suspect a removal spell, try to equip the Plating to a zero-power creature like Ornithopter or Signal Pest so you can still get one or two damage in with your other creatures. Every point of damage helps.
When moving in on an Etched Champion via Arcbound Ravager, make sure you still have two other artifacts to keep metalcraft active, preferably ones that are hard for your opponent to remove like Darksteel Citadel or any of the various noncreature artifacts in your deck. If you need to sacrifice every artifact you have to make Etched Champion lethal, at least make sure it’s after blockers.
If you only have Etched Champion and two other artifacts in play and your opponent makes a move to kill it by using two removal spells (one for another creature and one for the Champ), you can counter it by activating a Nexus and turning metalcraft back on.
Be careful if there’s a Spellskite in play—your opponent can activate it to redirect modular triggers from Ravagers that die, so you should avoid sacrificing any if you can help it. Also keep in mind that modular is a “may” ability, so if your opponent kills your Ravager and redirects the modular trigger to Spellskite, you aren’t obligated to actually put the counters on it. What your opponent can’t do however is redirect either of Cranial Plating’s abilities to a Spellskite, as both of them say “creature you control.”
Try to throw off your opponent’s Ravager math as much as you can by holding some artifacts that wouldn’t be doing much good in play anyway. Your opponent won’t have as much information as you have, and they tend to assume that you’d put your artifacts in play as soon as you draw them, so if they only count seven poison damage via Ravager and Inkmoth and tap out assuming they’re safe, you can surprise them by going Darksteel Citadel, Springleaf Drum, Ornithopter to make it ten.
This is by no means a complete guide to Affinity. I tried to include as much information as I could, and I still feel like I’m missing quite a bit. A lot of mastering Affinity (and any deck in Magic really) is about developing a strong intuition for what to do in each situation, and the only reliable way to do that is by repetition through practice.