
#SCGCHAR was the most I’ve enjoyed an event all year. Between cosplaying Spike, Tournament Grinder for Halloween; my article correctly calling what to play; getting a feature match against my best friend in the world; and Jadine Klomparens racking up another quarterfinals appearance with Jund, it couldn’t have really gone much better.
Oh, and I’m still the carrier of the “Classic Queen” title as well.
Creatures (24)
- 4 Llanowar Elves
- 1 Carnage Tyrant
- 3 Wildgrowth Walker
- 4 Merfolk Branchwalker
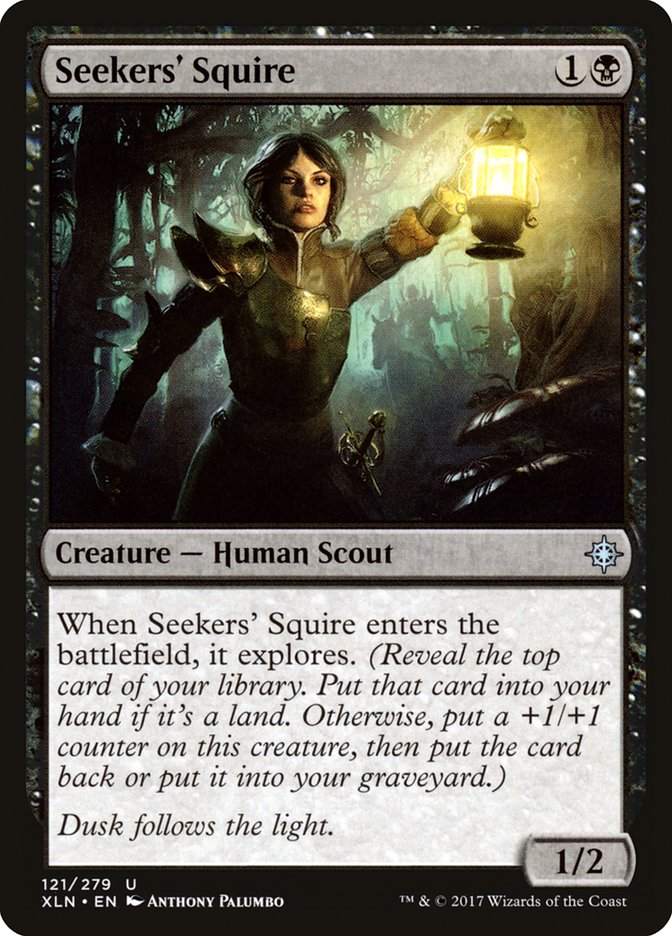
- 3 Seekers' Squire
- 4 Jadelight Ranger
- 3 Ravenous Chupacabra
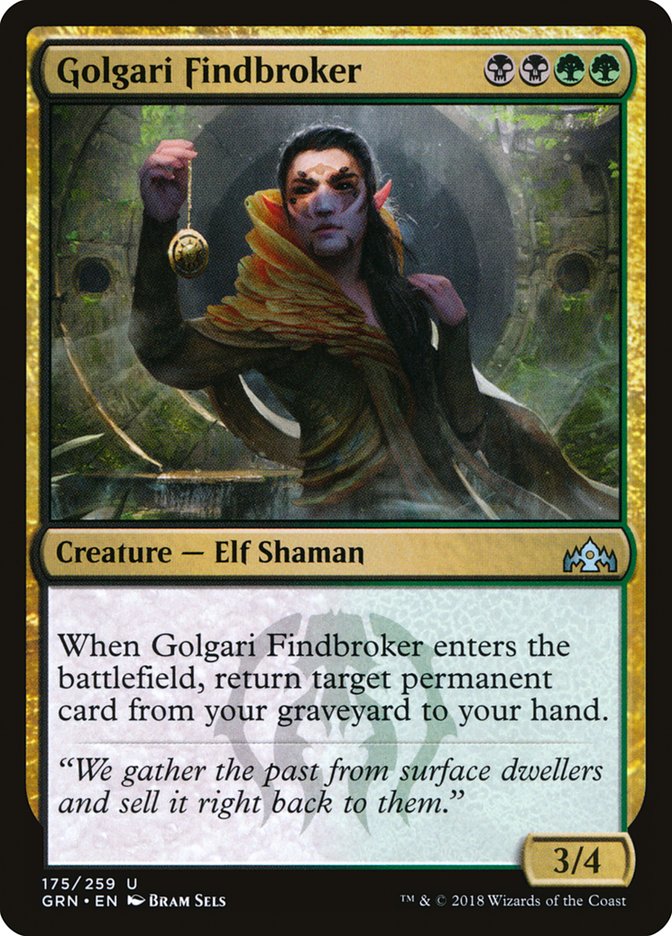
- 2 Golgari Findbroker
Planeswalkers (7)
Lands (23)
Spells (6)

After losing my win-and-in for the second day of competition in the Modern Open, I felt unsure of the best deck to play in the Standard Classic the following day. I was confident I wanted to play Standard over Modern, as some of the people around me are qualified for Pro Tour Guilds of Ravnica and I want to help them playtest where I can. Past that, it was tough to narrow down my weapon of choice.
In the interest of personal success, I leaned towards Golgari, as it was what I had the most experience with, even if I didn’t have the best list for it. The final tiebreaker between it and one of the Sulfur Falls decks was effectively that, while I wasn’t positive if Golgari was the best deck to play, I was positive that I was far less likely to make mistakes with it than my opponents were.
Throughout the tournament, I was able to capitalize on several of these mistakes that my opponents were making and stole at least four different games that I had no business winning otherwise. Rather than continuing to capitalize on the mistakes, it feels more productive to talk about the things that people are doing wrong with or against Golgari, and how to fix them.
1. Stop treating Arclight Phoenix like Flamewake Phoenix.
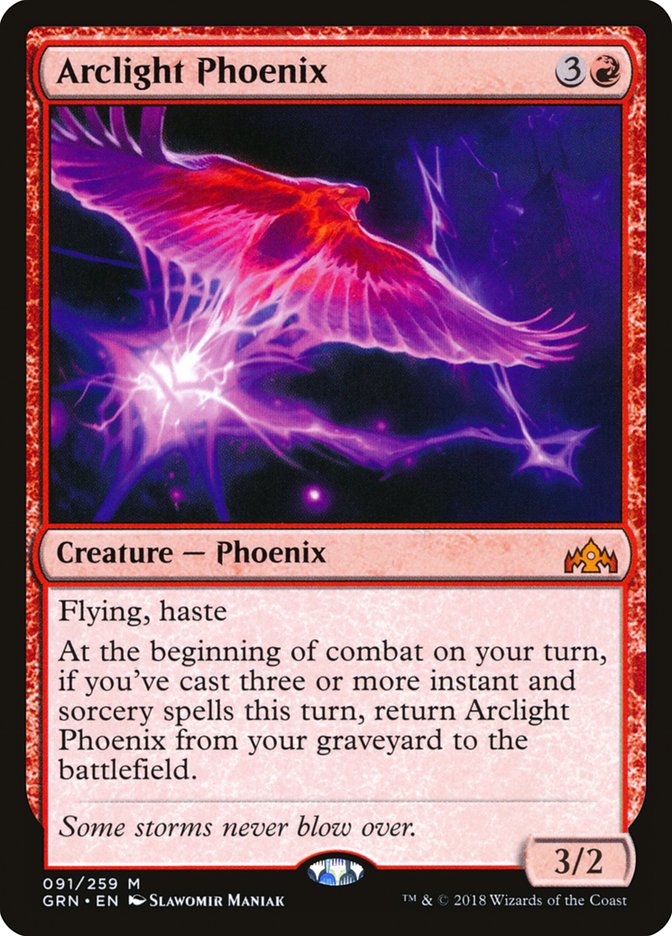
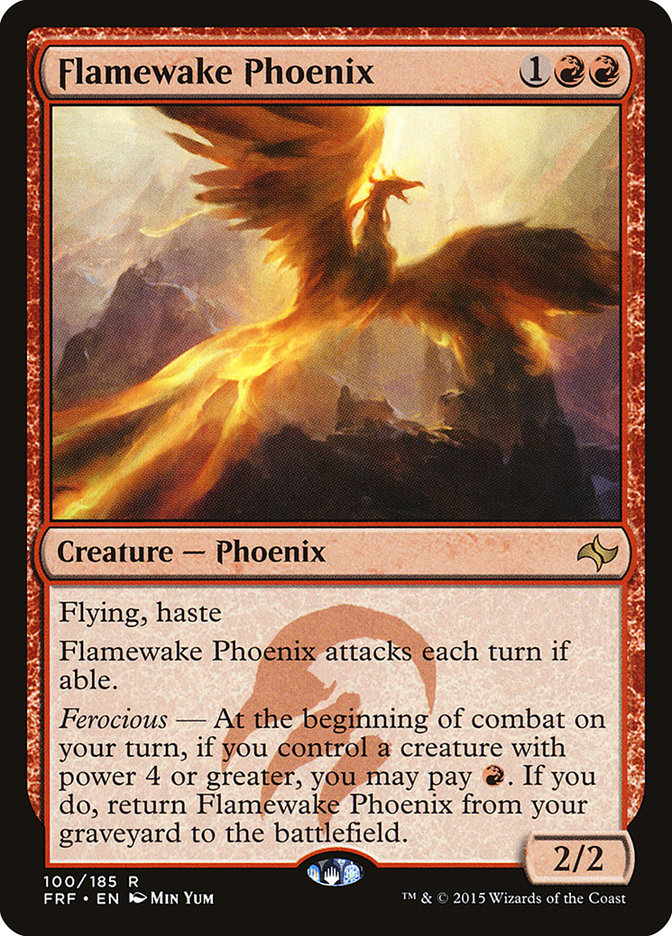
What’s the biggest difference between these two cards? It’s really easy: one of them can block.
This seems like a little bit of “Read the Freaking Card”-styled advice, but it isn’t uncommon for people to treat their Arclight Phoenixes as if they are required to attack, even when it isn’t profitable to do so.
Creatures (12)
Lands (20)
Spells (28)
The biggest strength of the Izzet Arclight decks is that they can ignore the primary strategy of most of the Golgari decks.
At its core, the Golgari Midrange deck is built to use creatures to turtle up, interact with a couple of evasive threats, and ride their card advantage engines to victory. In this case, that means planeswalkers, Find, or the occasional Izoni, Thousand-Eyed.
The Izzet Arclight deck is able to play a pile of proactive things that are both evasive and resilient to removal. This means that attacking will frequently look correct. “Haste” definitely sends the message that something wants to be attacking.
The issue is that generally the Golgari deck is the aggressor in the matchup. Its planeswalkers can’t ever snowball any kind of advantage when they die the turn they hit the battlefield. This forces the Golgari deck to do everything it can to keep the Izzet deck on the back foot while growing Wildgrowth Walker and paving the way for things to attack with Ravenous Chupacabra. If Golgari is taking an aggressive stance, unless the Arclight Phoenix deck is firmly ahead in the race, it’s wrong to be constantly attacking.
The first couple of attacks are pretty close to free, but think of it like this: it’s easy to just dictate the pace of the game if the Golgari pilot can’t profitably attack. Because the Golgari deck can’t really block the threats from the Izzet deck, the Izzet deck can attack whenever it wants, while the Golgari deck has to jump through hoops in order to deal damage.
This makes it easier for the Izzet deck to turn the corner on a dime and keep the game out of reach for the Golgari deck, which doesn’t really have a way to break through several creatures at once other than the back half of Find, which shrinks their own attackers in the process.
2. Play Wildgrowth Walker.
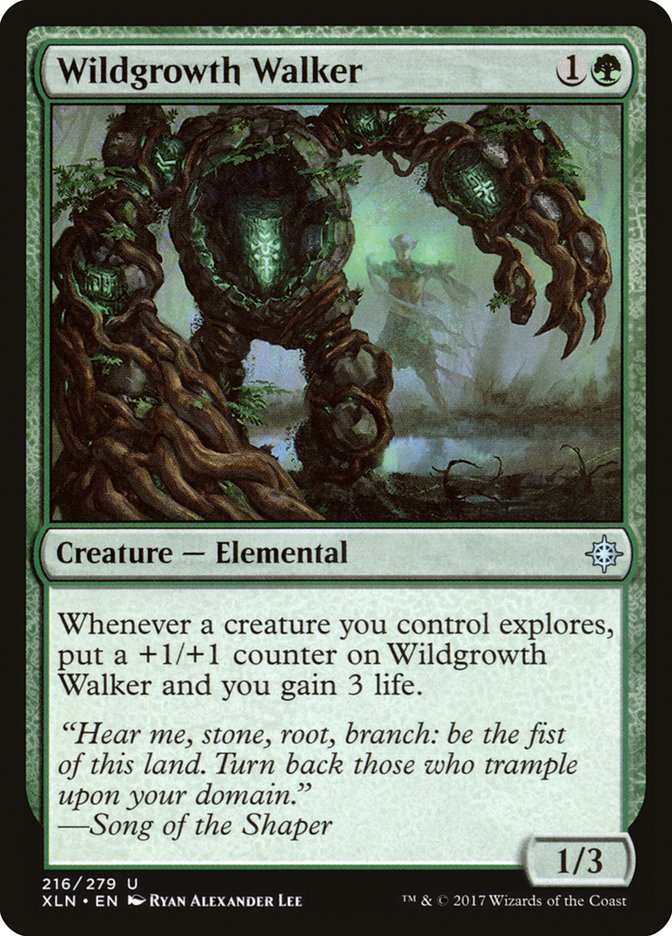
Wildgrowth Walker is this format’s Tarmogoyf impersonator.
Stop cutting this card where creature sizing ever matters. It isn’t particularly great in the mirror, as it doesn’t generate value on its own and a double- or triple-block can take it down pretty reliably. Past that, the lifegain keeps its controller out of reach of red decks, and Wildgrowth Walker is frequently able to live through all of the following cards from Jeskai:
It’s a big deal.
Playing with the card against red decks in particular can be a little tricky, but the priority should be getting at least a single trigger with Wildgrowth Walker. Against Arclight Phoenixes, it’s okay to simply jam Wildgrowth Walker on the second turn because they don’t play copious amounts of burn.
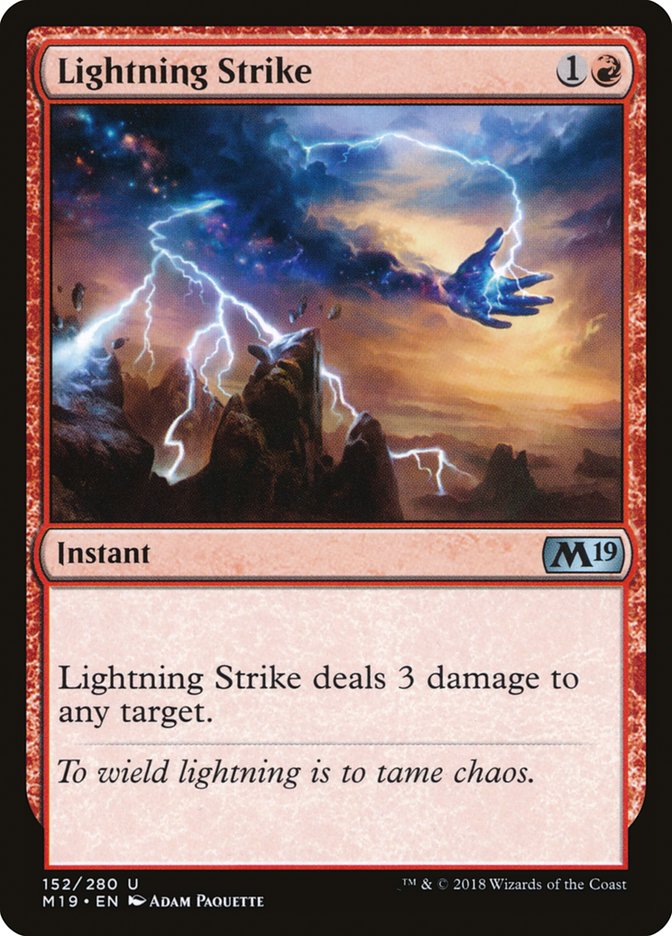
Against the dedicated Goblin Chainwhirler decks, casting Wildgrowth Walker on the play frequently will lead to it getting met with a Lightning Strike variant and never getting to grow. In these matchups, I’ve found it to be more effective to try to cast Wildgrowth Walker and a two-mana Explore creature on Turn 4 in order to instantly have Wildgrowth Walker bigger than the flavors of Lightning Strike.
If you’re on the draw and the opponent tapped out for a two-drop creature, it’s more acceptable to jam Wildgrowth Walker on Turn 2 because the Goglari deck doesn’t have an efficient answer to Goblin Chainwhirler before Ravenous Chupacabra, so if they spend their third turn answering Wildgrowth Walker, it’s going to feel bad, but it will stunt the development on some of their more difficult-to-combat cards.
In matchups where Golgari is the aggressor, prioritizing Wildgrowth Walker is incredibly important, as it’s really the only way the deck has of applying significant pressure early on. Seekers’ Squire and Merfolk Branchwalker aren’t exactly known for their capabilities in the red zone.
3. Cast Duress to answer specific cards.
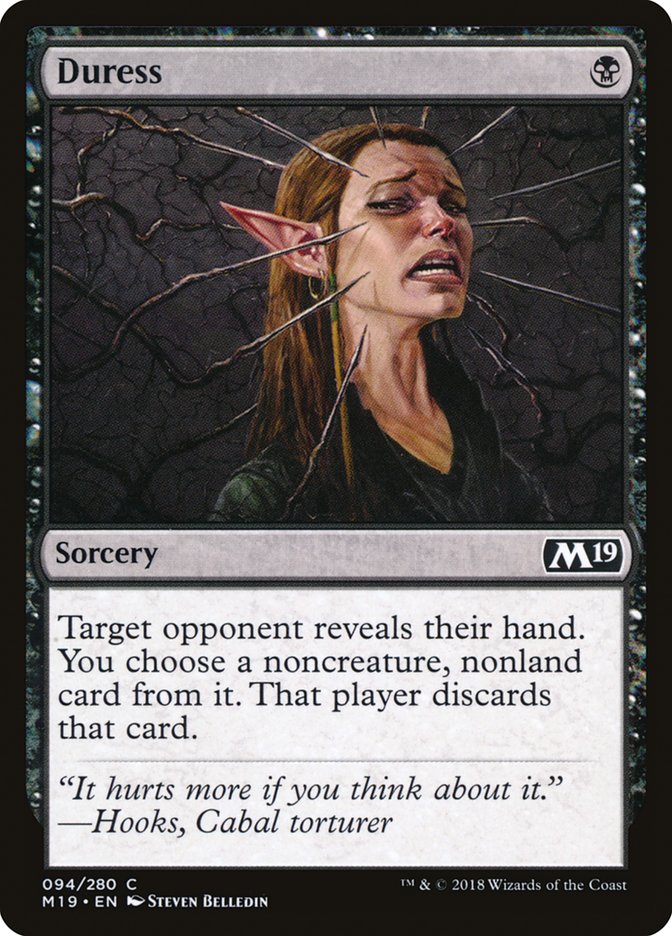
“Skip my draw step. Swamp, Duress you.”
Wrong.
I’m not the first to talk about this, and I won’t be the last.
Duress isn’t very good when it’s just trading for a random card out of the opponent’s hand. The goal with the card is forcing a spell through a counterspell or an attack through a Settle the Wreckage.
If the plan is to use Duress to answer a specific card for a plan, then it’s better to hold Duress until the turn where the card you want to answer would be good. This may involve playing off curve or disrupting your own sequencing by a bit, but it makes it far more likely that you actually end up hitting the card you want to hit.
On top of that, it can also tax the opponent’s mana on the turn that you’re casting it. Assume the opponent has a pair of Ionizes, a card they want to protect, and four or five mana on the battlefield. It isn’t possible for the opponent to both protect their card and cast it in the same turn (unless they can also cast Ionize in the same turn).
4. Understand how sizing matters in the Golgari mirror.
Think back to when I mentioned what the Golgari deck is trying to do. Turtling up and protecting planeswalkers is what matters in the mirror, but that also means that the opponent will be trying to do the same thing.
The way planeswalkers control the matchup will force at least one player into acting during each combat step. This makes it so anybody on Golgari can assume that they will be that player roughly half the time. Skimping on the combat side of things will result in several match losses, so I’ll rapid-fire the most important things to know about Golgari in the combat step.

You want your copies of these cards to be dying, and you want to avoid killing your opponent’s copies. If you’re attacking, you don’t have as much control over this, but if the opponent is attacking with Ravenous Chupacabra and a 2/1 Merfolk Branchwalker, it’s better to kill the Merfolk Branchwalker.
Golgari Findbroker having a fairly large body is something that can make this seem counterintuitive, but one of the most important cards in the matchup makes this line of thinking a bit more obvious:
Golgari Findbroker is the card that is “free” to get back from the graveyard, so trading a resource for it is generally bad. On the other hand, if the opponent is attacking with a 4/3 Jadelight Ranger, snap off trading your copy of Findbroker for it.
In that same vein, Ravenous Chupacabra is the card that is best at clearing blockers out of the way, so having it in the graveyard is generally good for whoever can recur it. The weakest place that Ravenous Chupacabra can be for a Golgari player is on the battlefield.
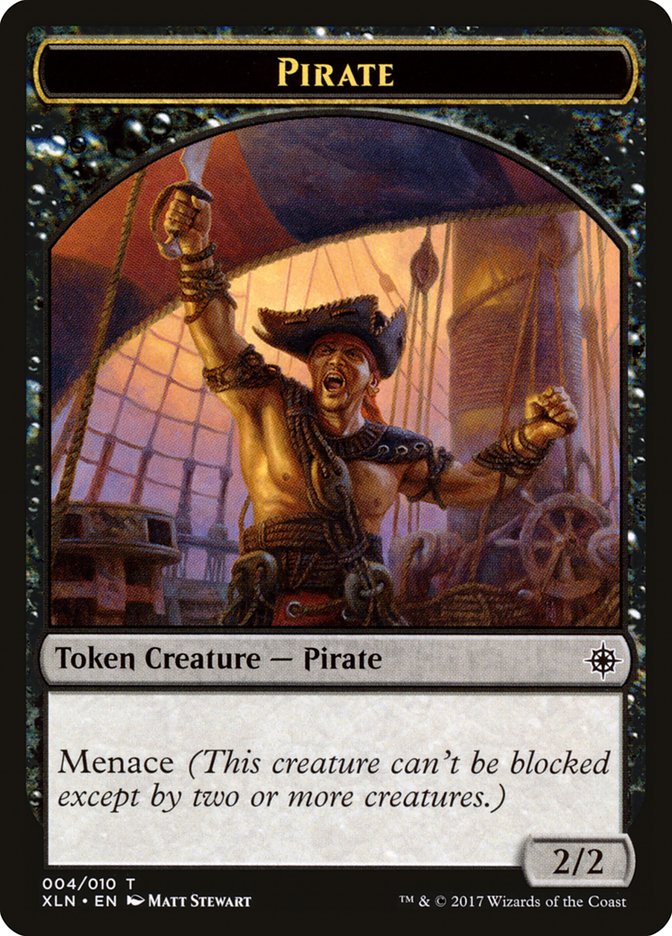
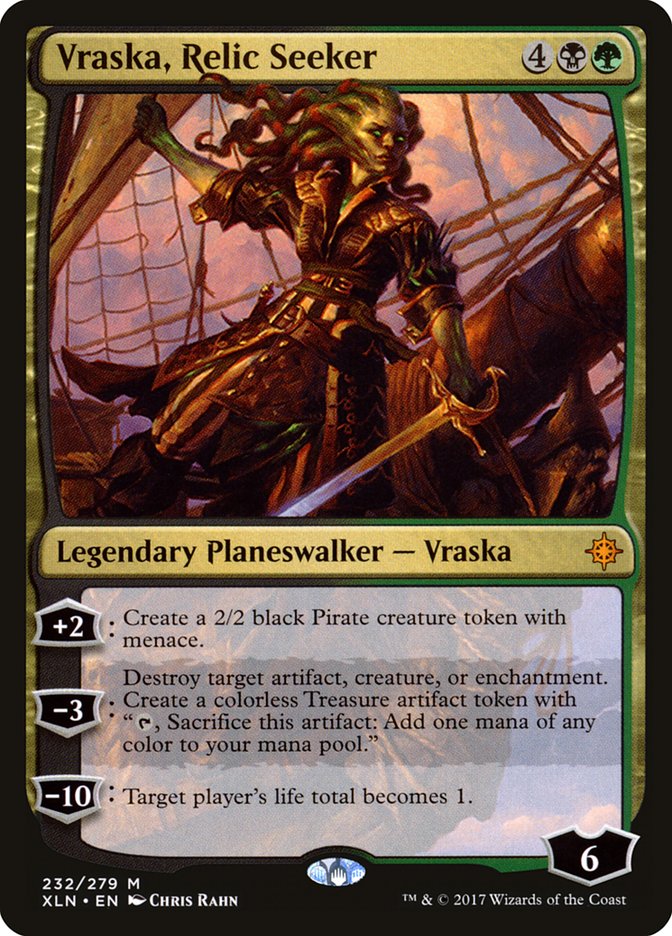
The 2/2 Pirate with menace that Vraska, Relic Seeker can produce is the best creature at attacking. Keep this in mind when valuing creatures during combat. Being able to pressure the opponent’s planeswalker will be almost as important as protecting your own.

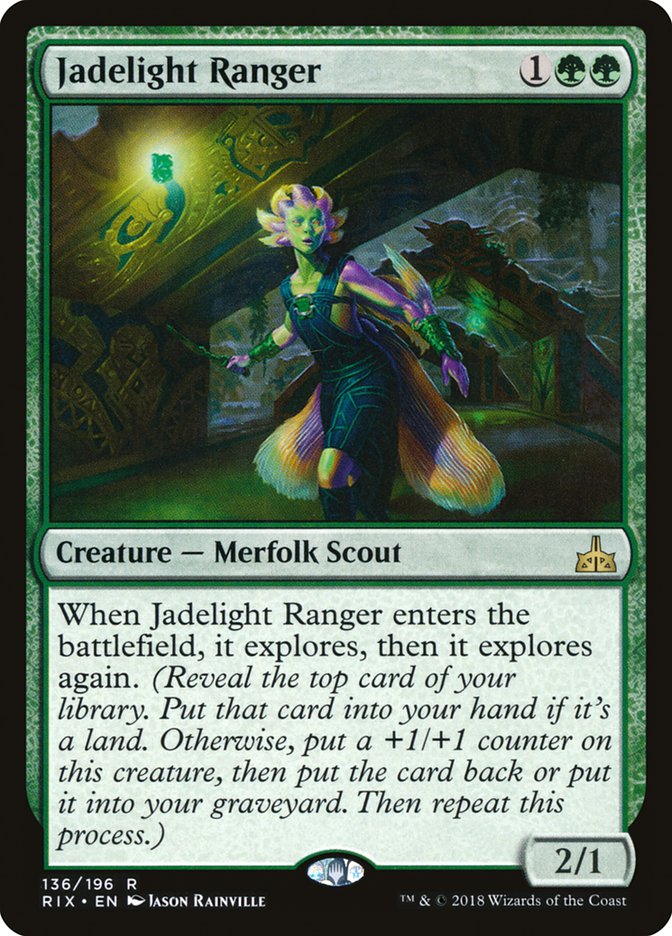
Trading off random explore creatures is generally okay, but try to make them profitable trades. If you’re losing a 2/1 Merfolk Branchwalker, try to cash it in for a 3/2 creature. For the most part, the explore creatures are all fairly replaceable, but constantly trading up in card quality will pay off if it happens several times over the course of a game.
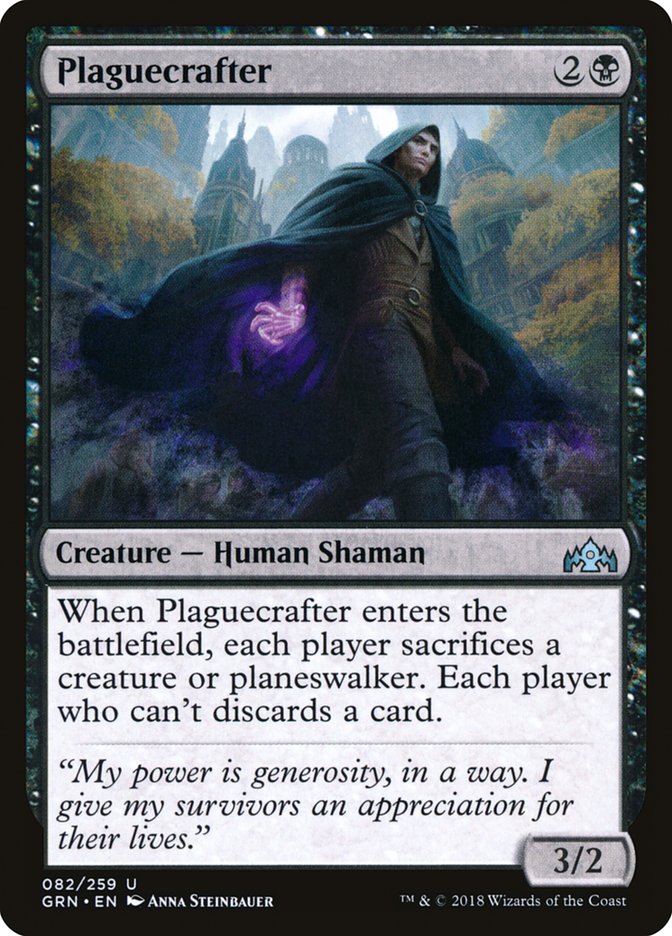
Don’t fall for the trap where it can look like you’ll have a planeswalker commanding an otherwise empty battlefield. The existence of Plaguecrafter in some lists means that it will almost always be correct to keep a creature on the battlefield, even if it would be possible to clear everything out during combat.
It’s okay for planeswalkers to take some amount of damage. The priority should just be keeping them around.
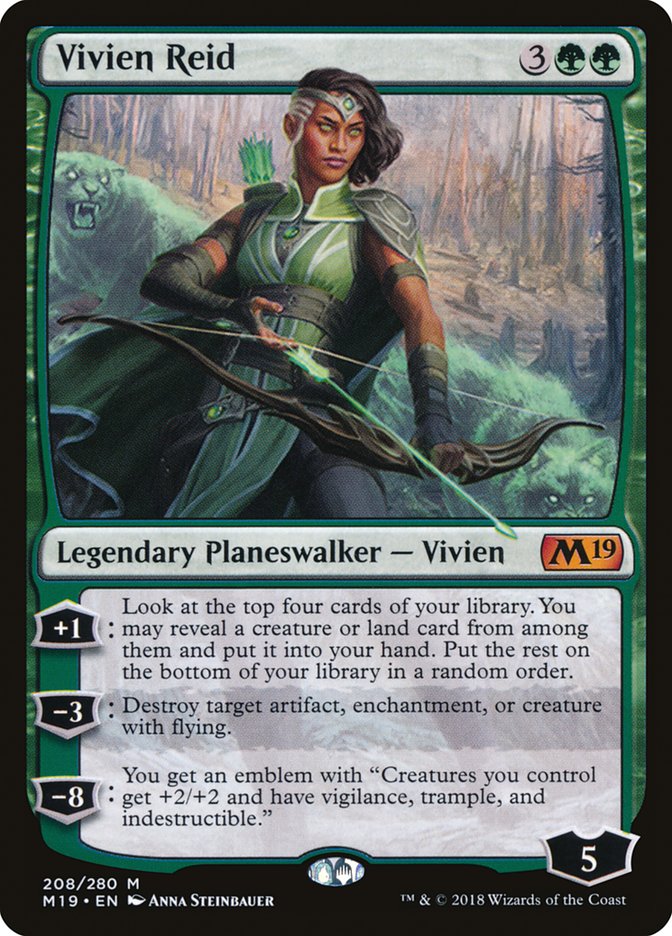
A Vivien Reid reaching her ultimate is likely the most unbeatable thing in the mirror. If you have the ability to reach her emblem before any of the opponent’s planeswalkers can do the same thing, don’t worry as much about trading away resources. Your cards have more value in the long run if you are planning to give them +2/+2 and a slew of keywords. All that matters is getting Vivien to that ultimate. The pseudo-Overrun that she provides will be enough to pressure most planeswalkers; you just need to make sure you can get her there.
5. Have a plan!
Most of the mistakes that happen in games with Golgari come from not understanding what the matchup is about and playing to the turn rather than the plan in the matchup.
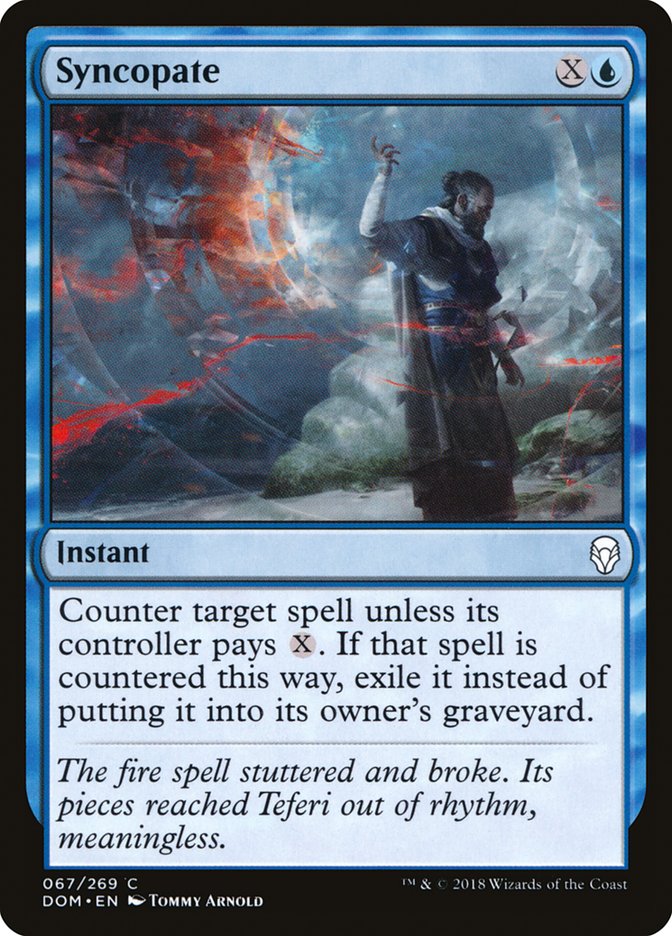
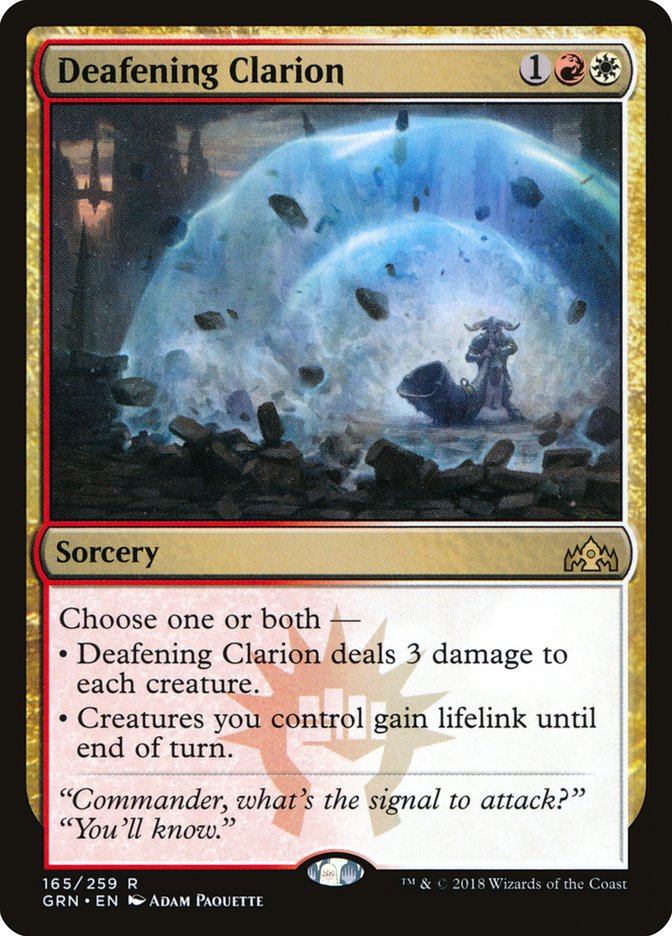
Sure, Syncopating a creature in the early turns may look good, but if the plan to beat the opponent involves Deafening Clarion anyway, it’s going to be much better to try to save Syncopate for one of their card advantage engines rather than one of the early creatures that will get swept up anyway.
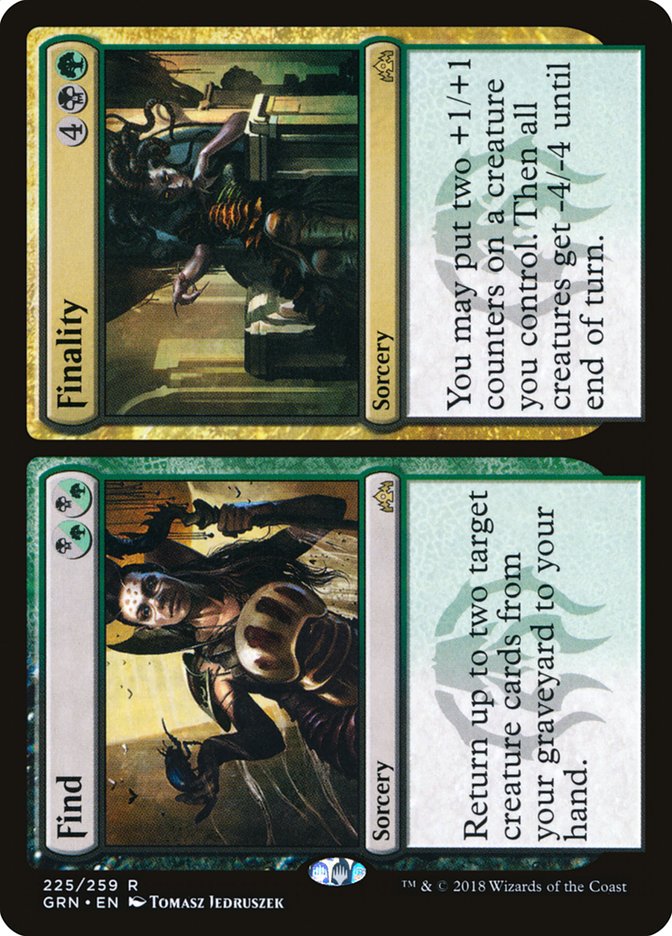
Understand which half of Find is going to be important in a matchup. In the mirror, for example, it’s rare that casting Finality is going to be correct because the opponent gets to redevelop their side of the battlefield before you do. Using Find as a simple “draw two of your best creatures” will be better in a battle of attrition a vast majority of the time, especially when you consider the fact that the cards it’s rebuying also have value-generating abilities stapled to them.
On the other side of things, Finality is the catchup card necessary against the Knight of Grace / History of Benalia decks. Find-ing two more chump blockers against a 3/2 first strike creature is hardly a winning strategy in the long run.
In the mirror, stop using this card to buy back useless stuff. Sandbag Golgari Findbroker to rebuy planeswalkers, more copies of Golgari Findbroker, Carnage Tyrant, Ravenous Chupacabra, and so on. The longer you wait to use these cards, the more options you’ll have, which translates to the ability being more powerful.
It’s okay if the plays being made with Findbroker aren’t particularly mana-efficient. What’s important is out-grinding the opponent in the long game, not getting back a copy of Jadelight Ranger or something that won’t play to what the game is about.
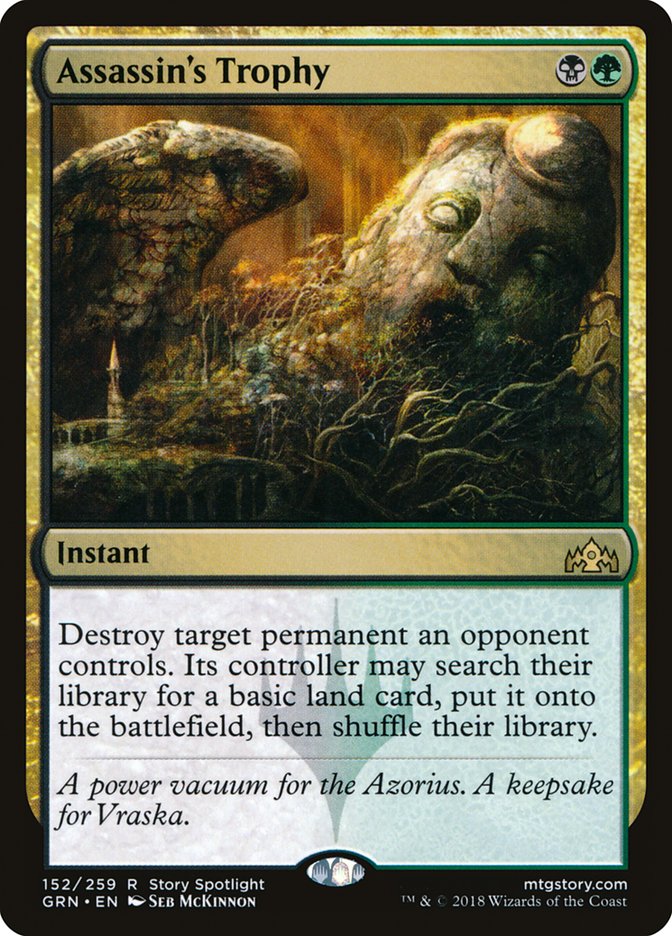
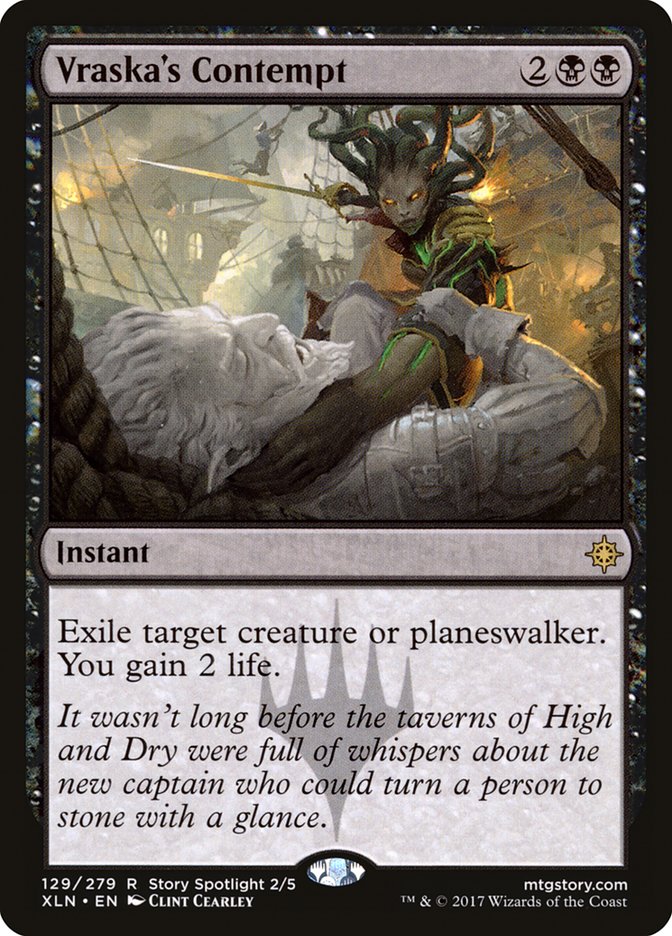
In that same vein, stop blowing these cards on things that don’t matter. Is it a planeswalker? Feel free to pull the trigger. Otherwise, you’d better have a good reason to be using this on a creature. Exiling a Golgari Findbroker with Vraska’s Contempt while they have Memorial to Folly is reasonable. Moving a creature out of the way so you can just use the combat step to kill a planeswalker is fine. Dealing with a Wildgrowth Walker that has gotten out of control is okay at times.
Using a premium removal spell to answer a creature that’s ultimately irrelevant is not a way to win a long game of Magic.
Games with Golgari will rarely be short. Playing exclusively to what is good this turn will lose a fair number of games. Internalizing this and realizing that it’s all about making your cards line up favorably with the opponent’s will take you to another level in the mirror in particular and help you win other matchups that may have been a struggle previously.
Having a plan also will inform what cards you’re supposed to be sideboarding in and out. Remember earlier when I mentioned Golgari assuming the role of the aggressor against Arclight Phoenix? That means benching some of the more expensive cards in the deck. Vraska, Relic Seeker comes out, and that goes against what Golgari is trying to do most of the time.
The fact that there are so many decisions in every game of Standard right now creates more opportunities for people to make mistakes. Playing games is the easiest way to make sure that you aren’t the person making them and that you find yourself with more opportunities to capitalize on the missteps your opponents make. Understanding your role in matchups and what you can do with your cards, in-game and during sideboarding, will lead to a crucial level-up in your game.