Things are different now.
A lot different.
A full half of the sets that were legal in Standard rotated out and have been replaced with one of the most challenging to build with sets in a long time. Battle for Zendikar completely revolutionizes what manabases are supposed to be, but it also features a lot of unusual cards that require more
than a little ingenuity to find the right homes for.
This week, we’re going to be taking a look at Battle for Zendikar and what’s possible in the new format. Today, we’re going to start with blue, at
least partially because of how important the following deck is going to be for defining the new format. Whether it proves to be a pillar of the format or
merely the starting point, there is no denying the power of Esper Dragons.
Creatures (10)
Planeswalkers (1)
Lands (27)
Spells (22)

Esper Dragons didn’t lose all that much with the rotation while also making some nice improvements. Thoughtseize, Ashiok, Nightmare Weaver, and some
removal; these are all good, but we’ve got other discard and removal options, as well as the ability to build more around Jace, Vryn’s Prodigy.
Jace is a powerful card anyway, but one of the important consequences of most of the two-mana removal leaving the format is the increase in strength of
Jace. It’s not just the loss of Bile Blight and Lightning Strike, but also the virtual “nerfing” of Ultimate Price. Battle for Zendikar adds a lot of colorless creatures into the mix, as well as increasing the ability for people to splash gold creatures into their decks.
It’s possible that we should be playing Hangarback Walkers, giving us more two-mana plays that can defend us, while also serving as powerful
anti-Foul-Tongue Invocation defense.
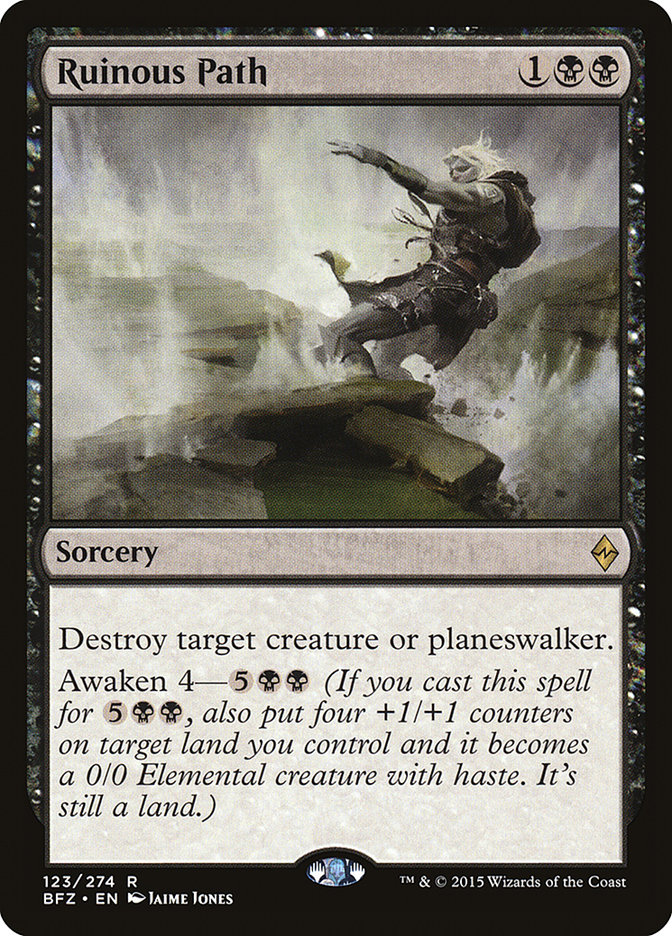
It’s not quite Hero’s Downfall, as instant speed is big on a card like this, however, it is still quite good and we need some answers to planeswalkers like
Gideon, Ally of Zendikar. It’s kind of funny to think of Ruinous Path possibly killing two planeswalkers at the same time, one by targeting, the other by
attacking with a 3/3 haste creature…
Transgress the Mind is certainly no Thoughtseize, but it is a decent card, particularly when you’re short on two-drops and your lands enter the battlefield
untapped anyway. I prefer it to Duress because of how much more often I imagine it will hit on turn 2. It’s also kind of nice to have a little bit of extra
hate for Eldrazi, since the Eldrazi are pretty good at fighting counterspells (since their abilities are often when cast, even if they’re countered).
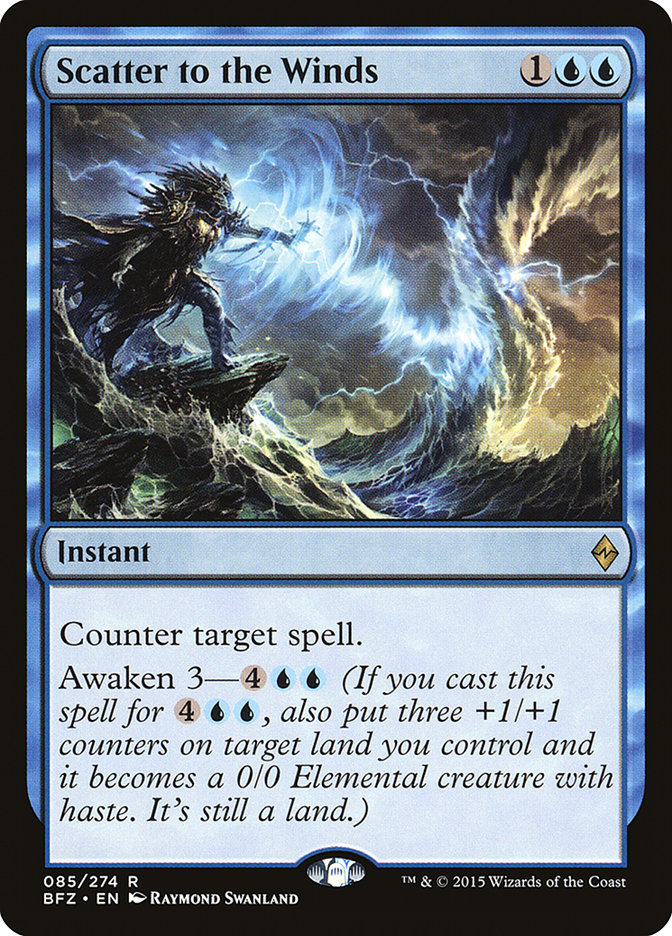
With Dissolve rotating out, Scatter is the new default thee-mana Counterspell. I think Scry 1 is slightly better than the option to “kick it” to Awaken a
land, but this is still a nice option.
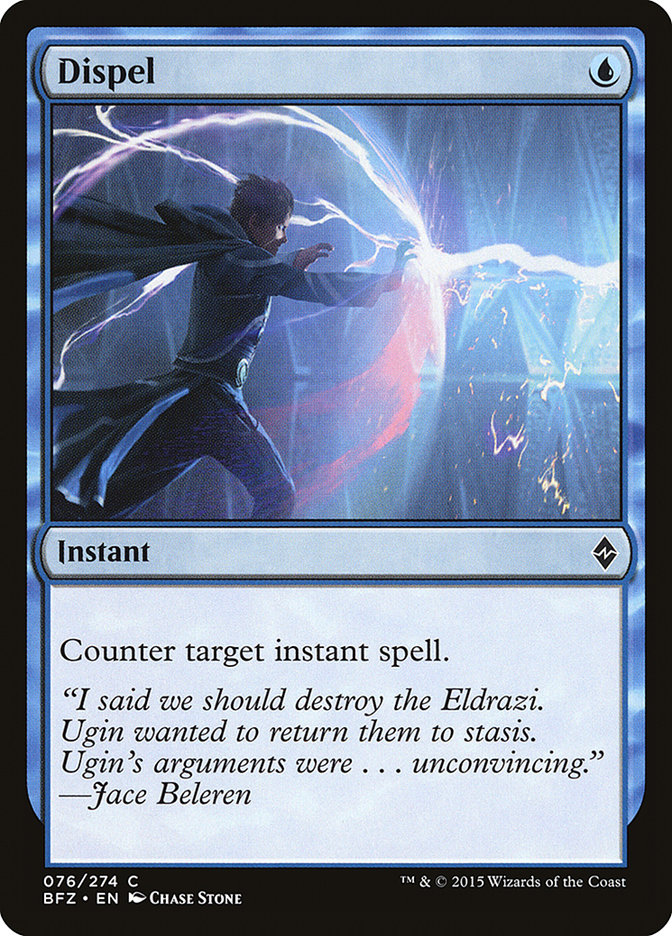
Dispel is a top-notch sideboard card, and it can also show up in maindecks. It does present us with an interesting dilemma in deckbuilding, however. Every
Dispel we play over a Negate can make us better at fighting counter-wars, but increases our exposure to planeswalkers.
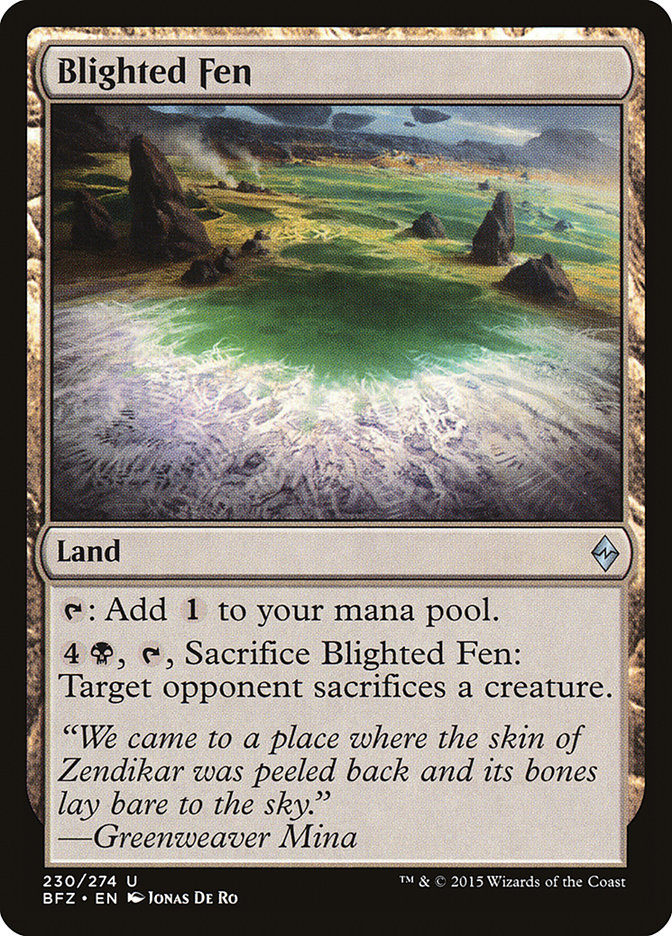
Blighted Fen is excellent! The opportunity cost is relatively low, and this is a powerful way to better get away with playing a lot of land. Having an
uncounterable removal spell can be really sweet, but it also doesn’t target, helping to fight against opposing Dragons, Lumbering Falls, and Ulamog.
Polluted Delta and Flooded Strand being able to find Sunken Hollow or Prairie Stream means our colored mana is going to be very easy, so we can afford some
colorless lands.
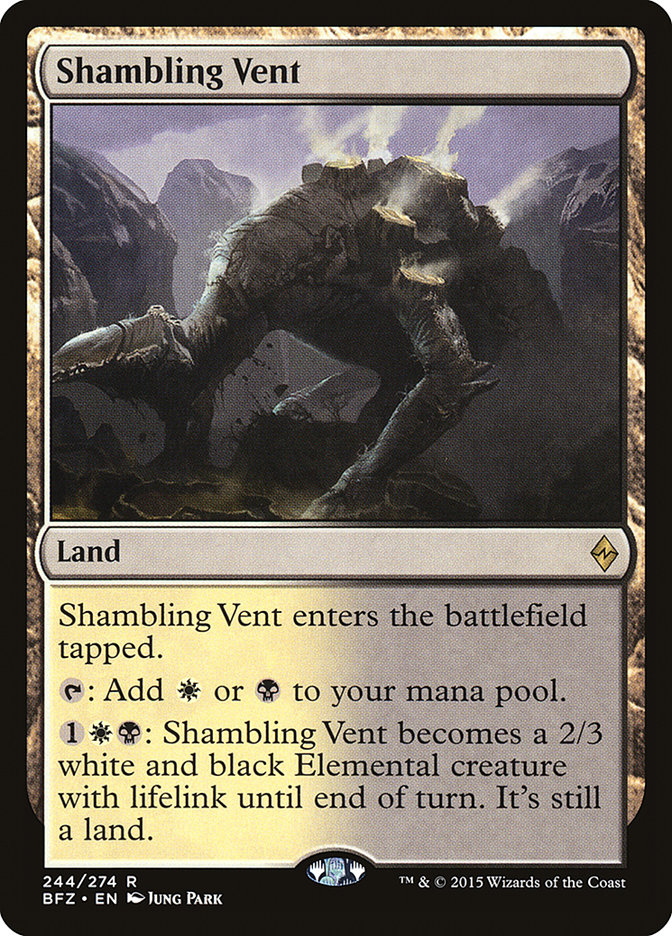
I definitely like Shambling Vent, but I didn’t want to play any tapped lands that don’t make blue in order to better support Silumgar’s Scorn. Maybe we’re
supposed to just be okay with playing Shambling Vent on turn 3, or whatever, but there are so many good lands that produce spell-like effects, I’m not sure
Shambling Vent is what we need most. Now Lumbering Falls, on the other hand…
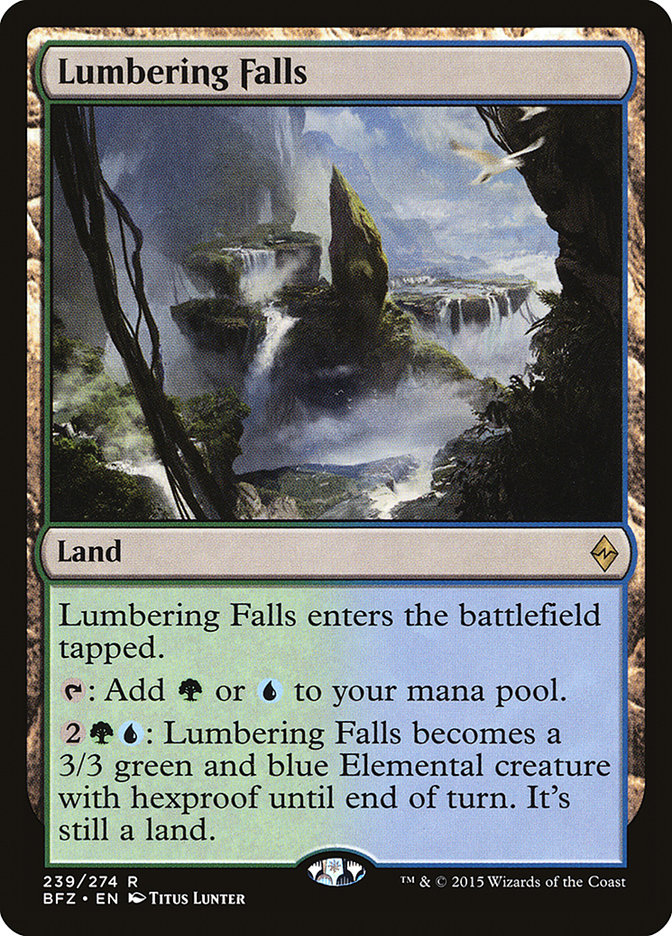
It makes blue for turn 2, which we love, but it also gives us another hexproof weapon to go alongside Dragonlord Ojutai!
Creatures (11)
Planeswalkers (1)
Lands (27)
Spells (21)
This might be one of the biggest sleepers in the set, as I’ve seen basically no one talking about it despite it being most of the good mode of Careful
Consideration. It gives us more stuff to do with extra lands, as well as a way to smooth out hands with too many fatties (particularly since we can get
them back later with Haven of the Spirit Dragon).
We should have all four colors most of the time, but even when we’re missing one, it still gives us some pretty good velocity (ability to dig through our
deck). It’s also a respectable combo with Dig Through Time (since it puts three cards in our graveyard).
While Esper Dragon variants are going to be some of the first decks most built, they are far from the only way to play control. For instance, here’s a very
pure build of U/W Control:
Creatures (4)
Planeswalkers (2)
Lands (27)
Spells (27)
This list tries to play a primarily Draw-Go game, countering anything and everything the opponent may try to do.
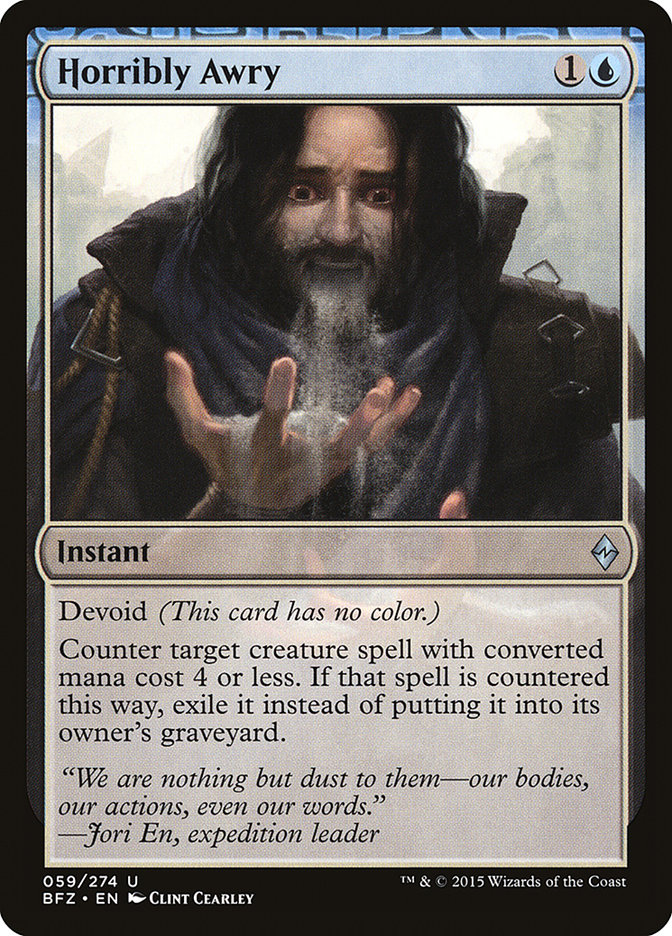
Horribly Awry is flying a little under the radar since it’s kind of just a worse Remove Soul. It does exile, but not hitting creatures that cost five or
more is a real weakness. That said, if you have tons of other counterspells, it’s not necessarily going to be that hard to find another one to use on the
expensive creatures. Its main advantage is, of course, that it is legal.
Compared to two-mana removal spells, it’s kind of nice that Horribly Awry means no Hangarback tokens, no Siege Rhino damage, and no extra land from Nissa.
It’s also a great way to help keep opposing Jaces under control (on the play, anyway). Because of just how popular those four creatures are, we’re
typically not going to face a lot of opponents where the card is truly dead; though if we do, we can always discard it to Jace.
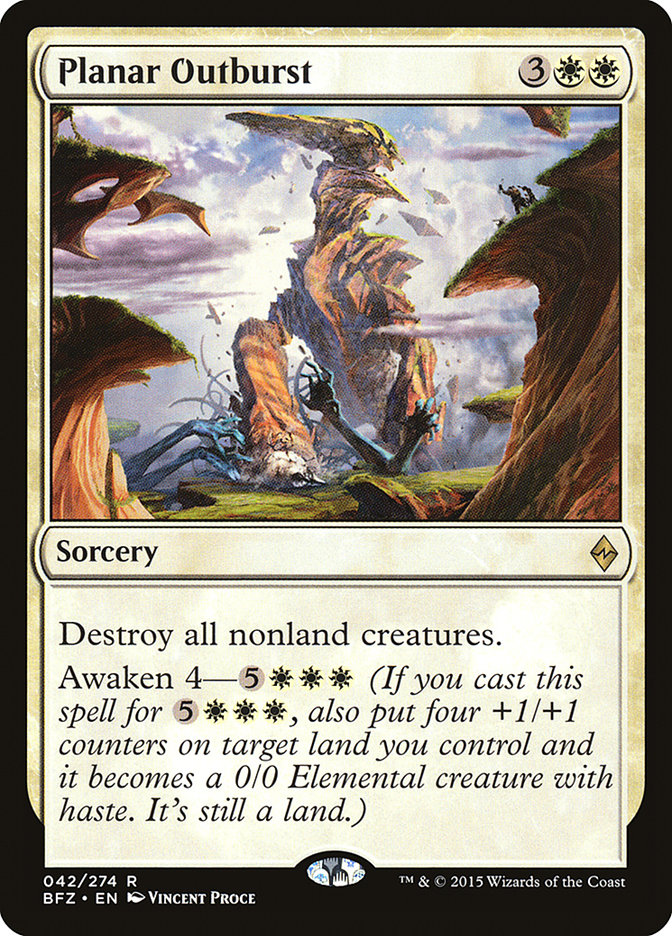
While I have slanted towards End Hostilities in this list (wanting to emphasize our defensive capabilities including against awakened lands and Sword of
the Animist), I did want to try one here. In general, however, I like Planar Outburst more in decks featuring more creatures and incidental damage, like
Abzan. In decks like that, the extra body goes a long way, and we’re more likely to have plenty of spot removal for annoying lands attacking us.
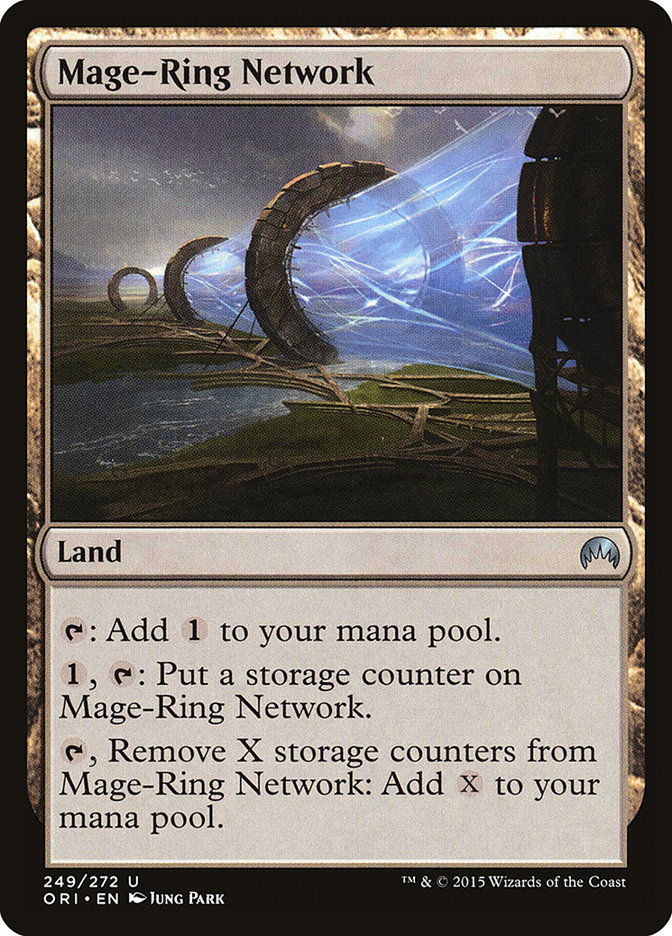
I like having some lands that generate multiple mana since we have eight-drops that are such an important part of our gameplan. This is one split that
could easily end up correctly 2-2, rather than “four of whichever one proves better,” as both suffer from diminishing returns.
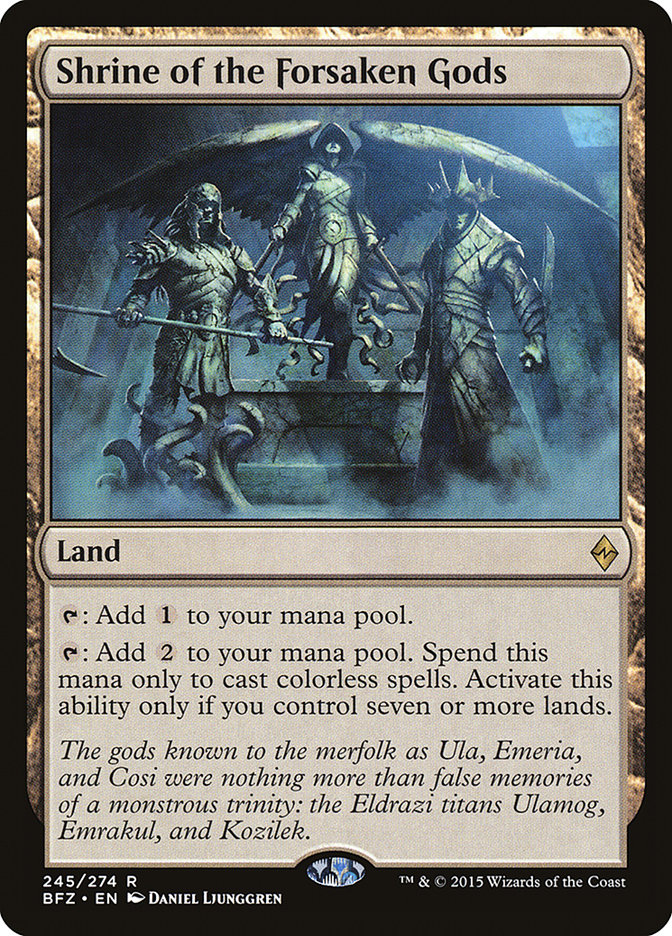
Often, we won’t have enough mana to charge multiple Mage-Ring Networks, and we want the counters all on one anyway. Shrine of the Forsaken Gods can be a
really nice surprise on turn 7, letting us drop Ugin a turn earlier than they were expecting. However, drawing two is a lot less impressive since we still
can’t trigger them until turn 7. It’s still fine to draw two, of course, since going long, we have plenty of ways to use our mana, but Mage-Ring Network
gives us a different set of options, particularly in games where we are short on land.
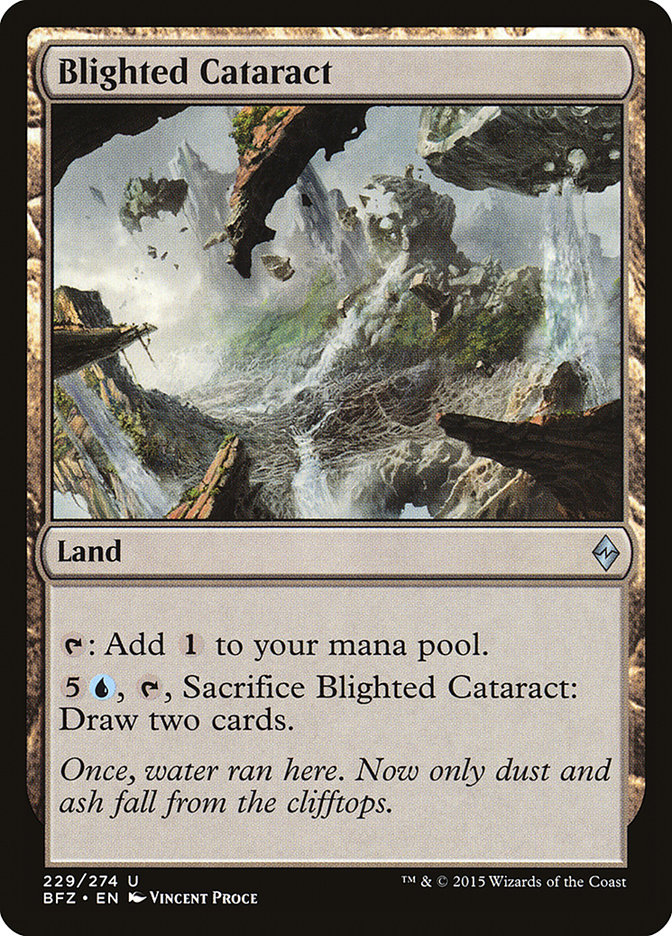
I’m not overly optimistic, as this is a really expensive card for what is effectively one extra card (since we’re losing the Cataract). It’s also brutal to
be down a land drop. That said, it is an untapped land, so maybe the opportunity cost is sufficiently low. If we end up not liking the Cataract, we can sub
it out for a Spawning Bed (which just looks like a great card to me).
It is important to note that these lands with expensive abilities that give you other options late, they kind of reward you for playing a diverse mix of
them. By the time you actually use them, you are likely to have multiples of these ability lands on the battlefield. If you have three copies of the same
one, you won’t have as many options as if you had a mix.
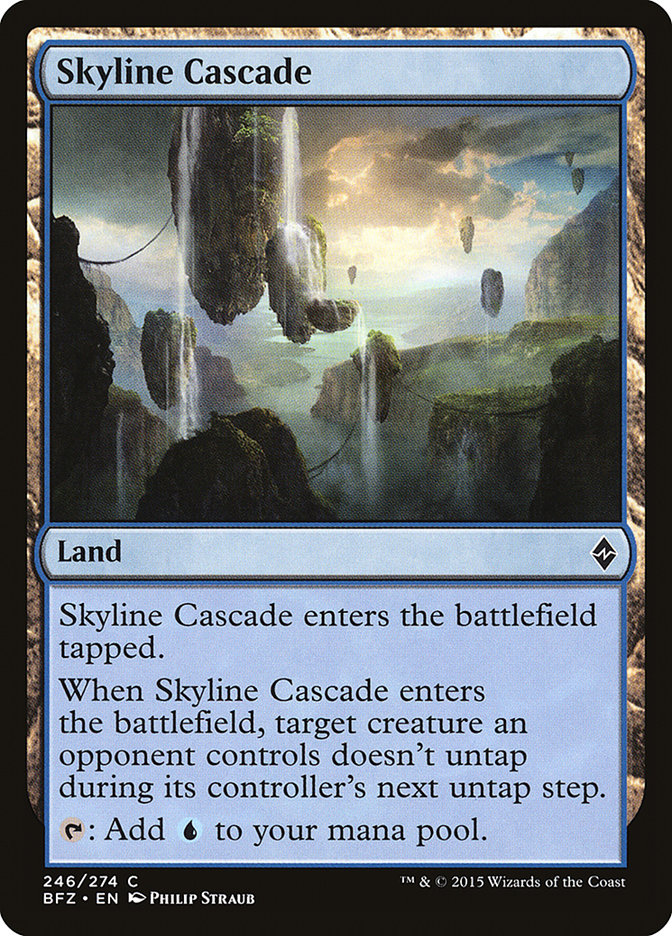
Now that we have so many fewer tapped lands, maybe we can afford to play some Skyline Cascades to prevent some damage in the early or midgame. It’s
interesting to note that you can target your opponent’s Jace or Hangarback Walker, even if it’s untapped. This will usually cause them to miss an
activation since tapping it after it has been Skylined will result in it being locked down. A fun bonus from Skyline Cascade is the combo with Pearl Lake
Ancient after sideboard, letting us lock down the same creature several turns in a row.
While Skyline Cascade typically only hits creatures that have already hit you once, you can combine it with Retreat to Coralhelm for some mondo-combo
action.
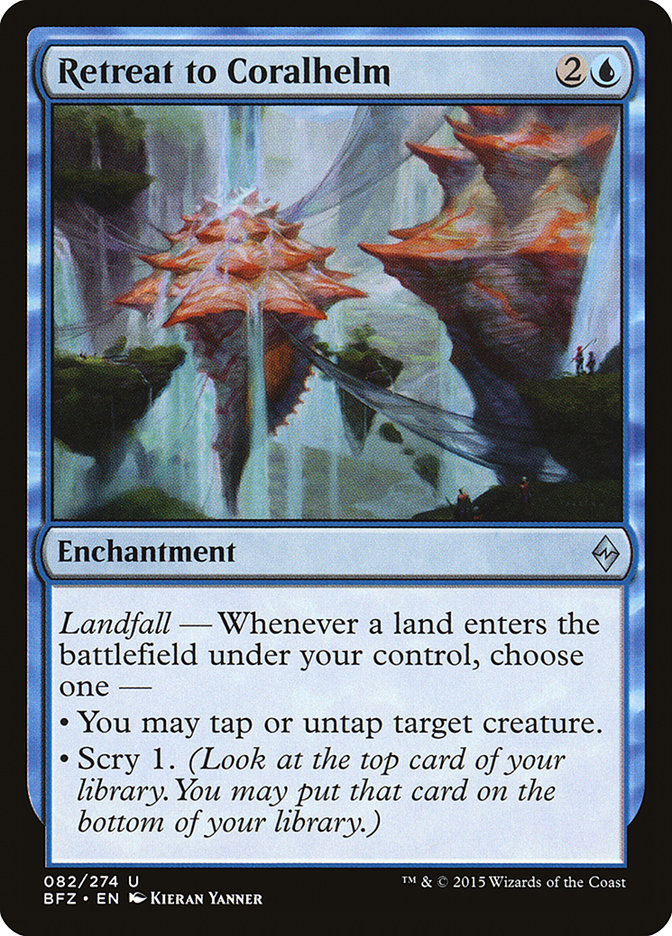
Retreat to Coralhelm is a very open-ended card with a lot of very different ways to use it. For instance, if you combine it with Knight of the Reliquary in
Modern, you can go nuts, finding all of your fetchlands, Plains, and Forests (including Battle lands and shocklands), netting mana on each one. Eventually,
find Kessig Wolf Run and finish your opponent off!
However, it’s also deceptively strong in Standard. The trick is finding a deck that can actually take advantage of all three modes (Tap, Untap, Scry 1).
Creatures (12)
Planeswalkers (2)
Lands (27)
Spells (19)
Maybe it’s silly to play two Silumgar’s Scorns, but we are a little short on Dragons. This list appreciates the scrying Retreat to Coralhelm provides,
though, looking for Ojutai. It can also help find the right removal spell or a timely Dig Through Time. Remember, fetchlands scry twice. If you know you
need to crack the fetchland you are playing, you can sacrifice it with the scry trigger on the stack (ensuring you get two scrys).
The untap ability of Retreat to Coralhelm is great with Hangarback Walker and Jace, Vryn’s Prodigy, letting us get extra activations. It’s also nice to
give Hangarback Walker or Dragonlord Ojutai vigilance. The combo with Dragonlord Ojutai is particularly powerful, since even if we miss our land drop, as
long as we keep a fetchland sitting on the battlefield, we functionally have an uncounterable counterspell to protect him with if our opponent tries to
target him.
Retreat to Coralhelm’s tap ability also puts in work here. It makes Swift Reckoning and Cascade Skyline faster and more reliable, but it also is just a
great defensive tool with fetchlands. You can sacrifice your Evolving Wilds in your opponent’s attack step to tap down a potential attacker.
If we want to push Retreat to Coralhelm even harder, we can add green mana creatures to untap, giving Retreat to Coralhelm Lotus Cobra capabilities.
Creatures (19)
- 2 Leaf Gilder
- 4 Rattleclaw Mystic
- 3 Dragonlord Ojutai
- 4 Jace, Vryn's Prodigy
- 4 Nissa, Vastwood Seer
- 2 Hangarback Walker
Planeswalkers (4)
Lands (25)
Spells (12)
Okay, the Part the Waterveil aspect of this deck is probably silly, but it is interesting that turn 2 Rattleclaw Mystic into turn 3 Coralhelm or Kiora gets
us all the way there on turn 4.
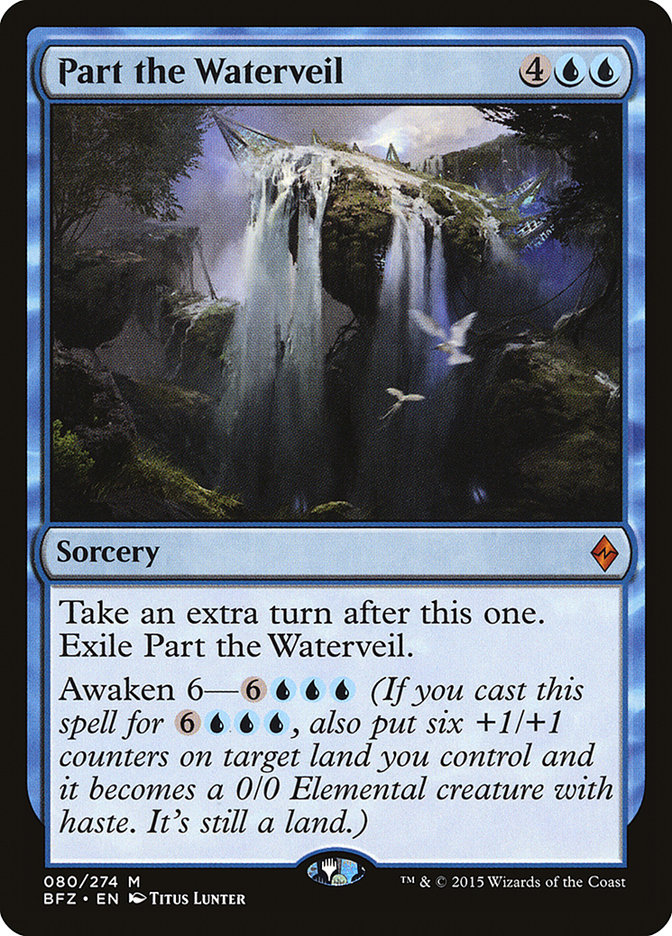
We’re probably going to end up cutting it, but it’s important to try cards like this sometimes, particularly when the context is so new and foreign. I
mean, it is kind of fun to Dragonlord Ojutai with Part the Waterveil. If we draw one when we don’t have the mana for it, we can often discard it
to Jace, which is particularly sweet, since it means we might be able to Flashback an extra turn later.
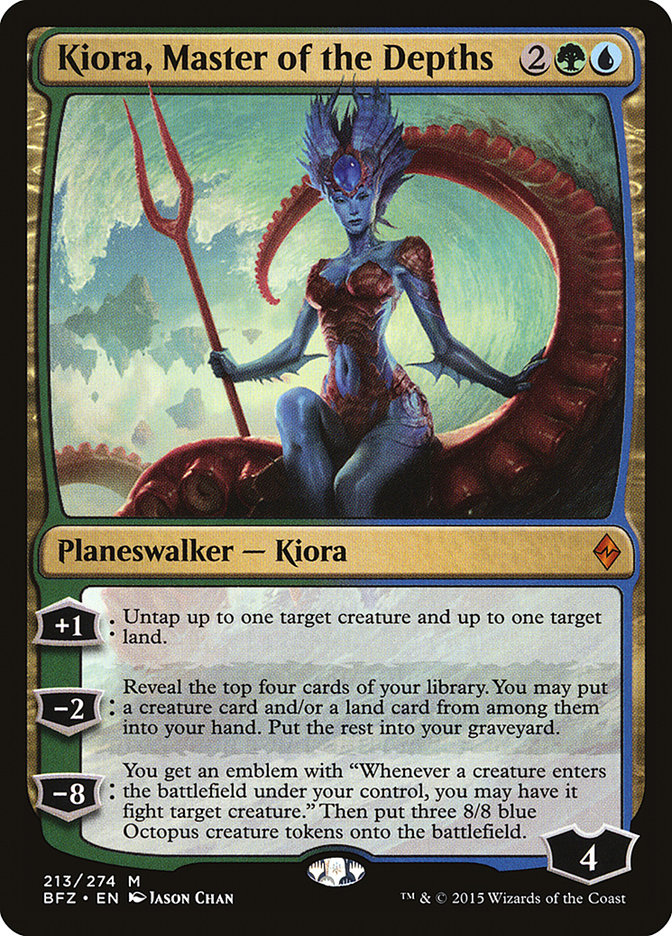
Kiora is a powerful ‘walker, even if you aren’t as crazy as this list. Simply playing 16 creatures means you’re 72% to hit at least one, and with 20,
you’ll be 81%. With 25 lands, you’re 89% to hit at least one, so we’re going to end up ahead by two cards most of the time we play her, to say nothing of
how full our graveyard is for Dig Through Time (or graveyard cards like Deathmist Raptor).
Kiora is also another good way to untap creatures like Retreat to Coralhelm, but even if we can’t keep a mana creature on the table, it still nets us mana.
It’s particularly sweet that a turn 3 Kiora off of a Rattleclaw Mystic lets us hold up Disdainful Stroke if we want.
Control decks don’t need to be white, however. They also don’t need to be Draw-Go or combo/ramp. For instance, here is a U/B deck that has a little bit of
similarity to Jeskai, in a weird way.
Creatures (15)
- 2 Dragonlord Silumgar
- 4 Jace, Vryn's Prodigy
- 3 Harbinger of the Tides
- 3 Hangarback Walker
- 3 Halimar Tidecaller
Planeswalkers (1)
Lands (27)
Spells (17)
This list tries to secure little incremental advantages with Halimar Tidecaller in conjunction with Ruinous Path, Scatter to the Winds, and Coastal
Discovery.
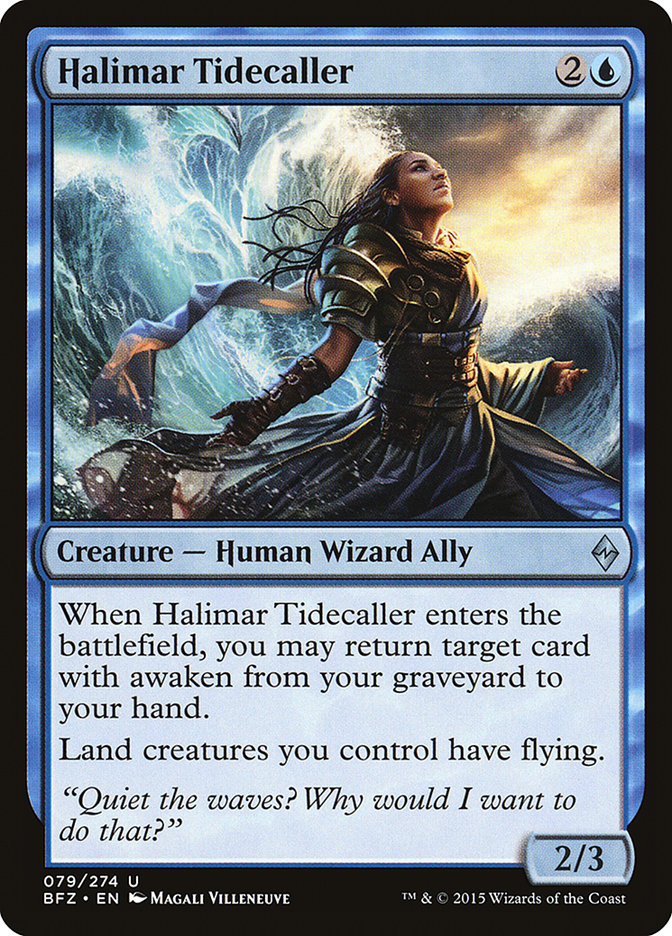
A 2/3 for three that draws a card would already be good, and getting back Ruinous Path or Scatter to the Winds is often better than a random card. The
cost, of course, are the games where you don’t draw an awaken card for quite some time. Maybe that will happen too frequently, but you can discard the
Tidecaller to Jace… or perhaps play a Tidecaller on turn 3 and get back the awaken card you just discarded to Jace!

This seems a bit too slow to me, but it’s worth trying when we have Tidecaller to abuse it. It also does give us a surprisingly big body out of nowhere,
sometimes with haste.
I’d love to play more, as this is just a powerful card. However, we already have both Dig Through Time and Tidecaller to draw cards, and Mortuary Mire
rewards us for making our lategame cards creatures, like Dragonlord Silumgar.

While we’re often just going to play Mortuary Mire without having a target, we can also use it to help try to keep a Jace on the table. If we play
Hangarback Walker on two, chump, then play a Mire on three, followed by the Walker again on four, we’re capable of making a ton of chump blockers.
Going long, Mortuary Mire can be kind of a cheaper Haven of the Spirit Dragon that doesn’t put us down land. It also gets back Halimar Tidecaller when
we’ve got enough mana to play the Ruinous Path or Scatter to the Winds we get back with it, in the same turn.
Here’s a very different style of U/B deck made possible with Battle for Zendikar, building around the Processors:
Creatures (19)
Planeswalkers (1)
Lands (26)
Spells (14)
Sideboard
This list uses tons of reactive cards that exile rather than putting the card in the graveyard. This lets us fuel some powerful Processors with undercosted
abilities.

This is one of the more exciting Processors, giving us seven power across four bodies. I do wonder if we’re wasting its true power by not having cards that
cost eight or more to ramp into like Ugin, the Spirit Dragon?

Ulamog’s Nullifier does a pretty mean Mystic Snake impression. While it does take a bit more work, the difference between a 2/2 flash and a 2/3 flying
flash is night and day. Even when we don’t have the counter ability online, we can sometimes gobble up Thopter tokens for free and by surprise. We can also
flash down and surprise our opponent that was expecting her Kiora with two loyalty to live.
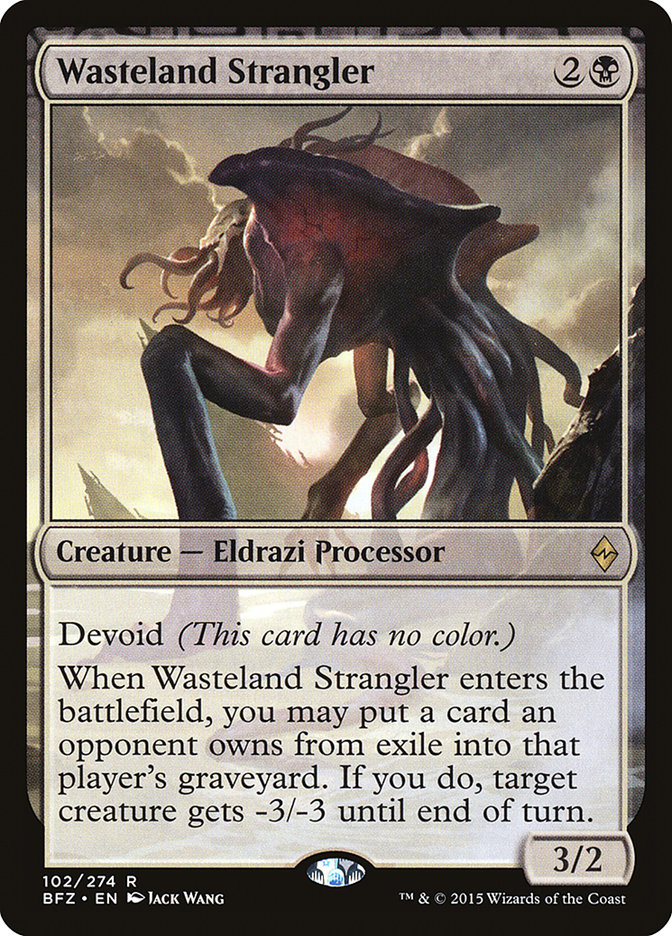
It’s not exactly the biggest failstate in the world to get a 3/2 for three, and killing a Mantis Rider for free is a major triumph. We can even
occasionally combine the Strangler with Complete Disregard to kill fatties on turn 6.

Spell Shrivel is only a modest rate, but we need to exile cards to fuel our Processors and it’s usually going to get the job done.

Cantrip Processor fuel!
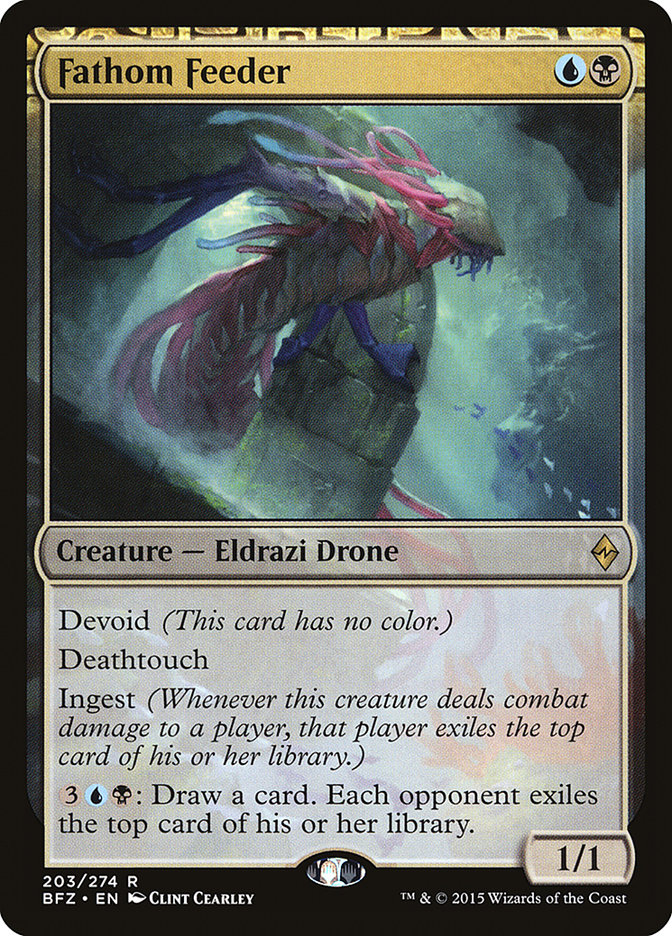
Fathom Feeder can serve as a source of fuel for our Processors, as well as much needed answer to fatties (deathtouch). Going long, it’s a powerful card
advantage engine that demands an answer.
Using the Eldrazi a little differently, we can build around devoid instead of processing.
Creatures (24)
- 4 Hangarback Walker
- 4 Herald of Kozilek
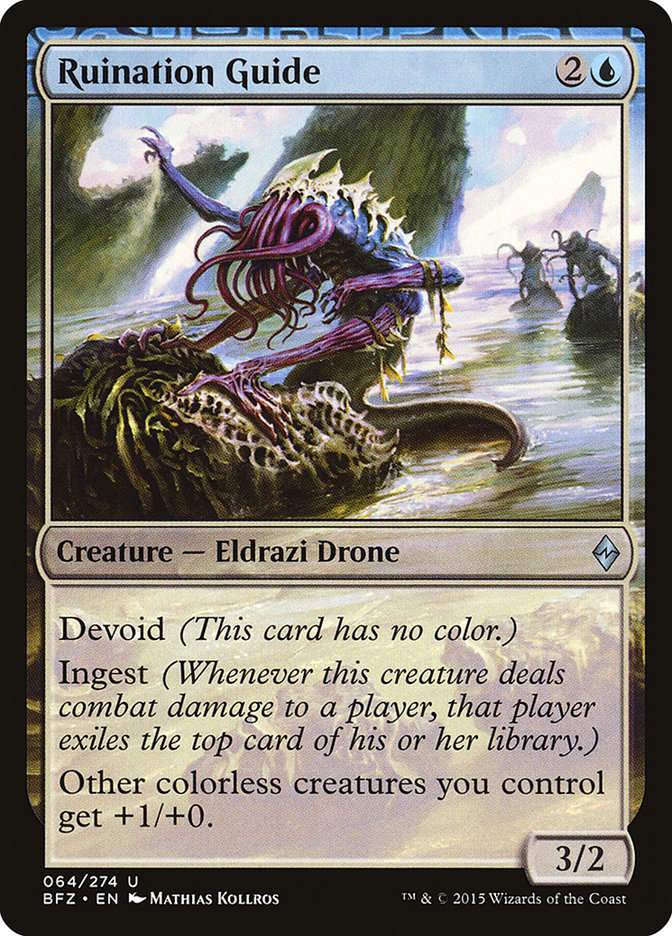
- 4 Ruination Guide
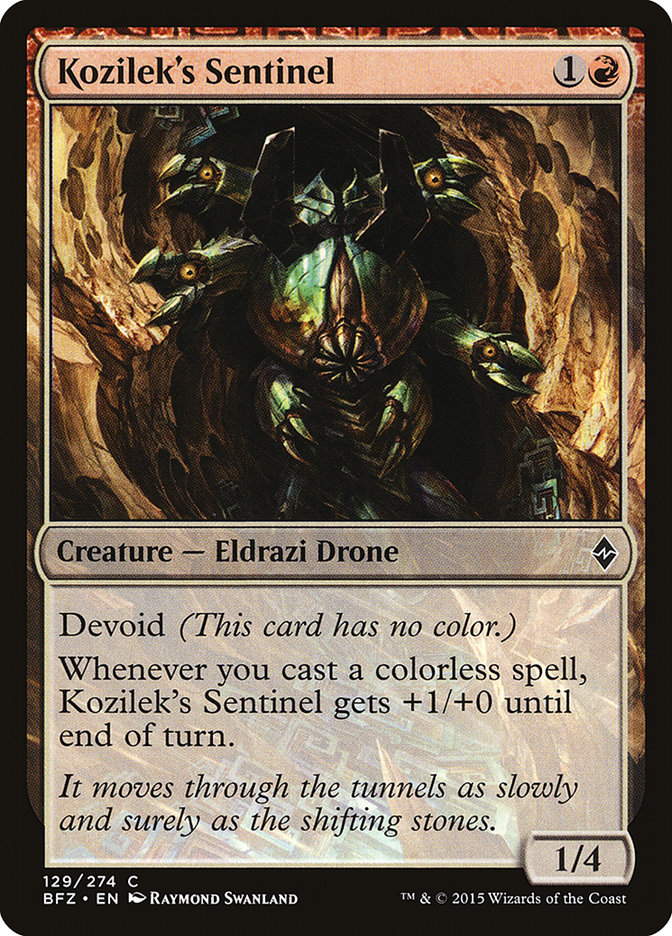
- 4 Kozilek's Sentinel
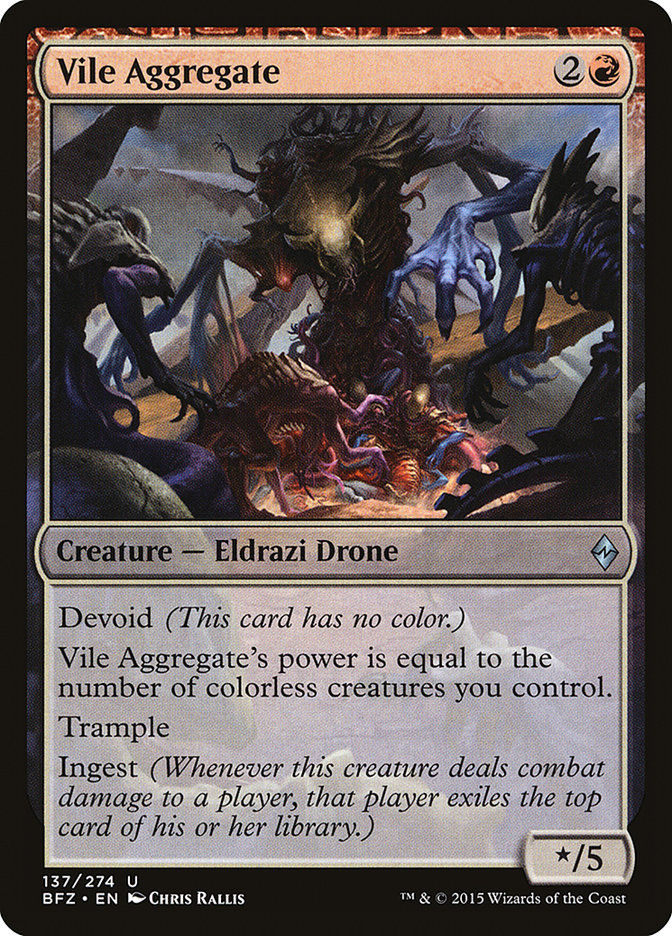
- 4 Vile Aggregate
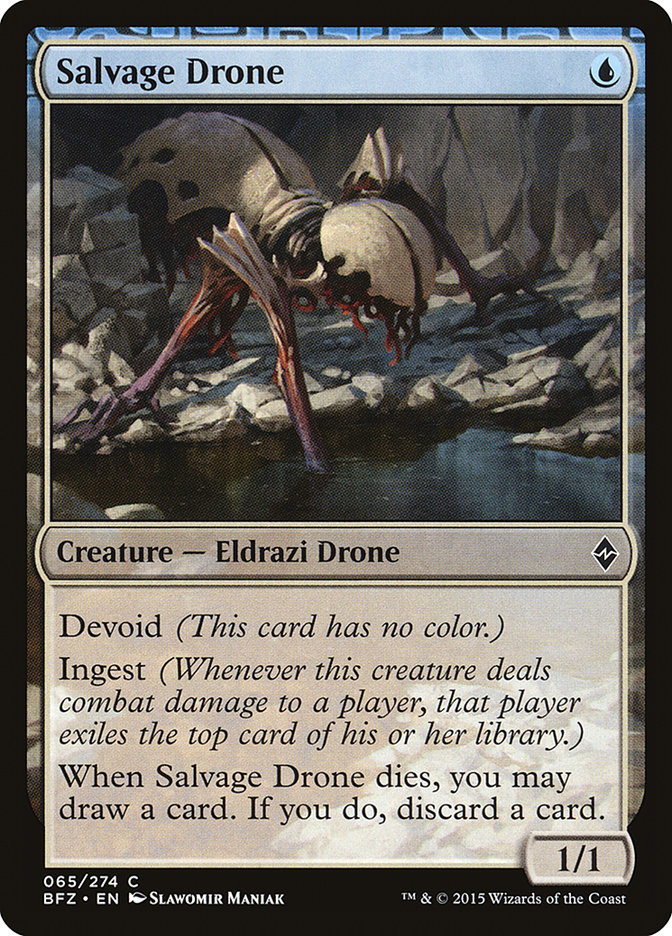
- 4 Salvage Drone
Lands (24)
Spells (12)
Sideboard

This list is all about the “colorless” tribe and getting paid for it. In addition to all these new “pay-offs,” we also have Ghostfire Blade and Tomb of the
Spirit Dragon. I considered Nettle Drone, but we have too many threes as it is.

I’m not sure, but Brutal Expulsion might be underrated the way Venser was initially. You don’t get a 2/2, but you do get a Magma Spray that can hit
planeswalkers (which is particularly nice when it comes to opposing Hangarback Walker).
It may not be as efficient as Lightning Strike, but it does exile Hangarbacks and it does trigger our colorless synergies.
Maybe it is too weak, but if we’re going to curve out, we have to play something cheap. That it gives us a loot when it dies can be worth almost a card
going long since we don’t need most of our extra land.
One last blue Eldrazi strategy on the day…
Creatures (2)
Planeswalkers (4)
Lands (27)
Spells (27)
- 1 Negate
- 3 Dig Through Time
- 2 Anticipate
- 1 Dragonlord's Prerogative
- 2 Encase in Ice
- 1 Learn from the Past
- 4 Clash of Wills
- 1 Displacement Wave
- 2 Hedron Archive
- 4 Horribly Awry
- 4 Scatter to the Winds
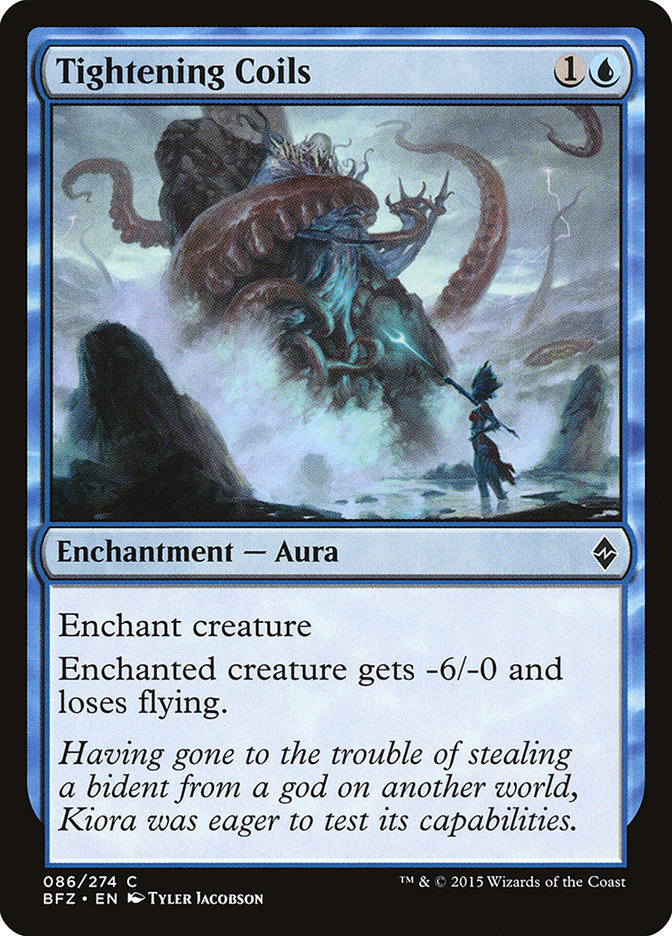
- 2 Tightening Coils
Sideboard
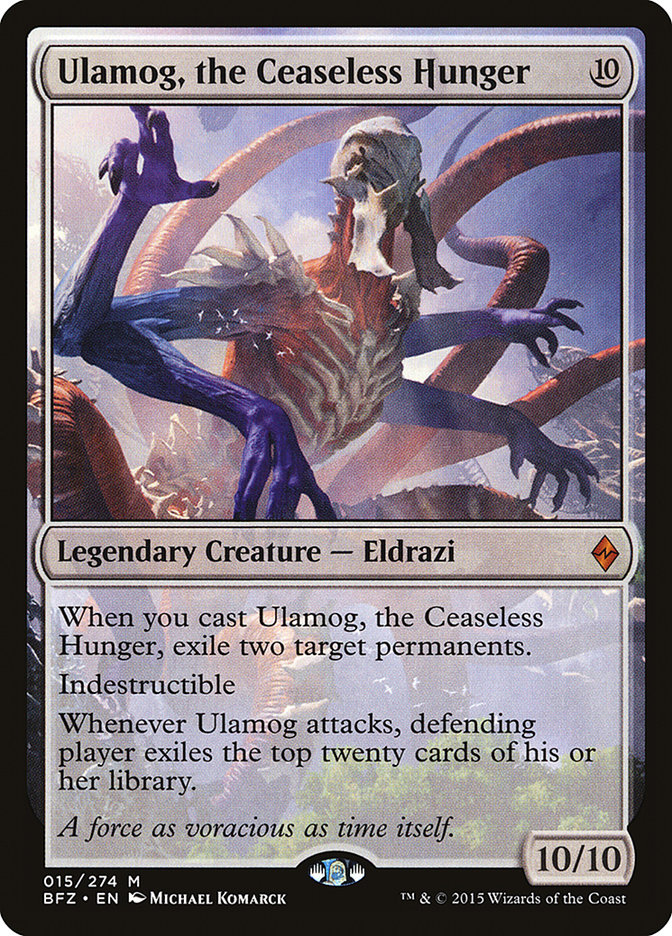
Ulamog, as you would imagine, is a fantastic threat to power out early with cards like Spawning Bed, Shrine of the Forsaken Gods, Mage-Ring Network, and
Hedron Archive.
Maybe we’re supposed to just splash removal from a second color, but it is interesting to try to get away with mono-blue. We might even end up cutting back
on the double blue spells to support even more colorless lands…
Obviously, this is far from the only way to build Eldrazi decks, so join me back here Wednesday as we continue to work our way through Battle for Zendikar!