
Last week I wrote about refocusing my efforts on Constructed and what I have learned. One of the lessons I left out was the importance of knowing your plays, not turn by turn, evaluating the battlefield and optimizing, but having a strong idea of what should be going on in the matchup at each phase of the game from mulligans to mid-game to end-game to sideboarding.
Recently, Modern has had a big shakeup that has brought three decks towards the forefront: Death’s Shadow, Ad Nauseam, and Merfolk. Each of these decks has a strange and unique play pattern, and part of the reason they are doing so well is that people just aren’t familiar with how to attack each of them. They assess their role incorrectly, value the wrong cards, and just die.
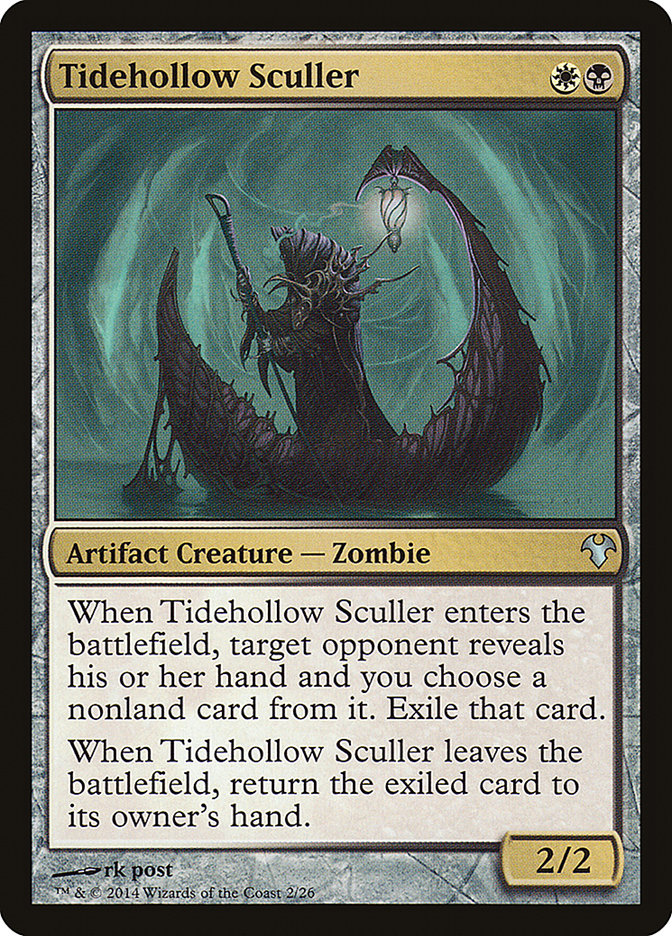
I’m going to use Abzan Company to showcase how to approach each of these matchups in turn. Abzan Company is a great deck to use as a guideline it can play so many roles. It is simultaneously a combo deck, a resilient aggro deck via Kitchen Finks beats, a midrange attrition deck via Eternal Witness and Path to Exile, and a weird Merfolk-style deck with Tidehollow Sculler hampering threats. Whatever plan it takes against a deck is often one of the best possible and how other decks should model their plans, and aspects of various other plans leak through to consider against everything.
Creatures (29)
- 4 Birds of Paradise
- 1 Spike Feeder
- 2 Eternal Witness
- 4 Kitchen Finks
- 1 Tidehollow Sculler
- 4 Noble Hierarch
- 3 Viscera Seer
- 1 Spellskite
- 2 Melira, Sylvok Outcast
- 1 Scavenging Ooze
- 1 Fiend Hunter
- 1 Archangel of Thune
- 2 Anafenza, Kin-Tree Spirit
- 1 Tireless Tracker
- 1 Renegade Rallier
Lands (23)
Spells (8)

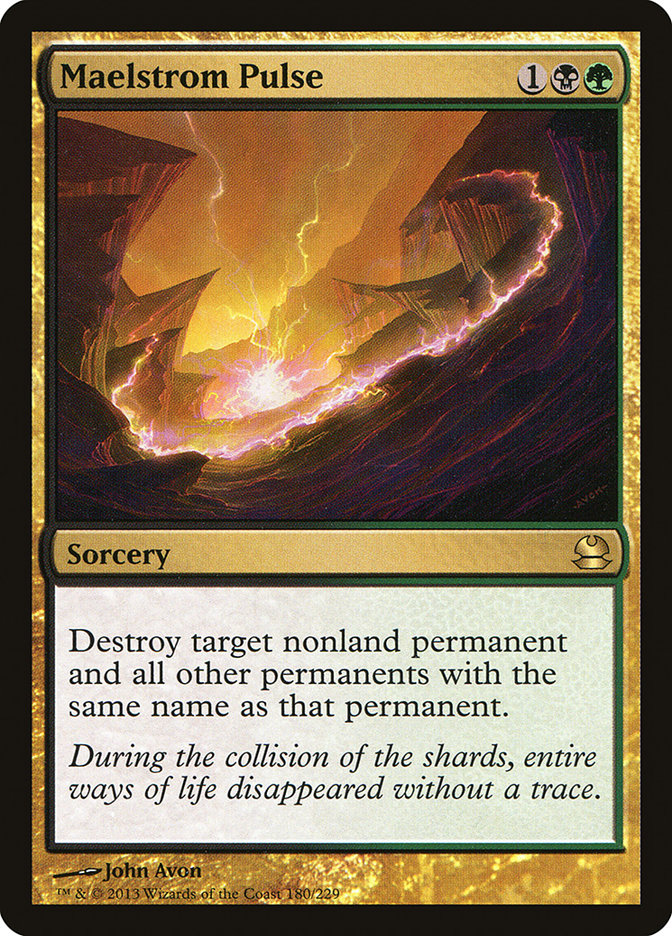
This is the list I am playing right now, with the only changes from Eric Severson’s list being a second Overgrown Tomb over the flex Razorverge Thicket, as I like having more fetchable sources, and moving a Tidehollow Sculler to the maindeck over a Renegade Rallier to have a generic interactive card to Chord of Calling for against combo and big mana decks. The sideboard slot is currently a second Maelstrom Pulse, but that is hardly set in stone.
Death’s Shadow
The new Death’s Shadow is not the old Zoo-style Death’s Shadow. Some of the same principles apply, but those are only at the surface level.
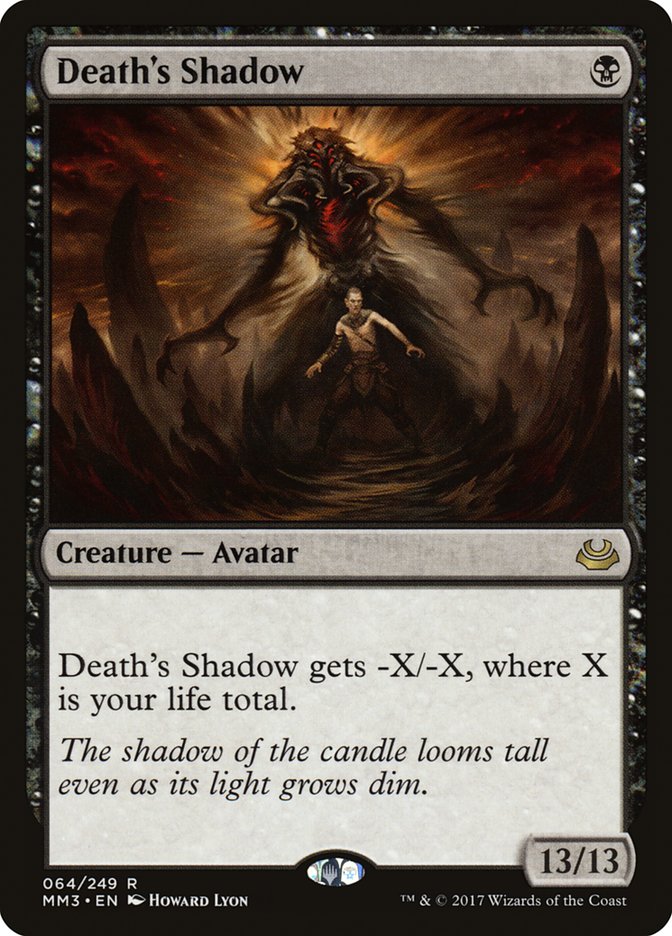
First thing, let’s get playing against the namesake card out of the way. Beating Death’s Shadow is all about minimizing the impact of the card once it starts creeping into the 7/7 or larger range.
Don’t help Death’s Shadow get into that range. Game 1, you aren’t going to win via beatdown most of the time. When in doubt, don’t attack, and then don’t attack even when it looks kinda good. Once they show you they clearly don’t have a Death’s Shadow by not casting it at an opportune moment or not
Don’t spew chump blocks on smaller Death’s Shadow attacks. Every creature matters. Take the hits you can afford to take and block the ones you can’t later. Odds are you will be forced to chump one less turn over the course of an average game this way. There are slim odds of a slowrolled Street Wraith to consider, but it’s mostly a topdeck-only threat, as drawing and casting cards earlier is just better Magic for them.
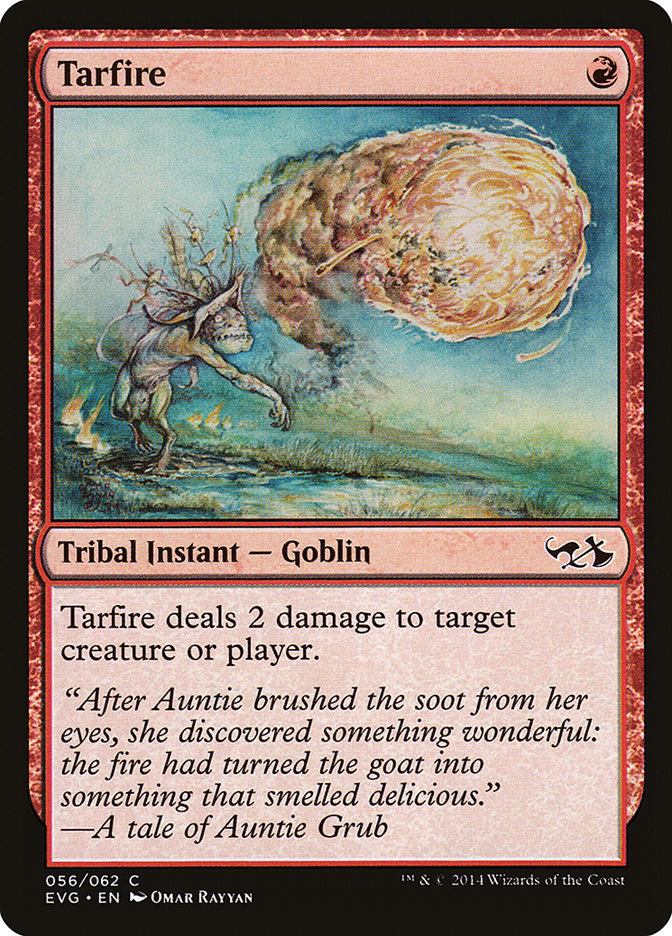
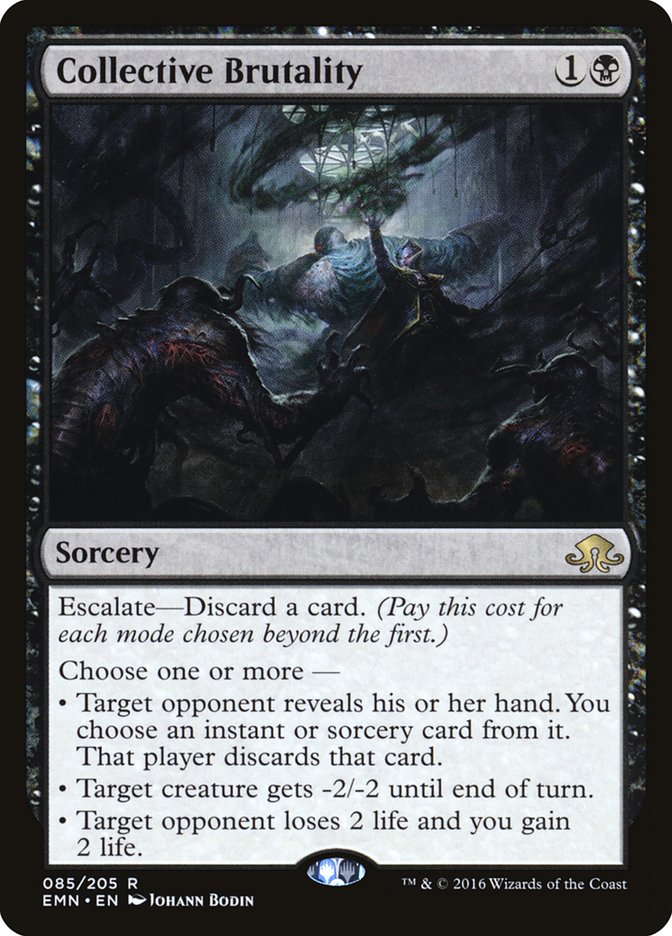
Remember this isn’t typical Jund. Three life is safe, as their Collective Brutality and Tarfires only deal two.

If they Ghor-Clan Rampager a Death’s Shadow, you will die. Period. You aren’t going to chump aggressively enough to maintain the twelve or so life required to survive. Gain arbitrarily large life first or Chord of Calling for Fiend Hunter.
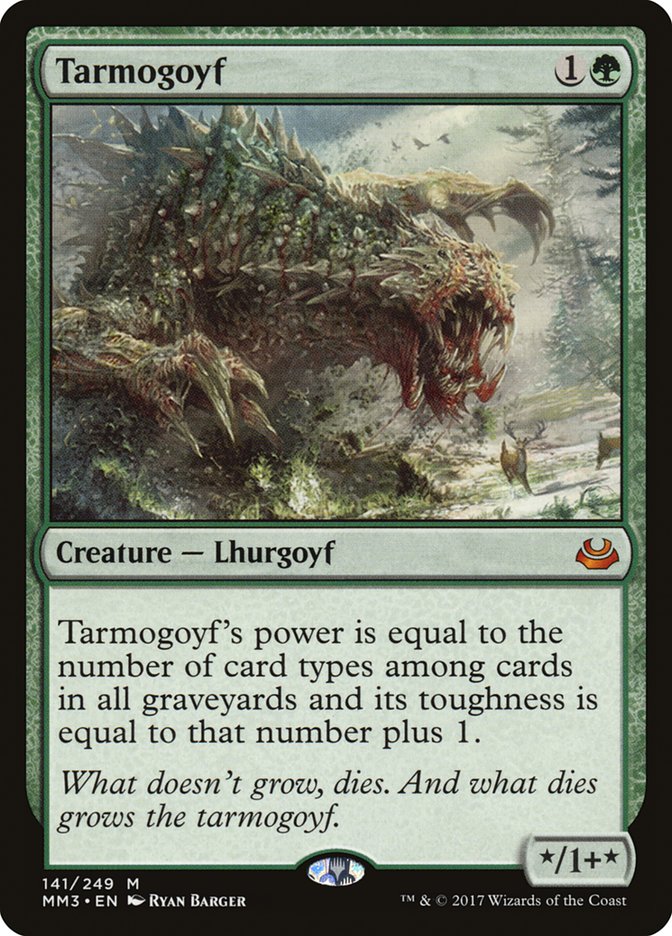
If they have just Tarmogoyf, that’s a bit of a different story. To be fair, if they just have Tarmogoyf and haven’t played a Death’s Shadow and are attacking, you are likely interested in attacking back, but you can start considering if chump blocking a bit earlier is right, as Tarmogoyf is capped at eight or nine trample power with a Ghor-Clan Rampager. Not that ten life versus five is more than a turn of difference, but it is a clear-cut change you can consider instead of “Wow, I need to put nine toughness in front of that 14/14 to survive at one life!”
Against attrition decks, I generally keep more mediocre hands than normal and keep basically any six-card hand that can function. Any reasonable mix of lands and spells is fine; they are likely going to make you discard your best card regardless. Just do some things and topdeck well. What isn’t fine is a hand that falls apart to a single answer, specifically “one land and a mana creature” hands or hands overloaded on Chord of Calling with a scarcity of low drops.

Be aware of Kolaghan’s Command. That random fifth land is often better hanging out in your hand until needed on the battlefield, just in case you need to discard it.
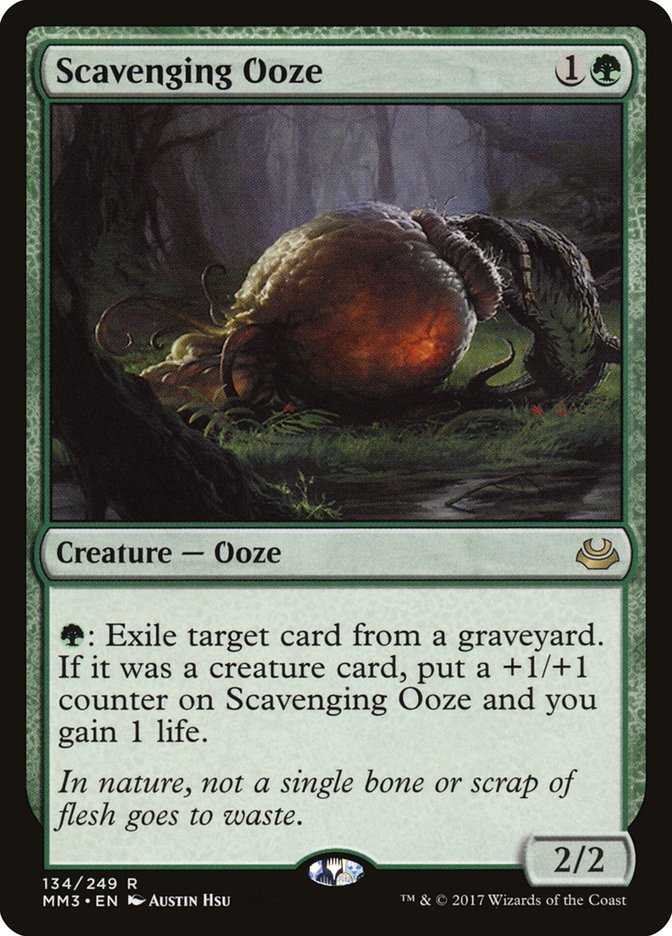
Scavenging Ooze is a huge beneficiary of the way Death’s Shadow is structured. The move from three-damage Lightning Bolt to two-damage Tarfire makes it “cheaper” to play with enough activations to survive and eight of their threats are graveyard-based. Just be sure to save or time it for when it will actually cut them off action in case a Fatal Push is in your Ooze’s immediate future.
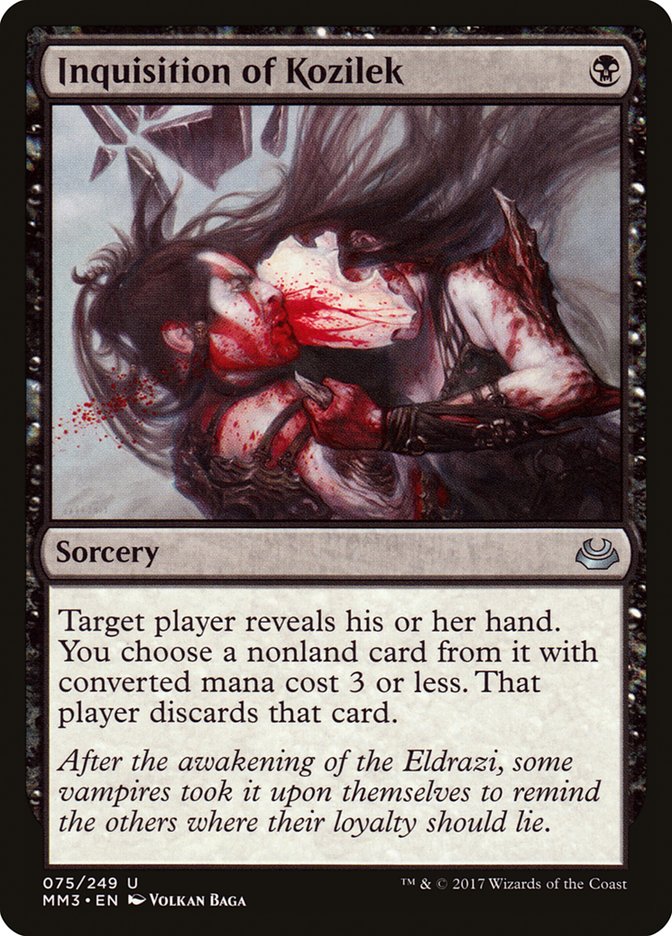
Sideboarding drastically changes the dynamic of the matchup. There’s a dirty little secret of all the Inquisition of Kozilek decks (bar Lantern Control, which its own beast): they are trying to trade off answers and then land a great threat to close. If their opponent can negate the trades, say, via persist creatures or graveyard recursion or Collected Company or just Gavony Township making random creatures into threats, they have only one route to victory and that’s to ride a threat and hope. If Death’s Shadow dies, Abzan Company is favored to crush in the topdeck war because all of Death’s Shadow’s answer topdecks line up horribly against all of Abzan Company’s threat topdecks, while Company’s threat topdecks are at parity with Shadow’s answers.
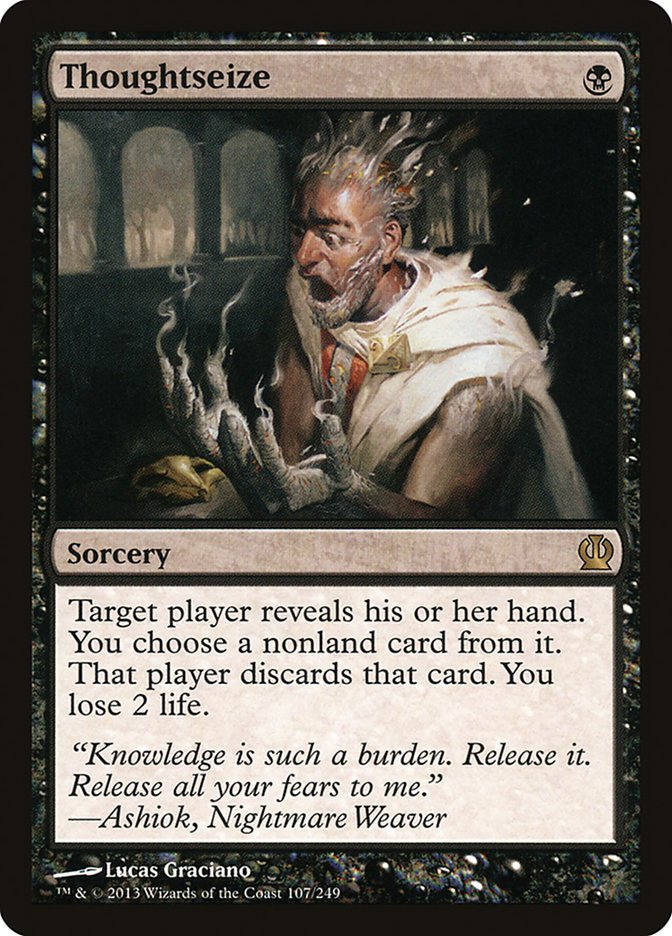
Anecdotal evidence of much of this: I played the Death’s Shadow matchup at Grand Prix Vancouver. I mulliganed and kept Kitchen Finks, five lands including Gavony Township and Horizon Canopy. I got Inquisition of Kozileked on turn 1. A topdecked Path to Exile and Eternal Witness later, and suddenly it was on my opponent to topdeck out of the scenario with me ahead attacking. They didn’t have threats, and everything I drew was high-impact, while their Tarfires weren’t even treading water.
Worth noting: if you have an answer for Death’s Shadow, you can start attacking with the knowledge that their reduced life total isn’t a threat because the eventual 9/9 is going to be a dead/dead.
Sample Sideboarding
Out:

In:
You are generally just shaving on cards that don’t have solid individual impact for ones that do. Chord of Calling has to go whenever you start adding significant numbers of noncreature spells to your deck to keep Collected Company balanced. Spellskite might be able to eat multiple Tarfires where Selfless Spirit can’t, but attacking with a flier is great, so the better topdeck survives the swap.
Note that this is almost identical to how I sideboard against Jund and Abzan, with the notable exception that I prefer Spellskite to Selfless Spirit if they have Path to Exile and Lingering Souls and that Orzhov Pontiff is good if they have multiple good things to kill with it, like Dark Confidant and
Merfolk

Hot take: Merfolk as it exists is just a bad deck. Period. No amount of West Coast Grand Prix success will change my mind. It is slow, exploitably linear, and can barely play the loose interaction it does. It wins because it lets people make bad decisions.
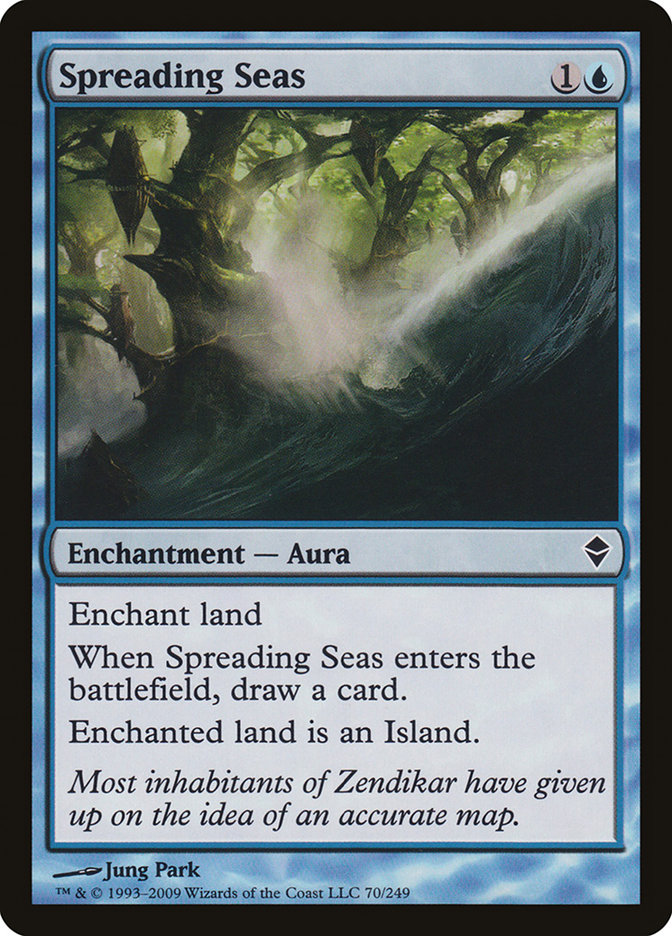
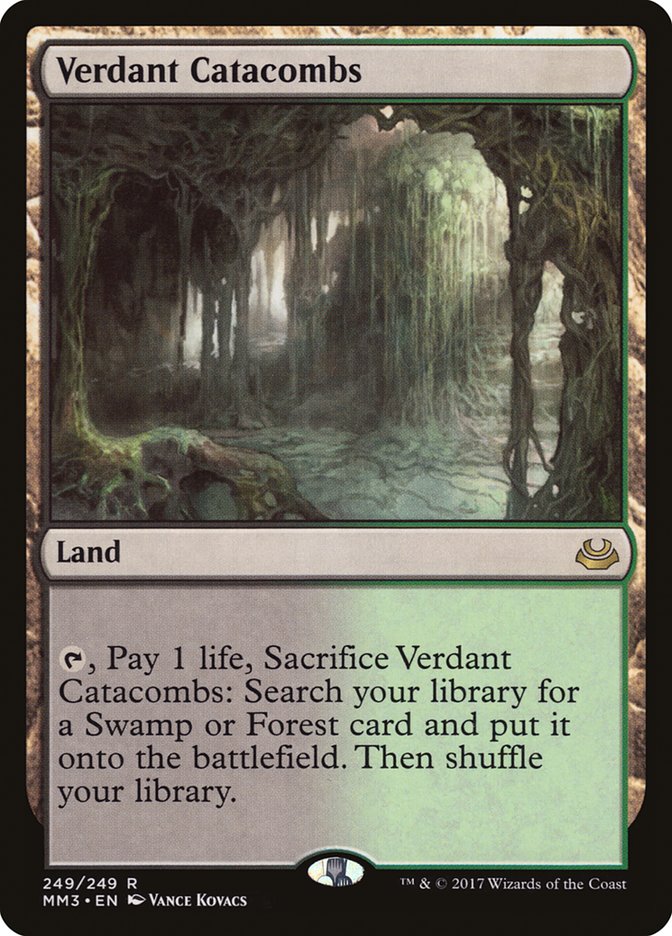
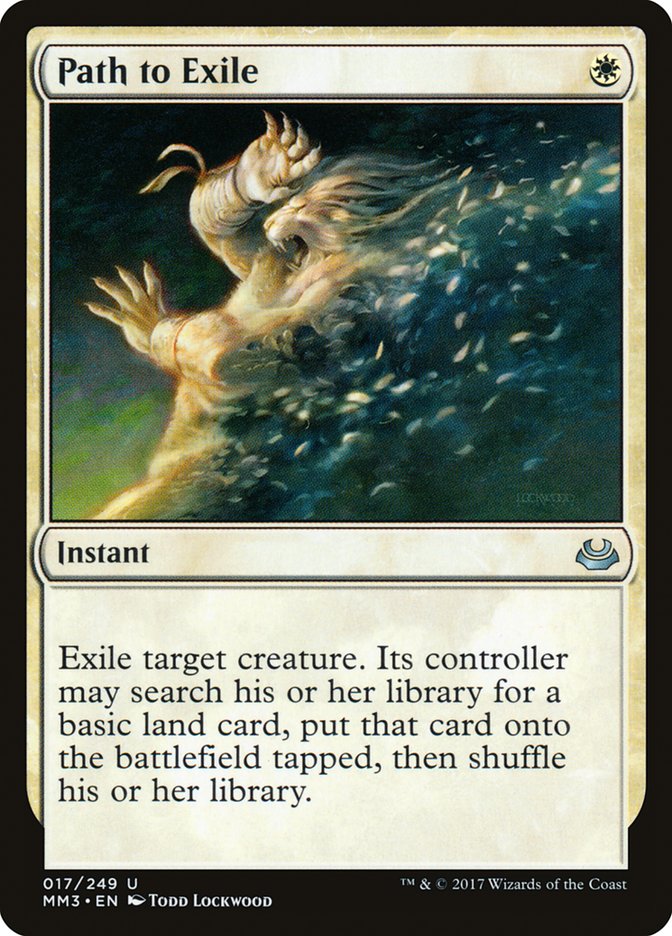
The first big thing is playing around Spreading Seas. If you cast your spells, your combo is bigger than what they can present. This means fetching more two-color lands and more redundant sources than you expect. If a land in your hand is crucial to later plays and can be slowrolled, do so. This comes up less in Abzan Company than other decks, but imagine you have Forest, Swamp, Temple Garden, Path to Exile. Even if it means taking two to play an untapped Temple Garden later, you want to lead on Forest to preserve your white source for your white spell.
The reason you can play these games with your life total is that, while Merfolk is an aggro deck, it doesn’t deal damage like one. The best way to think of it is breaking it down to one quantifiable unit of damage, the way Burn does damage in two- to four-point chunks.
If Merfolk doesn’t have a “lord,” they probably aren’t beating Kitchen Finks. If they have one lord, you are taking four to eight damage a hit. If they have two lords, it is ten or more. That two life is a fraction of a Merfolk damage quanta and isn’t even sure to buy you a hit, whereas against traditional aggro it easily lines up to one Lightning Bolt or Wild Nacatl hit.

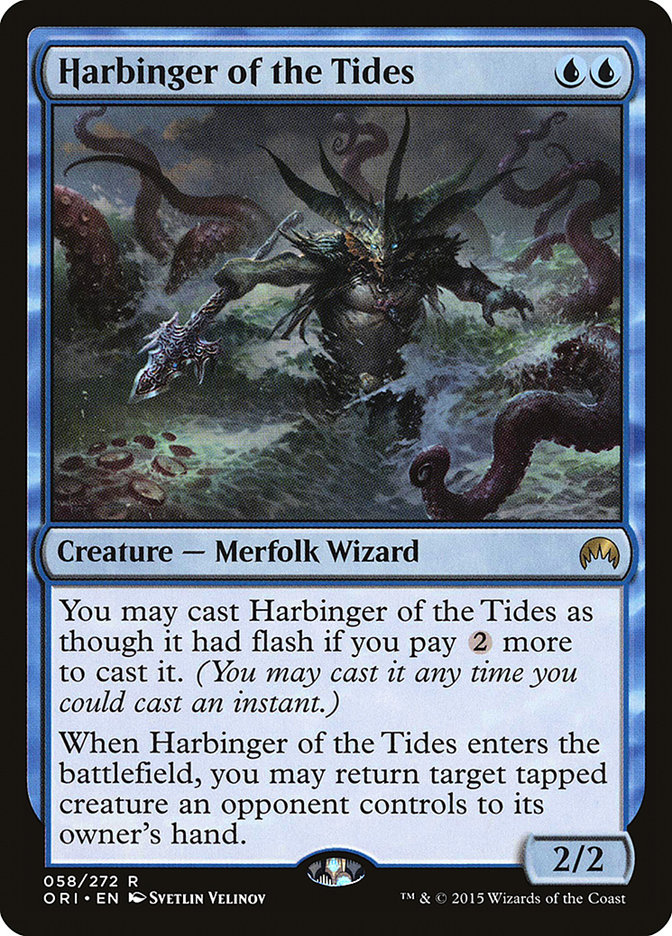
One cute trick: Spellskite can take free attacks to tap then divert Harbinger of the Tides if needed. Don’t lose it to a flash creature or attack if you aren’t tapping something worth protecting. Chord of Calling can pull the same at instant speed.
Post-sideboard, this shifts a little. They get interaction to break up the combo, while you get removal for lords and shave on Chord of Calling. This means their creatures are connecting for those two-point chips, trying to swarm around a few key blockers, so while playing around Spreading Seas is still a top priority, conserving life might be better than deploying another mana creature on turn 3.
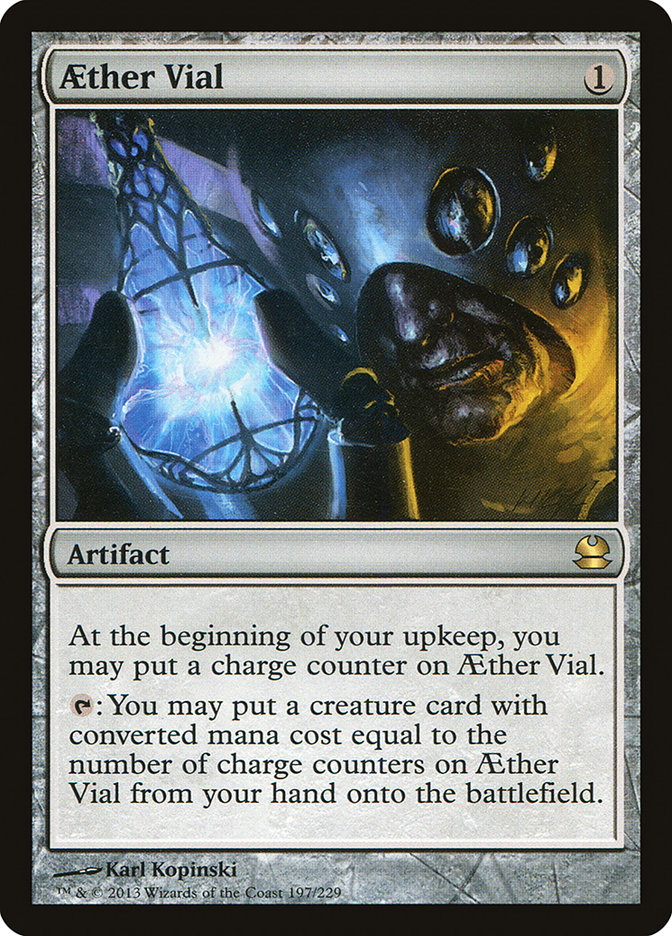
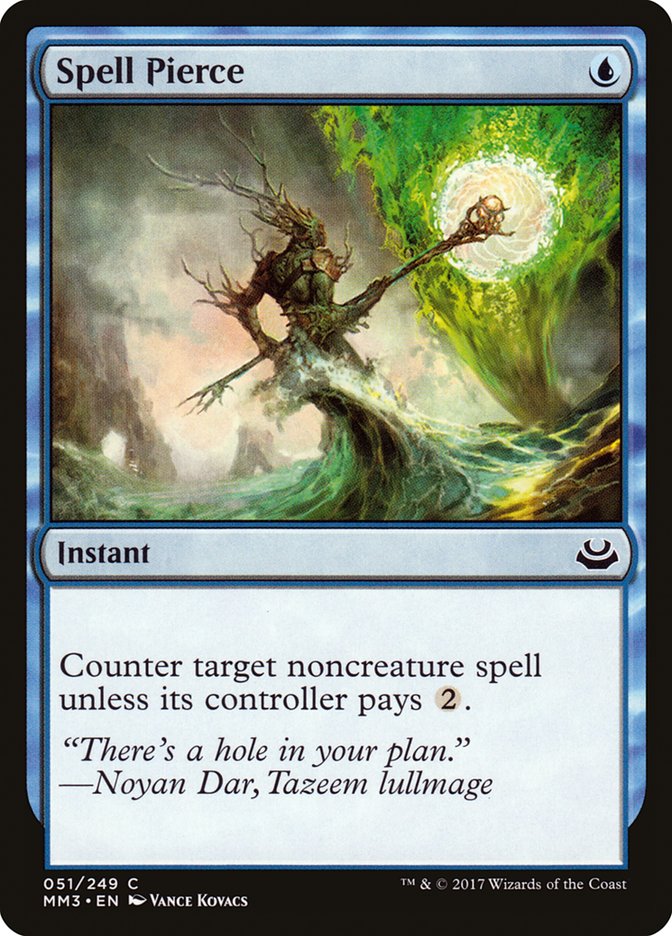
One consideration is when to go after Aether Vial over saving your removal for creatures. Ignoring Vial is a valuable exploit if you are overloaded on removal and can just kill everything they deploy, but if you are lighter on interaction, you want kill Vial and regain the time to establish a stronger battlefield than theirs.
If you are looking to assemble a combo and effectively clock them out of the game, kill Aether Vial. If you are leaning heavily on Collected Company, it can also be right to kill Aether Vial and choke mana between Spell Pierce and creatures. If your hand has multiple removal spells or Eternal Witness, kill creatures. If they play a Mutavault in the first two turns, Vial is probably a good kill as their mana is weaker and they are up a creature to pick off. If they cast a second Aether Vial, they are probably short on threats and both Vials are irrelevant, barring obvious mana screw.
In summary, combo them Game 1 as their deck is light on interaction and then punish them with removal for trying to get interactive Game 2. Play around Spreading Seas as much as possible. Killing Aether Vial comes down to if tempo or raw cards will win you the game.
Sample Sideboarding
Out:
In:
Beyond sideboarding down on Chord of Calling to support Collected Company, note that I’m cutting cards with heavy colored mana requirements. Anafenza, Kin-Tree Spirit is a better card than Melira, Sylvok Outcast, but I don’t want to worry about double white mana.
Qasali Pridemage is honestly just as much to kill Spreading Seas and turn off islandwalk as it is to do anything else.
Your really grindy cards like Tireless Tracker are actually great. Scavenging Ooze fails; if their creatures are dying, you are already winning, and if yours are dying, it won’t save you. Renegade Rallier is merely fine but replaceable.
Ad Nauseam
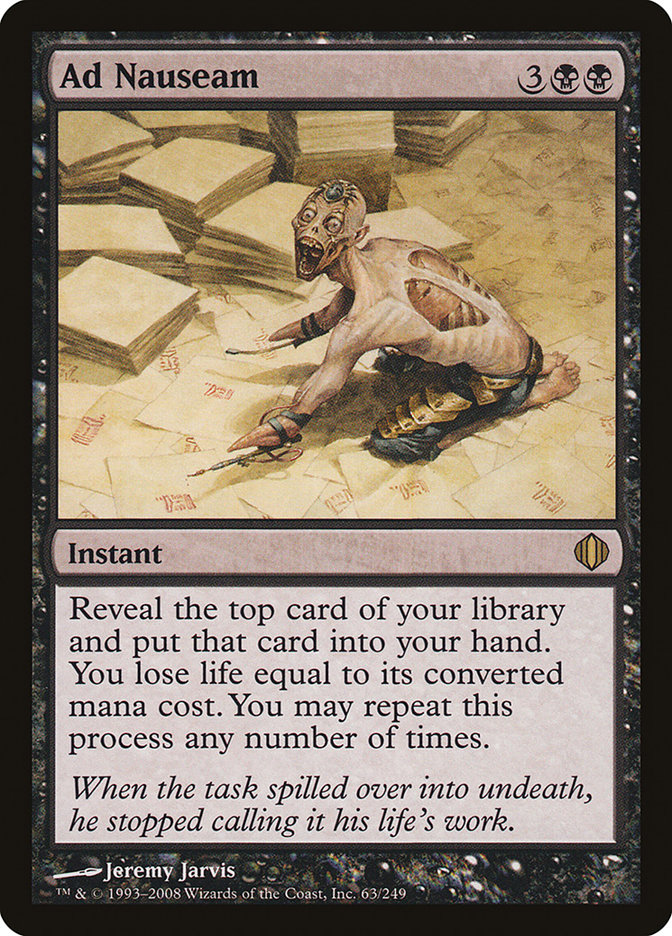
I used to hate Ad Nauseam as much as I hate Merfolk. It was the slow combo deck in a room of faster linear decks like Affinity and Infect that naturally crushed it. Now it has far fewer Inkmoth Nexuses to worry about and is a legitimate combo force to have to deal with due to the strength of its combo pieces at naturally extending games.
I’m not going to deeply discuss Game 1. Combo away before they do or Chord of Calling for Tidehollow Sculler on time. Not having access to Qasali Pridemage or Murderous Redcap can make Phyrexian Unlife obnoxious, but once you scry combo, you can just find Tidehollow Sculler and then win the game.
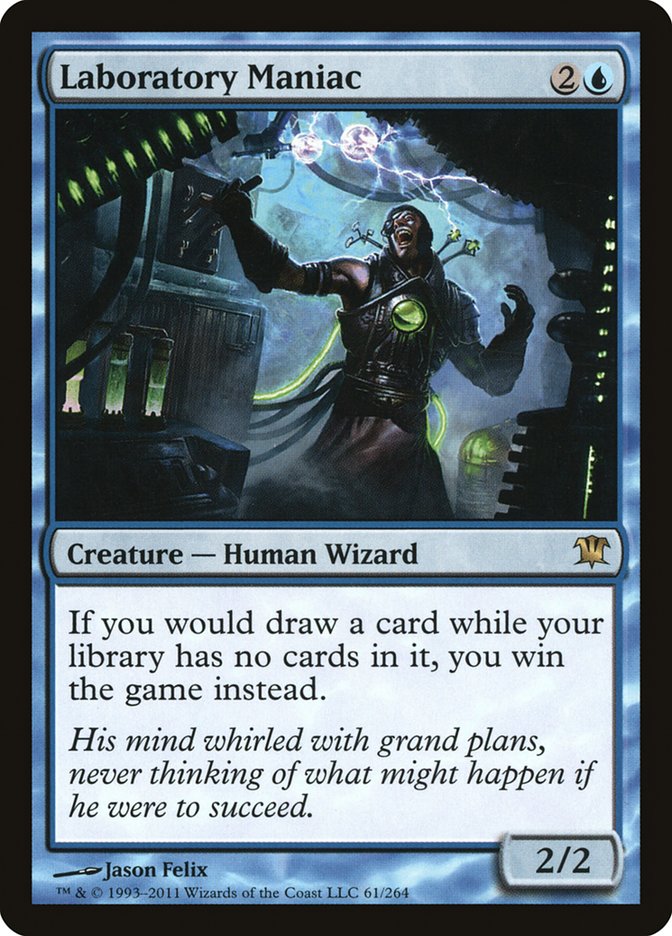
Do not fight over their win conditions. There is too much variability in both their configuration of them and their ability to draw their deck and find some way out of your answer, like a Slaughter Pact for Phyrexian Revoker on Lightning Storm, a Pact of Negation for Path to Exile on Laboratory Maniac, and so on.
Time your discard to maximize the odds of crippling them. That means threading a needle between “
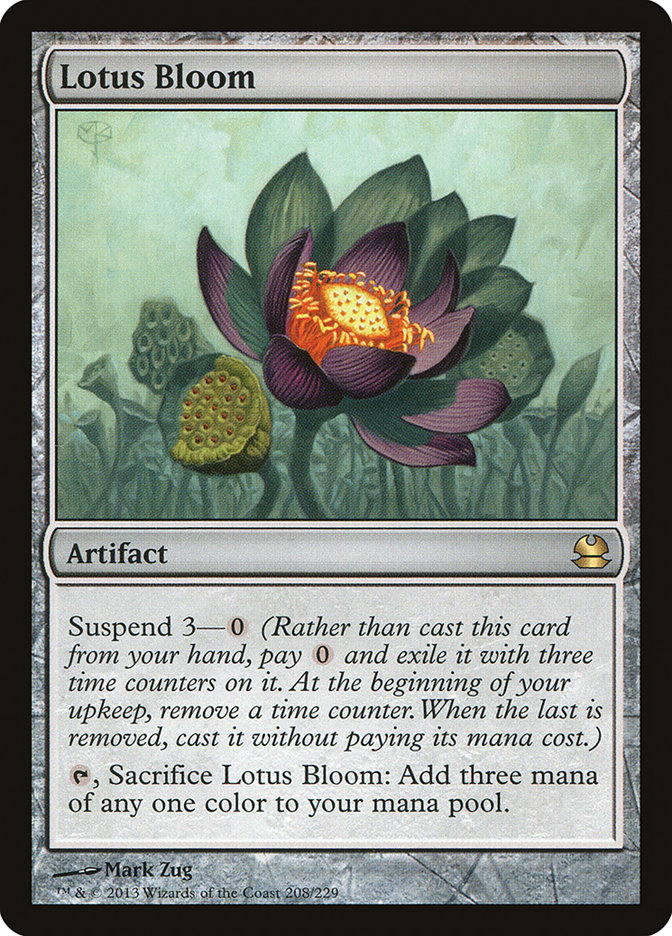
Fight over their mana. Their combo costs six, and if you attack the cards that let them turn one card into multiple mana, it takes a lot of work for them to put it all together. One other timing thing with Tidehollow Sculler is using it to fade death the turn Lotus Bloom will resolve and then using that window to kill the Lotus Bloom to lock out a topdeck. This was much easier with older builds that featured Fulminator Mage and extra copies of Qasali Pridemage and Abrupt Decay as a more efficient Disenchant, but your extra discard creatures makes up for that.
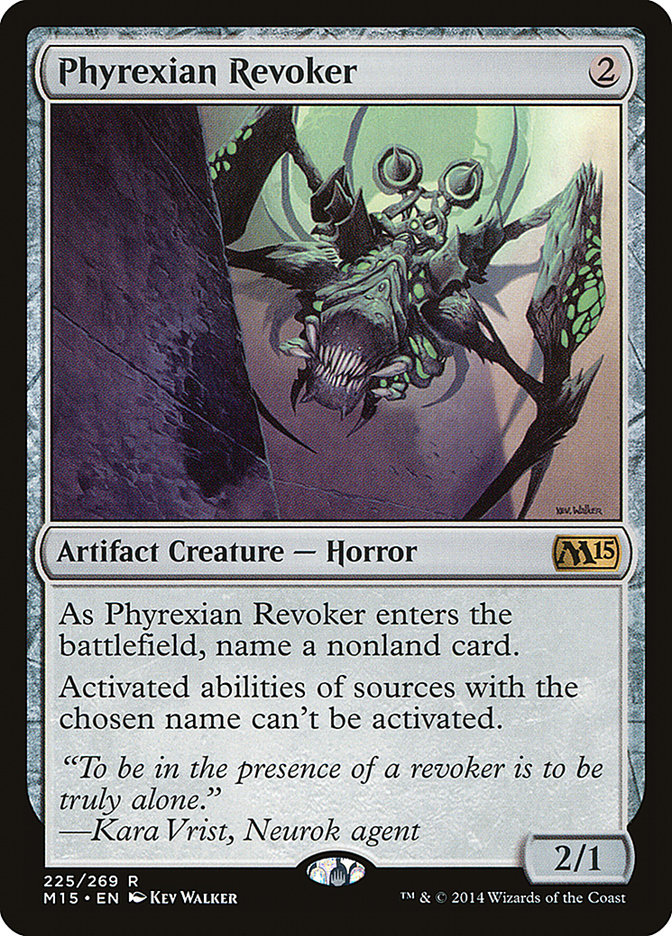
This is where Phyrexian Revoker is the king. Name their mana rocks or Simian Spirit Guide to build an Avalanche Riders. Simian Spirit Guide is a bit of “fighting over their combo,” but if your other mana pressure holds up, it is often the only way they can immediately jump the curve, and that alone is worth attacking. You aren’t playing Stony Silence because it doesn’t have power and toughness, but this is close enough.

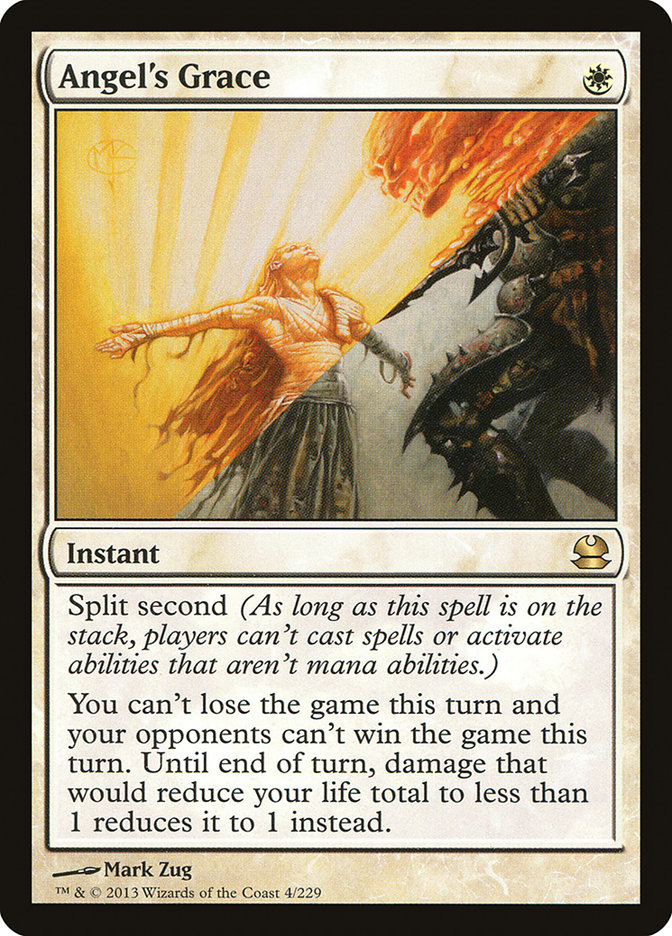
Note that your opponent instantly dies if they are at zero or less and Phyrexian Unlife dies. Angel’s Grace only saves them until end of turn, at which point on the next upkeep they immediately die once anyone would receive priority. If they blow an Angel’s Grace to stay at one life, still kill it anyway because they have crippled their combo capacity.

Remember the backdoor Laboratory Maniac kill exists. Don’t accidentally leave them with all the pieces when Tidehollow Sculler resolves.
Sample Sideboarding
Out:
In:
Archangel of Thune combo is simply too slow at racing Ad Nauseam’s combos. Gavony Township leaves as you have to cut a noncreature for Collected Company balance; you aren’t grinding your combo opponent out with it and for sure aren’t cutting Chord of Calling when you have so many silver bullets to find.
This constant addition of matchups to the Rolodex is what is needed to truly stay on top of the format. Modern masters aren’t the best at their craft because they know all the lines their deck can take off-hand but because they can quickly assess what lines they need to take to win any given matchup because they have played them all before. This isn’t Legacy where you have to know how five instants interact when cast at fifteen different times. You need to know how your 60 cards interact against 500 different other cards.
Don’t worry too much about finding the right deck. The reasonable ones are all close enough. Worry about learning all of this. I assure you, once the time comes to change decks, transferring this knowledge will be more valuable than having tried another few decks that might be good for that specific tournament.