The lights have flickered on enough over the Streets of New Capenna to reveal a few of the shadowy denizens that will roam the back alleys and upper tiers of the city built on a city built on a city. Some faction leaders have shown their faces, so we can take a deep look at Jetmir, Nexus of Revels and Lord Xander, the Collector; Bennie Smith took Raffine, Scheming Seer out for a spin on Monday.
One has already caused quite a stir in the Commander community over its perceived threat to the format; the other doesn’t seem that dangerous at all. Which one is actually which might surprise you. I’ll take a look at both of them, breaking down what they do, how they do it, and how you might build around both of them.
Lord Xander, the Collector
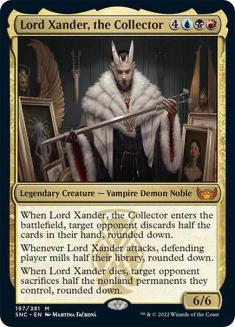
Lord Xander is the one that raised the immediate hue and cry, its Maestros nastiness looking like it could take the game away from the other players in short order. I won’t underplay the fact that it’s going to have an impact on the games it shows up in, but I don’t think it’s as bad as some folks worry it might be.
Lord Xander has three different triggered abilities: one when it enters the battlefield, one when it attacks, and one when it dies. All three of them will strip things away from an opponent, which is exactly what we expect from the family that focuses on sacrifice and removal.
Enters-the-Battlefield Trigger
The enters-the-battlefield trigger makes an opponent discard half their hand, rounded down. Unless their maximum hand size is larger than normal, this means no more than three cards. The thing that gates the power here is that it’s only one opponent. Compare that to Myojin of Night’s Reach, which will make each opponent discard their hand—for only one more mana.
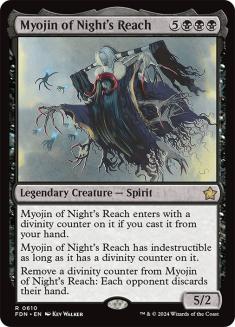
Myojin of Night’s Reach is obviously not as repeatable as Lord Xander, but the latter would have to enter the battlefield a number of times to catch up to a similar amount of discard. In the end, the enters-the-battlefield trigger is a sidelight, really a necessity for getting Lord Xander onto the battlefield in order to do its other things. Will it be annoying to be targeted? Sure. Is it game-breaking? Not at all.
Attack Trigger
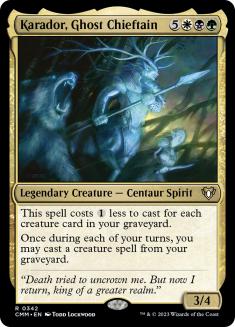
Lord Xander’s attack trigger is the one that I think scares folks most, as it has the defending player mill half their library. When someone asked me how I felt about this particular ability, my reply was, “I play three different versions of Karador, Ghost Chieftain. I <expletive> dare you to mill half my deck.”
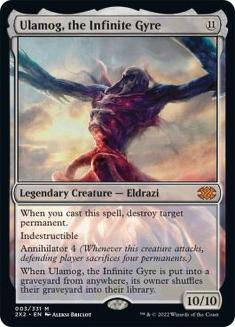
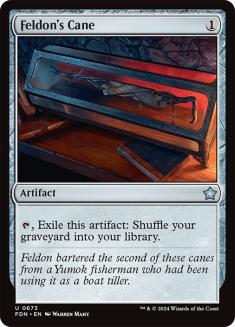
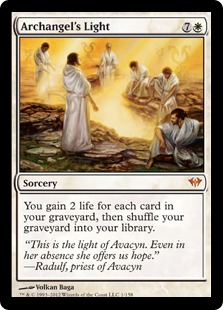
Mill is without a doubt a polarizing ability. The players who hate it really do loathe it. Some folks don’t mind it at all, and I’m generally one of them. Knowing that it’s a possibility in any game I’m in, I’ll have some defense in non-graveyard decks. That defense can be as simple as one of the big Eldrazi: Ulamog, the Infinite Gyre or Kozilek, Butcher of Truth. It can be a little more nuanced, like Elixir of Immortality or the old favorite that no one plays anymore, Feldon’s Cane. It can also be a little janky, like with Archangel’s Light.
There’s a point of diminishing returns with Lord Xander’s attack trigger. Sure, you’ll get 40 cards or so from a player when you attack them the first time, but you’ll have to spread the attacks around to get the biggest hits. If your win condition is milling out people, you’ll need lots of additional help getting there to make a deck led by Lord Xander work.
Dies Trigger
The dies trigger also has some folks a little antsy, since it involves sacrificing quite a few permanents. The good news is that you only have to sacrifice nonland permanents. Getting half your battlefield nuked is definitely a lousy experience, but it’s still not a complete battlefield sweeper. Again, it’s targeted at a single opponent, which doesn’t have to be the player who killed it—although I suspect it often will be.
Having the option to neutralize a player who is getting out of hand, perhaps via political alliance and unfavorable attack conditions, offers a compelling layer of gameplay. Once again, the ability seems lots worse than it actually is. Lord Xander’s abilities are a strong irritant, but by themselves aren’t going to dominate a game. It costs seven mana to just get started. We’ll need a little more gas to really light this fire.
Blink and Bounce
I wouldn’t spend too much time trying to take additional advantage of the enters-the-battlefield trigger. If you’re of a mind, letting him die and recasting him seems too expensive. Otherwise, there are two major paths to follow: Blink and bounce. Blue is pretty good at both.
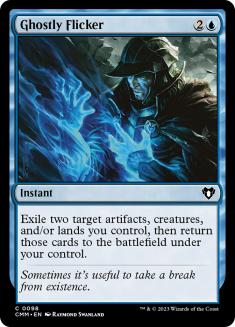
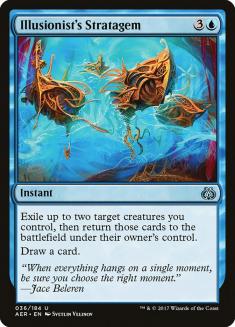
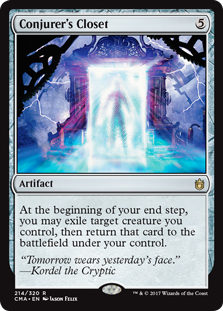
Blinking starts with instants like Ghostly Flicker or Illusionist’s Stratagem. I like the latter a little more because for only one more mana it draws a card. Then there’s the mac daddy of blinking, Conjurer’s Closet. What’s nice about blinking Lord Xander that way is that you’ll have been able to attack, get that trigger, and then have him back untapped and able to play some defense.
Blue is even stronger at bouncing, with a legion of cards that will get him back into your hand. I might go with an old favorite from the ancient days, Cavern Harpy, to get the job done. Keymaster Rogue does the same and comes with an unblockable body. Peel from Reality does what you want while also bouncing something that’s threatening you. Crystal Shard is an old classic that still sees plenty of play, offering you flexibility on what you might want to bounce.
Recursion
Since we’re in black with Lord Xander, recursion is an option as well. When he dies, you don’t have to put him in the command zone. Just leave him in the graveyard and use anything from Reanimate to Animate Dead to Rise from the Grave, and you’ll have him back. All that is just to take advantage of Lord Xander’s weakest ability. Let’s see what we can do with the other two.
Milling
I see the mill ability as a means to an end, not the win condition itself. It takes too many attacks to get enough cards to be meaningful across all our opponents. What we do with the cards that get milled, however, is where to focus.
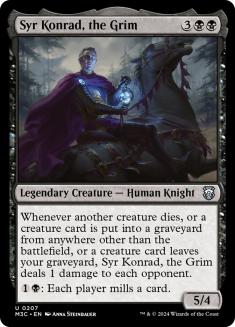
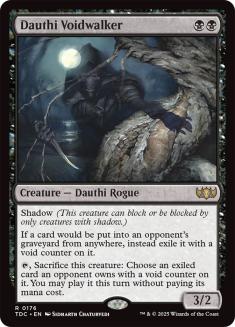
We have format classics like Puppeteer Clique and Sepulchral Primordial to get creatures out of opponents’ graveyards and doing work for us. If we want to go huge, Rise of the Dark Realms will do. Once we get Bloodchief Ascension online, milling half of someone’s library could be lethal. The same goes for Syr Konrad, the Grim. With both, since you get separate triggers from each card milled, we could potentially kill more than one person. If we want to simply get rid of the cards into exile, Dauthi Voidwalker will do the trick, as well as giving us access to them should we want.
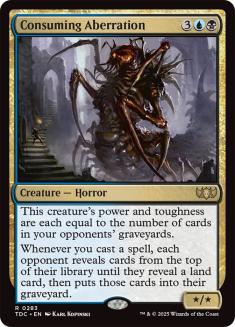
The card that immediately came to mind when thinking about Lord Xander’s mill trigger is Consuming Aberration. Its power and toughness are equal to the number of cards in all opponents’ graveyards, so just one attack is enough to make it immense. If you’re attacking with both Lord Xander and Consuming Aberration, the latter can go from unthreatening to lethal in short order. I find the mill trigger to be the most compelling aspect of Lord Xander, and it’s the one I’d most likely build around. That said, there are a few things to do with the dies trigger, and they could certainly go into the same deck.
Using the Dies Trigger
Our first angle of attack on Lord Xander’s dies trigger is with battlefield sweepers. It doesn’t much matter if it’s Damnation, Life’s Finale (which plays into our idea of reanimating stuff from opponents’ graveyards), Chain Reaction, or Blasphemous Act. Clearing out all the creatures and then having Lord Xander’s trigger go off gives Maestros colors the rare opportunity to deal with enchantments. With no creatures on the battlefield, the opponent will have to sacrifice parts of whatever engine they’ve built, mostly artifacts and enchantments. Planeswalkers are also on the menu.
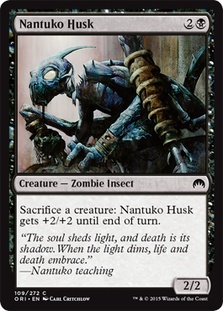
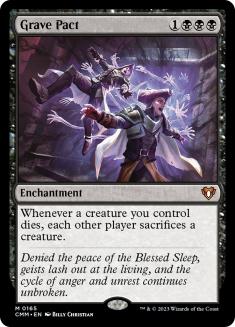
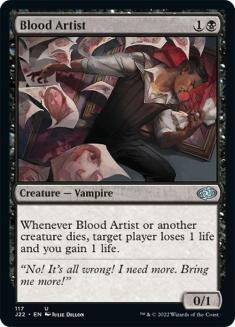
The other avenue to take advantage of the dies trigger is having a sacrifice outlet. From Nantuko Husk to Goblin Bombardment to Phyrexian Altar, black and red have plenty of them. This is the option if we want to catch some creatures in the opponents’ sacrifice, but remember that they get to choose what goes. We can pair the sacrifice outlet with other cards that trigger on our creatures dying, like Grave Pact and Dictate of Erebos, or simply Blood Artist.
For what I’d want to build with Lord Xander, the dies trigger would be a nice colleague to the mill trigger, since it puts more stuff into opponents’ graveyards. From more Syr Konrad triggers to a wider array of creatures to reanimate in various ways, keeping everyone else’s graveyards full of tasty stuff is our path to victory.
Lord Xander is a commander that looks extremely threatening at first glance, but gets less so when we break it down. We can certainly build a pretty savage deck around it, but I find that’s more about the ancillary cards than about the commander itself. Especially given his high mana cost, Lord Xander is not going to be an existential threat to Commander.
Jetmir, Nexus of Revels
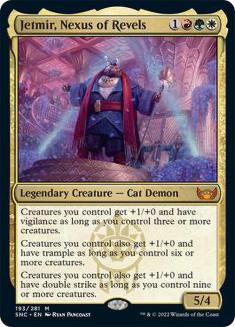
Jetmir, on the other hand, is built to wreck tables without much difficulty. Like Lord Xander, it has three abilities. Unlike the Vampire Demon Noble, this Cat Demon has three static abilities. Like the cities of New Capenna, they pile on top of each other. They’re conditional, but those conditions are somewhat common and easy to fulfill.
Three or More Creatures
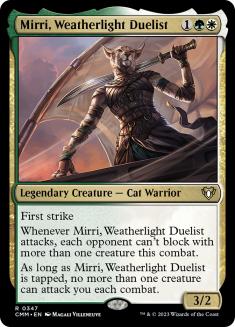
The first gives our creatures vigilance and +1/+0 if we control three or more creatures. Jetmir’s Cabaretti family is in red, green, and white, which probably means that Jetmir will be the third creature to hit the battlefield. The first one is likely to be a mana creature, and the second something efficient in the three-mana range. If you’re going Cat tribal, Mirri, Weatherlight Duelist would do the trick—and her triggered ability will be relevant to later Jetmir abilities.
When we plop Jetmir onto the battlefield as our third creature, we have a 6/4 commander with vigilance. That’s significant enough by itself, as unchecked it threatens an early commander damage kill, especially if we get to the next level.
Six or More Creatures
The second ability gives our creatures an additional +1/+0 and trample if we control six or more creatures. Now chump blocks are off the table. We can get to the second ability by casting a creature in the five-mana slot that creates more creatures.
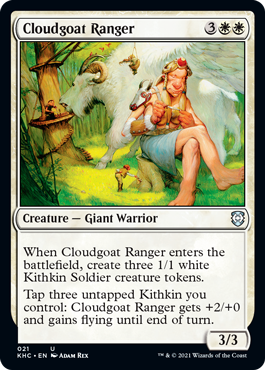
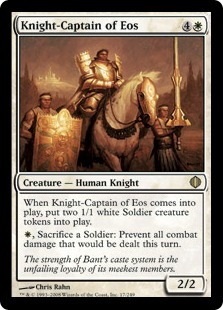
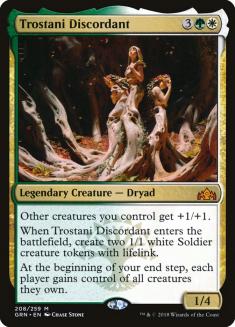
Cloudgoat Ranger will create three Kithkin Soldiers, getting us an additional step closer to fulfilling Jetmir’s third requirement. Knight-Captain of Eos brings two Soldier friends that can later be sacrificed for the greater good. Trostani Discordant brings two Soldiers as well as giving our other creatures an additional +1/+1.
Nine or More Creatures
Getting to nine creatures and keeping them alive won’t be easy, but if we do, faces will be smashed. Jetmir’s third ability grants an additional +1/+0, for a total of +3/+0, and double strike. Those creatures still have trample, so they’re getting some damage through. At this point, Jetmir is an 8/4 with trample and double strike, a combination that will kill someone who has previously absorbed even a single hit from him. The rest of the creatures can go wide on the other opponents.
If we build cleverly enough with Winota, Joiner of Forces, getting to nine creatures is trivial. Avenger of Zendikar doesn’t even need a landfall trigger to make a bunch of Plant tokens pretty dangerous. Add something like Champion of Lambholt to make blocking difficult or impossible, and we can go wide on the whole table. Craterhoof Behemoth as the ninth creature will also be something.
Keeping the Battlefield Full
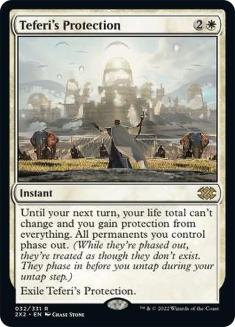
Clearly, Jetmir is a little fragile because we have to keep those creatures alive. Battlefield sweepers are common in Commander games, so we’ll want to have protection in spells like Heroic Intervention, Rootborn Defenses, Cosmic Intervention, and Faith’s Reward. The latter two are a little awkward if our creature count is high due to tokens. We can certainly respond to a sweeper by just getting out of there with Teferi’s Protection, preserving the tokens.

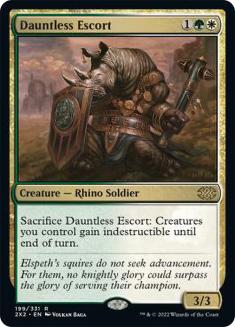
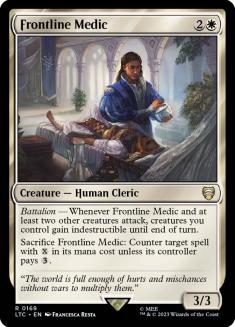
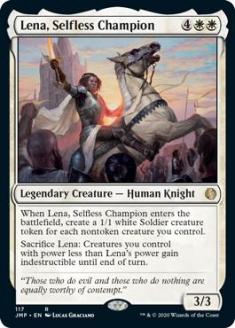
The protection that best goes along with our creature theme consists of other creatures. They’ll bump up our counts to get to Jetmir’s next stage, and if they have to sacrifice so that everyone else can hang around, we’ll get the count back up next turn. Dauntless Escort and Selfless Spirit fill this role. Frontline Medic gives our creatures indestructible when it and two other creatures attack, so we can rush aggressively into combat. Lena, Selfless Champion helps in two ways, as she brings Soldier tokens when she enters the battlefield, and then can protect everyone smaller than herself in the event of a sweeper.
Making the Most of Jetmir
The most compelling builds of Jetmir will be either crazy tribal decks or maybe a wild Voltron of some kind. Kaheera, the Orphanguard in the companion slot can certainly happen. If we just give in and build it with a collection of the best cards, it’s going to be savagely efficient and lethal—and kind of uninteresting.
Tooth and Nail entwined for Craterhoof Behemoth and Avenger of Zendikar is already something players do. Having it happen in Jetmir deals out even more damage. There are plenty of ways to curve into a creature swarm that without serious interaction could kill the whole table. I’m looking forward to seeing folks do it with some style instead. Let me know if you get into some Storm Herd action.

In the end, I’m far more concerned with players not being able to resist the call of a four-mana 5/4 with deadly abilities than I am the seven-mana janklord. When you start playing in an environment in which you might be facing down Jetmir, I suggest you heed the advice to (stay in school, eat your vegetables, and) play your Fogs. Nonetheless, I hardly consider Jetmir format-breaking or warping. It’ll definitely be something that I’m prepared to see.
Both Lord Xander, the Collector and Jetmir, Nexus of Revels offer opportunities for deck brewers to indulge themselves. Although some folks have gotten riled up over Lord Xander, I see Jetmir getting played more often and racking up significantly more kills. However you see either card, they’re part of a compelling first look into the available commanders we’ll see on the Streets of New Capenna—where even more dangers lurk.