We’re talking about Death’s Shadow today, so I’d start here with Sam Black’s piece, as it sets the stage well.
I’ve written about Rakdos Arcanist extensively in the past and in many ways the fundamentals haven’t changed, so I’d recommend you check out that article first as well. Rakdos Arcanist is a disruptive aggro deck that exists because of Thoughtseize’s inclusion in Historic. It’s also highly synergistic, leveraging Stitcher’s Supplier’s self-mill to power its namesake as well as playing Kroxa, Titan of Death’s Hunger.
It has some degree of A + B with self-mill + payoffs, Dreadhorde Arcanist + cheap instants and sorceries, and notably Claim the Firstborn + typically a variety of ways to sacrifice creatures.
Rakdos Arcanist is also a very heavy graveyard deck — previously described as “the best Game 1 deck in the format,” Rakdos Arcanist has historically been weak to graveyard hate — and so Grafdigger’s Cage and Rest in Peace heavily stymying the deck’s synergies often has reduced it to a pile of anemic creatures and a couple of Young Pyromancers with which to get it done.
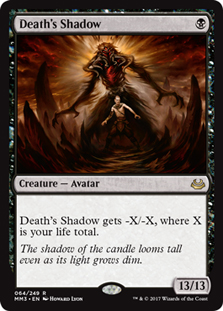
Why all the setup? Death’s Shadow naturally plays well in the deck as a Thoughtseize strategy, and it has the massive benefit of mitigating Rakdos Arcanist’s weakness to post sideboard hate. Death’s Shadow can be huge at closing games efficiently and it doesn’t care how much your opponent is interacting with your graveyard.
Let’s get to the deck.
Creatures (18)
- 4 Death's Shadow
- 2 Young Pyromancer
- 4 Stitcher's Supplier
- 4 Dreadhorde Arcanist
- 4 Kroxa, Titan of Death's Hunger
Lands (17)
Spells (25)

A lot hasn’t structurally changed, but as I alluded to previously, you’ll be winning games more quickly and more abruptly, with less emphasis on the A + B nature that Arcanist had previously, while still enjoying all the synergistic components that make the deck strong and resilient.
Card Choices
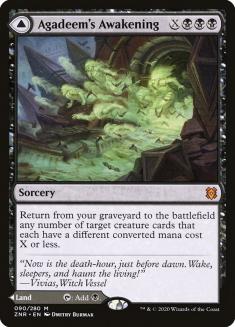
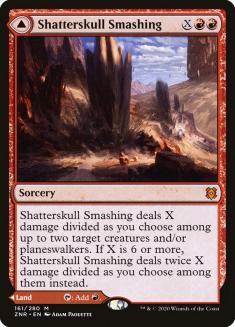
One of the largest benefits of playing Death’s Shadow is you get to freeroll having a bunch of potent lands and mana sink abilities. Agadeem’s Awakening is the largest pickup here, giving you more opportunities to rebuy Lurrus in deep contests and dramatically improving the amount of grinding power your deck has. Shatterskull Smashing is a bit overrated but it’s still appreciated as a topdeck in long games and can give you additional utility against corner cases (Teferi, Hero of Dominaria coming down and -3’ing your only threat for example).
Getting the balance down on all of this can be a bit tricky. We aren’t maxing on Dragonskull Summit or playing Fabled Passage as additional fixing because we just literally can’t fit all the potential lands the deck can play into the 60 cards of real estate. There’s also the risk of having too many tapped lands or frankly too many lands that deal you a ton of damage.
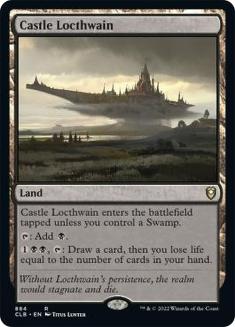
I’m not exactly convinced that playing a Mountain over the last Smashing is correct, but in my experience getting to cast Death’s Shadow hasn’t ever been a problem. Drawing Castle Locthwain also almost singlehandedly “fixes” this issue should it ever occur, giving you the opportunity to punch yourself in the face for upwards of four- and five-point chunks.
Now, actually sequencing your lands and how aggressive you should be is even more nuanced. Generally, if I don’t know the matchup, I’ll err on the side of damaging myself to curve out initially and certainly if you actually have a Death’s Shadow in hand. That said, typically it won’t be a problem, but blindly damaging yourself over the first two turns can still be a large liability should you be playing against Gruul Aggro and friends.
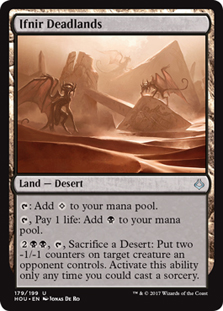
Remember: you can always Ifnir Deadlands yourself without casting a spell, although you need to set a stop specifically to do so in Arena (I’ve failed this interaction a time or two).
I find getting the removal suite right in this deck incredibly challenging. This is currently my best guess when the primary competing factors are “efficiency, amount of coverage, and sustaining your synergies.”
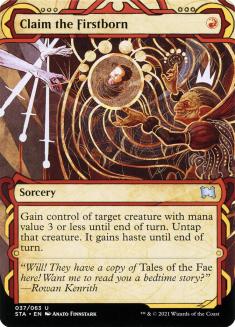
I had cut Claim the Firstborn completely from the deck for a good portion of my play but ultimately missed the added strength they generate from making your Village Rites both extremely strong and online a large portion of the time, as well as enabling some incredibly disgusting Dreadhorde Arcanist sequences. There’s also the extremely underrated “haste mode.” Previously this was largely relegated to escaped Kroxas, but adding Death’s Shadow to the mix multiplies your opportunities to run this play many times over — and it matters when you can crack opponents for eight or more damage!
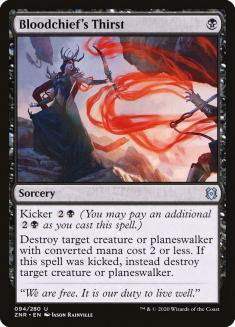
Fatal Push was similarly my weapon of choice for a long while, but the rise of Azorius Control has largely convinced me that you need more ways to kill planeswalkers, and you’re still often just casting your removal spells on your main phase. That said, Bloodchief’s Thirst isn’t completely upside.
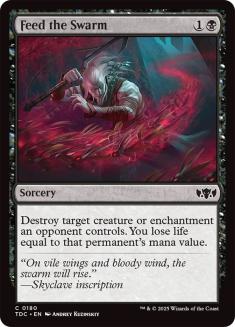
Feed the Swarm is the weird one. It’s a flexible tool that was previously played in the sideboard to combat Rest in Peace and Leyline of the Void, but it’s also another potent enabler for Death’s Shadow! Feed the Swarm is another reason to consider being more conservative than you might on average — you might chunk yourself for four damage with this card and there have been multiple games where I’ve needed to Fame my Arcanist and recast Feed the Swarm to make progress in the game. Be careful!
A final bonus of Feed the Swarm maindeck: we don’t need to play the card in our sideboard.
Sideboard
There’s some familiar stuff and also some new additions. Abrade is still coverage against Cauldron Familiar + Witch’s Oven as well as killing Grafdigger’s Cage and being a redundant removal option against creature decks — it’s a slam dunk. Duress has a higher value than in traditional Rakdos Arcanist decks due to you being interested in playing a subset of more constricted games where you move in on Death’s Shadow and try to get it over with.
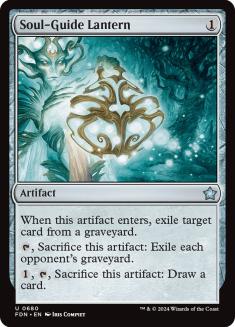
Soul-Guide Lantern, frankly, kinda sucks? Folks play it, I’ve been trying to give it a fair shot, and I currently don’t have a replacement for it, but I never really feel good about bringing it in or casting it.
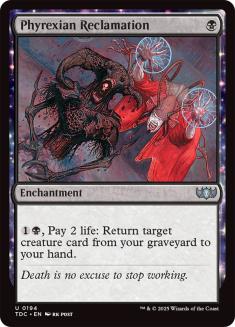
Phyrexian Reclamation I stole from Sam, as it’s a nice tool to grind against removal decks or in pseudo mirrors. This is another reason to play conservatively, and if you’re bringing this in you have natural interest in playing a prolonged game, so once again consider not going so crazy with your self-damage.
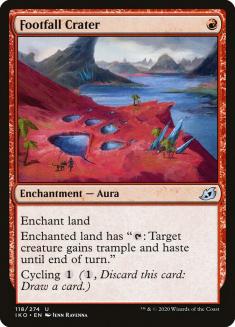
Footfall Crater is technology I picked up from Yoman5. He’s always got interesting stuff to share when it comes to Magic decks, so give him a follow on Twitter if you don’t already, but this was one of the key components of his Death’s Shadow cycling deck. Here it’s a little less synergistic, but it has an extremely low opportunity cost to play and has a wide range of uses — I’ve brought in against control, Goblins, and Cat/Oven and been happy. It can be cycled away and returned with Lurrus later in the game as well. Whenever you’re turning into the “anti-hate” deck, it’s also worthy of consideration, which transitions us into the last card.
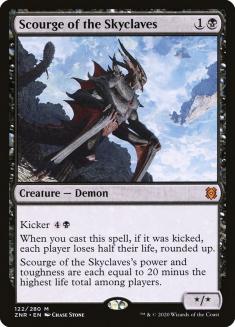
The beauty of Death’s Shadow is that in combination with Scourge of the Skyclaves (and Young Pyromancer) you actually have the opportunity to transition into a fairly robust aggression plan that can largely just sidestep hate. If your opponent has Rest in Peace and Grafdigger’s Cage, it can be a foolish gambit to bet on your otherwise worthless one-for-one answers to line up perfectly against their sledgehammers. The better route is simply to kill them on another axis, and having six+ ways to do that is a huge boon to the range of games that Rakdos Death’s Shadow can play.
This requires a great deal of fluidity when it comes to sideboarding and paying attention to the specific cards that your opponent is capable of (or has been) playing against you, which makes it all extremely tricky. That said, this deck now has all the tools; it’s just about figuring out the details and how to most effectively pivot when necessary.
Quick Hits Sequencing
Death’s Shadow decks are all about the ability to pivot, understanding your role, and often a little bit of fearlessness. As I’ve stated several times up to this point, while you clearly want to enable your Death’s Shadows, the balancing act is key and it’s important to remember that you have a variety of ways to damage yourself.
I’ll nearly always lead on Shock (or Bolt) + Thoughtseize in the dark, 100% if I have a Death’s Shadow already in hand. From there it gets a little trickier if you don’t have Shadow but you do have Stitcher’s Supplier + Village Rites + Claim // Fame (or a seemingly spare Agadeem’s Awakening), I’ll operate under the assumptions that I’m working towards a Shadow.
Stitcher’s Supplier functions more like a spell than a one-drop creature, as it’s purely an enabler and as a result you aren’t in any real hurry to cast it. I frequently like to interact on the first turn, cast Dreadhorde Arcanist on Turn 2, and then cast a Stitcher’s Supplier on the Turn 3; “hiding” the fact that you have Arcanist food can also be valuable in this sequence.
Due to almost always wanting to get value from it and that it’s an excellent follow-up to Dreadhorde Arcanist, Young Pyromancer nearly always gets cast behind the namesake, or on Turn 3 so you can immediately follow up with a spell and get value. In a fairly unintuitive rules interaction, Village Rites won’t generate a token if your sacrificed creature is Young Pyromancer, but it’s still a nice card to hold up on various battlefield states due to how much of a natural lightning rod the Pyromancer is.
Remember all of the weird lines involving Claim // Fame. Returning Kroxa to nail last cards or deal extra damage can be critical, rebuying Pyromancer plus chaining a bunch of spells can be a huge swing, and the clean Claim + Fame on a Dreadhorde Arcanist can flip a game on its head immediately. It’s simple, but worth noting again that Death’s Shadow gives you so many more opportunities to steal games with it and a way to give it haste through both Fame and Claim the Firstborn — don’t sleep on this stuff.
Otherwise, most of the traditional mantras still apply. Play for efficiency and try to use your mana every turn. This deck’s curve is extremely low but it’s excellent at spending all of its mana every turn and has many mana sinks to leverage once you’ve gotten deep into the game. Figuring out when you should pivot from a value game to going all-in on Death’s Shadow can be a tricky proposition, but it makes an already extremely fun deck even more exciting to play, as you’re capable of so many game actions while also navigating the razor’s edge.
I held this opinion previously, but I’m going to double down — Rakdos Arcanist previously, and now this iteration of Rakdos Death’s Shadow, is an extremely rewarding deck to learn how to play in Historic, and it’s an excellent and powerful option that will only get stronger over time as cards get injected into the format. It can naturally pick up all the strongest cheap options and consistently evolve over the metagame. Give it a shot!