As you may or may not know, my team and I played Mono-White Aggro❄ in the February Kaldheim League Weekend. It wasn’t the best choice we could have made, as we predicted the metagame quite badly, but I still believe it’s a powerful deck that’s actually much harder to play than it might appear at first glance. Today I’ll talk about some unusual choices on my list, the sideboard plans for the most popular matchups, and some tips and heuristics that I use to make the decisions you’ll be faced with most frequently.
Creatures (32)
- 4 Giant Killer
- 4 Alseid of Life's Bounty
- 2 Lurrus of the Dream-Den
- 4 Seasoned Hallowblade
- 4 Selfless Savior
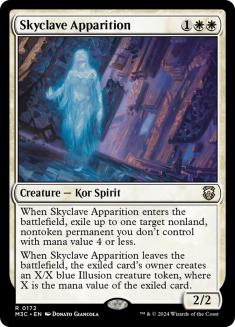
- 4 Skyclave Apparition
- 4 Luminarch Aspirant
- 1 Halvar, God of Battle
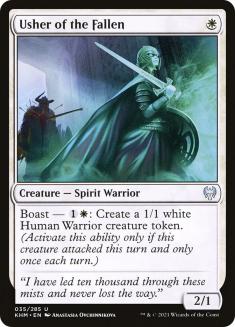
- 2 Usher of the Fallen
- 3 Reidane, God of the Worthy
Lands (24)
Spells (4)

When describing this deck, I was prepared to write “this is just your average white aggro deck,” but after playing with the deck more I don’t actually think this is true. This is undoubtedly an aggressive deck, but it does not play out the same as traditional white decks in the past — it’s much more about building a few big threats rather than swarming the battlefield with creatures.
That said, the way to play against it is similar. Even though you’re building one big threat, all your defensive creatures effectively act as more copies of that threat, which makes spot removal way less effective than it would normally be against a strategy like this. If I cast a Turn 1 Selfless Savior and a Turn 2 Luminarch Aspirant and you have an Eliminate, my Selfless Savior effectively acted as a second copy of Aspirant that cost only one mana.
This deck is also, unlike traditional Mono-White Aggro decks, incredibly hard to play properly because there are a lot of small decisions and they randomly matter a lot. Your curve is very flat and concentrated, so you often have several different creatures you can cast in the same turn, and then you have to choose how much to commit, when to go for it, when to activate Faceless Haven, and so on.
In many games, the decisions don’t actually matter that much as you just steamroll your opponent or fail to get any traction, but there are also games that are decided by which creature you decided to power up with Luminarch Aspirant on Turn 6; at the time you’re making that decision it’s very hard to understand how the game will play out and that this is, in fact, a key moment in the game, and you only notice that it was as you look back in horror at your decision from three turns ago when you realize your otherwise lethal threat is one power short.
On to some individual card choices:
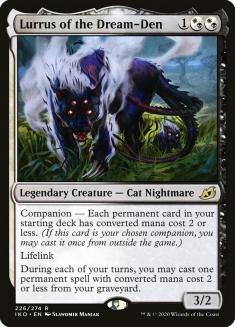
This is the one card we have in the maindeck that other people don’t (or at least I’ve seen plenty of Lurrus of the Dream-Den in sideboards, but never in maindecks). It makes sense to play Lurrus in the sideboard, as the games tend to get more grindy, but I feel like there’s enough removal going on in Kaldheim Standard right now that it’s worth playing Lurrus in the maindeck. Basically, this is not a format where players are just trying to ignore each other and execute their gameplan as quickly as possible — there are plenty of copies of Heartless Act, Eliminate, Bonecrusher Giant, Fire Prophecy, Giant Killers, and Binding the Old Gods going around, so Lurrus is going to have utility almost every game.
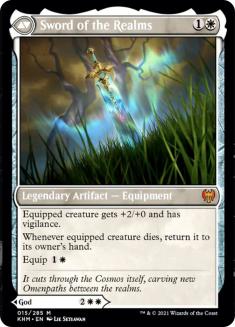
On top of recurring creatures that naturally died, Lurrus also works incredibly well with your one-drops, Alseid of Life’s Bounty and Selfless Savior. These are creatures that you can put in the graveyard basically at will, and even in a match that might not otherwise be very interactive you can use Lurrus for good value. For example, in a mirror match, you can use Alseid to give something protection and swing past blockers (including Archon of Absolution) and then recast it. In this regard, Lurrus plays the same role as Sword of the Realms, except it’s much cheaper and a creature on its own.
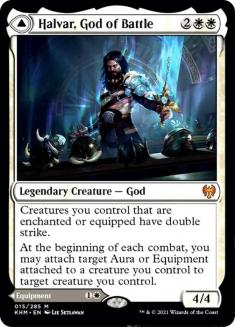
Perhaps the most puzzling card number on our list is only a single copy of Halvar, God of Battle. I looked at a fair bit of articles / comments on the deck and most people who played it seemed convinced that Halvar was a four-of (if not that, then at least a three-of), yet we’re only playing one. This is because, during our testing, we just didn’t find the card to be that good. We felt like it was a “win more” card with Maul of the Skyclaves most of the time and not strong enough without it (as you’re not going to catch me dead with Sentinel’s Eyes in my deck anytime soon).
There is, of course, some merit to playing multiple copies because the card works okay with more copies of itself (since you can have Halvar and Sword of the Realms at the same time to give the creature double strike), but the main issue is that, even though both cards are solid, they’re also quite clunky, as each side effectively costs four to have any impact on the battlefield and four is the sweet spot for activating Faceless Haven. Given that we wanted to play Lurrus, which is also a mana-intensive card, we decided we simply couldn’t afford to have this many expensive cards in our deck.
There’s still one copy, because, well, it can be a powerful card. Having a four-drop that survives Shadows’ Verdict can be important, and having an extra Equipment to suit up your weak creatures is also relevant a lot of the time, so I would say you cast both sides with about the same frequency. But, given that they cost four mana, we settled on one copy.
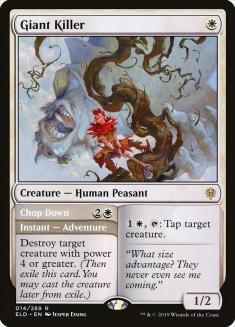
I’ve seen many people play less than four copies of Giant Killer and I think this is just a mistake. This card is actively great versus the majority of the field, and even when it’s bad it has uses — every control deck has Yorion, Sky Nomad and the worst case scenario is a bad one-drop. I strongly recommend playing four copies.
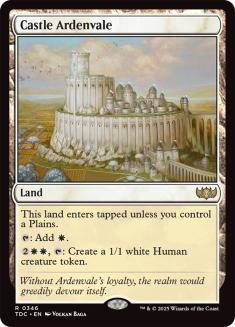
I think Cedric and Autumn already made a very good case for why you wouldn’t want to play Castle Ardenvale, but I still see it in a couple of lists so I want to reiterate that I think this is a big mistake, as you simply need all your lands to be able to activate Faceless Haven.
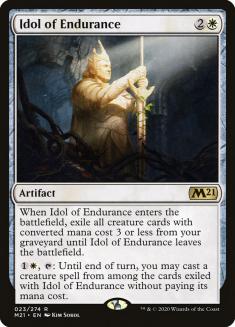
Idol of Endurance is specifically against Dimir Rogues. Dimir Rogues is traditionally a hard matchup for Mono-White Aggro❄, but this card helps a lot, as it lets you go toe-to-toe with them in the late-game while also randomly taking your graveyard below the seven- or eight-card threshold. Recurring Skyclave Apparitions in particular can be quite powerful and stop you from dying to their Ruin Crabs, at which point you buy time to recur the creatures that will actually kill them (and there’s usually no shortage since they mill you a lot).
If you don’t expect Dimir Rogues, however (and it is down in popularity), feel free to remove those and replace them with other cards (potentially a fourth Reidane, or a fourth Glass Casket, fourth Drannith Magistrate, or third Lurrus).
The Matchups
VS Sultai Ramp (Yorion)
I believe this matchup is good for Mono-White Aggro❄ regardless of how they build their deck, though I know many of the people who played Sultai Ramp think otherwise. My opinion is that if Sultai Ramp beat Mono-White Aggro❄ (and Mono-Red Aggro❄) like they thought, then we would have a one-deck metagame, and the fact that we don’t is evidence that at least the standard builds of Sultai Ramp do not beat these aggro decks. Of course they could have showed up with a different, tuned version and then I would believe the claims that the matchup is good for Sultai Ramp, but the version I saw was very close to stock, so I still maintain that Mono-White is favored.
I think the reason Mono-White is favored is that it’s faster, but it’s also disruptive and resilient. The spot removal is not that useful in the face of the eight one-drops and Faceless Haven does an incredible job of beating Shadows’ Verdict, as they’re usually low enough by the time they cast it that one attack kills them.
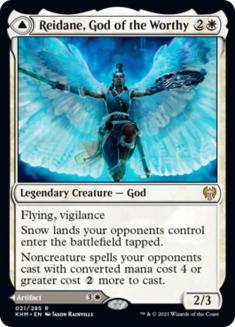
Reidane is also an excellent card, and if you can protect it from the cheap removal, it basically wins the game on its own. If you cannot protect it from spot removal, I would recommend holding it for the Shadows’ Verdict turn, so you don’t expose it to Heartless Act or Eliminate before it can do its job since usually all you need is one turn.
Out:
In:
The biggest problem with this deck is the sideboard and nowhere is it more evident than in this matchup, as there are simply not enough cards to bring in against these control decks. It’s not even a matter of not having many slots (though it’s that as well); it’s just that there’s simply no card you’d even want. Having a fourth Reidane could be useful versus Sultai Ramp specifically but it’s not even that good versus the Esper builds.
As it stands, we really thought we couldn’t do better than Usher of the Fallen as a card against control, which is kind of pathetic once you think about it. Still, it does the job relatively well — it’s your best Turn 1 play and generates more creatures to go around both sweepers and spot removal. If there were something better to play against Sultai Ramp or Esper Blink (Yorion) we would have played it, but we didn’t find anything.
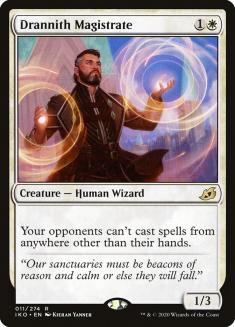
Drannith Magistrate isn’t an excellent card or anything, but I like having access to a couple since they stop both foretell and Emergent Ultimatum. Still, it’s barely a creature in this matchup, so you can’t have too many.
As for what to take out, both Giant Killer and Skyclave Apparition are quite bad in this matchup, but just how bad depends on their list. Most people will bring in Polukranos, Unchained and Elder Gargaroth, so I think Giant Killer is okay (they also have Yorion and sometimes Esika’s Chariot, and the floor is a one-mana creature), but Skyclave Apparition can sometimes delay them by taking out Wolfwillow Haven or Tangled Florahedron if they play those. I think Giant Killer is going to be better versus most Sultai Ramp lists, though, so I take out more Apparitions.
VS Mono-Red Aggro❄
I think Mono-Red Aggro❄ is also a good matchup. You can obviously still lose, especially to Embercleave, but your cards are overall more powerful than theirs and your cheap protectors are live all the time. They have no answers to Maul of the Skyclaves, which can play both offense and defense.
Valkmira, Protector’s Shield is also a very strong card in this matchup. It doesn’t seem like it would do that much but in practice it makes it very hard for the opponent to do anything and completely nullifies a lot of their cards. I would say that if you’re on the play with a particularly aggressive draw or if you have no other three-drop you’re probably going to cast Reidane, but a lot of the time your plan should be to cast the Shield if you can set up a turn for it.
Out:
In:
After sideboarding, nothing really changes — they’re still trying to Embercleave you and you’re still winning most games in which this doesn’t happen. Usher is an easy card to take out as their one-drops all beat it and Halvar isn’t bad but I think is the second worst card in your deck. It’s possible taking out one Seasoned Hallowblade is correct, but we found that it’s actually not that bad versus Mono-Red Aggro as it makes attacking very hard for them.
VS Mono-White Aggro❄
The mirror in Game 1 is mostly about winning the die roll and snowballing an advantage; there’s really not much to say here. Lurrus is sometimes not great because a lot of the removal exiles, but it’s still quite good in combat alongside the one-mana creatures and the lifelink can win a race if you pump it.
Out:
In:
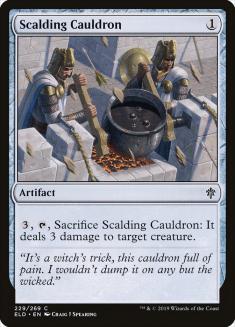
Archon of Absolution is strictly for the mirror and a card that’s very hard to beat with any sort of conventional draw. It’s not impossible to beat though, as Luminarch Aspirant can grow enough creatures to attack through it and Alseid of Life’s Bounty can give a big creature protection from white to swing for lethal. Still, it’s hard enough to beat that we have Scalding Cauldron as an answer (and it’s also kinda cute with Lurrus).
In an open-decklist tournament, you’re always going to know if they have Archon of Absolution or not — if they don’t, do not bring in Scalding Cauldron. When you’re playing on ladder or without decklists, I think it’s fair to assume that most people will have Archon so you should bring in Cauldron in the dark. If they don’t have Archon, you should be at a pretty big advantage anyway.
VS Naya Adventures
This was the matchup we got the most wrong in the tournament, and the reason we did was because we underestimated the non-combo versions. I thought the combo version of the deck was simply better; therefore I assumed most people would play it. It’s also the version that’s easiest for us to beat, since their late-game is not that good — as long as you protect yourself from randomly dying to one Dragon attack, you should not have much trouble.
The version that Reid’s team played with four copies of The Great Henge in the maindeck felt much tougher, as you’re actually forced to adopt a more aggressive posture there as their late-game is just better than yours. You want to adopt an aggressive posture either way, of course, but against the combo version you have outs to win if you don’t succeed in that, and against four The Great Henges you really don’t.
Out:
In:
Drannith Magistrate shines here, since it stops all the Adventures as well as Showdown of the Skalds. This deck has many ways of protecting creatures and the card naturally dodges both Bonecrusher Giant and Giant Killer, so a lot of the time you cast Drannith Magistrate on Turn 2 or 3 and it stays on the battlefield for the entire game.
A lot of players anticipate this and take Showdown of the Skalds out of their decks for Game 2, but there are builds that can’t or won’t do that, and even if they do so the card is still worth it to stop the Adventures. This is another reason the combo version is easier to beat — they’re much more reliant on Showdown and can’t really afford to take them all out, whereas the midrange version can.
Scalding Cauldron is, again, strictly for Archon of Absolution. If you know or suspect they don’t have it, you don’t need to bring it in. Archon is a much more dangerous card out of the Midrange version – against the Combo version I found that, while obviously a very good card, it’s surprisingly beatable if they don’t also stick an Edgewall Innkeeper onto the battlefield, because your battlefield grows over time with Lurrus and Luminarch Aspirants so at some point you just overwhelm it.
How to Play the Deck
As I mentioned before, the deck is actually quite hard to play. Here are some tips, tricks and heuristics for the hard spots:
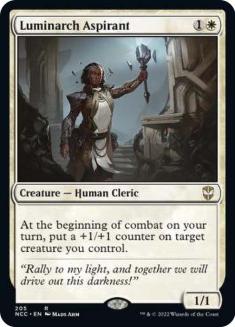
The hardest card to play with is Luminarch Aspirant, as it gives you a meaningful choice every turn of the game. As a general rule, these are the heuristics I use with it:
- If you have Selfless Savior, you basically always put the counter on the Aspirant.
- If you have a different one-drop, I usually put the counter on the one-drop to diversify my threats. They usually kill the Aspirant anyway, so you might as well get a counter out of Aspirant and deal extra damage.
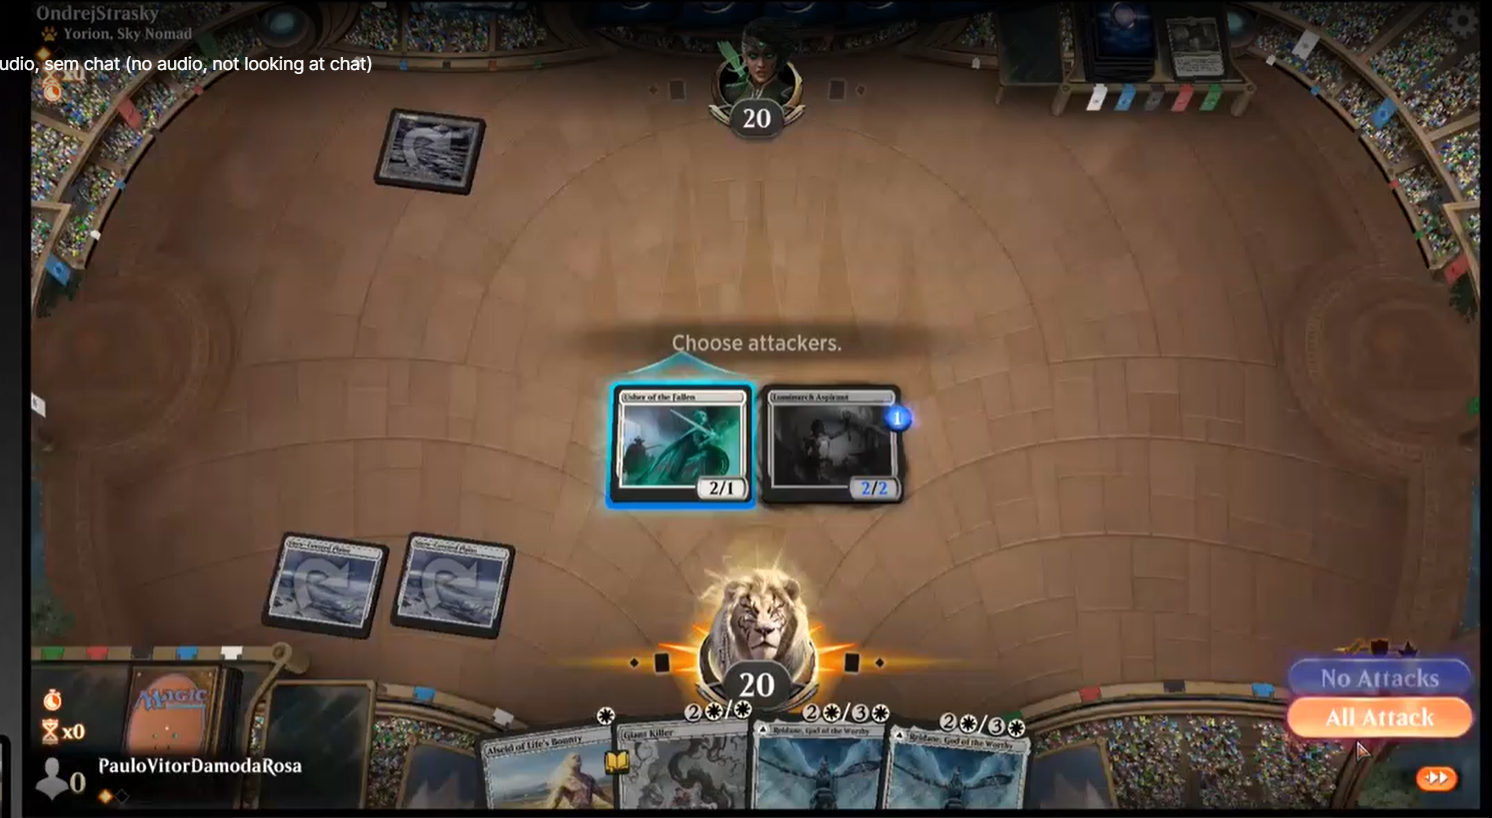
- If their removal is Heartless Act specifically, I usually put the counter on the Aspirant to make it immune to that particular removal spell. For example, in my match against Ondrej Strasky last weekend, I was in this spot and I put the counter on the Aspirant, as making it immune to Heartless Act is worth the point of damage I’m giving up.
- If it’s later in the game, you usually have to decide if your goal is to build up one big creature or several average-sized ones. There’s no clear answer to this and it’s always going to depend on what the battlefield looks like. Sometimes you will want to push as much damage through as possible, and that means diversifying your counters so that more attackers are threatening. For example, if the opponent has a 3/3 creature, clearly it’s better to have two 4/4s of your own than a 5/5.
- If the game is looking bad, however, your best shot is drawing Alseid of Life’s Bounty and pushing through enough damage to win the game in one attack, which means you sort of have to put all your eggs in one basket. For example, look at this match from Jean-Emmanuel Depraz’s perspective:
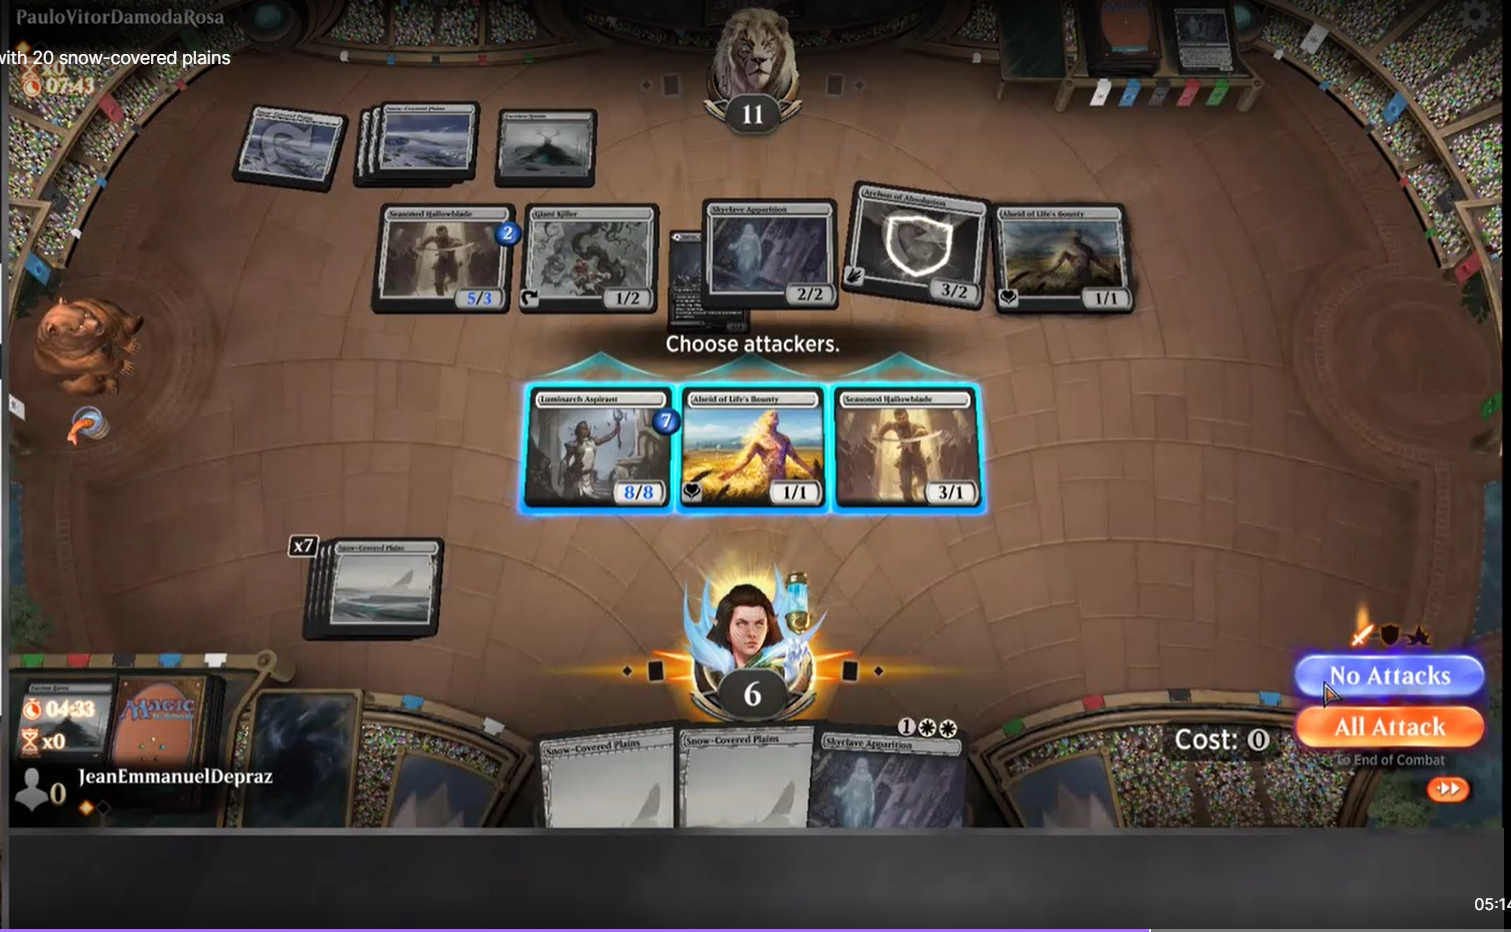
Does he need an 8/8 creature? Not really, as a 6/6 would accomplish the same thing when it comes to getting in combat, but I’m at 11 and his best shot at winning the game from this point is to keep growing his creature and eventually give it protection from white and swing for lethal. I cast an Archon of Absolution the previous turn, which shortened his clock, but that was what he was building towards before that happened.

The most important thing to keep in mind with Alseid of Life’s Bounty is that protection is not hexproof — it will stop your own things from happening. Going through my stream after the event I counted several instances of people asking, “Why didn’t he just give protection from white and go for the kill?” and the answer in literally all of them is because it would make my Maul of the Skyclaves fall off my creature. You also have to be careful with Luminarch Aspirant, as you need to get that trigger to resolve before giving the creature protection from white.
Giant Killer is always the last one-drop you cast. Without any others, I will usually cast it against a control deck and not cast it against an aggro deck, but the final decision depends on what the rest of my curve looks like. If my hand is very aggressive and I have it all curved out, or if I have a lot more answers, I might cast it, and if my hand is slower, then I might not so as to play a more grindy game. In the dark, if I’m playing on ladder and they don’t show me a Yorion as a companion, I assume they’re playing an aggressive deck and lean towards holding it.
If you have both Selfless Savior and Alseid of Life’s Bounty, the answer depends on what you’re playing against and what the rest of your hand looks like. If you have Luminarch Aspirant, you always cast the Savior so that you can protect the Aspirant on Turn 2. If you don’t have Luminarch Aspirant, it depends on whether the lifegain is relevant or not. Against an aggressive deck, I would cast the Alseid to gain one life, but against a control deck I’d cast Selfless Savior.
For example, look at this spot from my match against Nassif:
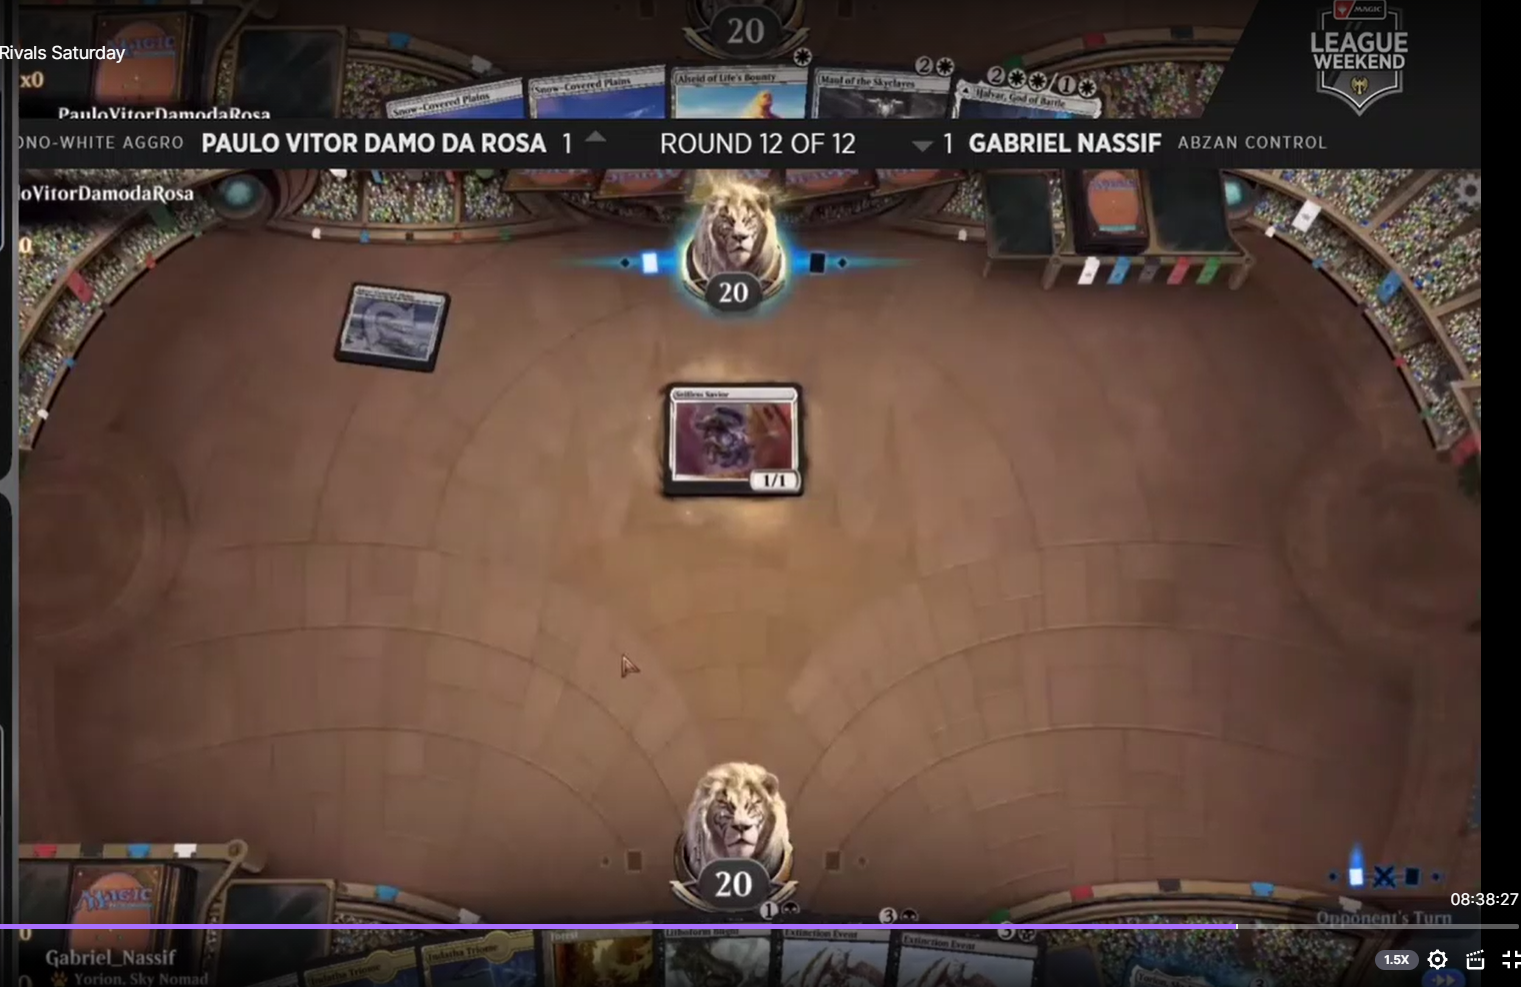
Here I chose to cast the Savior because, even though I don’t have a Luminarch Aspirant, I could draw one, and then the Savior protects it from Eliminate. If I don’t draw the Aspirant, I miss out on one life point (which is what happened) but I think my life total is very unlikely to matter and giving myself the chance for a protected Luminarch is simply worth more.
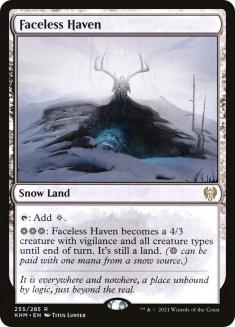
Faceless Haven attacks for a lot — don’t underestimate it. Some interesting things to know:
- Snow is a supertype, so even if they Lithoform Blight one of your lands it continues to produce snow mana.
- You can attack with Faceless Haven and then use the mana to activate Alseid of Life’s Bounty or Giant Killer.
- You can attack with Faceless Haven and use the mana to pay for the Archon of Absolution tax!
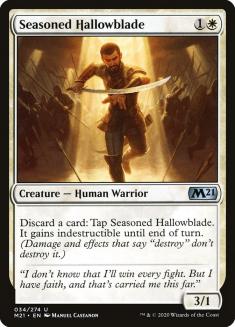
Seasoned Hallowblade is your best Maul of the Skyclaves carrier. I think one mistake people make with it is not attacking with it early enough — for example, when the opponent has a Lovestruck Beast token. Assuming you have an answer for the Beast itself, you might as well attack and trade a card from your hand for their token. Yeah, it doesn’t feel great, but at least then you can attack the following turns. If you don’t do that, you’re just effectively trading the token for the 3/1 anyway.
Moving Forward
Mono-White Aggro❄ wasn’t the best deck for the February Kaldheim League Weekend, but neither was it the worst. What was the worst was Mono-Red Aggro❄, and if that trend continues, then it spells bad news for Mono-White, as it’s a good matchup for you.
However, a downswing in Mono Red’s popularity and an increase in Adventures decks also means (or should theoretically mean) more Sultai Ramp decks, and I think you are good versus those, so Mono-White Aggro❄ could still be a good choice moving forward — it really depends on how you expect the metagame to shake up.
As far as the list goes, I thought it was quite good. The two changes I would consider are swapping the Halvar for the third Lurrus in the maindeck and potentially removing the two Idol of Endurances. The problem is that you’re already sort of over-sideboarding versus the aggressive decks, so adding a fourth Glass Casket or a fourth Drannith Magistrate wouldn’t be as helpful as adding an extra card against control (where you’re under-sideboarding), but, again, I struggle to find a card I think is actually good in these matchups (perhaps the third Lurrus and fourth Reidane are the best choices).
Regardless, if you like aggressive decks, I think Mono-White Aggro❄ is still a contender in the metagame. Just be aware that it’s surprisingly hard to play, so make sure you get a lot of practice and think a lot about how the game will look, even if your decision seems trivial.